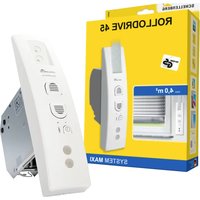
RolloDrive 45 - Electric motor Schellenberg - Free user manual and instructions
Find the device manual for free RolloDrive 45 Schellenberg in PDF.


User questions about RolloDrive 45 Schellenberg
0 question about this device. Answer the ones you know or ask your own.
Ask a new question about this device
Download the instructions for your Electric motor in PDF format for free! Find your manual RolloDrive 45 - Schellenberg and take your electronic device back in hand. On this page are published all the documents necessary for the use of your device. RolloDrive 45 by Schellenberg.
USER MANUAL RolloDrive 45 Schellenberg
natural_image
Line drawing of a device rear panel with buttons and ventilation gauges, shown from front and side (no text or symbols)
text_image
DE GB FR NL PL IT ES PT CZ SK HU HR SI RO BG GR TR RU UA LT LV EE SE DK NO FI AL BA XS ISdeutsch 6
english 12
français 18
nederlands 24
polski 30
italiano 36
español 42
português 48
český 54
slovenčina 60
magyar 66
hrvatski 72
slovenski jezik 78
român 84
български 90
ελληνικά 96
türk 102
русский 108
український 114
lietuvos 120
latvijas 126
eesti 132
svenska 138
dansk 144
norsk 150
suomi 156
shqiptar 162
bosanski 168
српски 174
icelandic 180
INHALTSVERZEICHNIS
Safety and notices 13
Technical data 15
Key explanation 17
A Dimensions 186
Required tools 187
Scope of delivery 187
B Installation 188
C Setting the end positions 207
D Changing/correcting the end positions 209
E Manual operation 210
F Automatic operation: Setting the opening and closing time 213
G Automatic operation: Manual/Auto changeover 218
H Factory default reset 223
I Obstacle detection 224
J Stuck shutter detection 225
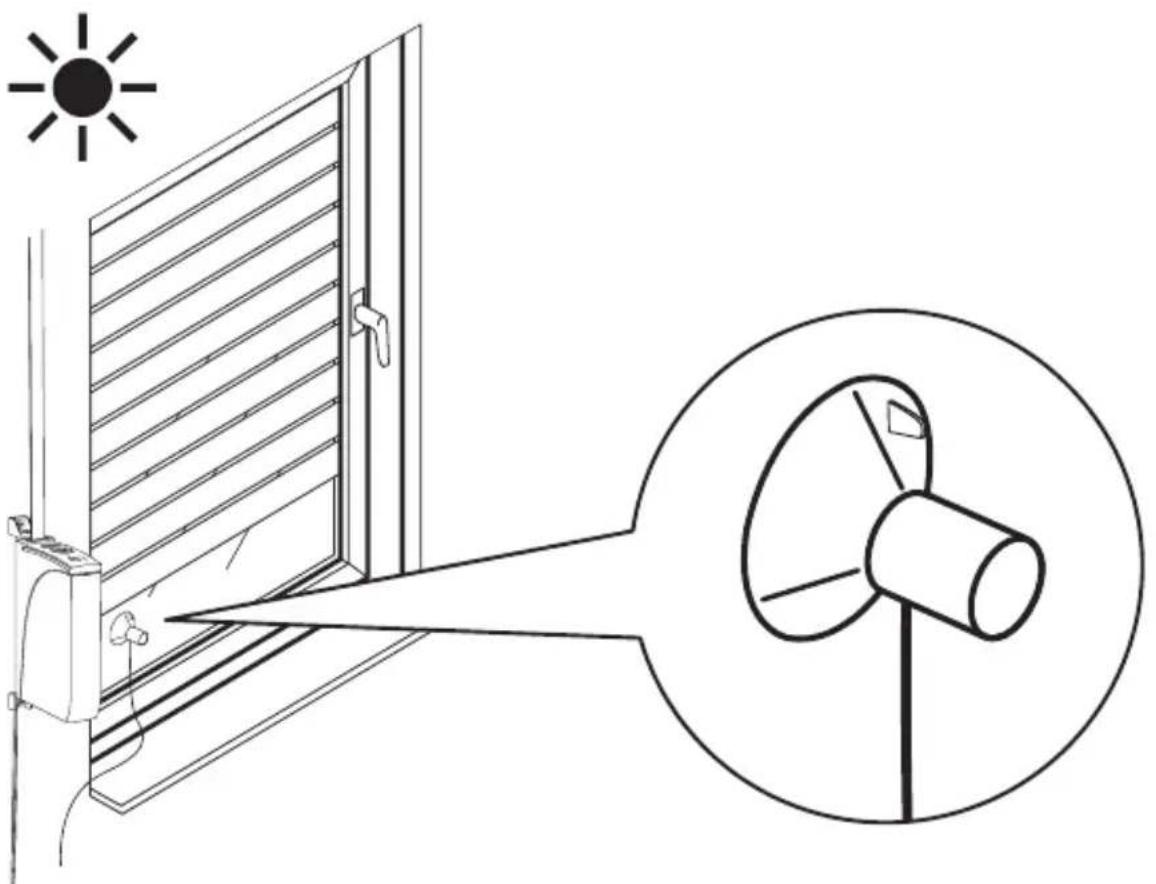
K Optional accessories: solar sensor 226
Copyright protected, 2021 Alfred Schellenberg GmbH. All rights reserved. Any use, in particular reproduction, translation, processing or transmission of content into databases or other electronic media and systems beyond the authorization provided by the copyright legislation is strictly prohibited.
SAFETY AND NOTICES
Dear customers,
Please completely read this instruction manual before the installation and commissioning. Observe all safety instructions before you begin to work. Keep the instruction manual stored at hand and advise each user about possible dangers that are related to this product. When ownership to this product changes, hand this instruction manual over to the new owner. In case of damage which is caused by misuse or improper installation the warranty and any warranty claim will be void.
SAFETY INSTRUCTIONS
There is danger to life from electric shock! Before working on electrical equipment, it must be completely de-energized.
- Take safety measures against the accidental subsequent on-switching of the power. This also applies for the maintenance and repair of electric roller shutter systems.
- Elektroanschlüsse dürfen nur durch eine autorisierte Fachkraft ausgeführt werden.
- Electrical connections may only be performed by authorized, qualified electricians.
- Improper installation can result in serious injuries or property damage.
- The provisions of the local electric utility company as well as all applicable standards and regulations for electrical installations must be complied with.
- The product may only be used in dry rooms (IP20).
- The product and the packaging are not toys. Keep children away from it, since there is a risk of injury or suffocation.
- Do not open the product, risk of injury.
- The mains power outlet and the power supply unit must be easily accessible at all times.
SCHELLENBERG
- Keep people away from the movement range of the roller shutter system. The movement range of the roller shutter system must be completely visually accessible during the operation. Risk of injury.
- Children must not be allowed to play with the product.
EU DECLARATION OF CONFORMITY
The belt winder (item no. DE 22745, 22638) meets the applicable requirements of European and national regulations. Conformity has been demonstrated. The full EU Declaration of Conformity document can be found at: http://www.schellenberg.de (under 'Download-Center', in the 'Service' tab).
Do not discard with household waste! The product is recyclable and can be returned to a recycling centre or other household electrical waste collection point
Machinery Directive 2006/42/EC
EMC Directive 2014/30/EU
RoHS Directive 2011/65/EU
INTENDED USE
- Der ROLLODRIVE 35 ist ausschließlich für die Steuerung von Rollladenanlagen ausgelegt.
- The product is exclusively designed for controlling shutter systems.
- The roller shutter system and its parts must be in a perfect condition. Defects in the system or its parts must be repaired before installing the product.
- An easily accessible 230 V AC/ 50 Hz mains socket outlet must be available at the place of installation (see page 206).
- The surface where the product is to be installed must be level.
-
Only use original spare parts to avoid product malfunction or defects.
-
Improper running of the belt (belt guiding) may destroy the shutter belt and cause unnecessary strain on the product. Install the product such that the belt enters the shutter belt drive as vertically as possible. This will avoid unnecessary friction and wear.
- Any other or further utilization beyond the explicitly specified shall be regarded as not intended use.
- Alfred Schellenberg GmbH shall not be liable for any consequential damage, property damage and personal injury due to improper use.
- According to EN 13659, it must be ensured that the displacement requirements as per EN 12045 are met. When unrolled, the displacement at the lower edge must be at least 40mm at an upward-directed force of 150N . It must be ensured that the travel speed of the hanging must be less than 0.2m/s in the last 0.4m .
IMPROPER USE
- The use of the product for applications other than the aforementioned is not permitted.
- Using this product outdoors presents a risk of death from short circuit or electric shock.
- Never install or operate the product outdoors.
- Mechanical locks of any kind are not suitable for automated operation with this product.
TECHNICAL DATA
Item number 22745/22638
Power supply operating voltage 230 V AC / 50 Hz
Rated output 29 W, max. 45 W short term
Standby output approx. < 0.7 W
Power supply output 24 V DC / 1.2 A
Torque MdN = 2.5 Nm
TECHNICAL DATA
| Max. speed 34 rpm | |
| Max. roller shutter blind surface 4.0 m ^2 (3 kg/m ^2 roller shutter blind surface) | |
| End pulling force 7 kg on belt | |
| Short-term operation 5 minutes | |
| Protection class II | |
| Protection class IP 20 (only for dry rooms) | |
| Positioning precision 5 mm | |
| Number of switching times 2 (UP and DOWN) | |
| Automatic sunlight control adjustment range | 3,000 to 10,000 lux |
| Permissible ambient temperature 0-40 °C | |
| Clock accuracy Approx. +/- 1 minute / month | |
| Dimensions See page 186 | |
| Permissible belt widths | 23 mm maxi |
| Belt length(15 mm standard belt) | 5.5 m for 1.0 mm belt thickness4.3 m for 1.3 mm belt thickness |
| Sound pressure level | LpA ≤ 70 dB(A) |
Note:
The specifications provided are recommended values and apply to ideal installation situations. Due to existing site conditions, the values may be different.
Only use the product in combination with shutter belts with the dimensions mentioned above. Wrong shutter belt lengths and widths will result in damage. Replace the old shutter belt when the requirements are not met.
text_image
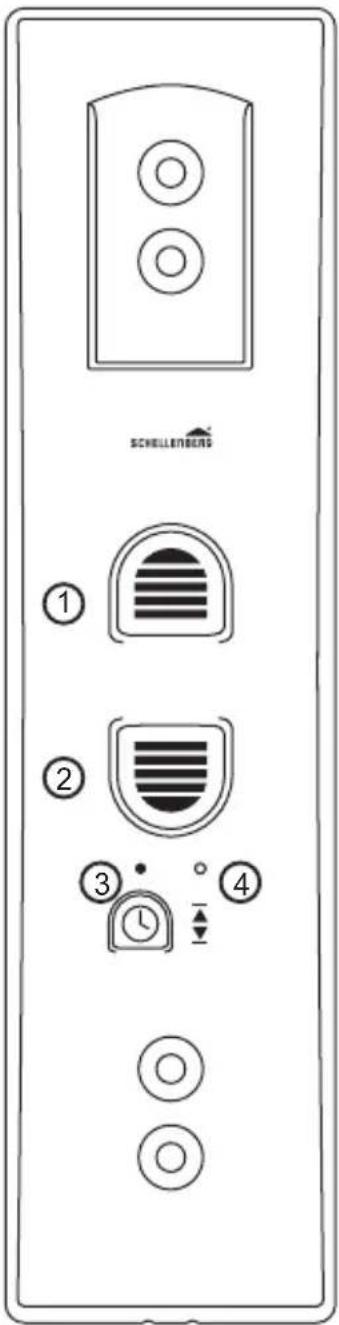
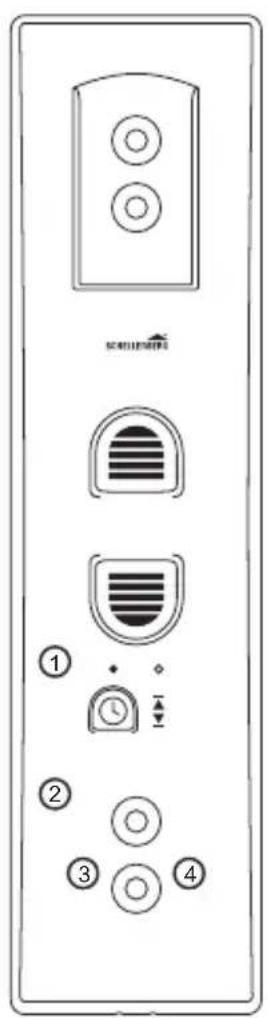
SCHELLENBERG ① ② ③ ④① Open button
② Close button
③ Clock button with LED display
Status of LED display (③)

Off

On

Blinking
④ Set button
TABLE DES MATIÈRES
Chers clients, chères clientes,
DÉCLARATION DE CONFORMITÉ UE
Directive Machines 2006/42/CE
Directive CEM 2014/30/UE
Directive RoHS 2011/65/UE
UTILISATION CONFORME
I Hindernisherkenning 224
J Blokkeerherkenning 225
K Optionele accessoires: zonnesensor 226
ODGOVARAJUĆA UPORABA
■ Proizvod je projektiran isključivo za upravljanje sustavom roleta.
- Sustav roleta i njegovi dijelovi moraju biti u besprijekornom stanju. Morate ukloniti nedostatke u sustavu ili njegovim dijelovima prije ugradnje proizvoda.
- Na mjestu uporabe mora postojati slobodno pristupačna mrežna utičnica od 230 V AC/50 Hz (vidi stranicu 206).
- Površina za montažu proizvoda mora biti ravna.
- Upotrebljavajte samo originalne zamjenske dijelove da izbjegnete kvarove ili oštećenja uređaja.
- Loša vodilica remena može uništiti remen i nepotrebno opteretiti proizvod. Montirajte proizvod tako da remen po mogućnosti ulazi okomito u pogon remena rolete. Na taj način izbjegavate nepotrebno trenje i trošenje.
- Druga uporaba ili uporaba koja izlazi izvan ovih okvira smatra se neodgovarajućom.
- Alfred Schellenberg GmbH ne odgovara za posljedičnu štetu, materijalnu štetu i ozljedu osoba u slučaju neodgovarajuće uporabe.
- U skladu s normom EN 13659 morate paziti da se pridržavate uvjeta za pomak utvrđenih za zavjese u skladu s normom EN 12045. U izvučenom položaju pri sili od 150 N u smjeru prema naprijed na donjem rubu pomak mora iznositi najmanje 40 mm. Pri tome morate posebno paziti na to da brzina izlaska zavjese na posljednjih 0,4 m bude manja od 0,2 m/s.
NENAMJENSKA UPOTREBA
text_image
Isklj Uklj Trep④ Tipka za namještanje

KAZALO
Varnost in navodila 79
Tehnični podatki 81
Razlaga tipk 83
A Mere 186
Potrebno orodje 187
Obseg dostave 187
B Montaža 188
text_image
SHELLIUMBER ① ② ③ ④text_image
Diagram of a refrigerator front panel with labeled buttons and indicators for lighting, ventilation, and alarm.INNEHÅLLSFÖRTECKNING
BESKRIVNING AV KNAPPARNA
text_image
Diagram of a refrigerator front panel with labeled buttons and indicators for lighting, ventilation, and alarm.① Knappen Uppkörning
② Knappen Nerkörning
③ Knappen Klocka med LED-indikator
text_image
Diagram of a refrigerator interior with labeled buttons and indicators for lighting, ventilation, and alarm.SIGURNOST I INFORMACIJE
Poštovani kupče,
Vélatilskipun 2006/42/EB
Tilskipun um rafsegulsviðssamhæ 2014/30/ESB
natural_image
Line drawing of a device rear panel with buttons and ventilation gauges, showing front and side views (no text or symbols)A
text_image
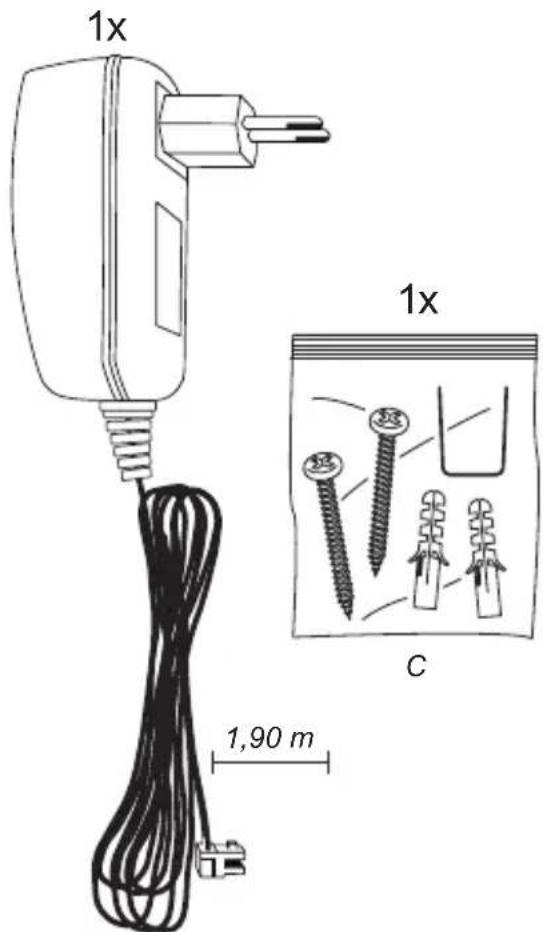
1x 1x 1,90 m CB
B
1.


natural_image
Simple black downward arrow centered on a white background with horizontal lines, no text or symbols present.

natural_image
Pure mechanical diagram showing a rotating component with arrows indicating direction (no text or symbols)3.
①

②
①
200 mm
natural_image
Simple line drawing of a pair of scissors with a dashed centerline and number 2 (no text or symbols on the scissors)
text_image
4. ① ② ① 20 mm 5 mm ②5.
text_image
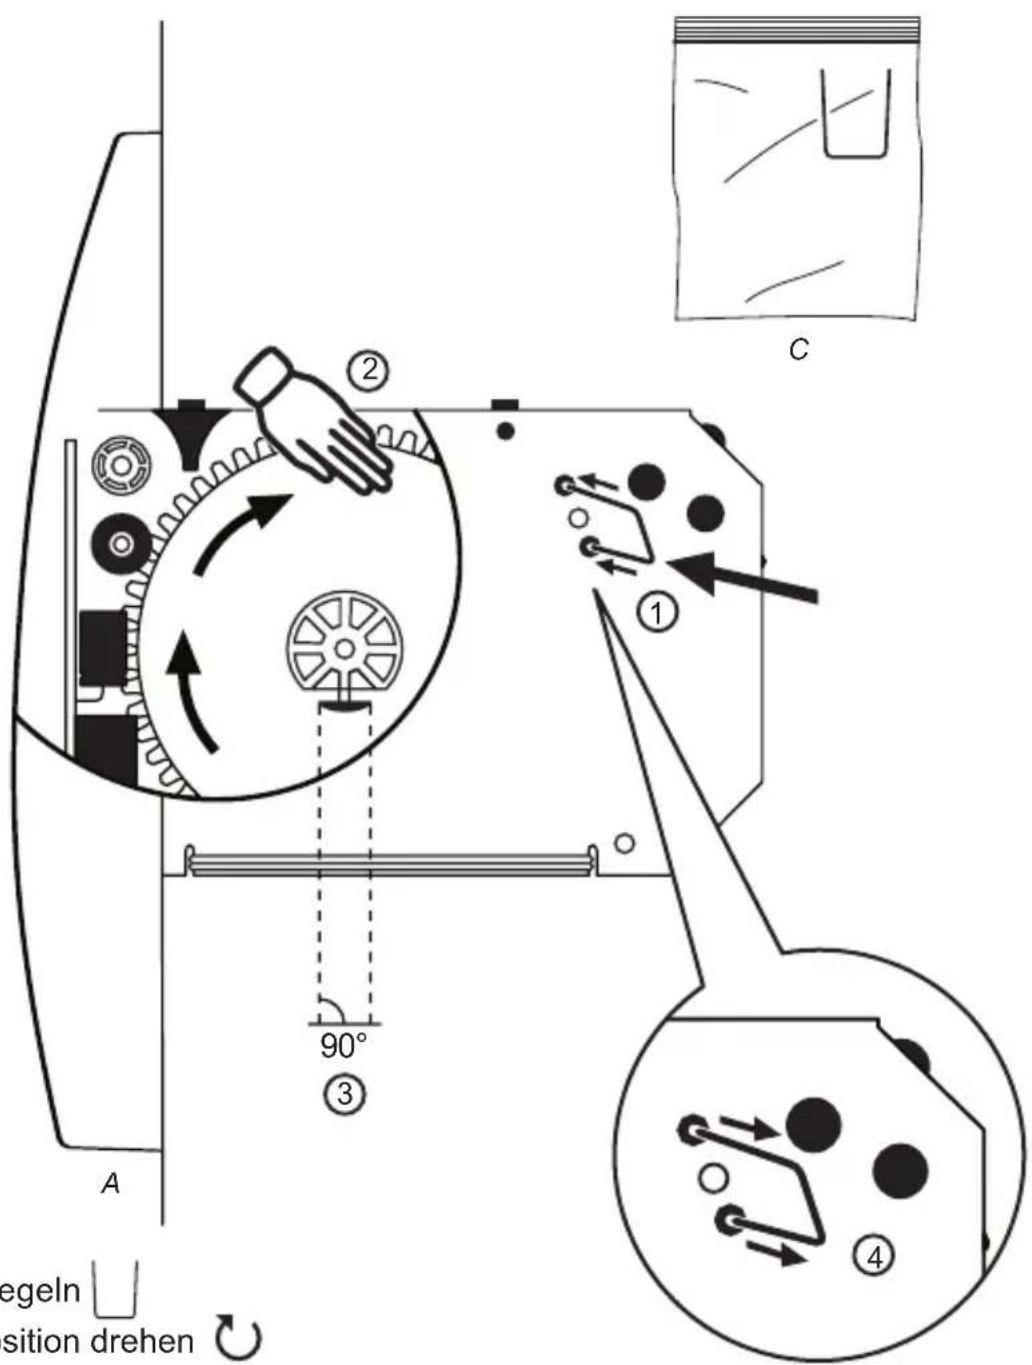
A 90° ③ ② ① C egeln sition drehen ④① Unlock winding wheel
② Turn winding wheel to required position
③ You will see the fixing hook (see Step 11)
④ Lock winding wheel

natural_image
Technical line drawing of a mechanical assembly with no visible text or symbols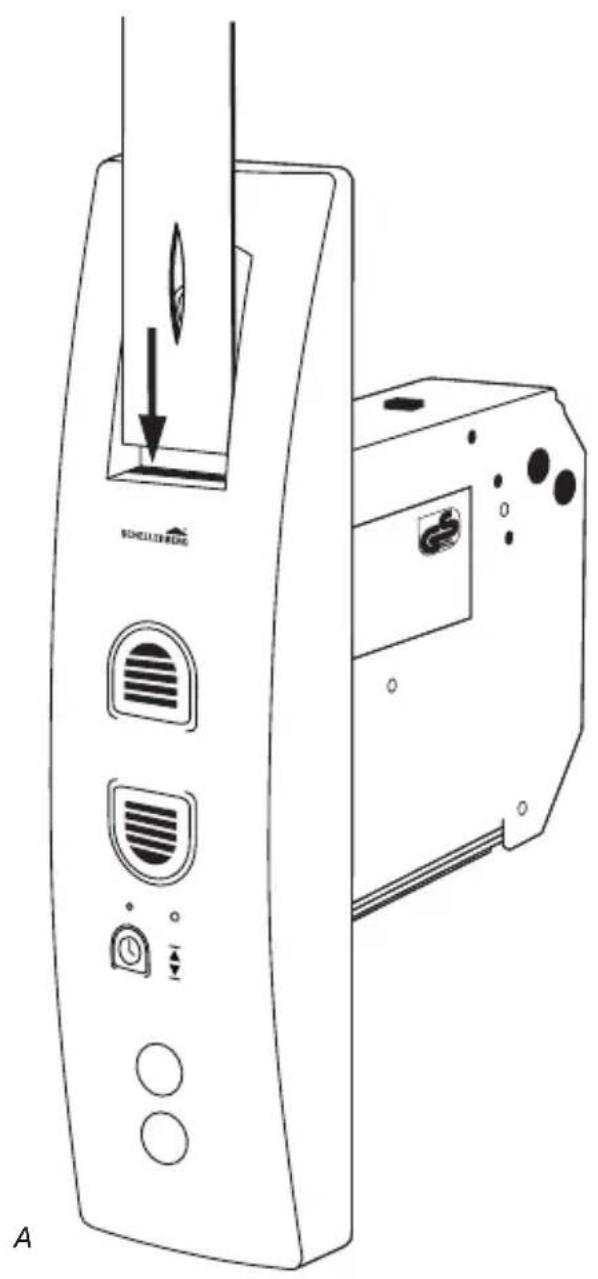
text_image
A8.
natural_image
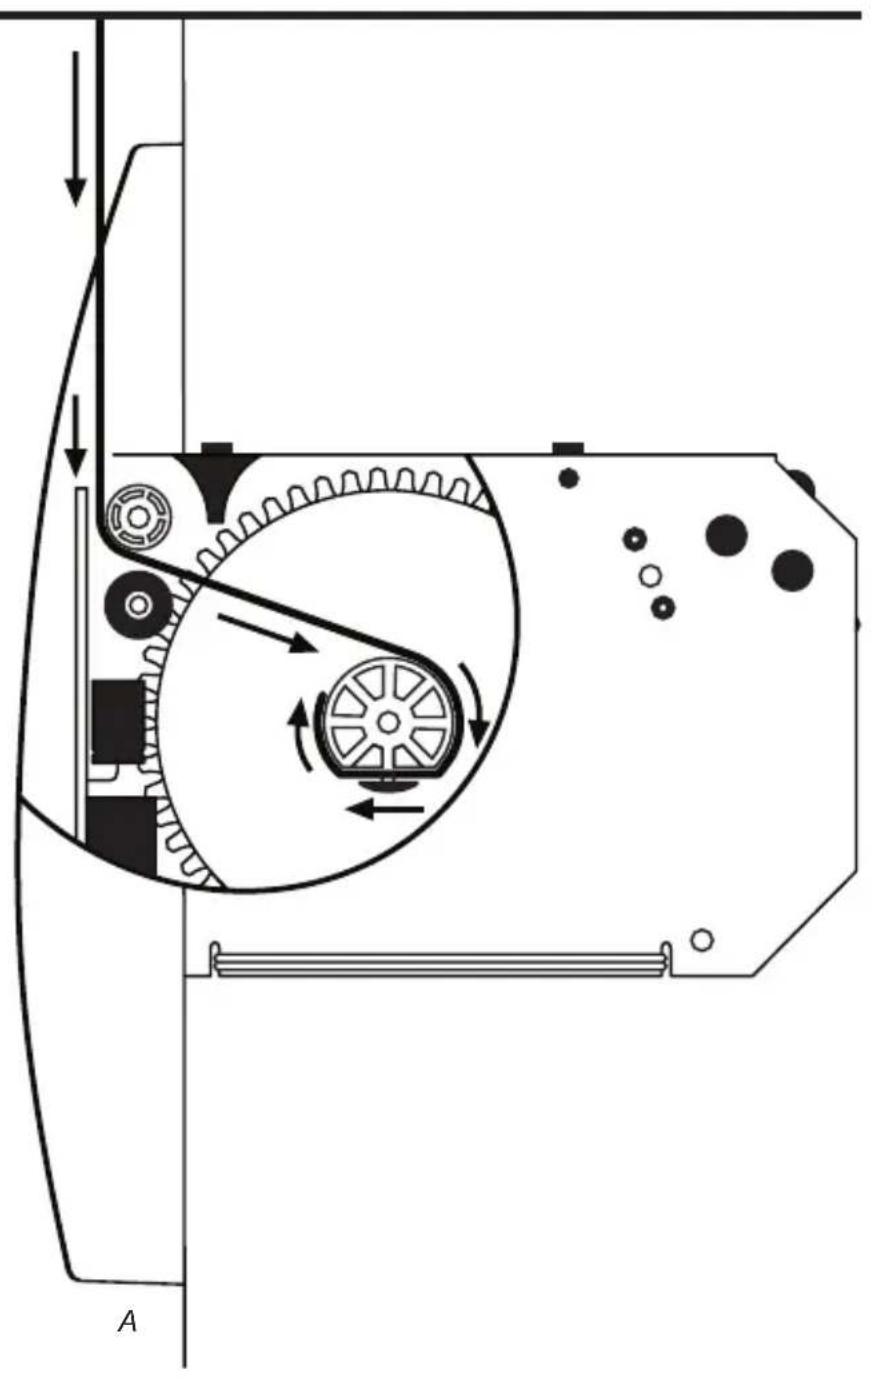
Mechanical assembly diagram showing a belt drive mechanism with pulleys and rotating components (no text or labels)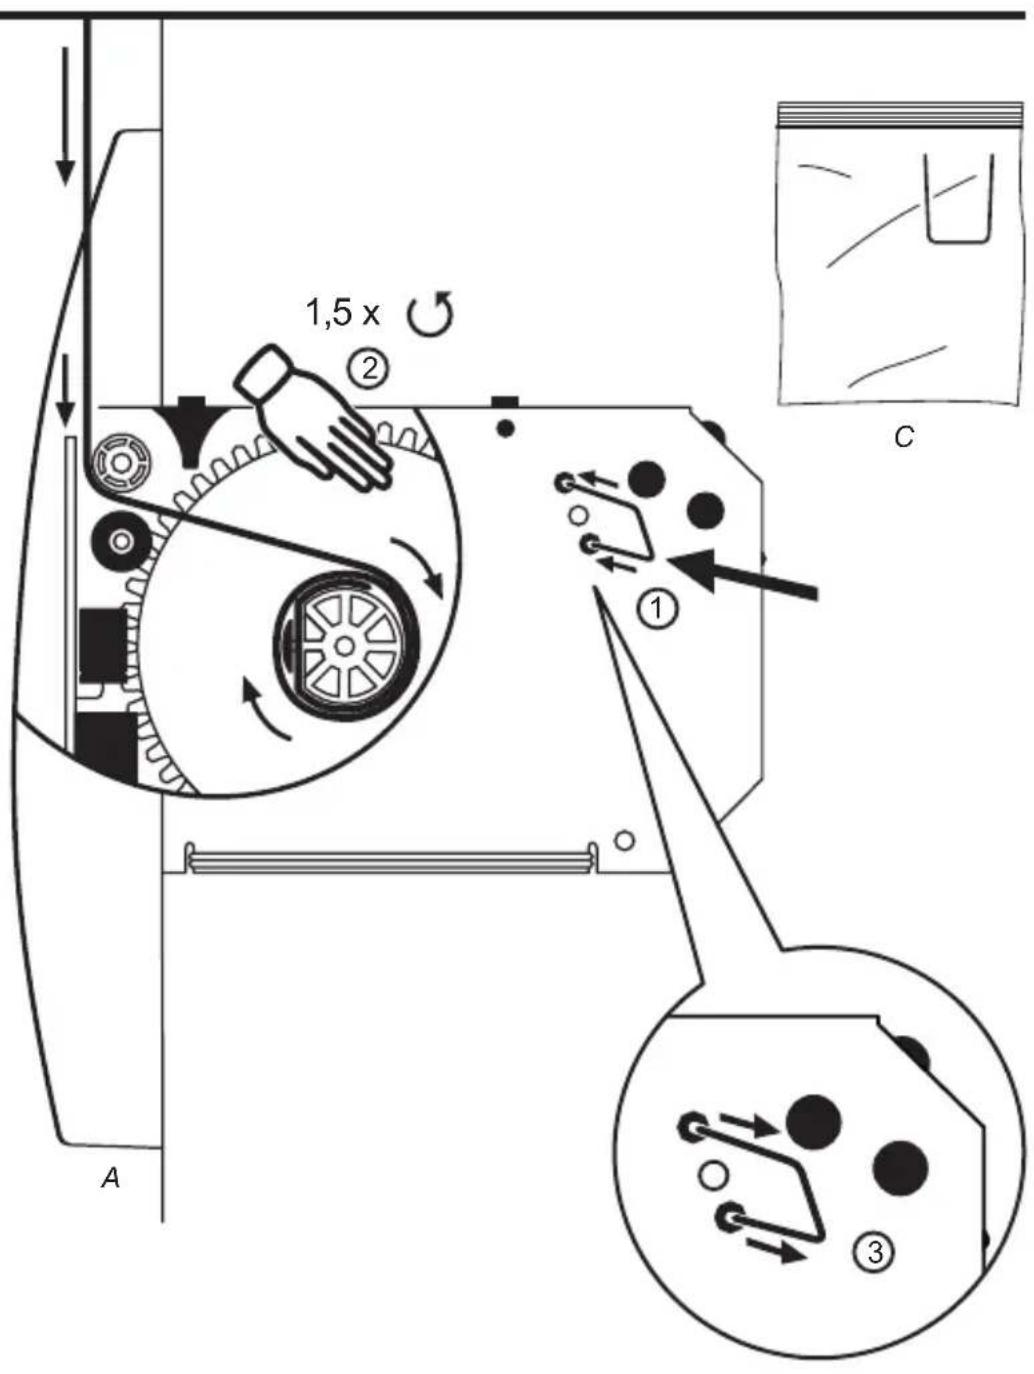
text_image
1,5 x ② ① A C10.
text_image
24V DC A ((Click))
text_image
24V DC A12.
natural_image
Line drawing of a vertical wall-mounted device with control buttons and ventilation slots, no text or symbols present
text_image
13. C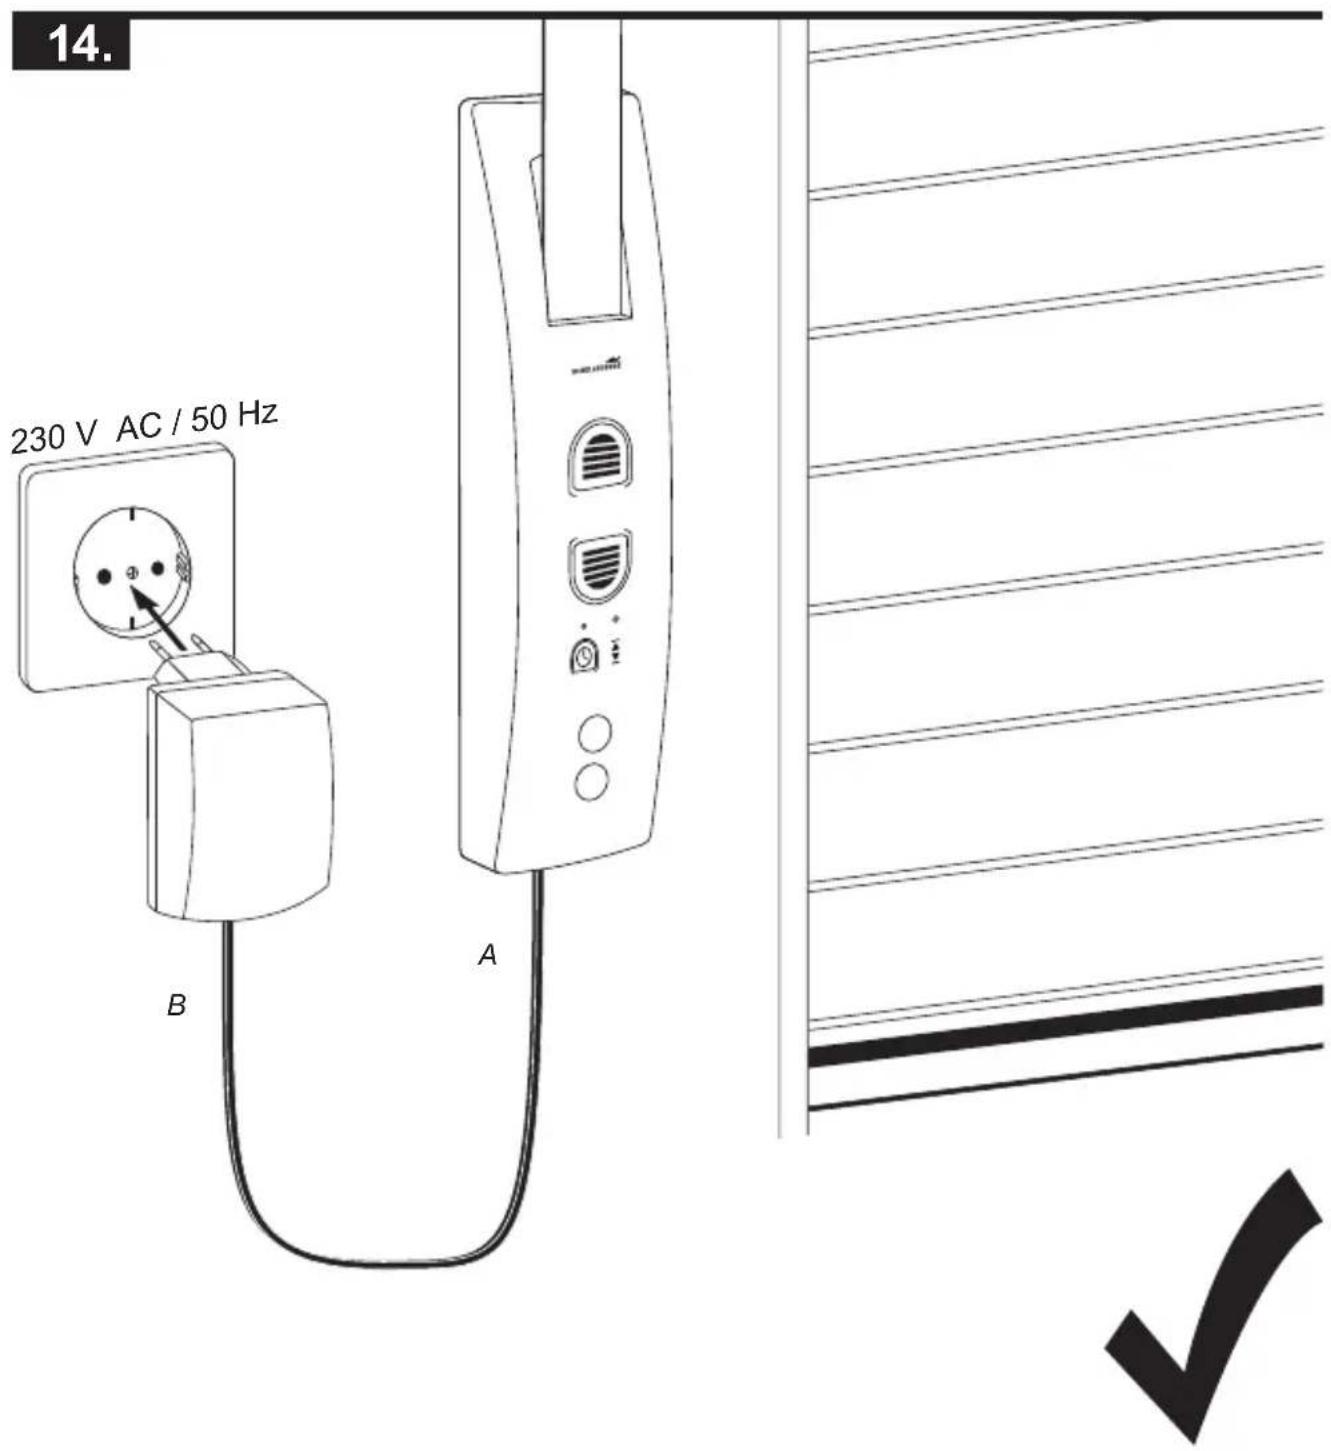
text_image
14. 230 V AC / 50 Hz A BC


natural_image
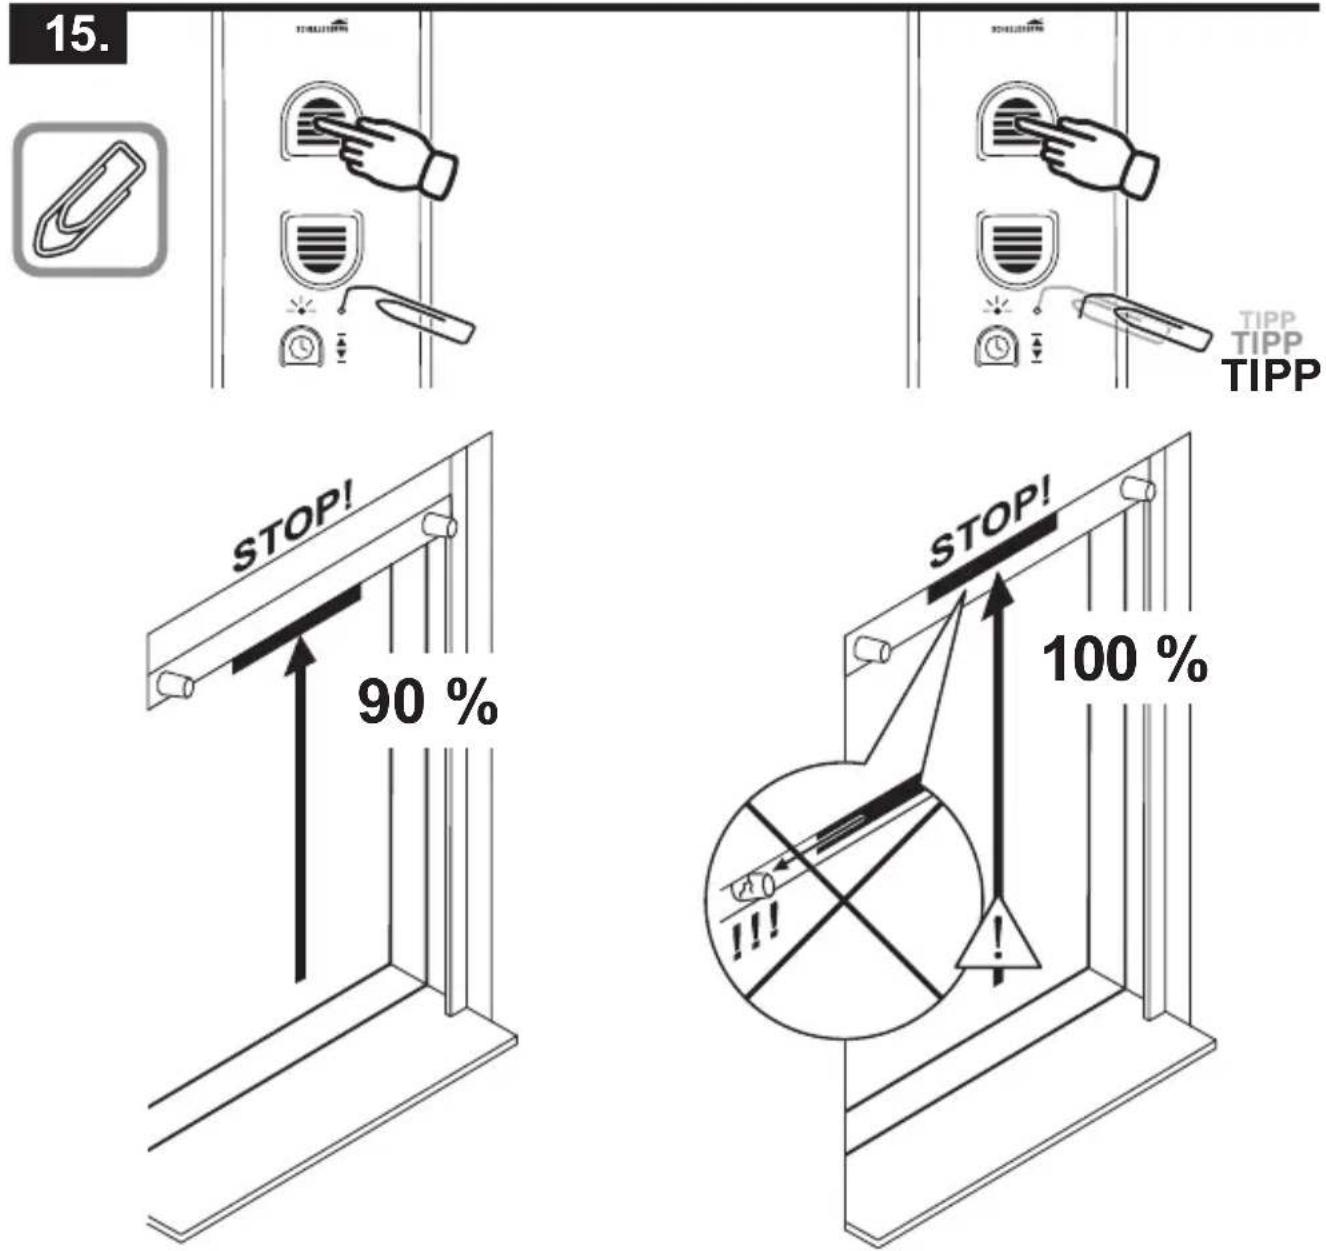
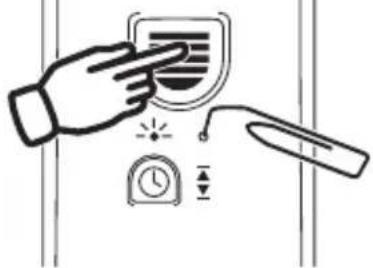
Illustration of a hand holding a device with an alarm clock and a pen, no text or symbols present
text_image
TIPP TIPP TIPP
text_image
90 % STOP!
text_image
100 % STOP!D
17.
text_image
STOP! STOP!
text_image
① BUTTERLEME 1
text_image
Diagram showing a hand pressing a button on a device with icons and a checkmark, indicating a confirmation or status.E
18.
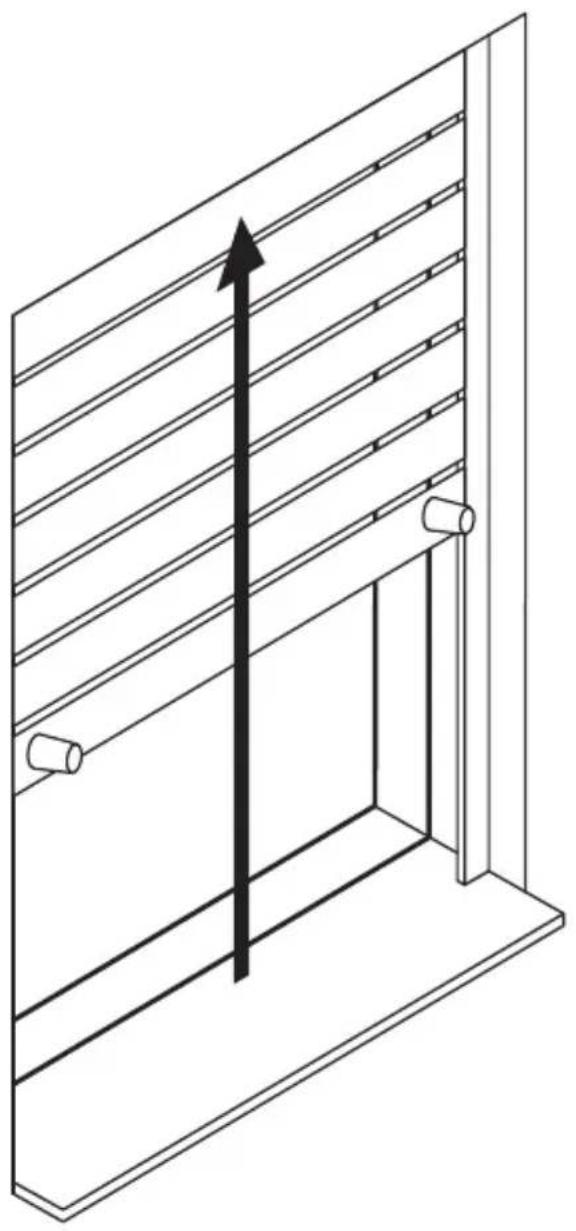
natural_image
Isometric line drawing of a window with horizontal slats and a vertical arrow indicating direction (no text or symbols)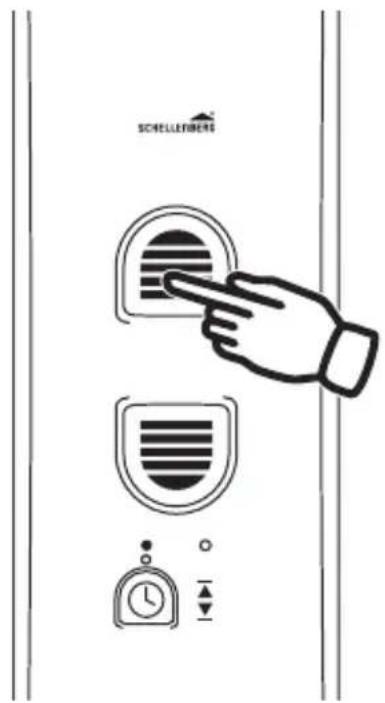
text_image
SHELLERIMERS1 sec.

natural_image
Black checkmark symbol on white background (no text or additional symbols)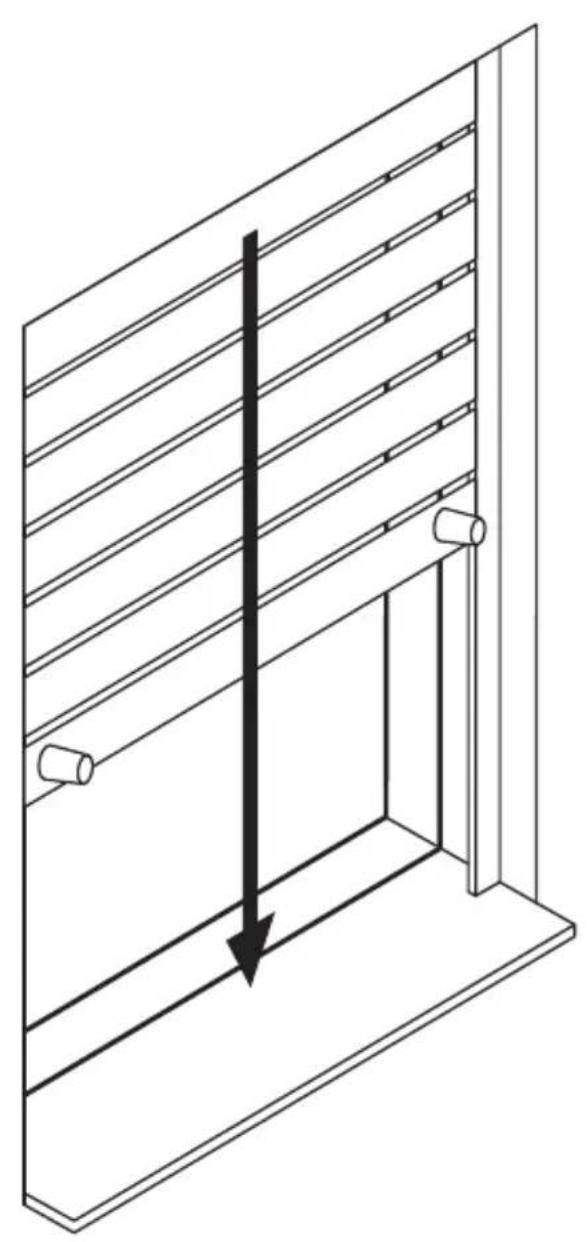
natural_image
Isometric line drawing of a window with horizontal slats and a vertical arrow indicating direction (no text or symbols)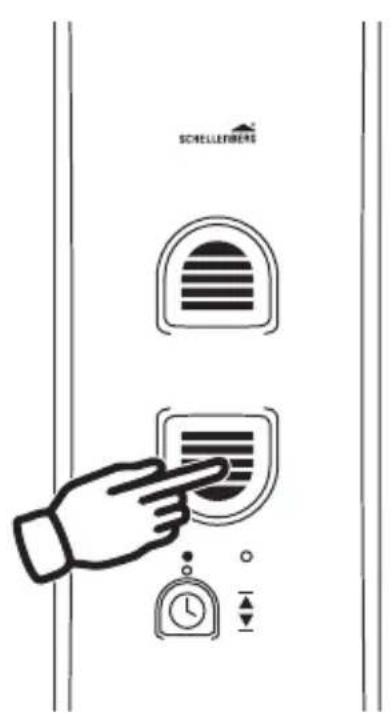
text_image
SCHELLERBENS1 sec.

natural_image
Black checkmark symbol on white background (no text or additional symbols)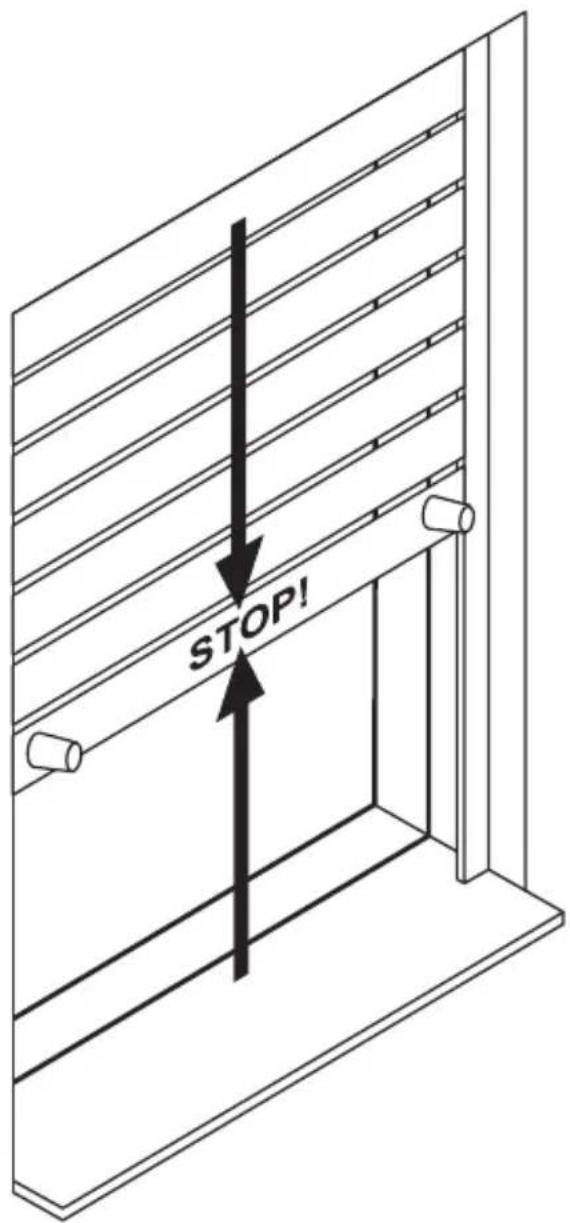
text_image
STOP!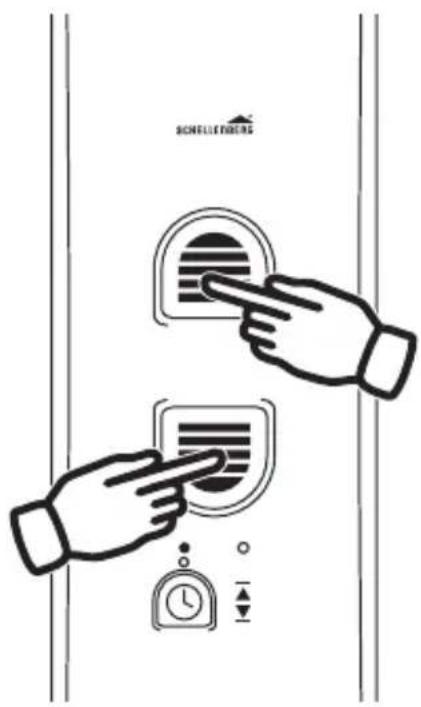
text_image
SCHELL Führers1 sec.

natural_image
Black checkmark symbol on white background (no text or additional symbols)F
21.

natural_image
Isometric line drawing of a window with horizontal slats and a vertical arrow, accompanied by a wall clock (no text or symbols)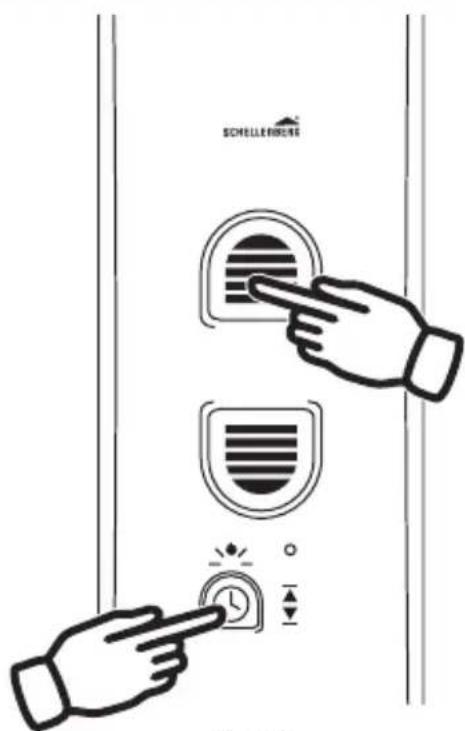
text_image
SCHELLERBRENE SCHELLERBRENE1 sec.

natural_image
Black checkmark symbol on white background (no text or additional symbols)
Steps 21 and 22 must be performed once at the required time. At least one switching time must be set. e.g. at 7:00 am & 9:00 pm

natural_image
Diagram of a window with horizontal slats and a vertical arrow indicating direction, accompanied by a wall clock (no text or symbols)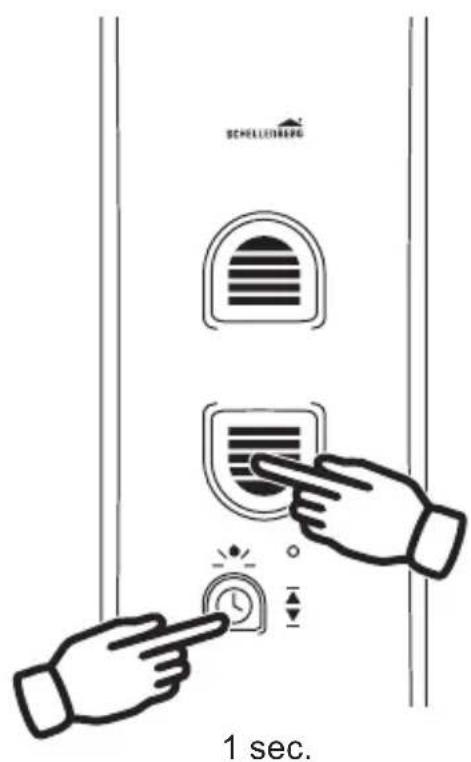
text_image
SCHELLLEINBÄRG 1 sec.
natural_image
Black checkmark symbol on white background (no text or additional symbols)G
23.
text_image
SCHLLESTBERG 1 sec. MANU
text_image
SHELLIEMBERG 1 sec. AUTO
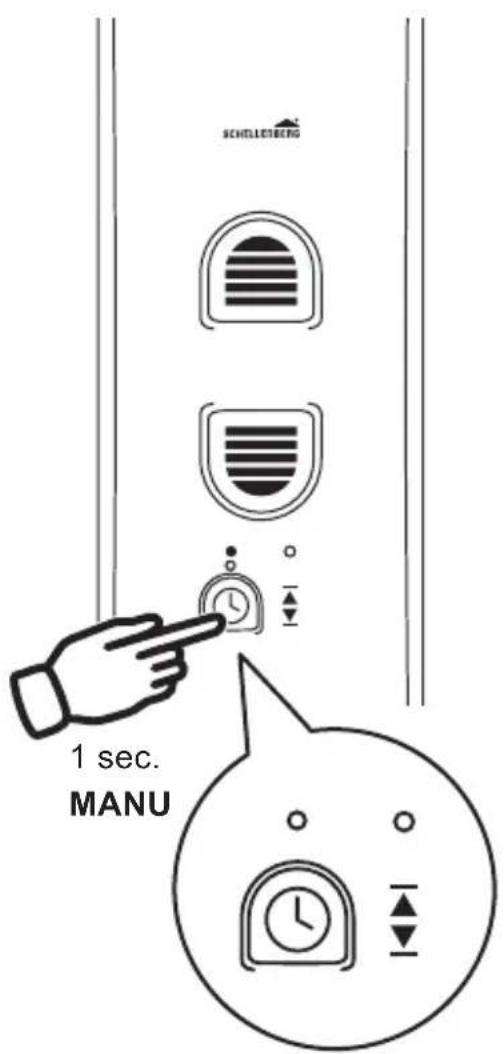
LED display will be blinking when at least one switching time was set before. After a power failure, the set switching times will be delayed.


natural_image
Black checkmark symbol on white background (no text or additional symbols)I
J
K
natural_image
Diagram showing a window with a sun icon and a fan blade, illustrating airflow or ventilation (no text or symbols)GB For warranty claims, spare parts requests or questions regarding the proper installation of your product, please contact our Consumer Service Department. service.int@schellenberg.de