USER MANUAL VC3012L MAKITA
natural_image
Warning symbol: black exclamation mark inside a triangle (no text or numbers)


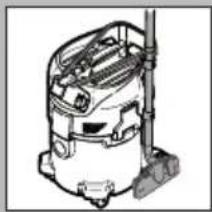
VC3012L

natural_image
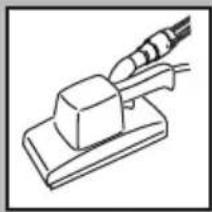
Exterior view of a Makita vacuum cleaner with black handle and blue control panel (no text or symbols visible on device body)
Original Operating Instructions
flowchart
graph TD
    A["Step 1: Assembly with air purifier"] --> B["Step 2: Upward assembly"]
    B --> C["Step 3: Air filter with hose and hose"]
    C --> D["Step 4: Downward cleaning with tool"]
    D --> E["Step 5: Cover and dust removal"]
A

natural_image
Line drawing of a vacuum cleaner with attached piping and valve (no text or symbols)

natural_image
Cross-sectional diagram of a mechanical or electrical component with internal structure and no visible text or symbols
B
natural_image
Diagram showing a black T-shaped object with multiple arrows pointing outward, no text or symbols present
natural_image
Illustration of a hand inserting a plug into a device, with a numbered arrow indicating the process (no text or symbols present)
natural_image
Pure electrical circuit symbol for a diode (no text or labels)
$$
0 = \bigcirc
$$
$$
\mid = \bullet
$$
$$
\text { auto } =
$$
C
natural_image
Simple black-and-white diagram showing a bird dropping water into the water surface (no text or symbols)
natural_image
Diagram of a mechanical component with an upward arrow indicating direction (no text or symbols present)
D
natural_image
Abstract black arrow symbol pointing upward, no text or labels present


natural_image
Diagram of a mechanical component with arrows indicating force or direction (no text or symbols)
flowchart
graph LR
    A["1 auto"] --> B["2 Hand"]
    B --> C["3x Speed Indicator"]
    style A fill:#f9f,stroke:#333
    style B fill:#ccf,stroke:#333
    style C fill:#cfc,stroke:#333
E
natural_image
Simple line drawing of a tool interacting with a block (no text or symbols)
natural_image
Diagram of a car fuel plug connecting a cable to a car, showing directional arrows (no text or symbols)

natural_image
Diagram of a cylindrical object with internal vertical lines and curved arrows indicating rotation or flow (no text or symbols)
G
natural_image
Simple line drawing of a curved object with a circular opening and directional arrows indicating motion (no text or symbols)

natural_image
Cross-sectional diagram of a mechanical or fluidic device with internal components and flow paths (no text or labels)
Important safety instructions


Before using the appliance, always read the operating instructions and keep them readily available.
Purpose and intended use
Besides the operating instructions and the binding accident prevention regulations valid in the country of use, observe recognised regulations for safety and proper use.
WARNING – The appliance must
– only be used by persons, who have been instructed in its correct usage and explicitly commissioned with the task of operating it
– only be operated under supervision
This appliance is not intended for use by persons (including children) with reduced physical, sensory or mental capabilities, or lack of experience and knowledge.
Children should be supervised to ensure that they do not play with the appliance.
The vacuum cleaners described in this operating manual are suitable for
– sucking up dust and liquids
- dust suction for handheld power tools
– commercial use, e.g. in hotels, schools, hospitals, factories, shops, offices and rental businesses
- separation of dust with an exposure limit of greater than 1mg / m^3 (dust class L). Please observe regulations valid in your country.
WARNING – The following materials should not be picked up by the vacuum cleaner:
– hot materials (burning cigarettes, hot ash, etc.)
– flammable, explosive, aggressive liquids (e.g. petrol, solvents, acids, alkalis, etc.)
- flammable, explosive dust (e.g. magnesium dust, etc.)
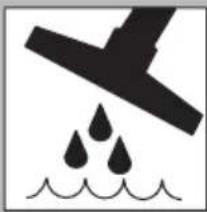
CAUTION – The appliance must
– only be used indoors and not outdoors
– be protected against UV radiation
A Before start-up
Before starting work, the operating staff must be informed on
- use of the vacuum cleaner
- risks associated with the material to be picked up
– safe disposal of the picked up material
When dust removers are used, the rate at which air is exchanged in the room must be adequate if the exhaust air from the vacuum cleaner is blown into the room (please observe regulations valid in your country).
Only use the appliance if it is in undamaged condition. Never use the vacuum cleaner without a filter, or if the filter is damaged.
Ensure that the voltage shown on the rating plate corresponds to the voltage of the local mains power supply. It is recommended that the vacuum cleaner should be connected via a residual current circuit breaker.
Inspect power cord regularly to detect signs of damage, e.g. cracks or ageing. If the power cord is damaged, it must be replaced by Makita-Service or an electrician to avoid danger before use of the vacuum cleaner is continued. Use only the type of power cord specified in the operating manual.
As an extension lead, only use the version specified by the manufacturer or one of a higher quality.
When using an extension lead, check the minimum cross-sections of the cable:
| Cable length Cross section |
| < 16 A < 25 A | |
| up to 20 m 1,5 mm | ^2 | 2,5 mm^2 |
| 20 to 50 m 2,5 mm | ^2 | 4,0 mm^2 |
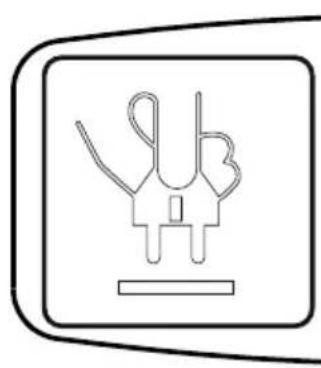
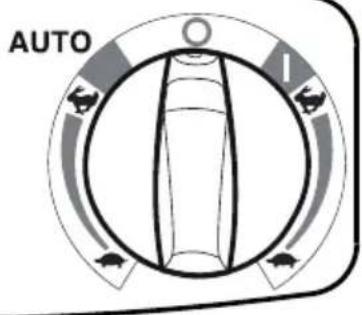
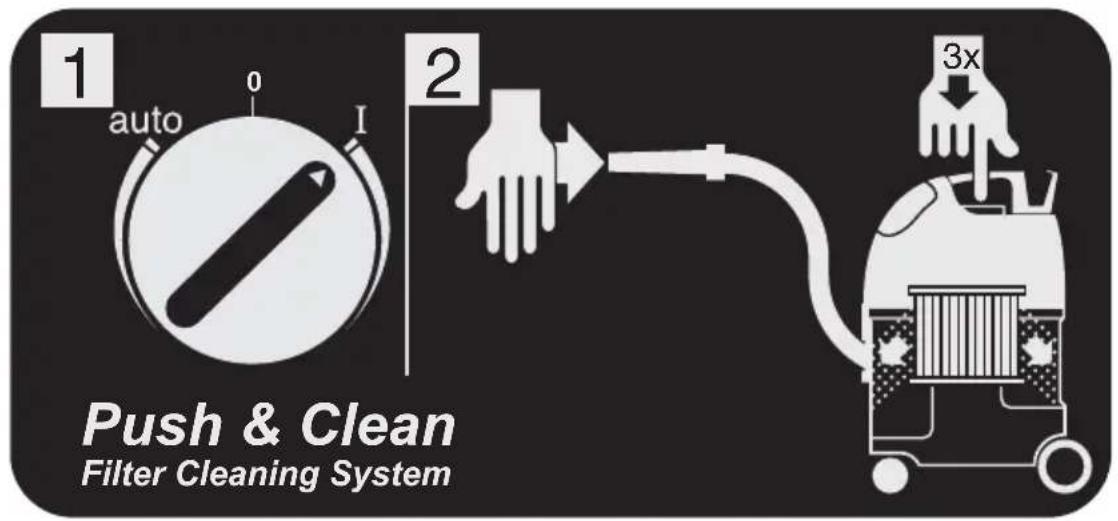
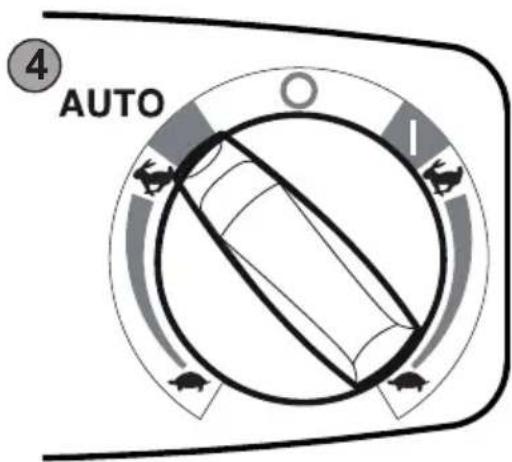
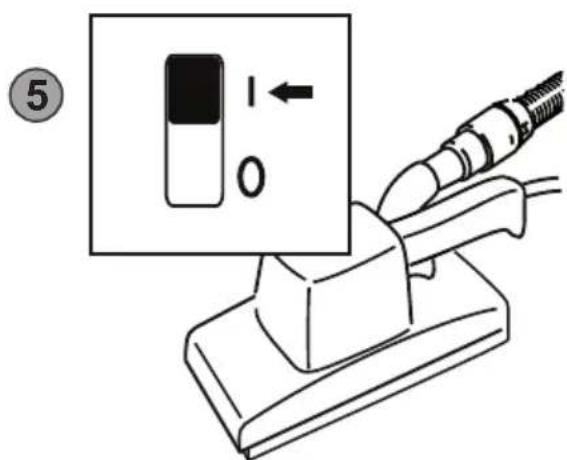
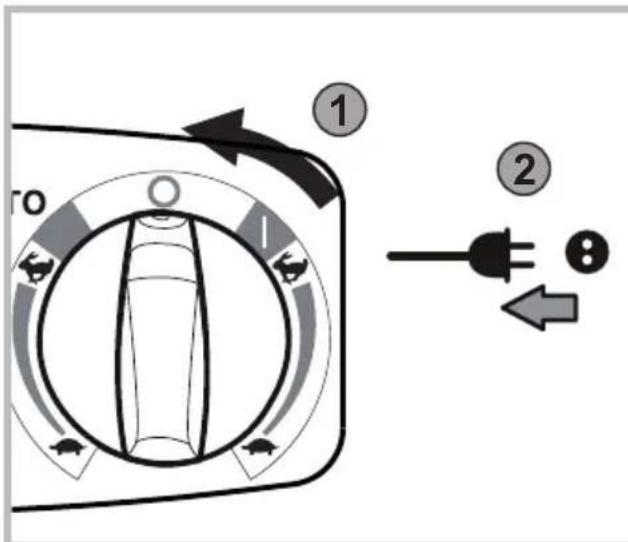
Operation
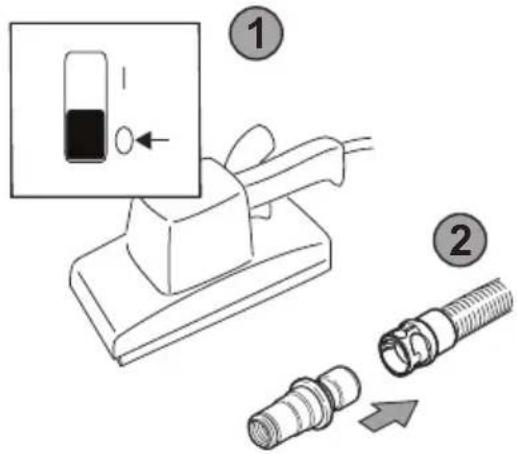
| Switch position Function | |
| I | On |
| 0 Off | |
| AUTO Auto-On/Off | |
© Picking up liquids
Before liquids are picked up, always remove the filter bag.
CAUTION – Check that the float works properly.
WARNING – If foam develops or liquid emerges, stop work immediately and empty the dirt tank.
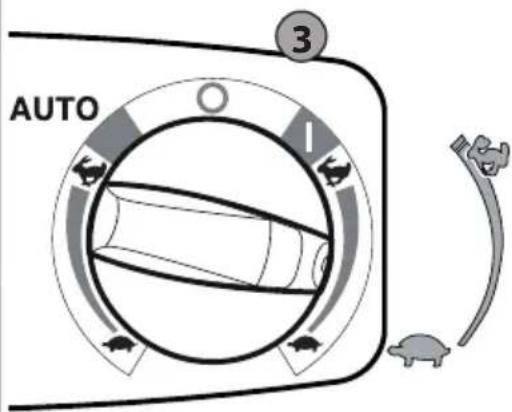
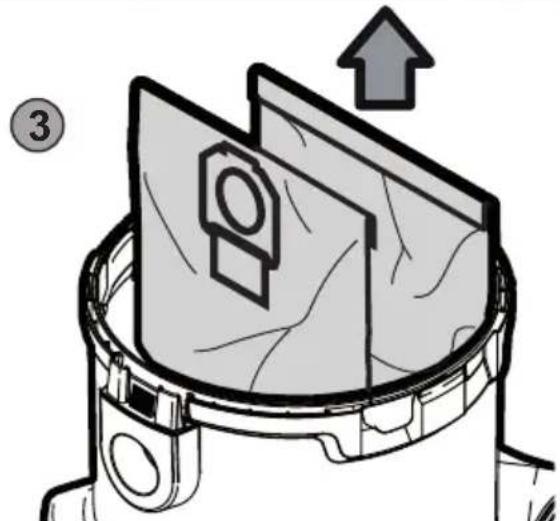
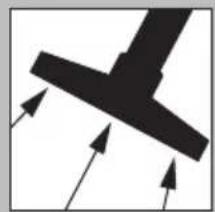
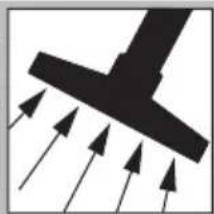
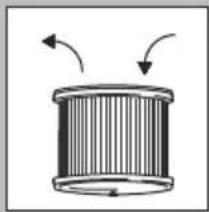
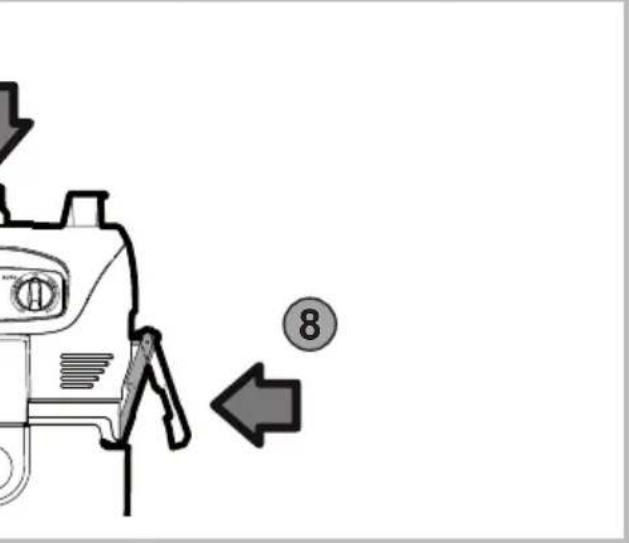
D Cleaning the filter element
If suction performance drops:
-
Switching on the vacuum cleaner.
-
Close the nozzles or suction hose opening with the palm of your hand.
-
Press the button to start filter cleaning for at least three times for two seconds each. The resulting stream of air removes attached dust from the slats of the filter elements.
-
If the suction power is too low after filter cleaning: replace filter.
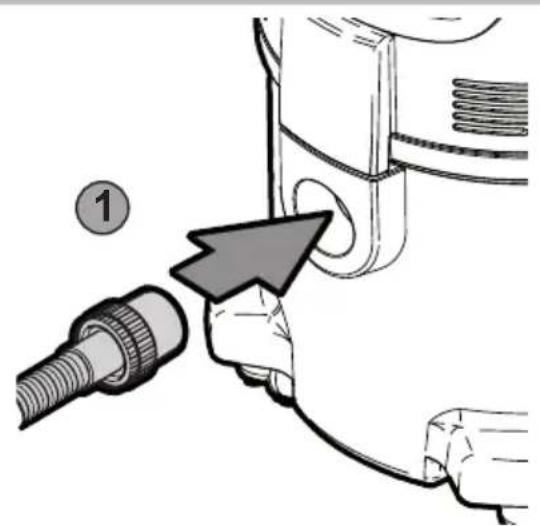
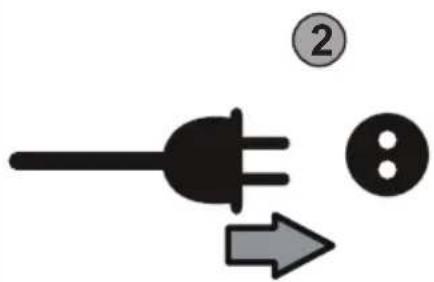
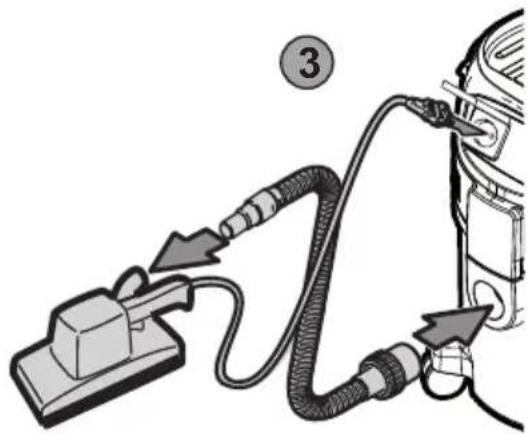
E Connecting electrical appliances
CAUTION! Follow the operating instructions and safety instructions for appliances connected to the power tool socket.
Use the socket on the vacuum cleaner for the purpose defined in the operating instructions only.
Before plugging an appliance into the appliance socket:
-
Switch off the vacuum cleaner.
-
Switch off the appliance to be connected.
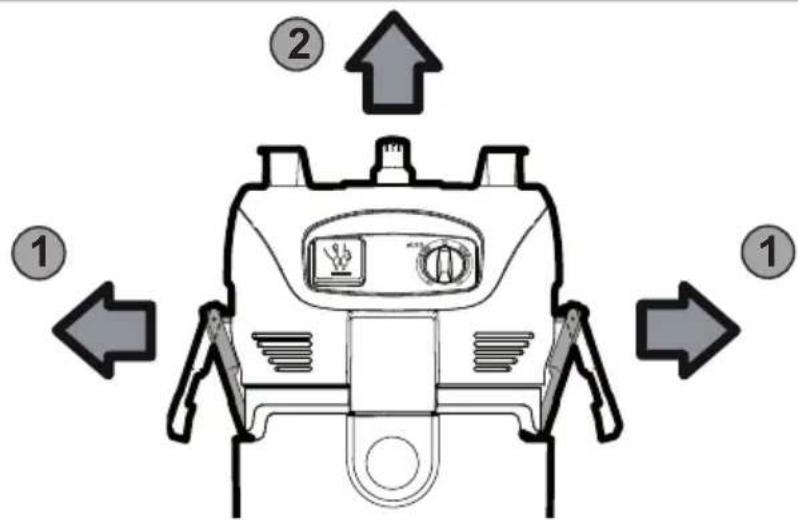
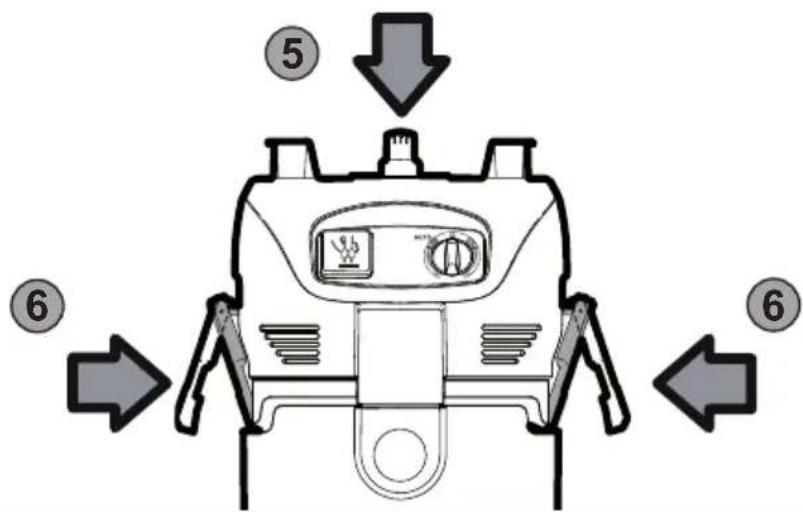
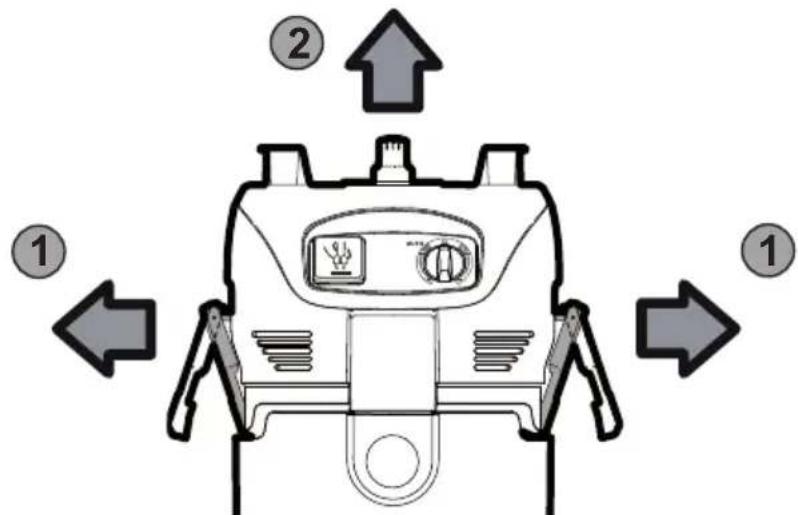
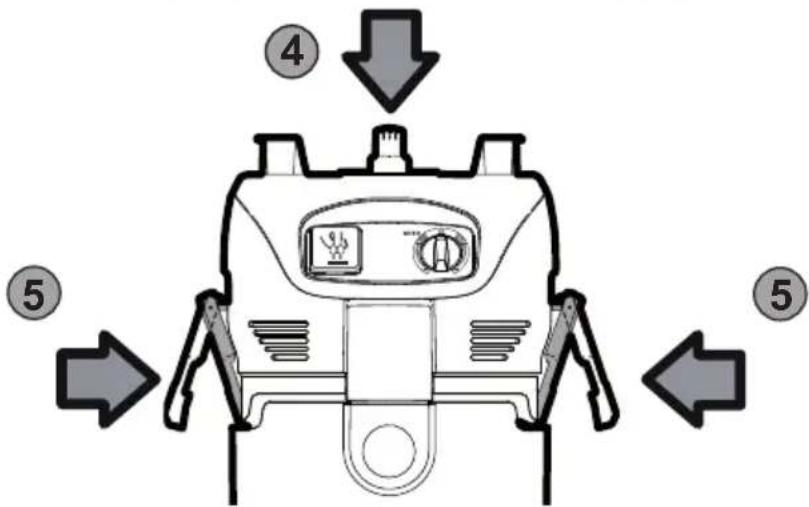
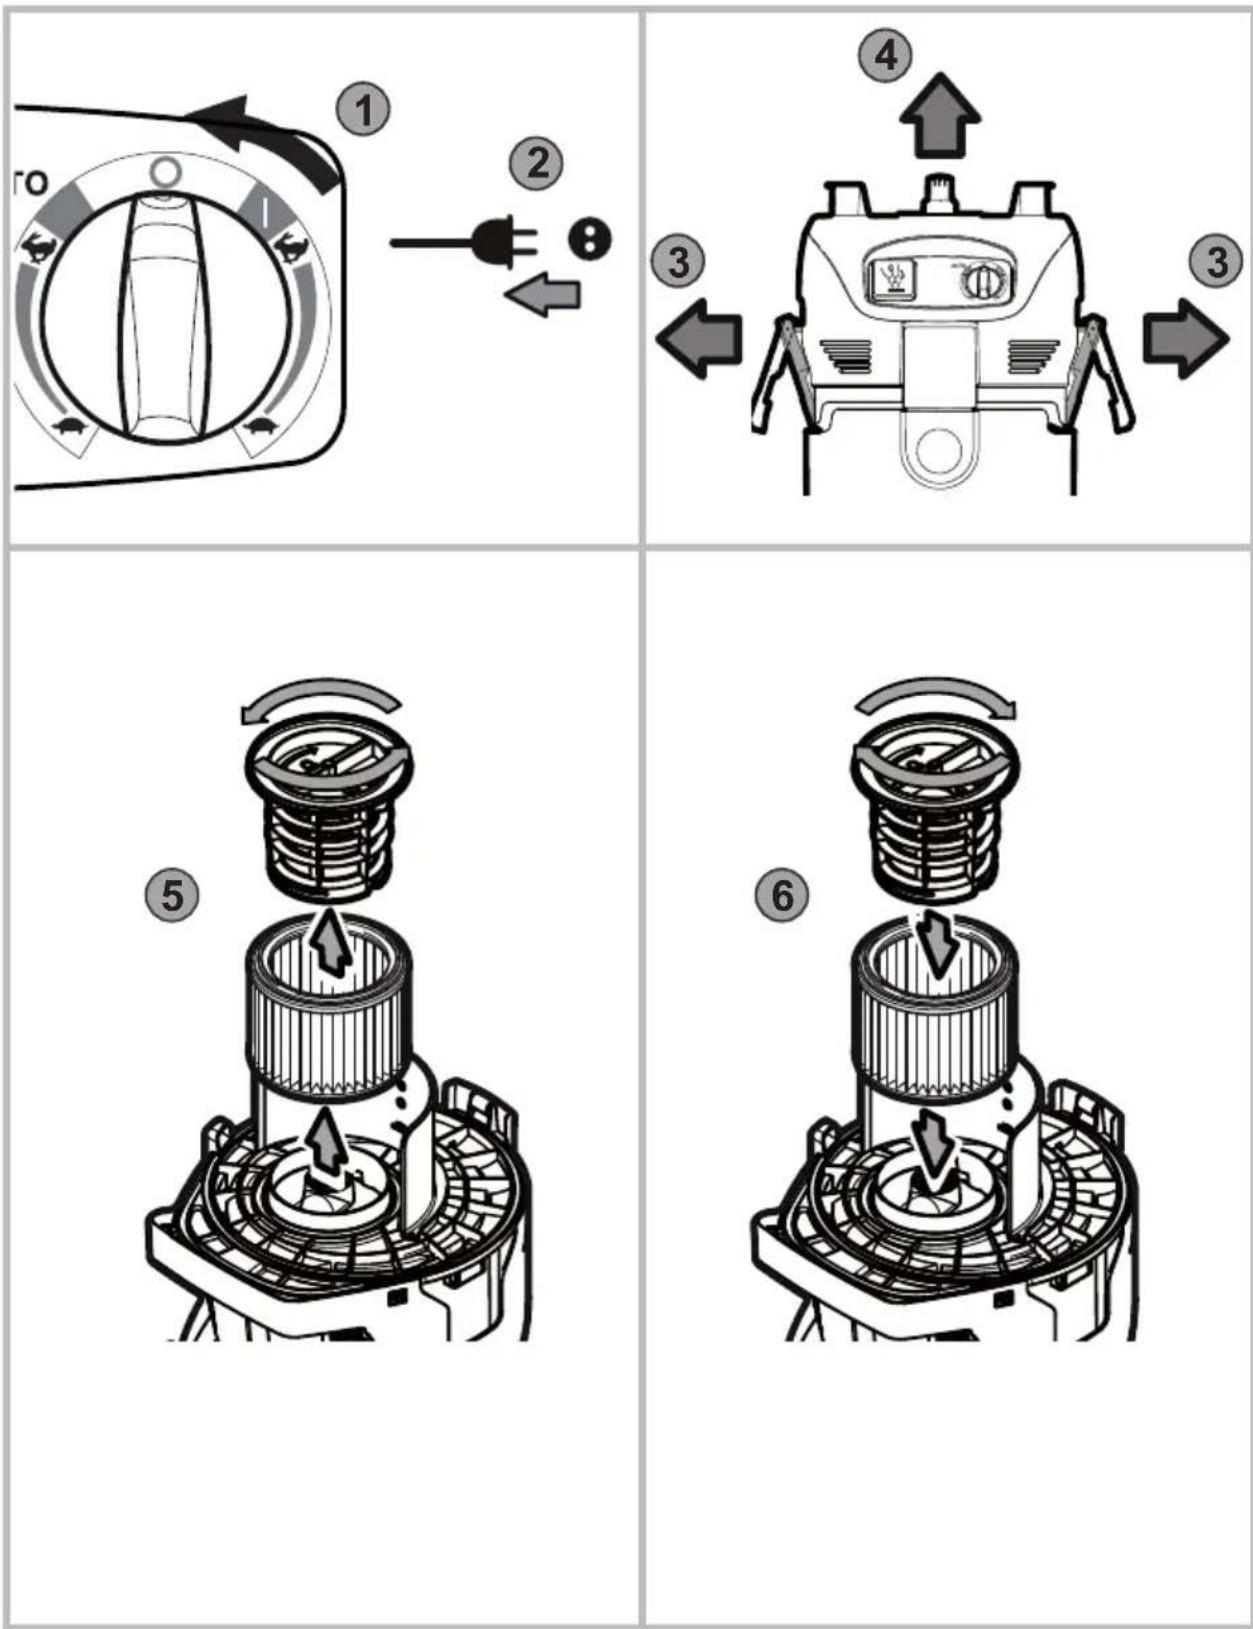
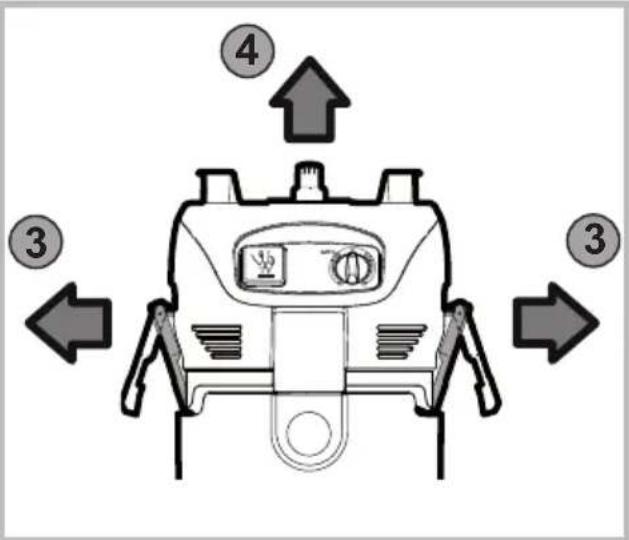
F + G Maintenance, cleaning and repair
Only carry out maintenance work described in the operating instructions. Always pull out the mains plug before cleaning and maintenance of the vacuum cleaner. Never spray water on to the upper section of the vacuum cleaner: Danger for persons, risk or short-circuiting.
The use of non-genuine spare parts and accessories can impair the safety of the appliance. Only use spare parts and accessories from Makita.
During maintenance and cleaning, handle the vacuum cleaner in such a manner that there is no danger for maintenance staff or other persons.
In the maintenance area
– use filtered compulsory ventilation
- wear protective clothing
– clean the maintenance are so that no harmful substances get into the surroundings
During maintenance and repair work all contaminated parts that could not be cleaned satisfactorily must be
– packed in well sealed bags
– disposed of in a manner that complies with valid regulations for such waste removal
A dust test must be performed at least once every year by Makita service or a trained person. This test includes, for example, whether there is damage to the filter, the vacuum cleaner is sealed to the air and the control equipment works properly.
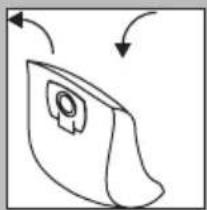
Disposal of filter elements, filter bags and disposal bags
Discard filter elements, filter bags and disposal bags in accordance with the national regulations.
Transport
Before transporting the dirt tank, close all the locks. Do not tilt the cleaner if there is liquid in the dirt tank. Do not use a crane hook to lift the cleaner.
Storage
CAUTION – The appliance must be stored in a dry place and protected from frost.
Recycling the vacuum cleaner

As specified in European Directive 2012/19/EC on old electrical and electronic appliances, used electrical goods must be collected separately and recycled ecologically. Contact your local authorities or your nearest dealer for further information.
Guarantee
Our general conditions of business are applicable with regard to the guarantee. Subject to change as a result of technical alterations.
Spare parts and accessories
| Description Order no. | |
| Filter element P-70219 | |
| Fleece filter bag 107418007 | |
| Disposal bag P-70297 | |
Exploded drawings and parts lists are available on our homepage: www.makita.com
Troubleshooting
| Fault Cause Remedy | | |
| ‡ Motor does not start > Fuse in mains plug has blown. • Reset the fuse.> Overload protection switch has tripped. | • Switch off the vacuum cleaner and allow it to cool for approx. 5 minutes. If it can not be started again, contact the Makita service department. |
| ‡ Motor does not run in automatic mode | > Power tool is defective or not connected properly. | • Check that the power tool works or that the plug is inserted correctly. |
| ‡ Reduced suction power > Suction power selected with suction power control is to low.> Clogged suction hose/nozzle. • Clean suction hose/nozzle.> Seal/tank rim between the upper section of the cleaner and the dirt tank is dirty/ defective.> Filter bag is full. • See section “Replacing the filter bag”. |
| Fault Cause Remedy | |
| > Filter element is clogged. • See section “Cleaning the filter element” and “Replacing the filter element”. |
| ‡ No suction power during wet cleaning | > Tank is full (floater closes the suction opening). | • Switch off the cleaner. Empty the tank. |
| ‡ Voltage fluctuations > Impedance | of power supply is too high. | • Use a suitable extension cord (see section “Technical data”).• Connect the cleaner to another socket closer to the fuse box. Voltage fluctuations over 7 % should not occur if the impedance at the transfer point is ≤ 0.15 Ω. |
For European countries only:
Makita declares that the following Machine(s):
Designation of the Machine: Wet and dry vacuum cleaner
Model No./Type: VC3012L
Conforms to the following European Directives:
2006/42/EC, 2014/30/EU, 2011/65/EU
They are manufactured in accordance with the following Standard or standardized documents:
EN 60335-1: 2012 + A11:2014, EN 60335-2-69:2012
The Technical file in accordance with 2006/42/EC is available from:
Makita Europe N.V., Jan-Baptist Vinkstraat 2, 3070 Kortenberg, Belgium

06.06.2016
Yasushi Fukaya
Director
Makita Europe N.V., Jan-Baptist Vinkstraat 2, 3070 Kortenberg, Belgium
Technical data
| Makita VC3012L |
| | EU/RU AU CH GB 230 V CDN | | |
| Mains Voltage V 230 240 230 120 | | | | |
| Mains frequency Hz 50 60 | | |
| Power consumption / Rated current | W / A 1200 | 840 / 7 | |
| Connected load for appliance socket | W | 2400 | 1200 | 1100 | 1750 | 600 |
| Total connected load | W | 3600 | 2400 | 2300 | 2950 | 1440 |
| Fuse | A | 16 | 10 | 13 | 15 |
| Volume flow (air) | m3/h (cfm) | 222 (130) | 192 (113) |
| Vacuum | mbar / hPa (inH2O) | 250 / 250 (100) | 230 / 230 (92) |
| Sound pressure level at a distance of 1 m, ISO 3744 | dB(A) | 62 ±2 |
| Sound level | dB(A) | 59 ±2 |
| Hand-arm vibration | m/s2 | <2,5 |
| Power cord length | m | 7,5 |
| Power cord type | | H07RN-F 3G1,5 mm2 | SJTW-A AWG14/3 |
| Protection class | | I |
| Type of protection | | IPX4 |
| Radio interference suppression level | | EN 55014-1 |
| Dust class | | L |
| Tank volume | I (UKgal / USgal) | 30 (6,6 / 8,9) |
| Width | mm (in) | 385 (15,2) |
| Depth | mm (in) | 485 (19,1) |
| Height | mm (in) | 500 (19,7) |
| Weight (net, most common application) | kg (lb) | 10 (22) |
© Aspiration de liquides
HUOMIO – Laitteen on
Olulised ohutusjuhised