AD 7050 - Steam cleaner ADLER - Free user manual and instructions
Find the device manual for free AD 7050 ADLER in PDF.
| Brand | Adler |
| Model | AD 7050 |
| Product type | Steam cleaner |
| Power supply | 220-240 V, ~50/60 Hz |
| Power | 1200 W |
| Water tank capacity | 120 ml |
| Steam flow rate | ~22 ml/min |
| Dimensions (approx.) | 30 x 12 x 20 cm |
| Weight (approx.) | 1 kg |
| Main functions | Steam cleaning, steaming, disinfection, degreasing |
| Included accessories | Clothing brush, cleaning disc, fluffy cloth, holder, nozzle adapter, rectangular brush, round brush, pointed nozzle, measuring cup |
| Recommended water type | Distilled water preferred, otherwise tap water |
| Operating mode | Two modes: continuous steam or pulse |
| Indicator light | Red (heating) / Green (ready) |
| Safety | Do not direct at people, animals, electrical appliances; hot surfaces |
| Maintenance | Empty tank after use, descaling with citric acid |
| Cleaning accessories | Cloths machine washable at 30°C, air dry |
| Repairability | Any repair by a qualified professional only |
| Warranty | Standard warranty (conditions vary for commercial use) |
| Environment | Do not dispose of with household waste, recycle at waste disposal site |
Frequently Asked Questions - AD 7050 ADLER
User questions about AD 7050 ADLER
0 question about this device. Answer the ones you know or ask your own.
Ask a new question about this device
Download the instructions for your Steam cleaner in PDF format for free! Find your manual AD 7050 - ADLER and take your electronic device back in hand. On this page are published all the documents necessary for the use of your device. AD 7050 by ADLER.
USER MANUAL AD 7050 ADLER
natural_image
Close-up of a dark teal and coral handheld device with a blue handle and circular lens (no text or symbols visible)AD 7050
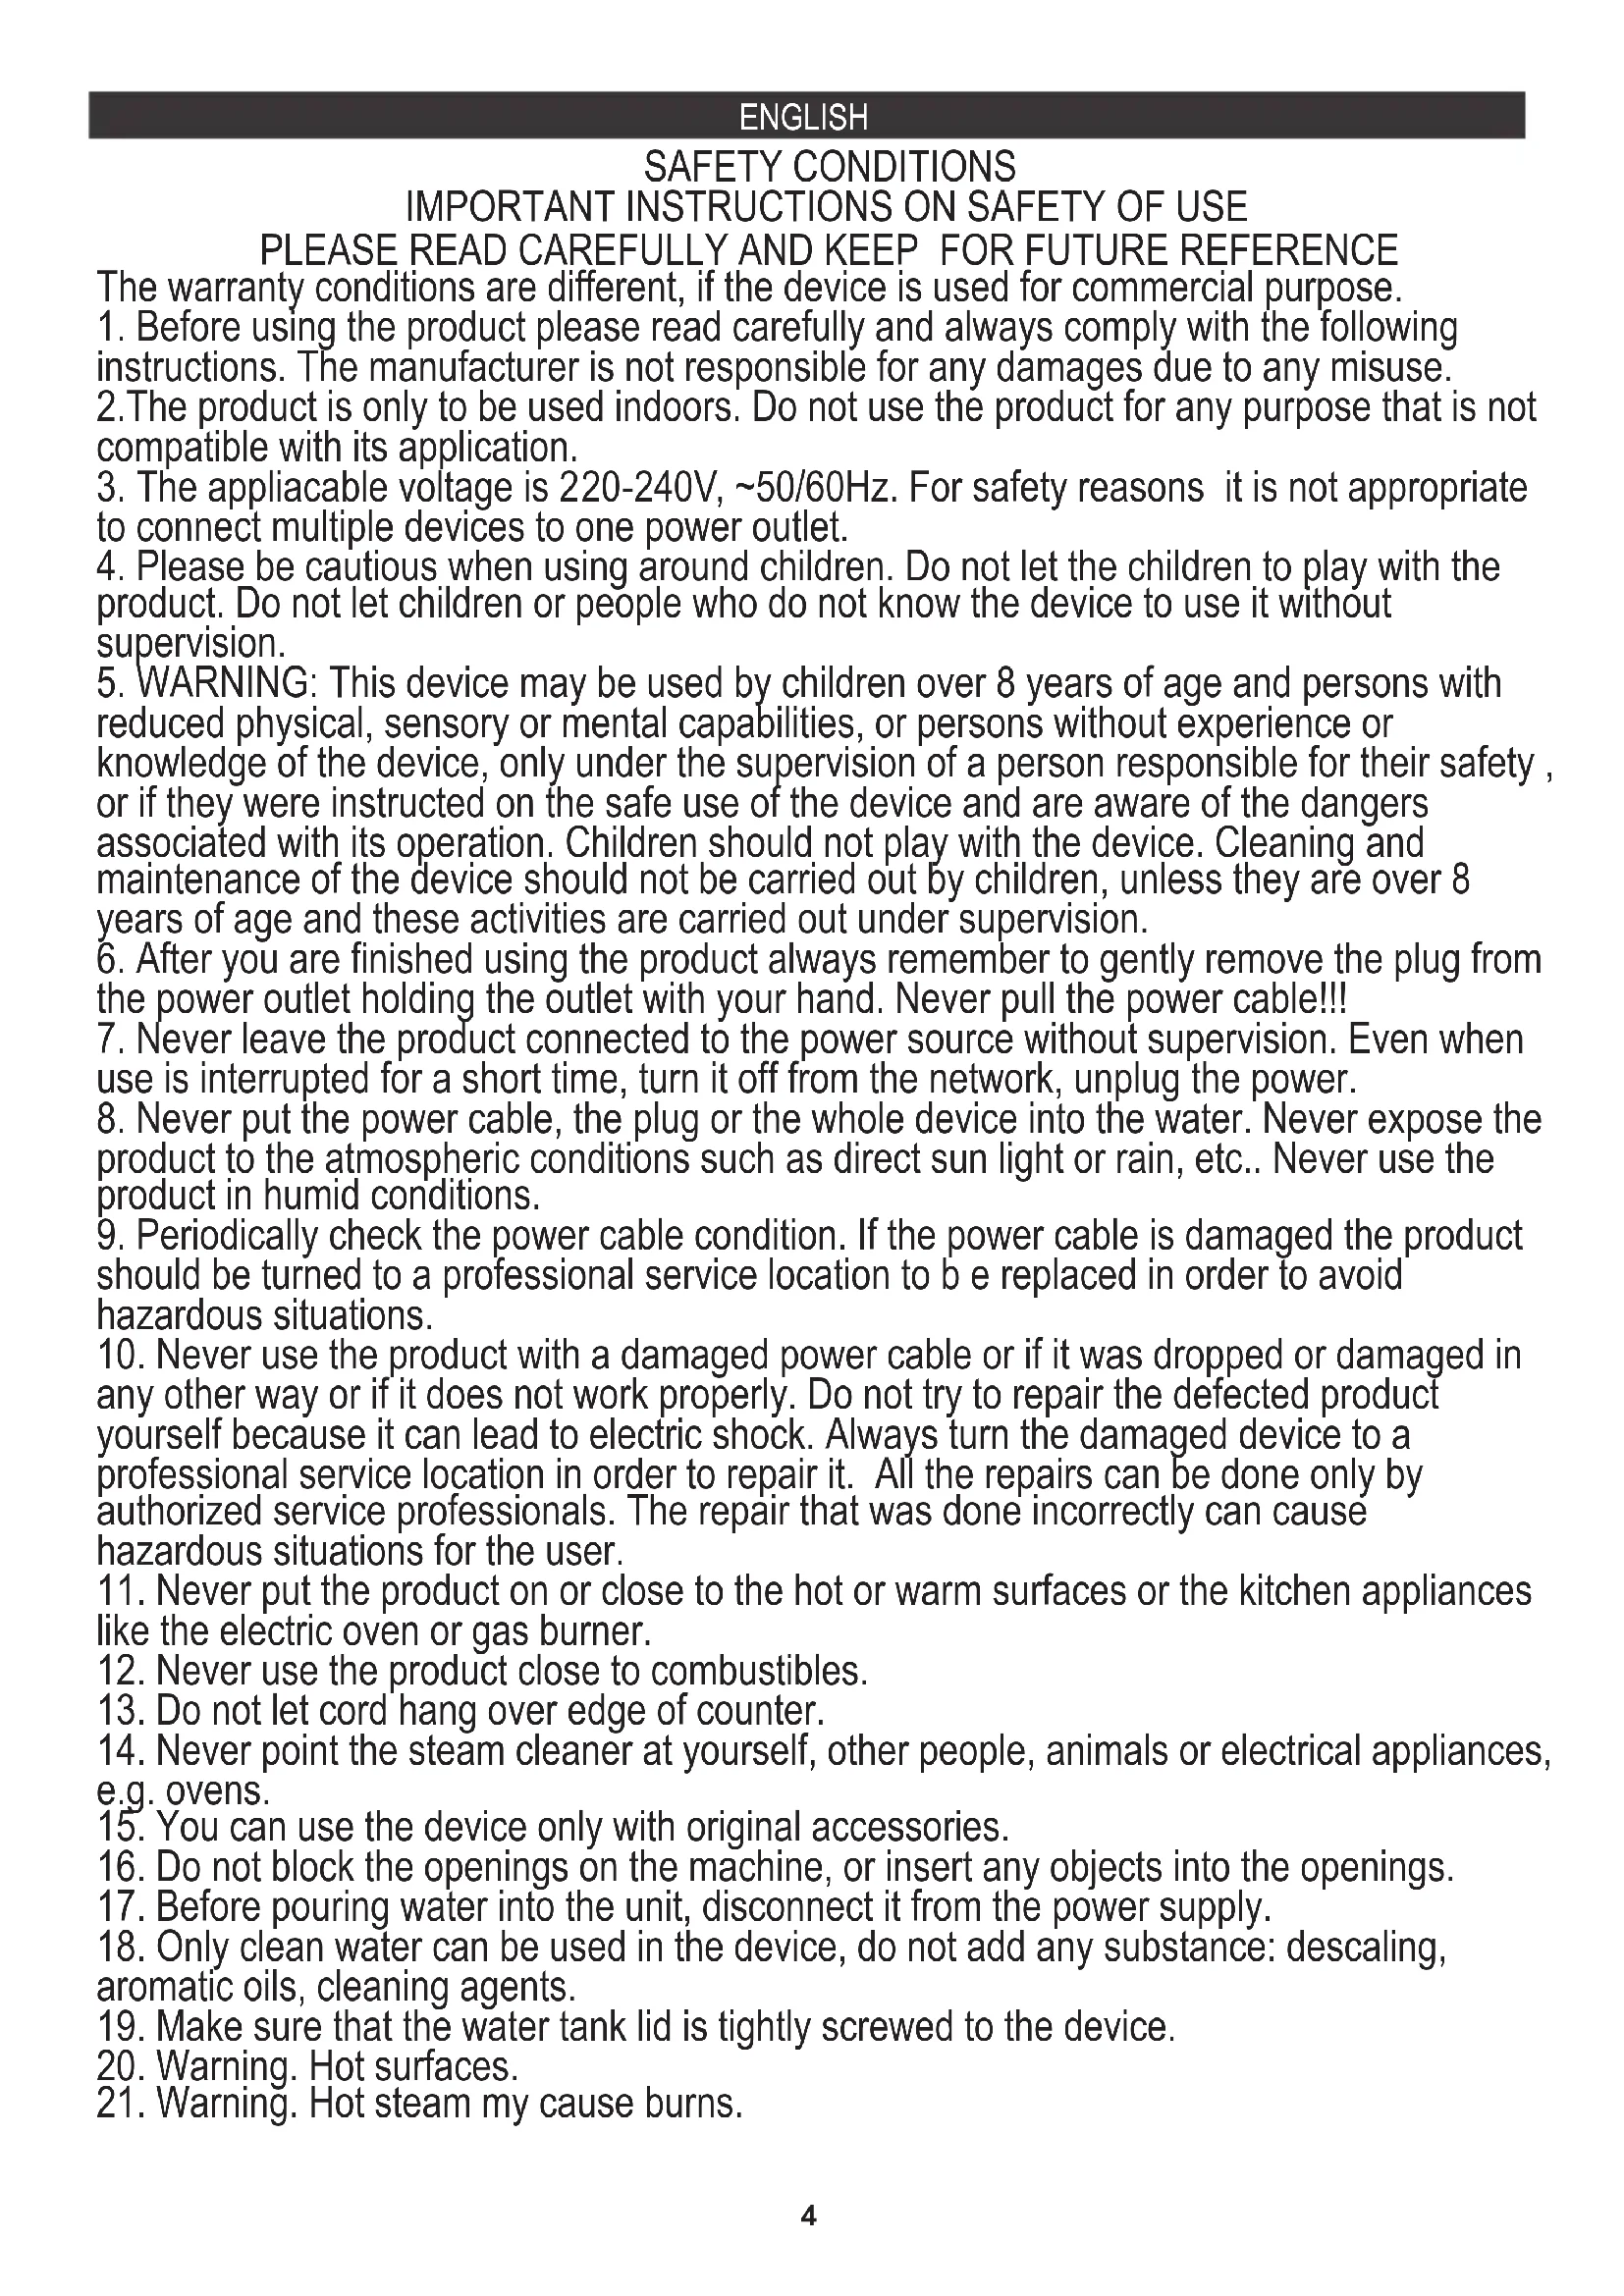
ENGLISH
SAFETY CONDITIONS
IMPORTANT INSTRUCTIONS ON SAFETY OF USE
PLEASE READ CAREFULLY AND KEEP FOR FUTURE REFERENCE
The warranty conditions are different, if the device is used for commercial purpose.
- Before using the product please read carefully and always comply with the following instructions. The manufacturer is not responsible for any damages due to any misuse.
- The product is only to be used indoors. Do not use the product for any purpose that is not compatible with its application.
- The appliacable voltage is 220-240V, \~50/60Hz. For safety reasons it is not appropriate to connect multiple devices to one power outlet.
- Please be cautious when using around children. Do not let the children to play with the product. Do not let children or people who do not know the device to use it without supervision.
- WARNING: This device may be used by children over 8 years of age and persons with reduced physical, sensory or mental capabilities, or persons without experience or knowledge of the device, only under the supervision of a person responsible for their safety, or if they were instructed on the safe use of the device and are aware of the dangers associated with its operation. Children should not play with the device. Cleaning and maintenance of the device should not be carried out by children, unless they are over 8 years of age and these activities are carried out under supervision.
- After you are finished using the product always remember to gently remove the plug from the power outlet holding the outlet with your hand. Never pull the power cable!!!
- Never leave the product connected to the power source without supervision. Even when use is interrupted for a short time, turn it off from the network, unplug the power.
- Never put the power cable, the plug or the whole device into the water. Never expose the product to the atmospheric conditions such as direct sun light or rain, etc.. Never use the product in humid conditions.
- Periodically check the power cable condition. If the power cable is damaged the product should be turned to a professional service location to be replaced in order to avoid hazardous situations.
- Never use the product with a damaged power cable or if it was dropped or damaged in any other way or if it does not work properly. Do not try to repair the defected product yourself because it can lead to electric shock. Always turn the damaged device to a professional service location in order to repair it. All the repairs can be done only by authorized service professionals. The repair that was done incorrectly can cause hazardous situations for the user.
- Never put the product on or close to the hot or warm surfaces or the kitchen appliances like the electric oven or gas burner.
- Never use the product close to combustibles.
- Do not let cord hang over edge of counter.
- Never point the steam cleaner at yourself, other people, animals or electrical appliances, e.g. ovens.
- You can use the device only with original accessories.
- Do not block the openings on the machine, or insert any objects into the openings.
- Before pouring water into the unit, disconnect it from the power supply.
- Only clean water can be used in the device, do not add any substance: descaling, aromatic oils, cleaning agents.
- Make sure that the water tank lid is tightly screwed to the device.
- Warning. Hot surfaces.
- Warning. Hot steam my cause burns.
MAIN SET INCLUDES (see Picture A)
-
Main unit 2. Garment brush 3. Cleaning disc
-
Fuzzy cloth 5. Stander 6. Nozzle adapter
-
Rectangular brush 8. Round brush 9. Pointy nozzle
-
Cup
PARTS LIST (see: Picture B)
-
Power switch 2. Handle 3. Water tank
-
Bottom 5. steam nozzle
-
Indicated light (red/green)
- Red light: heating
- Green light: working.
- Steam switch
Before first use:
Take out the product and the components, remove all packaging materials, and check for possible damage on any of them.
Assembling accessories:
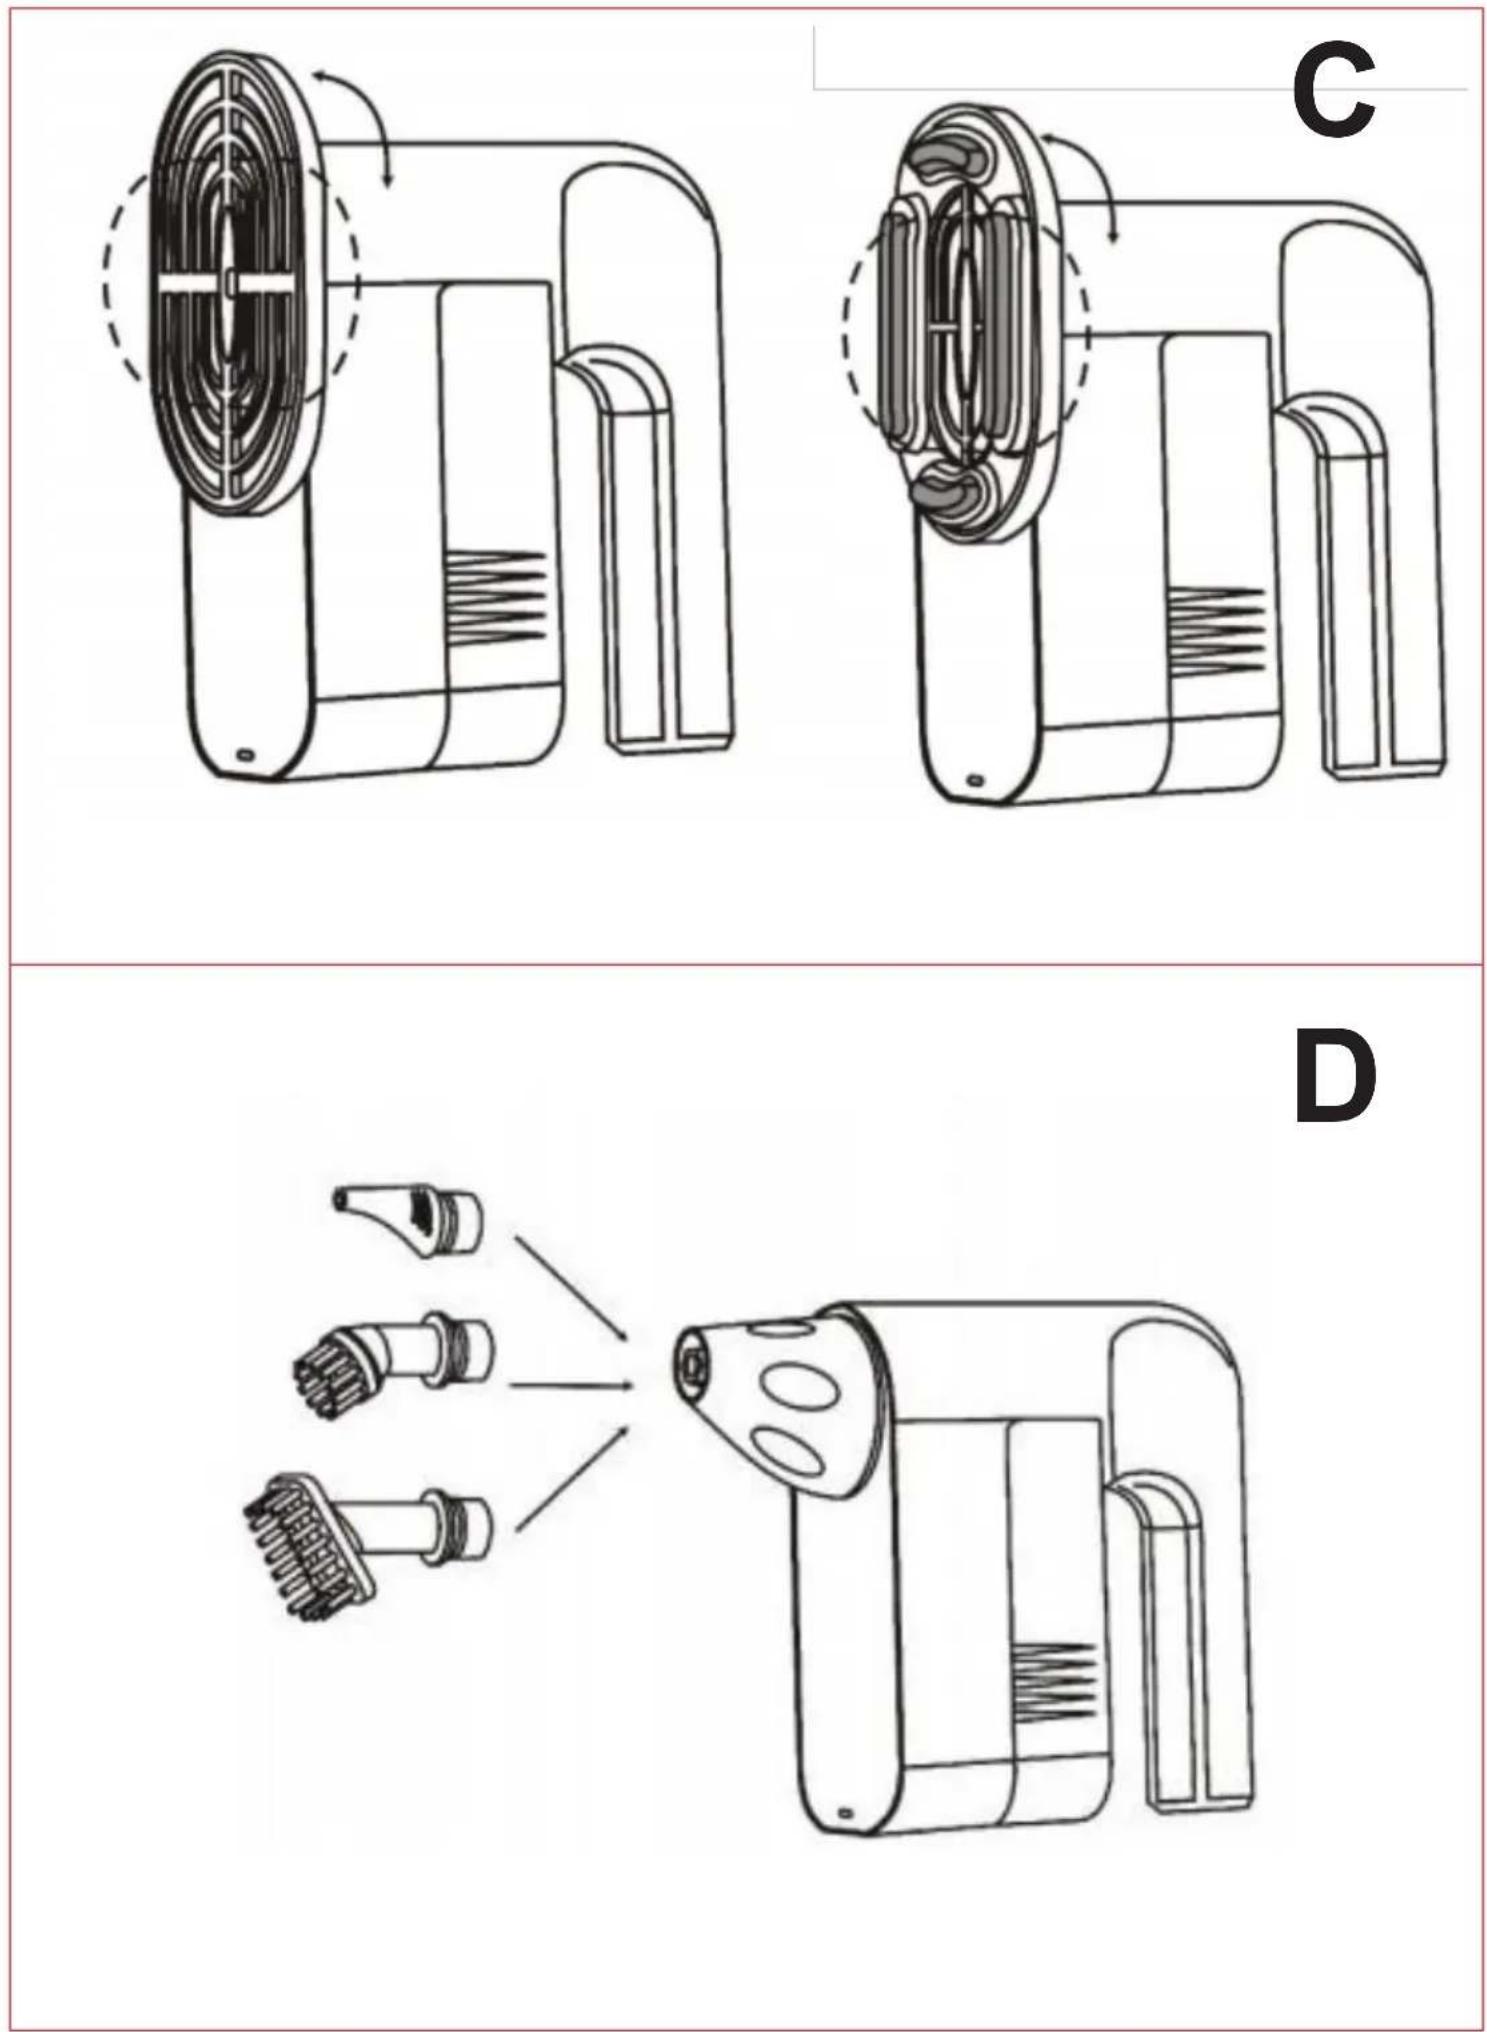
NOTE: Before any disassembly or maintenance make sure, that the device is turned off and cooled down.
Step 1: Push the rear end of any chosen accessory onto the steam nozzle and lock it by turning it counterclockwise. (see Picture C) .
Step 2: The all brush and nozzle can be slid onto the nozzle adaptor (see Picture D).
Using the device:
Step 1: Place the device on a firm surface.
Step 2: Take out the water container (B3) by sliding it backward and opening the small angular, silicon flap located on it.
Step 3: Use the cup to fill water into the device.
NOTE: When filling the water, pay attention to the marking (MAX). Fill a maximum of 120 ml of distilled water or tap water into the water container.
Step 4: Close the water silicon flap. And install it into the main device by sliding it into place.
Step 5: Plug the device into the power supply. Slide the power switch and the device will turn on. A red light will appear. Please wait until the light turns Green before proceeding further.
Step 6: Exchange or insert any wanted accessory.
Step 7: Once the light turns green you can start using the device. The device has 2 working modes:
-
Press and hold the Steam switch (B7). This will generate steam until you release the steam switch.
-
Single press the Steam switch (B7). This will generate steam until you press the Steam switch again or the water tank is empty.
Step 8: Once you are finished using the device, release or unlock the steam switch. Press the power switch to turn the device off.
NOTES:
If the steam volume is reduced or stopped during use, water will probably have to be refilled. To do so please repeat points 2-4 from the Using the device part of the manual.
Do not use the device with the water container is empty.
It is suggested not to leave any unused water in the fank to avoid mold or lime scale build-up.
It is highly recommended to use only distilled water to avoid lime scale clogging of the device and/or accessories.
Do not add any additives like perfume, vinegar, starch, dirt-cleaning gel, cleaning gel, or other chemical materials to water in the
container
Store the appliance in a dry location that is protected from frost and direct sunlight.
Allow the device to cool down and accessories to completely dry before storing them.
USAGE - ACCESSORIES
NOTES:
Prior to using the appliance on any surface or textile, always make sure that material is not sensitive to steam by doing a test on a concealed area first before using it on a whole product/area.
Do not direct the steam at glued laminated edges as the edge may loosen.
Do not use the appliance for cleaning unsealed wood or parquet floors.
Do not use the appliance for cleaning painted or plastic-coated surfaces such as the kitchen or living room furniture, doors, or parquet.
To clean these surfaces, steam a cloth briefly and use it to wipe over the surfaces.
Steam can damage sealed points of the window frame and, at low outside temperatures, lead to tension on the surface of window panes and hence to glass breakages. Do not direct the steam at sealed points on the window frame. At low outside temperatures, heat up the window panes by gently steaming the full surface of the glass. Clean the window area with a manual nozzle and cover. To remove the water, use a squeegee or wipe the surfaces dry.
Plastic/metal brushes can scratch sensitive surfaces. They are not suitable for cleaning sensitive surfaces.
Steam nozzle: The steam nozzle can be used for the following application areas without accessories:
-
For removing slight creases from the hanging clothing items: Steam the clothing item from a distance of 10-20 cm.
-
For wiping damp dust: Steam a cloth briefly and use it to wipe over furniture.
Small plastic/metal round brushes: The round brushes are used for cleaning stubborn dirt that can be removed more easily that way.
Attachment for textile and disinfection: It can be used for cleaning small areas that can be washed down, shower cubicles, and mirrors. Usually, the microfiber cloth/cleaning disc should be used with this accessory.
A2 - Garment brush – Used on clothes, for removing hair and straightening fabrics.
A3 - Cleaning disc – Can be used alone for ironing clothes.
A4 - Fuzzy cloth – Used with the Cleaning disk. Can be used to clean flat, hard surfaces.
A5 - Stand - Used for storing the device.
A6 - Nozzle adapter – Needed to use with other attachments.
A7 - Rectangular brush – For cleaning small surfaces.
A8 - Round brush - For cleaning small surfaces.
A9 - Pointy nozzle – For softening grime and removing dirt with more pressure.
A10 - Cup – For filling the water container.
CLEANING AND MAINTENANCE
NOTE: Before cleaning, please make sure the product has been turned off and unplugged from the power supply. Also, make sure that the product and components/accessories have cooled down.
Step 1: After using the product, the remaining water in the water container must be poured from the device and left to air-dry, to avoid the lime creating inside of the water container.
Step 2: Do not use hard or sharp objects to clean the product or other components to avoid damage.
Step 3: Take the cloth and use a mild cleaning agent to thoroughly clean the cloth. Let it air-dry thoroughly before further use or storage.
Step 5: Use a soft wet cloth to clean the machine body, the nozzle, and all other accessories. Then use a dry soft cloth to wipe dry the product.
Step 4: Put the product and the accessories in a dry and cool place out of reach of children or animals.
Step 5: If the product is not used for a prolonged period of time, you may disassemble the product.
NOTES:
After the cooling of the product, hot steam will become water vapor after cooling. Some water vapor will accumulate in the steam nozzle and become water drops, which is a normal phenomenon – so make sure to let it dry completely.
Cleaning cloths can be machine washed at low temperatures ( Up to 30 C).
Do not put cleaning cloths into an electric dryer. Air-dry it.
The cleaning cloth is a consumable item. Please replace with new cleaning cloth when appropriate. Not doing so will affect the device's efficiency.
If the cleaning cloth begins to unravel, please cut the loose threads carefully and do not pull on them.
If the product become blocked by limescale, mix one part of citric acid with three parts water. Pour this mixture into the water container and leave it for 6 hours. After that, turn the device ON over a non-citric acid/water-resistant surface.
TROUBLESHOOTING
If there is a problem with your product, check the following details before requesting service to your dealer.
Issue:
No steam
Possible Solution:
Check if the device is connected to the power supply.
Check if the power button and steam switch are in the ON position
Check the water level.
Issue:
Not working
Possible Solution:
Check if the device's power button is turned on and the cable is connected to the power supply.
Issue:
The product become blocked by limescale
Possible Solution:
Mix one part of citric acid with three parts of water. Pour this mixture into the water container and leave it for 6 hours. After, turn the device ON over a non-citric acid/water resistant surface.
Technical Data:
Power Supply: 220-240V \~ 50/60 Hz
Power: 1200 W
Water container capacity: 120 ml
Steam output rate: \~ 22 ml / min
To protect your environment: please separate carton boxes and plastic bags and dispose them in corresponding waste bins. Used appliance should be delivered to the dedicated collecting points due to hazarsous components, which may effect the environment. Do not dispose this appliance in the common waste bin.
- Low Voltage Directive (LVD)
VAŽNE UPUTE O SIGURNOJ UPORABI
PAŽLJIVO PROČITAJTE I SAČUVAJTE ZA BUDUĆU REFERENCU
SET KRYESOR PËRFSHIN (shih figurën A)
natural_image
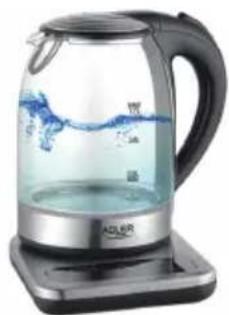
Exterior view of a modern silver kettle with blue liquid, no visible text or symbolsElectric Kettle AD 1282

natural_image
Close-up of a black and white coffee maker with a spool of brown powder being poured into it (no text or symbols visible)Burr Coffee Grinder AD 4450
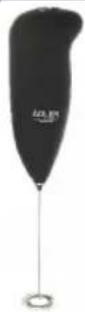
Milk Frother
AD 4491
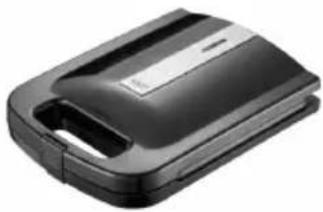
natural_image
Black rectangular electronic device with a flat lid and ventilation slots (no visible text or symbols)Sandwich Maker AD 3055
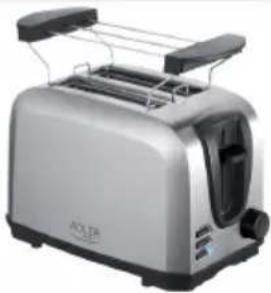
natural_image
Silver AOLTA 2000 instantstand toaster with dual-tiered top (no visible text or symbols)TOASTER 2 SLICE AD 3222
natural_image
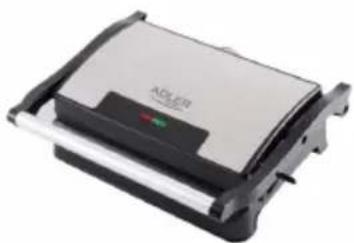
Exterior view of a modern kitchen grater with a black and silver plate (no visible text or symbols)ELECTRIC GRILL AD 3052

natural_image
White ADLER juiceizer with a wooden squee stick and clear liquid, no visible text or symbols on the device itself.CITRUS JUICER AD 4009

natural_image
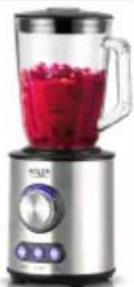
Product photo of a blender with various orange juice containers and fruit slices (no visible text or labels)PERSONAL BLENDER AD 4081
natural_image
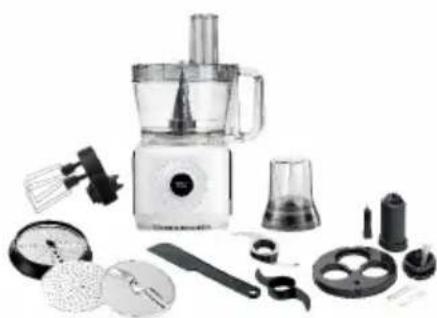
Assorted kitchen utensils including blender, spatula, and kitchen tools (no text or labels visible)FOOD PROCESSOR AD 4224
natural_image
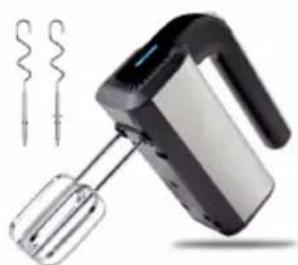
Electric hand mixer with two coiled wires attached (no text or symbols visible)MIXER AD 4225
natural_image
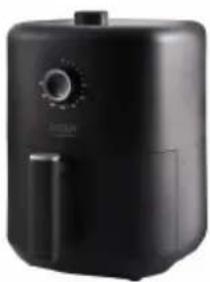
Black air fryer with control knob and side door (no visible text or symbols)AIR FRYER AD 6310
natural_image
Exterior view of a modern silver coffee maker with black lid and control buttons (no visible text or symbols)PASTEURIZATION POT AD 4496
natural_image
White portable air conditioner unit with control panel and wheels (no visible text or symbols)AIR CONDITIONER AD 7916
natural_image
White cylindrical device with black body and circular buttons, no visible text or symbols on the device itself.AIR HUMIDIFIER AD 7966

natural_image
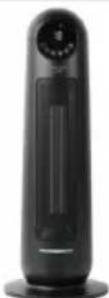
White portable heating fan with heat sink and ventilation grille (no visible text or symbols)FAN HEATER AD 7725
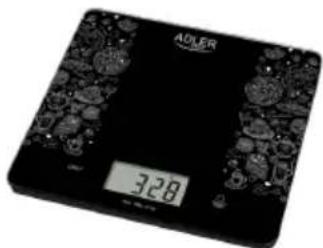
natural_image
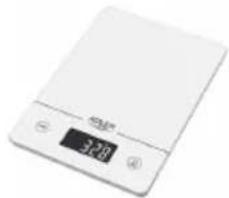
Close-up of a stainless steel kitchen scale with digital display (no visible text or symbols)KITCHEN SCALE AD 3166
ADLER
EUROPE
natural_image
Black cylindrical object with a circular logo and the word 'ADLER' on its side (no additional text or symbols visible)COFFEE GRINDER AD 4446
natural_image
Exterior view of a modern stainless steel toaster with a digital display (no visible text or symbols)TOASTER 2 SLICE AD 3214
HAND BLENDER
Ad4625
natural_image
Modern stainless steel kitchen appliance with control knob (no visible text or symbols)MIXER WITH BOWL AD 4222
natural_image
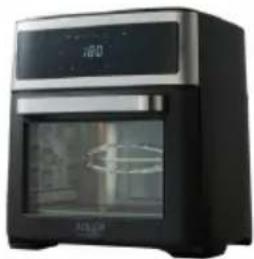
Exterior view of a modern kitchen appliance with digital display (no visible text or symbols)AIR FRYER OVEN AD 6309

natural_image
Front view of a white microwave oven with control knobs and a blank screen (no visible text or symbols)MICROWAVE OVEN AD 6205
natural_image
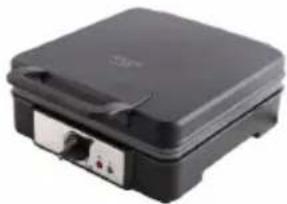
Black square portable grill with control panel and ventilation slots (no visible text or symbols)WAFFLE MAKER AD 3049
natural_image
White digital kitchen scale with a digital display showing 3.70 (no visible text or symbols on the device body)KITCHEN SCALE AD 3170

natural_image
Glass water heater with blue splashing effect, no visible text or symbolsELECTRIC KETTLE AD 1286
natural_image
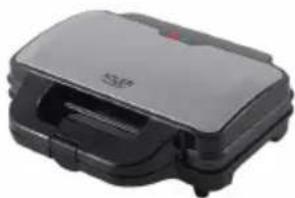
Exterior view of a modern flat-screen grater with black casing and handle (no visible text or symbols)SANDWICH MAKER
AD 3043
natural_image
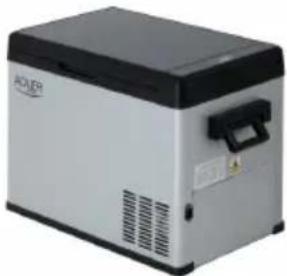
Exterior view of a modern industrial device (no visible text or symbols)PORTABLE FRIDGE AD 8077
natural_image
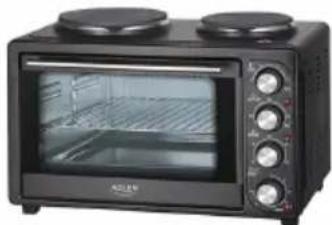
Black countertop oven with two top ovens and a closed chamber (no visible text or labels)Electric Oven With HOB AD 6020
natural_image
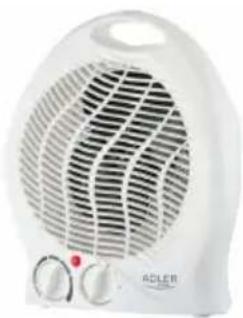
White electric heater with visible cooling fins and control knobs (no text or symbols)FAN HEATER AD 7728
natural_image
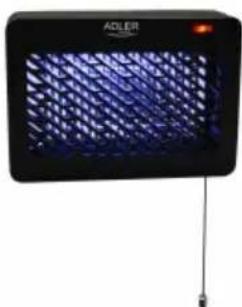
Black electronic device with blue mesh pattern and 'ADLER' logo, connected to a black cable (no readable text or symbols beyond branding)MOSQUITO LAMP AD 7938
natural_image
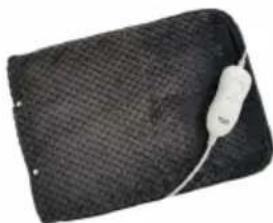
Black mesh fabric with a white cable attached, no visible text or symbolsHEATED PAD AD 7433
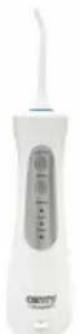
ORAL IRRIGATOR
AD 2176
ADLER
EUROPE
natural_image
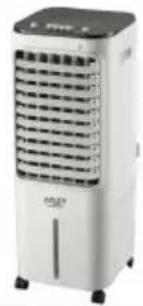
White industrial air conditioner unit with blue top panel and black buttons, no visible text or symbolsAIR COOLER AD 7913
natural_image
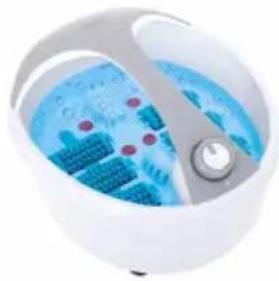
Close-up of a white spherical device with blue internal components and a central knob (no visible text or symbols)FOOT SPA AD 2177
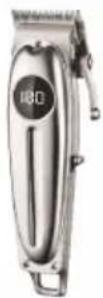
HAIR CLIPPER
AD 2831

natural_image
Green hair dryer with black handle and logo (no visible text or symbols on body)HAIR DRYER AD 2265

natural_image
Close-up of a white handheld medical device next to a fluffy white cream cushion (no text or symbols visible)HEATED PAD AD 7412
CERAMIC FAN HEATER
AD 7731
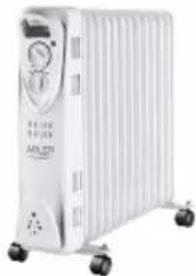
natural_image
White industrial air conditioner unit with cooling fan and wheels (no visible text or symbols)OIL-FILLER RADIATOR
AD 7811
KITCHEN SCALE AD 3171
natural_image
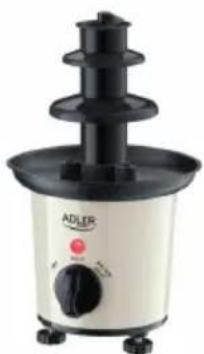
White industrial stand mixer with black top and control knob (no visible text or symbols)CHOCOLATE FOUNTAIN AD 4487

HAND BLENDER
AD 4617
natural_image
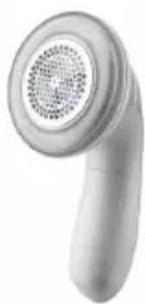
Close-up of a white handheld phone with a circular grille and handle (no visible text or symbols)LINT REMOVER AD 9616
natural_image
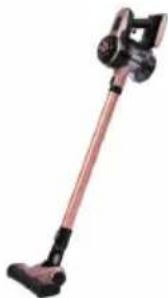
Close-up of a handheld vacuum cleaner with black handle and pink body (no visible text or symbols)VACUUM CLEANER AD 7044
natural_image
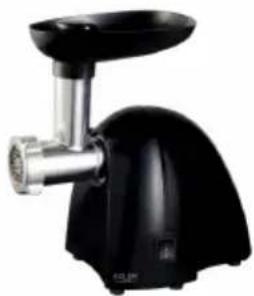
Black kitchen electric shaver with handle and blade (no visible text or symbols)MEAT MINCER AD 4811
Blender AD 4078
natural_image
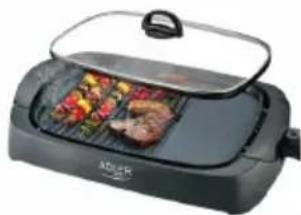
Modern kitchen grater with visible grating and a glass lid (no text or symbols)ELECTRIC GRILL AD 6610
natural_image
Glass water heater with blue liquid, placed on a square base (no text or symbols visible)ELECTRIC KETTLE AD 1293

natural_image
Simple line drawing of a cloud-like shape with a horizontal line above it (no text or symbols)EN: WARNING: Danger of burns
LV:BRĪDINĀJUMS: Apdegumu risks