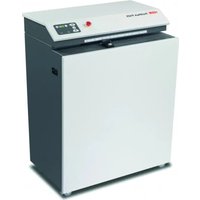
ProfiPack P425 - Shredder HSM - Free user manual and instructions
Find the device manual for free ProfiPack P425 HSM in PDF.


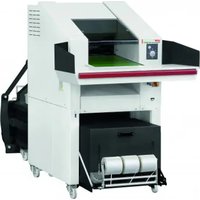
| Product Type | Machine for manufacturing cardboard packaging protective cushions |
| Brand | HSM |
| Model | ProfiPack P425 |
| Dimensions (L x W x H) | 770 x 570 x 1040 mm |
| Weight | 170 kg |
| Power supply | 100-240 V / 50-60 Hz |
| Max. power consumption | 1.87 kW |
| Working width | 425 mm |
| Infeed height | 20 mm |
| Operating speed | 8.5 - 14.0 m/min (adjustable in 4 levels) |
| Cutting capacity | Up to 3 layers of cardboard |
| Spacing intervals | 5 x 100 mm |
| Operating mode | Continuous operation |
| Noise level (idle / under load) | 60-62 dB(A) / 66-67 dB(A) |
| Ambient conditions - Temperature | -10 °C to +25 °C |
| Max. relative humidity | 90% (non-condensing) |
| Maximum altitude | 2,000 m |
| Warranty | 2 years (6 months in continuous operation) |
| Maintenance and cleaning | Clean with a soft cloth and soapy water; disconnect before |
| Safety | Emergency stop, wheel locking, blade guard |
| Options | Integrated suction kit (vacuum cleaner connection) |
| Compliance | Low voltage directive, EMC, RoHS |
Frequently Asked Questions - ProfiPack P425 HSM
User questions about ProfiPack P425 HSM
0 question about this device. Answer the ones you know or ask your own.
Ask a new question about this device
Download the instructions for your Shredder in PDF format for free! Find your manual ProfiPack P425 - HSM and take your electronic device back in hand. On this page are published all the documents necessary for the use of your device. ProfiPack P425 by HSM.
USER MANUAL ProfiPack P425 HSM
HSM®
Profi Pack P425
BETRIEBSANLEITUNG
OPERATING INSTRUCTIONS
NOTICE D'UTILISATION
MANUALE OPERATIVO
INSTRUCCIONES DE SERVICIO
english: Device for the manufacture of packing cushions 9
VORSICHT
1 Intended use, warranty
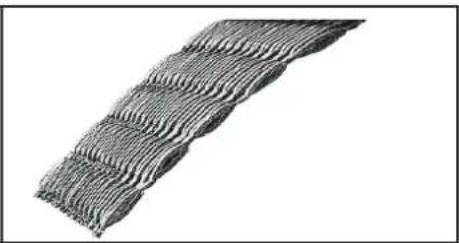
The ProfiPack P425 is exclusively designed for the manufacture of packaging padding made from cardboard. The machine comes with a 2 year warranty. The warranty period is 6 months when used in multiple shifts. The warranty does not cover wear, damage caused by improper handling, natural wear or the intervention of third parties.
2 Explanation of symbols and safety instructions

Before starting up the machine for the first time, read the operating manual, and keep it for later use and to pass on to any subsequent users.
Please observe all of the safety instructions attached to the Profipack.

Risk of injury from the cutting unit
Cutting injuries are possible because of the sharp cutting unit.
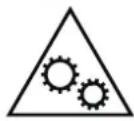
Risk of injuries from sharp blades!
Never reach into the slot of the paper feed.

Risk of injury from being pulled in!

Do not go near the infeed opening with long hair, loose clothing, ties, scarves, necklaces, bracelets etc. Do not shred any material that tends to form loops, e.g. tapes, bindings and soft plastic fi lm.

Danger to children and other persons!
This equipment is not suitable for use in locations where children are likely to be present.
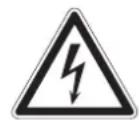
Danger from electric current
Dangerous mains voltage can lead to electrocution in the event of improper handling of the machine.

- Check the machine and cable regularly for damage.
- Switch off the Profipack and disconnect from the power supply in the event of damage, improper operation and also before changing location or cleaning.
• Make sure that the power plug is easily accessible.
- Before you insert the power plug, make sure that the voltage and frequency of your power supply comply with the information on the name plate.
• Prevent liquids getting into the Profipack. - The machine must not be placed in the vicinity of a radiator or other heat source.
- The ventilation slots must not be blocked or covered and there must be at least 5 cm space between the shredder and any wall or furniture.
- Never pull the plug out of the socket using the power cable. Always pull out the plug directly.
Service work may only be carried out by HSM customer service and the service engineers from our contract partner. For our customer service addresses see page 168.
3 Transportation and installation
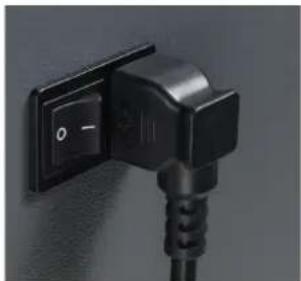
Connect the power cable to the machine. The machine must be connected to a power source which meets the specifications on the nameplate. Make sure that the power cable is unobstructed and that nobody can tread on it. Connect the power plug of the machine into a properly installed socket.
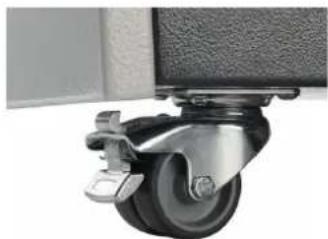
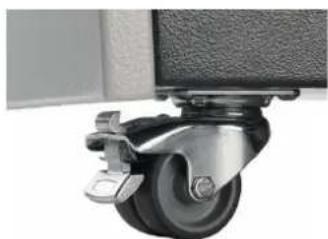
- Lock the front castors by pressing down the brake lever.
Note:
The HSM Profi Pack 425 can also be supplied with a built-in suction device.
Using a suction device you can extract dust while processing the cardboard.
If your device has the built-in suction device, there is a connection for the suction device on the right side (9).
If your device does not have this apparatus, you can fit the components later when needed.
Profi Pack conversion kit:
Order number x.xxx.xxx.xxx
Dust extractor:
Order number 2.412.111
4 Overview
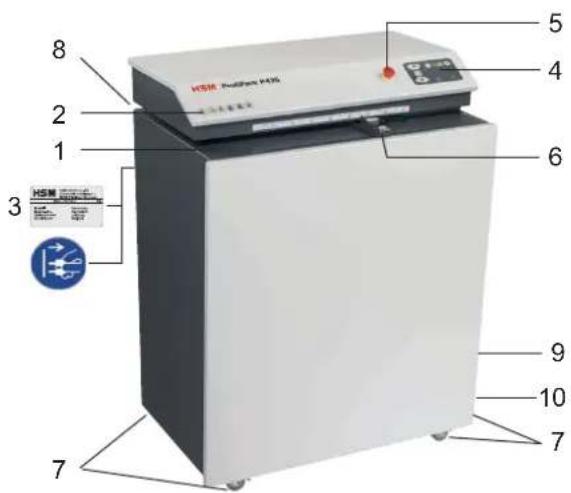
1 Feed opening
2 Safety notice
3 Warning sticker / type plate
4 Operator control panel
5 Emergency stop button
6 Limit stop
7 Rolls
8 "Slide" fl ap
9 Connection for suction device
10 Cable holder
5 Display and control panel
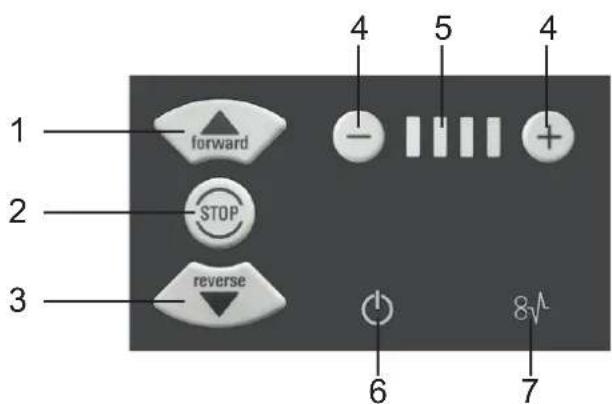
1 Forward button
2 Stop button
3 Reverse button
4 Settings buttons
5 "Speed" display
6 "Ready for operation" display
7 "Blockage" display
6 Operation
Switching the system on

- Unlock the emergency stop button by turning it anti-clockwise.
- Move the power switch at the right-hand side to position "I".
“Ready for operation” display fl ashes. The “Ready for operation” display illuminates constantly after a short period of time. The machine is ready to operate.
Press the "Forward button". The cutting unit starts up.
The operating speed can be controlled in 4 levels using the - and + adjustment buttons. Changing the settings during operation is possible.
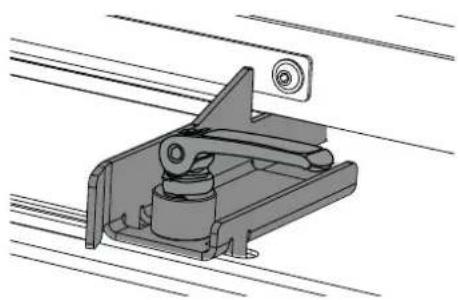
Adjustable limit stop
Lever up: For moving Lever down: Limit stop fixed
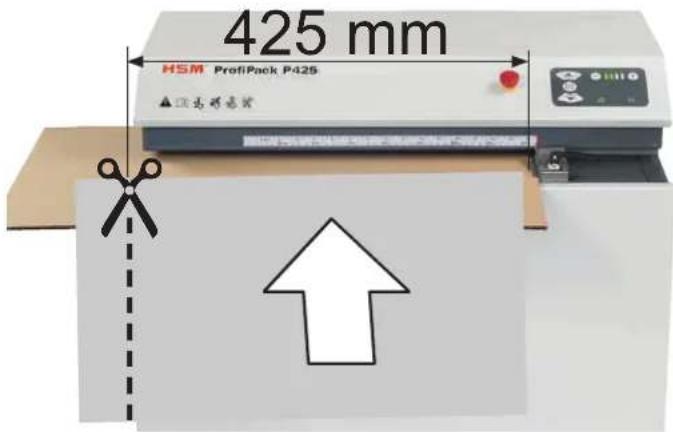
Feed in cardboard
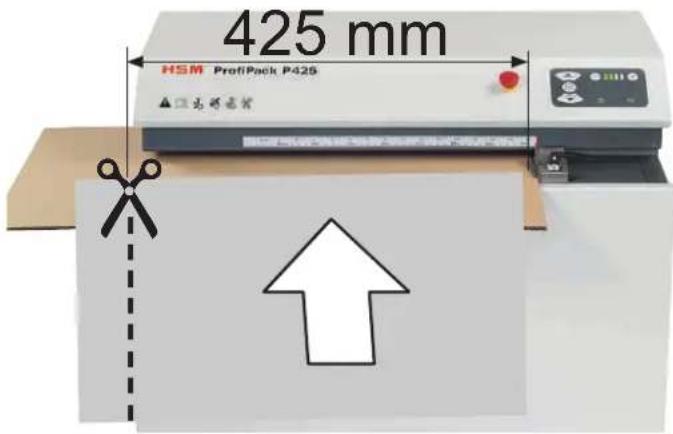
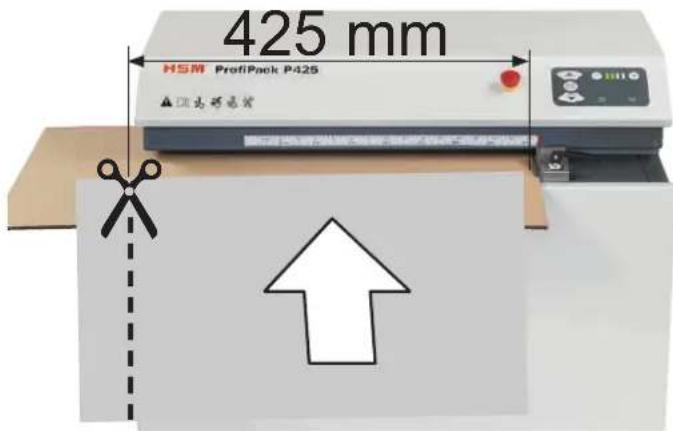
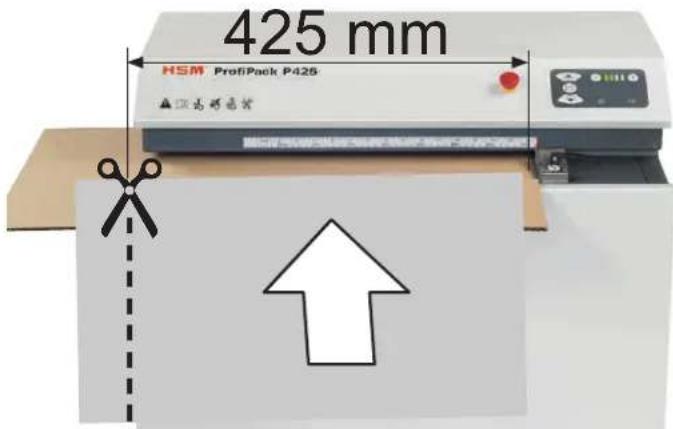
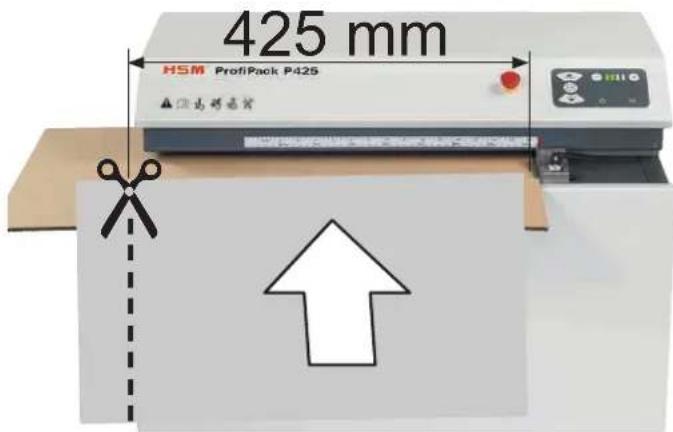
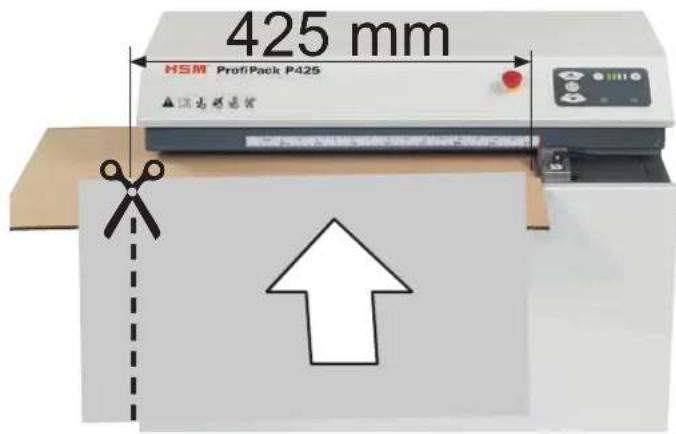
- Cardboard is processed at a width of up to 425 mm.
- Wider cardboard is automatically trimmed.
- The cutting unit is switched off using the stop button.
Switch off
Switch the mains switch on the right side to position "0".
CAUTION
Removing material residue
▶ Observe the following for all work on the compression flap: Wear gloves.

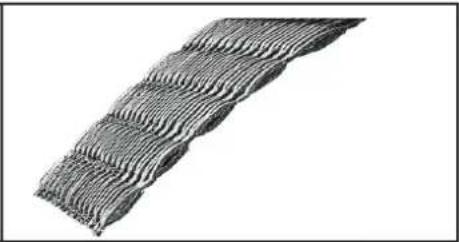
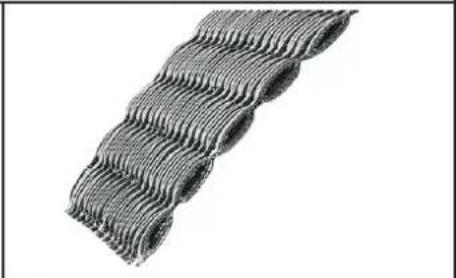
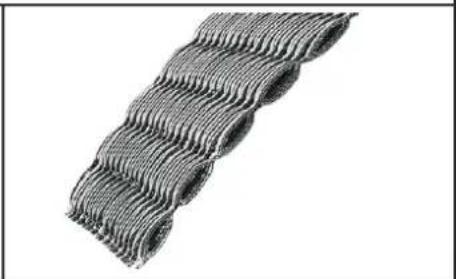
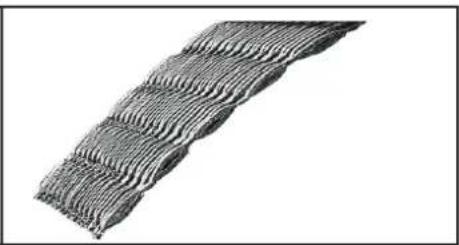
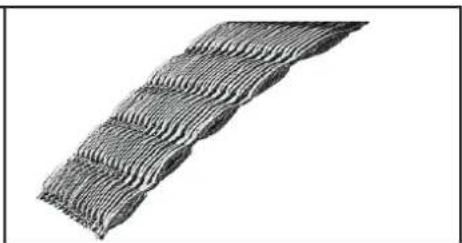
Perforating cardboard
- Lever (1) is in lower position
- Catch bolt is engaged
- Feed in the cardboard
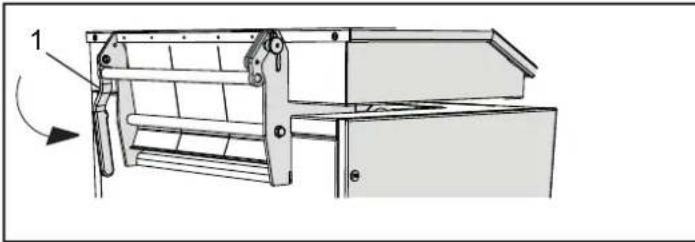
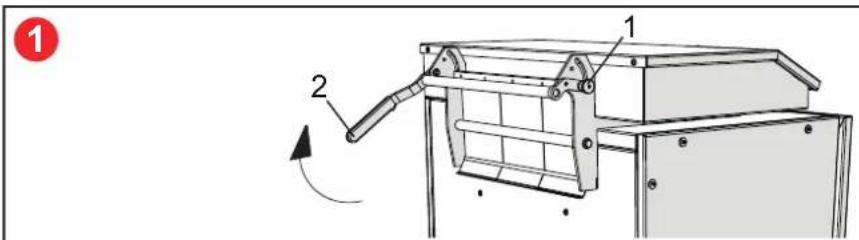
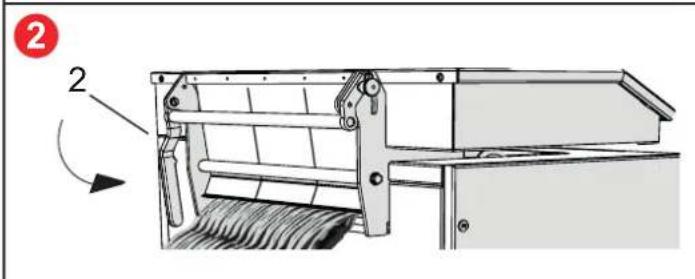
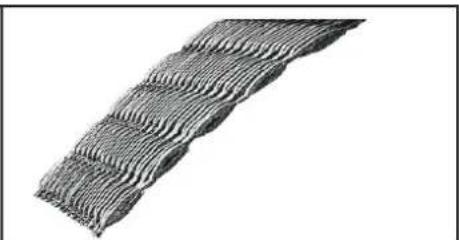
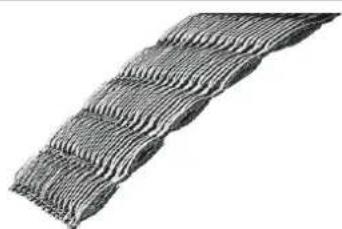
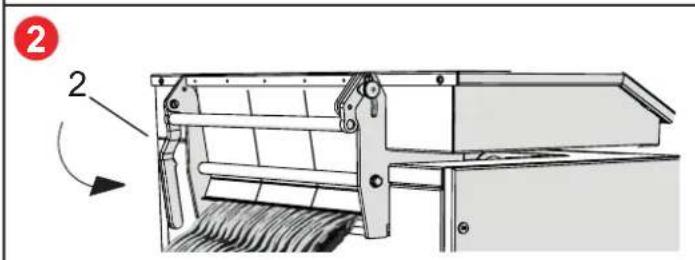
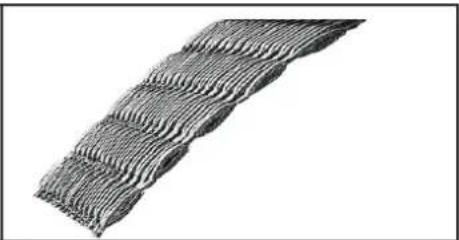
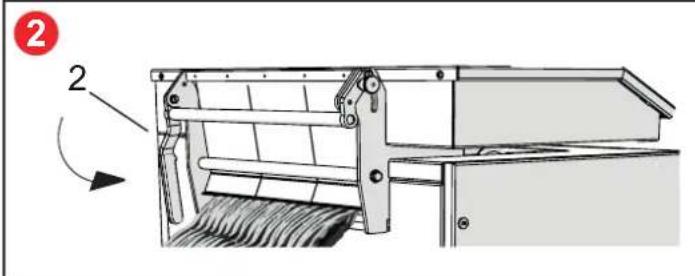
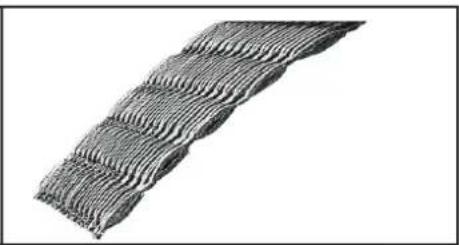
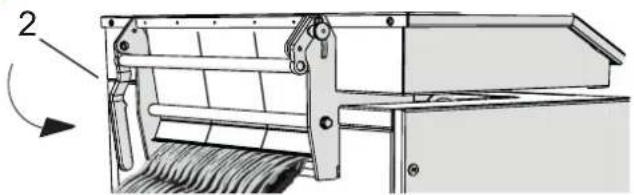
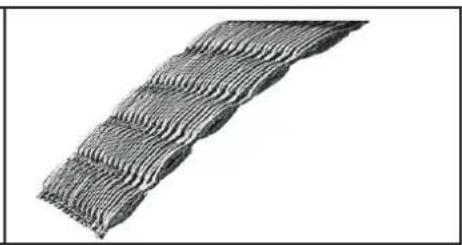
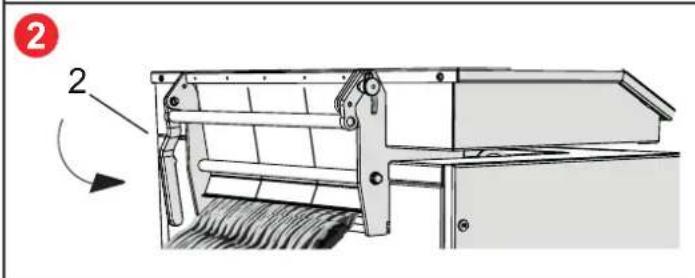
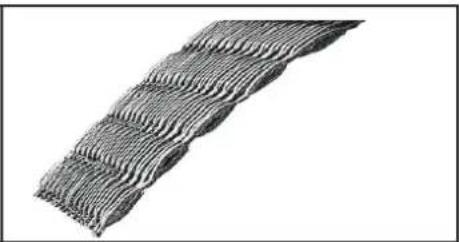
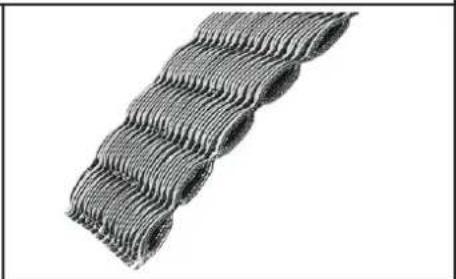
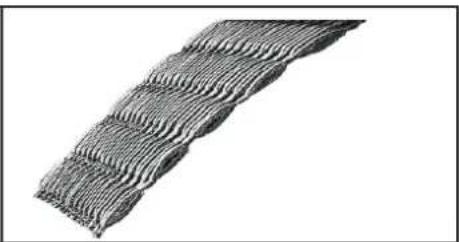
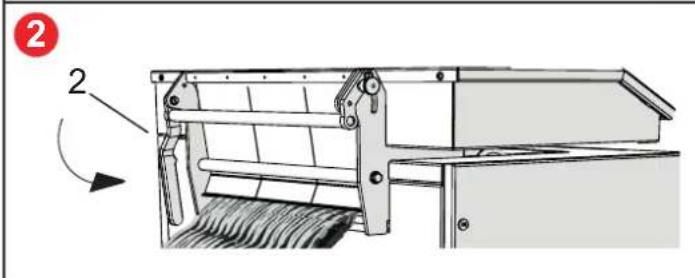
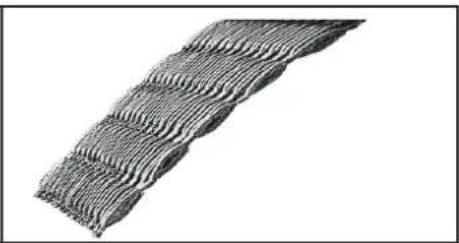
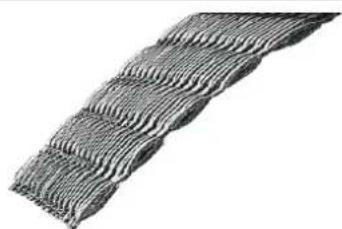
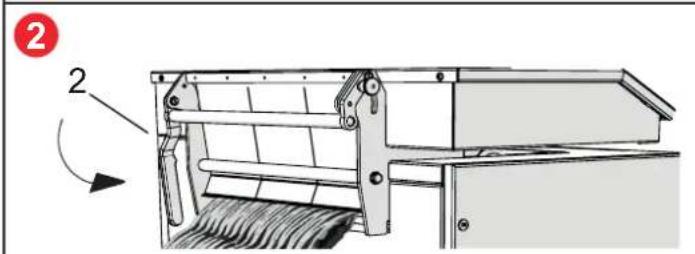
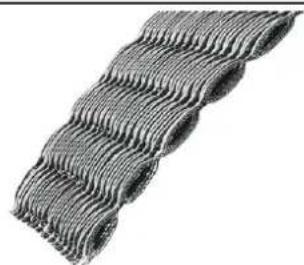
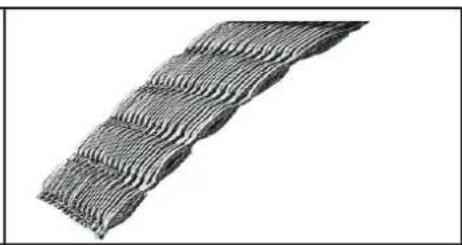
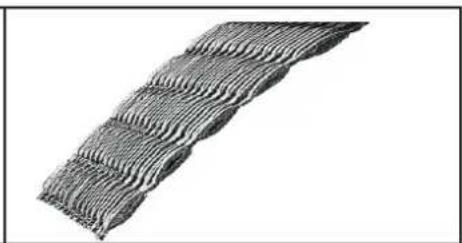
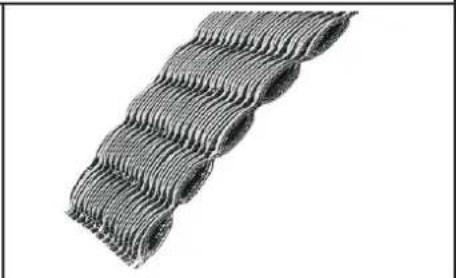
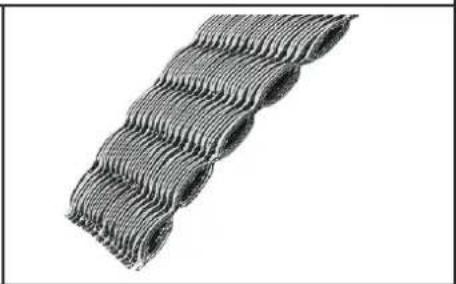
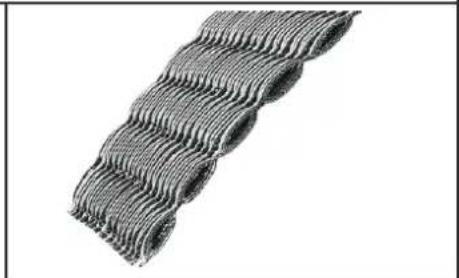
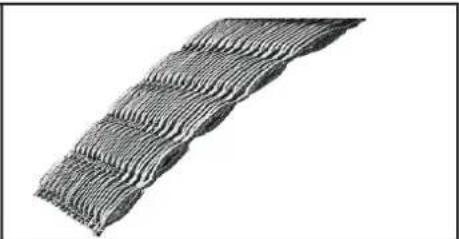
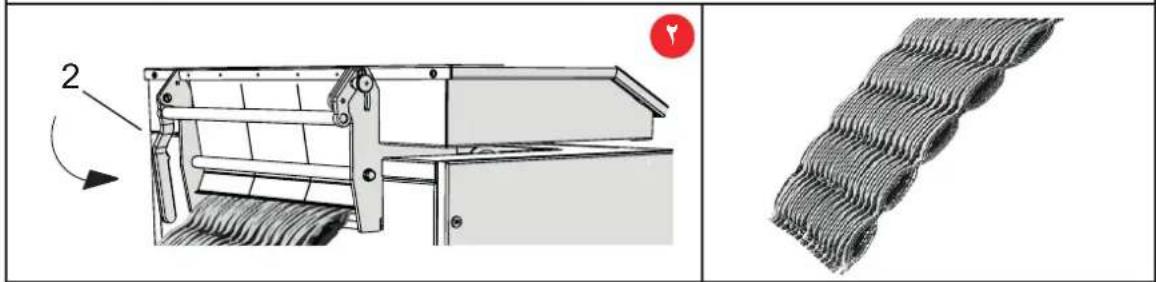
Padding cardboard
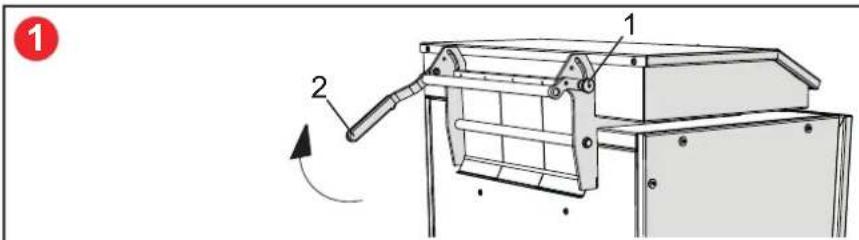
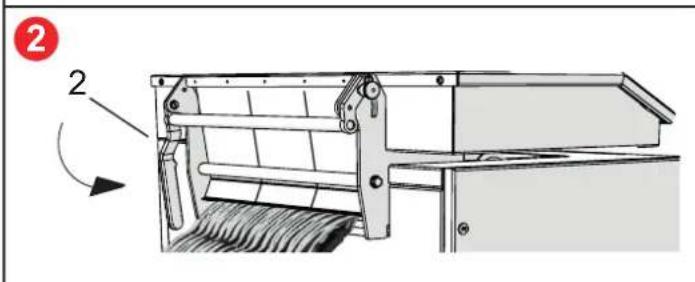
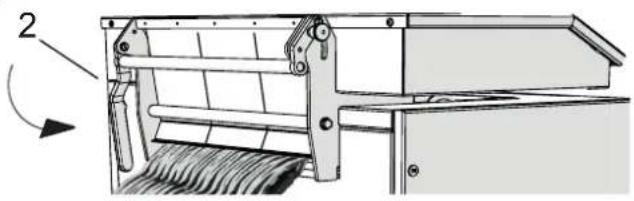
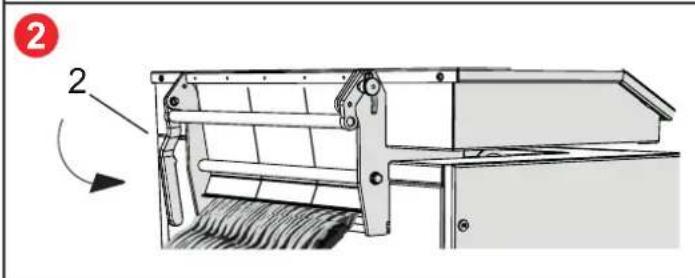
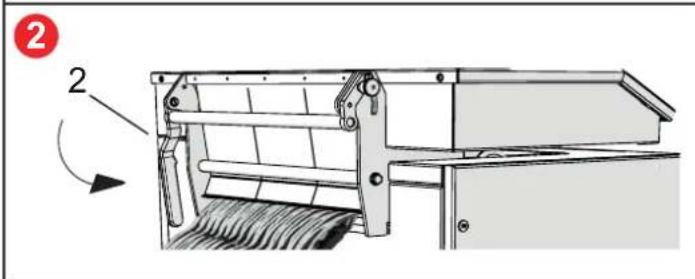
- Pull catch bolt (1)
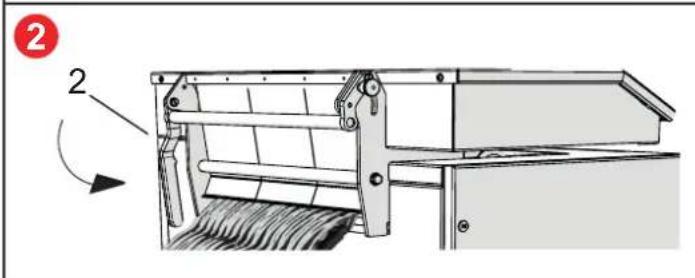
• Pull lever (2) upwards.
• Feed in approx. 2 linear metres of cardboard

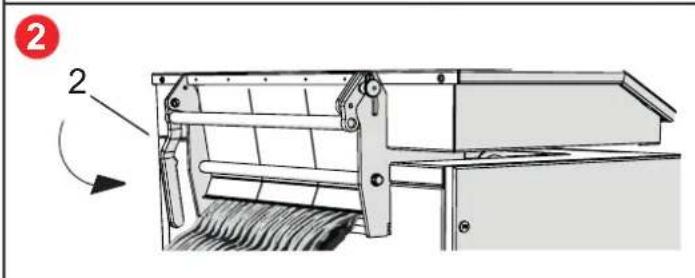
- Push the lever (2) downwards.
- Feed in the cardboard

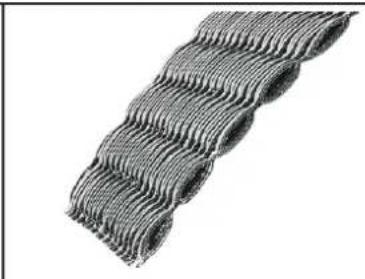
Remove material residue when changing from "Padding cardboard" to "Perforating cardboard".
- Switch off the machine. Turn the power switch to the "0" position.
- Remove residual material on the pressing plate by hand.
- Switch on the machine. Turn the power switch to the "I" position.
- Push in compact cardboard to order to clear the shaft of any residual material.
- Remove any remaining residual material by hand.
7 Troubleshooting
Blockage
Press the "Reverse button" to remove material in the event of problems.
The cutting unit reverses slowly and slides the cardboard back.
Note
If a large quantity of cardboard has already been pulled in before the blockage occurred, you can also press the forward button. This makes the cutting unit run forwards slowly and shreds the remaining cardboard. During this function, the “Ready for operation” and “Blockage” indicators flash alternately.
For all other malfunctions, check whether the motor was overloaded before contacting our customer service. Let the machine cool down for approx. 15 – 20 mins. before restarting.
8 Cleaning
Switch off the machine and disconnect the power plug. When cleaning, only use a soft cloth and a mild soap-water solution. However, no water must enter the equipment.
9 Disposal/Recycling

Dispose of the machine in an environmentally sound way at the end of its service life. Observe the current regulations when doing this. As legislation is subject to ongoing changes, we request that
you contact your local authorities at the appropriate time. As the manufacturer, HSM would be glad to advise you on the disposal of your old machine.
10 Technical data
| Grid dimension 5 x 100 mm | |
| Cutting capacity Up to 3 positions | |
| Operating speed 8.5 – 14.0 m/min | |
| Working width 425 mm | |
| Infeed height 20 mm | |
| Power supply 100V-240V / 50-60Hz, | 220V-240V / 50-60Hz |
| Operating mode | Continuous operation |
| Power consumption max. 1.87 kW | |
| Ambient conditions for transport, storage and operation:Temperature relative humidity height above SL | -10 °C up to +25 °Cmax. 90%, non-condensingmax. 2,000 m |
| Noise emission(idle / under load) | 60 – 62 dB(A)66 – 67 dB(A) |
| Size W x D x H (mm) 770 x 570 x 1040 | |
| Weight 170 kg |

This document shredder meets the applicable harmonisation legislation of the European Union:
• Low Voltage directive 2014/35/EU
• EMC directive 2014/30/EU
• RoHS directive 2011/65/EU
The EU declaration of conformity can be requested from the manufacturer.

• Electrical Equipment (Safety) Regulations 2016
• Electromagnetic Compatibility Regulations 2016
- The Restriction of the Use of Certain Hazardous Substances in Electrical and Electronic Equipment Regulations 2012
The EU declaration of conformity can be requested from the manufacturer.

Fissare le rotelle anteriori abbassando la leva del freno.
Nota:
Spegnimento


PRECAUCIÓN

CUIDADO
Remover os restos de material
Almofadar o cartão
• Puxar o pino de engate (1)
• Levantar a alavanca (2).
- Inserir aprox. 2 m de cartão
1
2

Karton toevoeren
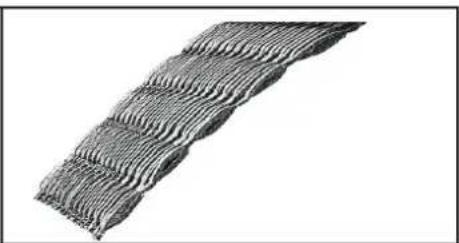
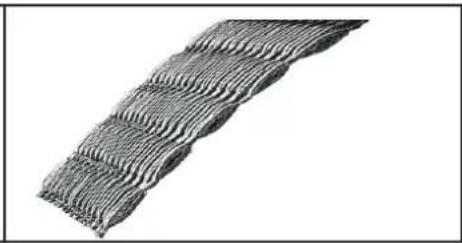
Karton opbollen


1 Fremad-tast
2 Stop-tast
3 Reverseringstast
4 Indstillingstaster
5 Visning "hastighed"
6 Visning "driftsklar"
7 Visning "blokering"
6 Betjening
Tilkobling

9 Bortskaff else/recycling
Stänga av
2

Salpaa eturullat painamalla jarruvipu alas.
Ohje:

1 Forovertast
2 Stopptast
3 Reverseringstast
4 Innstillingstaster
5 Visning "Hastighet"
6 Indikering "Driftsklar"
7 Indikering "Blokkering"
6 Betjening
Innkobling

- Lås opp nødstoppknappen ved å dreie den mot urviseren.
Polstre kartonger

9 Avhending/ resirkulering

Vypnutí

Vypnutie
Väljalülitamine
Kartongi polsterdamine

Подача картона



Dovajanje kartona
Podložni karton
• Potegnite blokirni zatič (1)
• Ročico (2) povlecite navzgor.
• Naložite približno 2 tekoča metra kartona
• Ročico (2) potisnite navzdol.
- Karton za dovajanje
1
2
Kikapcsolás
1 Buton înainte
2 Buton stop
3 Buton de inversare
4 Butoane de reglare
5 Afişaj „Viteză”
6 Afişaj „Gata de functionare”
7 Afişaj „Blocaj”
6 Operarea
Conectarea

Deconectare
Изключване
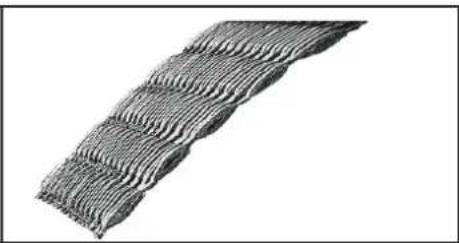

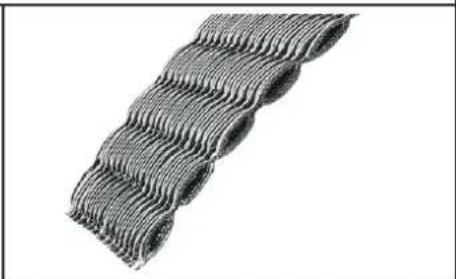
Εισαγωγή χαρτονιών

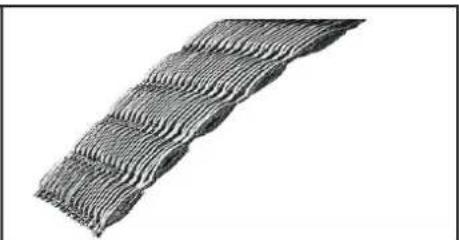
Διόγκωση χαρτονιών
Kapatılması

Spojite priključni kabel na stroj. Stroj se mora priključiti na izvor struje, čiji podaci odgovaraju onima na tipskoj pločici. Vodite računa da priključni kabel slobodno leži i da ga se ne može nagaziti. Ukopčajte priključni utikač stroja u propisno instaliranu utičnicu.
OPREZ
Uklanjanje ostataka materijala
Prilikom svih radova na zaklopki za sabijanje: Nosite rukavice.

Perforiranje kartonaže
• Poluga (1) nalazi se u donjem položaju
• Uglavni svornjak je uglavljen
• Dovedite kartonažu

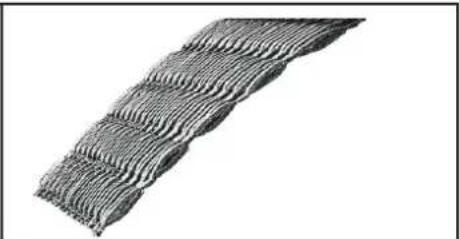
Ojačavanje kartonaže
• Povucite uglavni svornjak (1)
- Povucite polugu (2) prema gore.
• Dovedite cca. 2 dužna metra kartonaže
1
• Pritisnite polugu (2) prema dolje.
• Dovedite kartonažu
2
1

2
Uklonite ostatke materijala kad mijenjate s načina rada „Ojačavanje kartonaže” na „Perforiranje kartonaže”.
- Isključite stroj. Uklopite mrežnu sklopku na položaj „0“.
• Rukom uklonite ostatke materijala koji vise na limu za sabijanje. - Uključite stroj. Uklopite mrežnu sklopku na položaj „I“.
- Naknadno ugurajte čvrstu kartonažu kako biste iz kanala uklonili ostatke materijala.
• Rukom uklonite preostale ostatke materijala.
7 Uklanjanje smetnji
Blokada
Aktivirate uklanjanje materijala kod smetnji pritiskom na „Tipku za vraćanje“.
Rezač se pokreće polagano unatrag i gura kartonažu prema natrag.
Napomena
UZMANIBU

ATSARGIAI
Kartono glamžymas

踩下制动杆,锁定前方滚轮。
提示:
小心
除去材料残余
膨切纸板
تبطين الورق المقوى
[NO TEXT]


- HSM®
- PROFI PACK P425
- VORSICHT
- 1 INTENDED USE, WARRANTY
- 2 EXPLANATION OF SYMBOLS AND SAFETY INSTRUCTIONS
- RISK OF INJURY FROM THE CUTTING UNIT
- RISK OF INJURIES FROM SHARP BLADES
- RISK OF INJURY FROM BEING PULLED IN
- DANGER TO CHILDREN AND OTHER PERSONS
- DANGER FROM ELECTRIC CURRENT
- 3 TRANSPORTATION AND INSTALLATION
- NOTE
- 4 OVERVIEW
- 5 DISPLAY AND CONTROL PANEL
- 6 OPERATION
- SWITCHING THE SYSTEM ON
- ADJUSTABLE LIMIT STOP
- FEED IN CARDBOARD
- SWITCH OFF
- CAUTION
- REMOVING MATERIAL RESIDUE
- PERFORATING CARDBOARD
- PADDING CARDBOARD
- 7 TROUBLESHOOTING
- BLOCKAGE
- 8 CLEANING
- 9 DISPOSAL/RECYCLING
- NOTA
- SPEGNIMENTO
- PRECAUCIÓN
- CUIDADO
- REMOVER OS RESTOS DE MATERIAL
- ALMOFADAR O CARTÃO
- KARTON TOEVOEREN
- KARTON OPBOLLEN
- 6 BETJENING
- TILKOBLING
- 9 BORTSKAFF ELSE/RECYCLING
- STÄNGA AV
- OHJE
- INNKOBLING
- POLSTRE KARTONGER
- 9 AVHENDING/ RESIRKULERING
- VYPNUTÍ
- VYPNUTIE
- VÄLJALÜLITAMINE
- KARTONGI POLSTERDAMINE
- ПОДАЧА КАРТОНА
- DOVAJANJE KARTONA
- PODLOŽNI KARTON
- KIKAPCSOLÁS
- 6 OPERAREA
- CONECTAREA
- DECONECTARE
- ИЗКЛЮЧВАНЕ
- ΕΙΣΑΓΩΓΉ ΧΑΡΤΟΝΙΏΝ
- ΔΙΌΓΚΩΣΗ ΧΑΡΤΟΝΙΏΝ
- KAPATILMASI
- OPREZ
- UKLANJANJE OSTATAKA MATERIJALA
- PERFORIRANJE KARTONAŽE
- OJAČAVANJE KARTONAŽE
- 7 UKLANJANJE SMETNJI
- BLOKADA
- NAPOMENA
- UZMANIBU
- ATSARGIAI
- KARTONO GLAMŽYMAS
- 提示:
- 小心
- 除去材料残余
- 膨切纸板
Brand : HSM
Model : ProfiPack P425
Category : Shredder