
Combi 2072 H - Tractor STIGA - Free user manual and instructions
Find the device manual for free Combi 2072 H STIGA in PDF.
| Brand | STIGA |
| Model | Combi 2072 H |
| Category | Ride-on lawn tractor |
| Fuel | Unleaded petrol (min. 90 octane) |
| Tank capacity | Not specified in the manual |
| Engine type | 4-stroke internal combustion engine |
| Engine oil capacity | 1.2 liters |
| Engine oil type | SAE 30 (5-35°C) or 10W-30 (multigrade -15 to +35°C) |
| Spark plug | QC12YC / RC12YC (Champion) or equivalent |
| Spark plug gap | 0.6 - 0.8 mm |
| Air filter | Filter element with sponge pre-filter |
| Starting | Electric (ignition key) |
| Working speed | "FAST" position (maximum speed) recommended |
| Maximum working slope | 20° |
| CO₂ emissions | 773.41 g/kWh (test value) |
| Use | Domestic use (garden, lawn) |
| Regular maintenance | Check oil, air filter, spark plug, clean muffler |
| Storage | Dry place, sheltered from weather, empty tank if inactive >30 days |
| Safety | Read manual mandatory, circuit breaker, emergency stop, appropriate clothing |
| Weight | Not specified in the manual |
| Dimensions | Not specified in the manual |
| Cutting width | Not specified in the manual |
| Number of blades | Not specified in the manual |
| Repairability | Original spare parts recommended, authorized service center |
Frequently Asked Questions - Combi 2072 H STIGA
User questions about Combi 2072 H STIGA
0 question about this device. Answer the ones you know or ask your own.
Ask a new question about this device
Download the instructions for your Tractor in PDF format for free! Find your manual Combi 2072 H - STIGA and take your electronic device back in hand. On this page are published all the documents necessary for the use of your device. Combi 2072 H by STIGA.
USER MANUAL Combi 2072 H STIGA
EN Pedestrian-controlled walk-behind battery powered lawn mower OPERATOR'S MANUAL
WARNING: read thoroughly the instruction booklet before using the machine.
5.4 POUŽITÍ MOTORU BĚHEM PRACOVNÍ ČINNOSTI
- General information .... 1
- Safety regulations 1
- Components and controls 2
- What you need to know 3
- Standards of use 4
- Maintenance 5
- Troubleshooting 7
- Technical data 7
1. GENERAL INFORMATION
1.1 READING AND UNDERSTANDING THE MANUAL
Some paragraphs in the manual containing information of particular importance for safety and operation are highlighted at various levels of em pha sis, and signify the following:
NOTE
or
IMPORTANT
These give details or further information on what has already been said, and aim to prevent damage either to the engine or other damages.

WARNING!
sult in the risk of injury to oneself or others.

DANGER!
Non-observance will
re sult in the risk of serious injury or death to oneself or others.
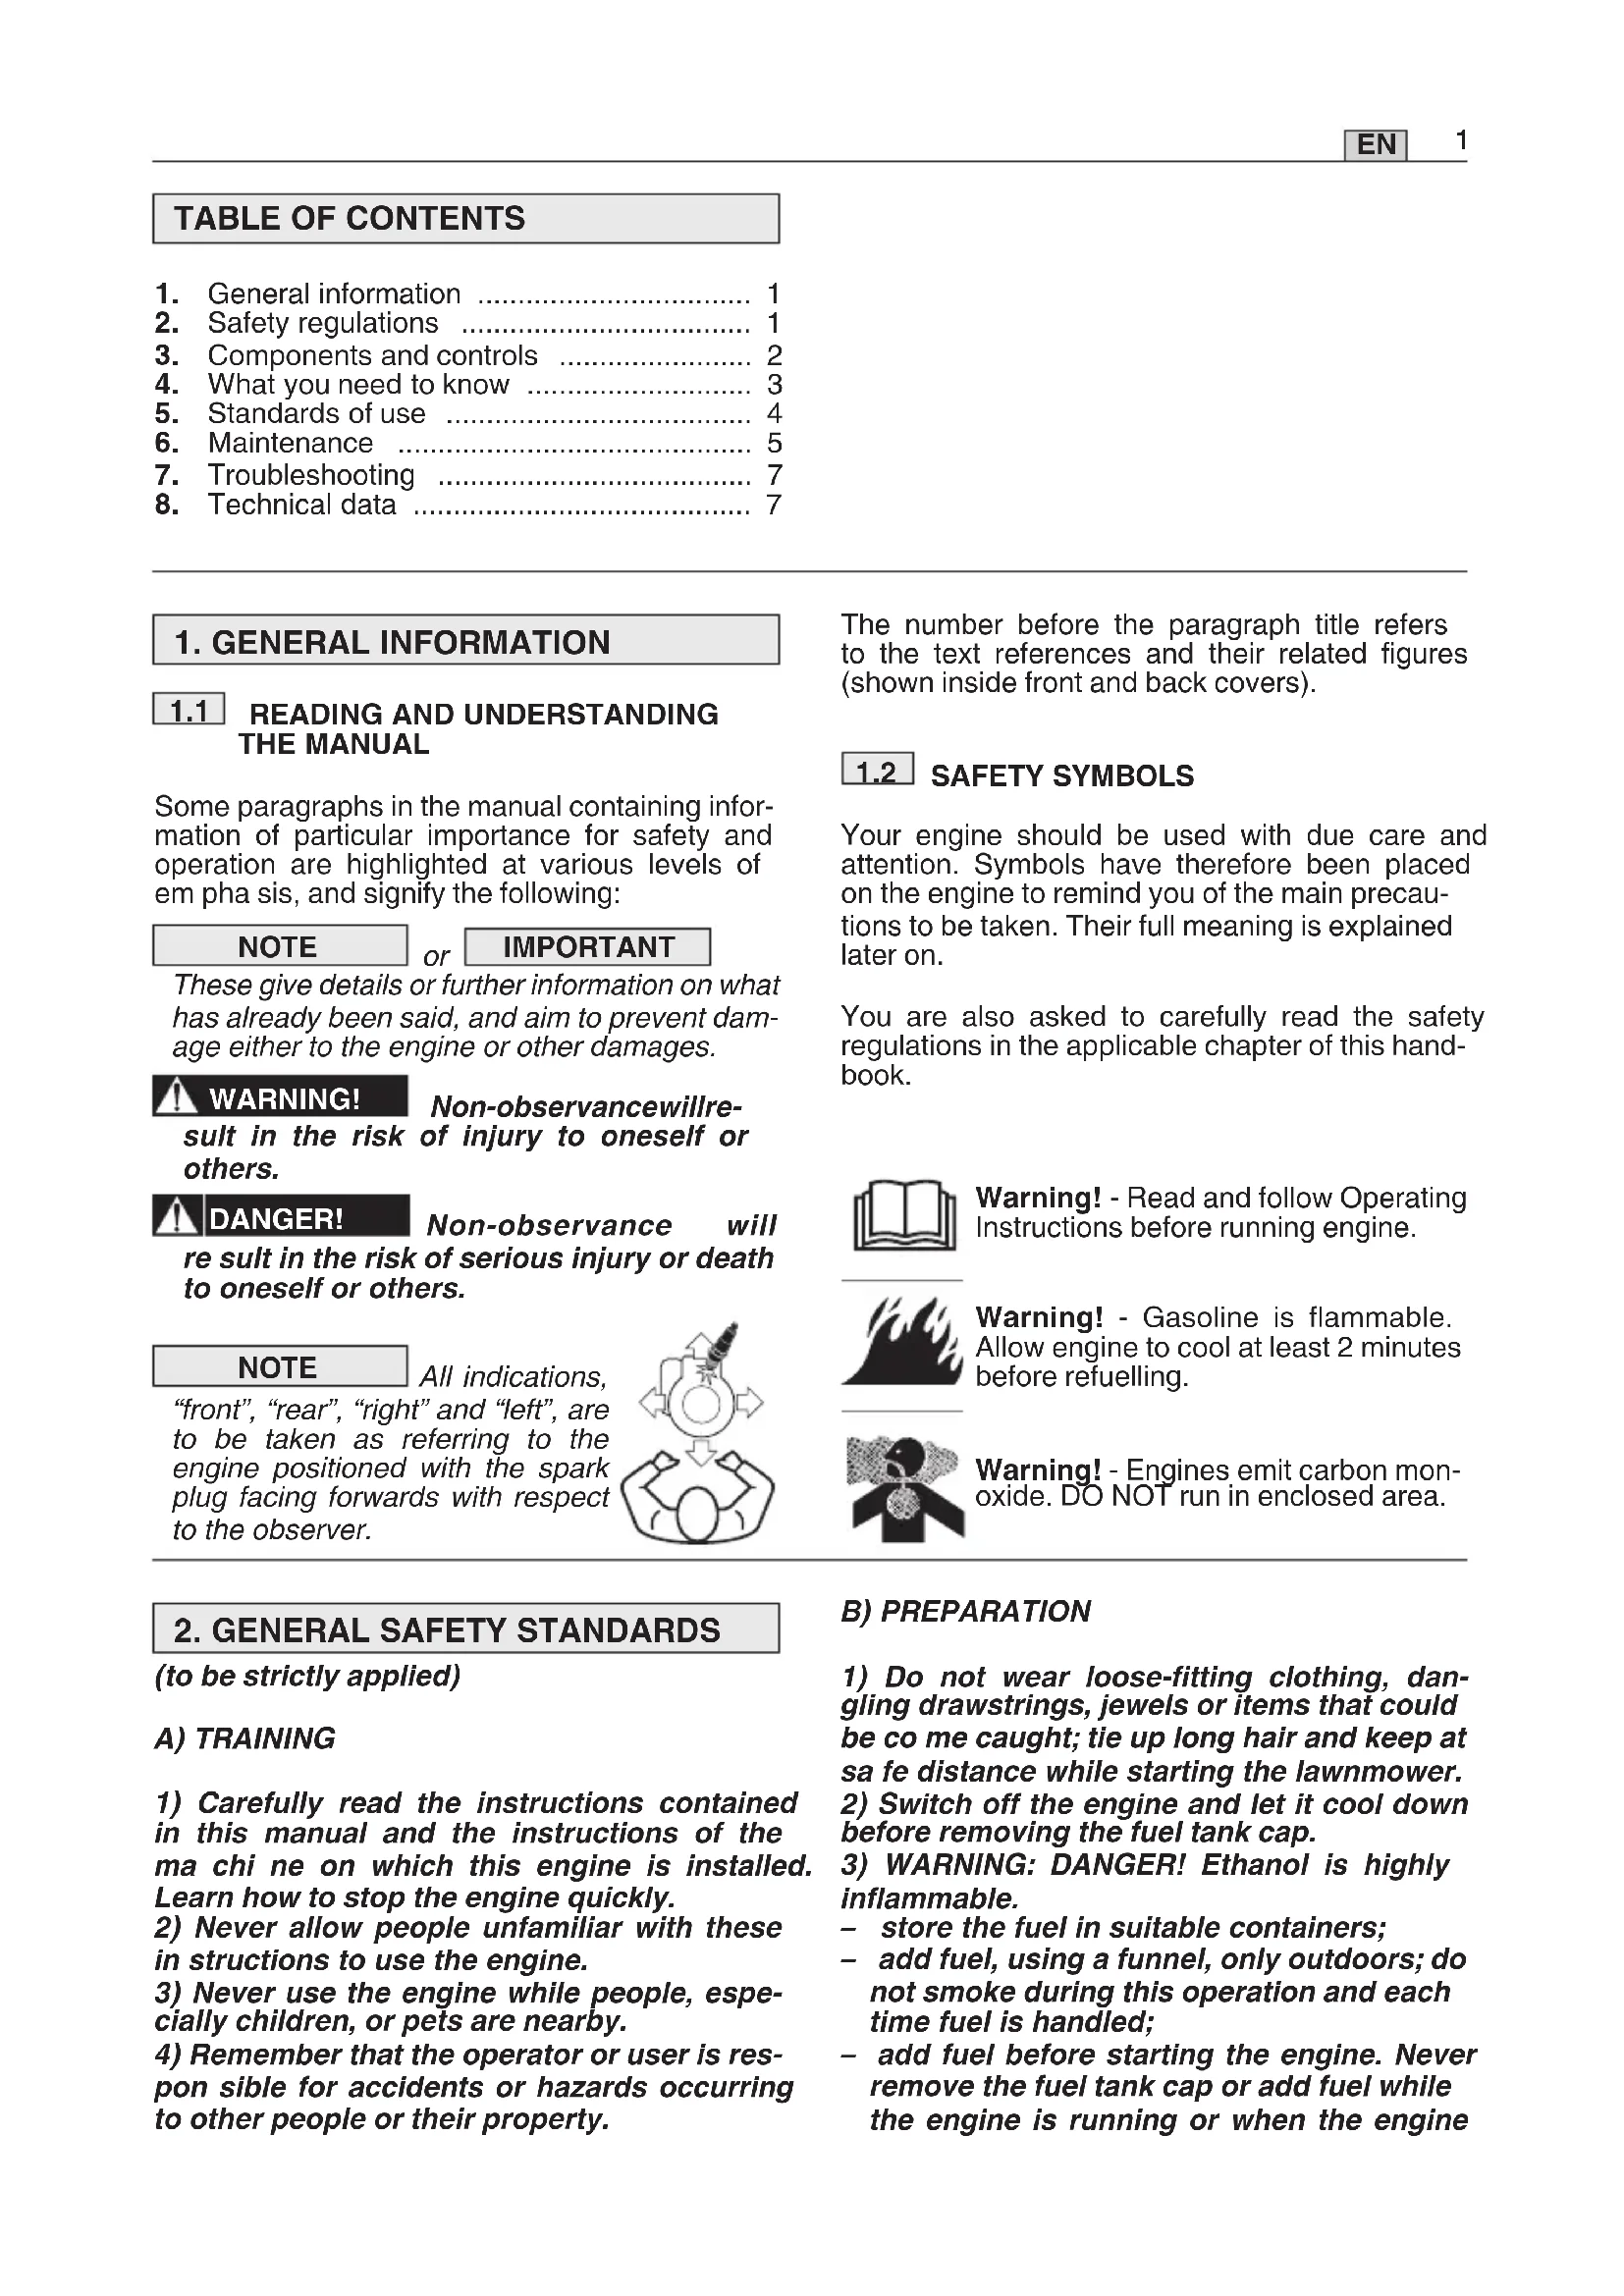
NOTE
All indications,
"front", "rear", "right" and "left", are to be taken as referring to the engine positioned with the spark plug facing forwards with respect to the observer.
2. GENERAL SAFETY STANDARDS
(to be strictly applied)
A) TRAINING
1) Carefully read the instructions contained in this manual and the instructions of the ma chi ne on which this engine is installed. Learn how to stop the engine quickly.
2) Never allow people unfamiliar with these in structions to use the engine.
3) Never use the engine while people, especially children, or pets are nearby.
4) Remember that the operator or user is responsible for accidents or hazards occurring to other people or their property.
The number before the paragraph title refers to the text references and their related figures (shown inside front and back covers).
1.2
SAFETY SYMBOLS
Your engine should be used with due care and attention. Symbols have therefore been placed on the engine to remind you of the main precautions to be taken. Their full meaning is explained later on.
You are also asked to carefully read the safety regulations in the applicable chapter of this handbook.

Warning! - Read and follow Operating Instructions before running engine.

Warning! - Gasoline is flammable. Allow engine to cool at least 2 minutes before refuelling.

Warning! - Engines emit carbon monoxide. DO NOT run in enclosed area.
B) PREPARATION
1) Do not wear loose-fitting clothing, dangling drawstrings, jewels or items that could be co me caught; tie up long hair and keep at sa fe distance while starting the lawnmower.
2) Switch off the engine and let it cool down before removing the fuel tank cap.
3) WARNING: DANGER! Ethanol is highly inflammable.
- store the fuel in suitable containers;
- add fuel, using a funnel, only outdoors; do not smoke during this operation and each time fuel is handled;
- add fuel before starting the engine. Never remove the fuel tank cap or add fuel while the engine is running or when the engine
is hot;
- if you have spilt some fuel, do not attempt to start the engine but move the machine away from the area of spillage and avoid creating any source of ignition until the fuel has evaporated and fuel vapours have dissipated.
- always put the fuel tank and container caps back on and tighten well.
4) Replace faulty silencers and the guard, if damaged.
C) OPERATION
1) Do not operate the engine in a confined space where dangerous carbon monoxide fumes can collect.
2) Do not use starting fluids or similar products.
3) Do not change the engine governor settings or overspeed the engine.
4) Do not tilt the machine onto its side to the point where fuel leaks from the fuel tank cap.
5) Do not touch the cylinder fins and/or the silencer guard until the engine has cooled down.
6) Stop the engine and disconnect the spark plug cable before checking, cleaning or servicing the machine or the engine.
7) Do not crank the engine with spark plug removed.
8) Transport the machine with an empty fuel tank.
1) A routine maintenance is essential for safety and for keeping a high performance level.
2) Do not store the machine with fuel in the tank in an area where the fuel vapors could reach an open flame, a spark or a strong heat source.
3) Allow the engine to cool before storing in any enclosure.
4) To reduce fire hazards, keep the engine, ex haust silencer and fuel storage area free of grass, leaves, or excessive grease.
5) If the fuel tank has to be emptied, this should be done outdoors once the engine has coo led down.
6) On safety ground, never use the engine with either worn or damaged parts. Parts are to be replaced and not repaired. Use genuine spare parts. Parts that are not of the same quality can damage the engine and impair your safety.
E) EMISSIONS
The combustion process generates toxic substances such as carbon monoxide, nitrogen oxides and hydrocarbons.
It is important to control these substances because they can react with photochemical smog as well as with direct exposure to sunlight.
Carbon monoxide does not react in the same way to exposure to sunlight but it must still be considered toxic.
Our machines are equipped with emission reduction systems for the substances mentioned above.
3. COMPONENTS AND CONTROLS
3.1 ENGINE COMPONENTS
- Oil fillercap with dipstick
- Oil drain plug
- Air cleaner cover
- Spark plug cap
- Engine code


Note your engine serial number here
3.2 ACCELERATOR CONTROL
The throttle trigger (generally a lever), fitted to the machine, is connected to the engine by a cable.
Consult the machine's Instructions Manual to identify the throttle trigger and its positions, usually marked by symbols, corresponding to:
CHOKE = to be used for starting from cold.
FAST = corresponds to maximum revs; to be used when working.
SLOW = corresponds to minimum revs.
4. WHAT YOU NEED TO KNOW
The engine performance, reliability and life are influenced by many factors, some external and some strictly associated with the quality of the products used and with the scheduled maintenance.
The following information allow a better understanding and use of your engine.
4.1 ENVIRONMENTAL CONDITIONS
The operation of a four-stroke endothermic engine is affected by:
a) Temperature:
- Working in low temperatures could lead to a difficult cold starting.
- When operating at very high temperatures, a warm start could prove difficult due to evaporation of fuel in the float chamber of the carburettor or in the pump.
- In any case, the right kind of oil must be used, according to the operating temperatures.
b) Altitude:
- The higher the altitude (above sea level), the lower the max power developed by an endothermic engine.
- When there is a considerable increase in altitude, the load on the machine should be reduced and particularly heavy work avoided.
4.2 FUEL
A good quality fuel is the major issue for the engine reliability of operation.
Fuel must meet these requirements:
a) Use clean, fresh unleaded gasoline, with a minimum of 90 octane.
b) Do not use fuel formulated with ethanol greater than 10%.
c) Do not add oil.
d) To protect the fuel system from gum formation, mix a fuel stabilizer into the fuel.
Use of unapproved fuels will cause damage to engine components, which will not be covered under warranty.
4.3 OIL
Use always high quality oils, choosing their viscosity grade according to the operating temperature.
a) Only use SF-SG quality classified detergent oil.
b) Choose the SAE viscosity grade of oil from this chart:
$$ \begin{array}{l} - \text { from } 5 \text { to } 3 5 ^ {\circ} \mathrm{C} = \text { SAE } 3 0 \ - \text { from } - 1 5 \text { to } + 3 5 ^ {\circ} \mathrm{C} = 1 0 \mathrm{W} - 3 0 \ (M u l t i - v i s c o s i t y) \ \end{array} $$
c) The use of multi-viscosity oils in hot temperatures will result in higher than normal oil consumption; therefore, check oil level more frequently.
d) Do not mix oils of different brands and features.
e) SAE 30 oil, if used below +5°C, could result in possible engine damage due to inadequate lubrication.
f) Oil should be at «MAX» mark (see 5.1.1): do not overfill. Overfilling with oil may cause:
- Smoking;
- Spark plug or air filter fouling, which will cause hard starting.
4.4 AIR FILTER
The air filter must always be in perfect working order, to prevent debris and dust from getting sucked into the engine, reducing the efficiency and life of the machine.
a) Always keep the filtering element free of debris and in perfect working order (see 6.5).
b) If necessary, replace the filtering element with an original spare part. Incompatible filtering elements can impair the efficiency and life of the engine.
c) Never start the engine without mounting the filtering element properly.
4.5 SPARK PLUG
Not all the spark plugs for endothermic engines are the same!
a) Use only spark plugs of the recommended type, with the right heat range.
b) Check the length of the thread, because - if too long - it will damage the engine beyond repair.
c) Make sure that the electrodes are clean and their gap is correct (see 6.6).
5. STANDARDS OF USE
5.1 BEFORE EVERY USE
Before every use, perform the following checking procedures in order to assure a regular operation.
5.1.1 Check oil level
See the specific chapter (8.1) for the oil to be used.
a) Place engine level.
b) Clean around oil fill.
c) Unscrew the cap (1), clean the end of the dipstick (2) and replace it, resting the cap on the filler, as seen in the illustration, without tightening it.
d) Remove the cap with the dipstick and check the oil level that must be between the «MIN» and «MAX» marks.
e) If oil is required, add oil of the same kind up to the «MAX» mark, being careful not to spill any outside the oil fill.
f) Fully tighten the fillercap (1) and wipe off any spilled oil.
5.1.2 Check air cleaner
The efficiency of the air filter is fundamental for the engine to work properly. Do not start the engine if the filtering element is missing or broken.
a) Clean around the filter cover (1).
b) Remove the cover (1) by unscrewing the two knobs (2 - TRE0701 - TRE0801), or by pressing the tabs (2a - TRE0702).
c) Check the condition of the filtering element (3). It must be intact, clean and in perfect working order; if not, either carry out maintenance or replace it (see 6.5).
d) Put the cover (1) back.
5.1.3 Refuelling
IMPORTANT Do not drip fuel onto plastic parts of the motor or the machine to prevent damaging them and remove all traces of spilt fuel immediately. The warranty d cover damage to plastic parts caused by fuel. The fuel characteristics are given in the specific paragraph (see 4.2 and 8.1). Refuelling must be made when the engine is cold, following the instructions contained in the machine's Instructions Manual.
5.1.4 Spark plug cap
Firmly connect the cable cap (1) to the spark plug (2), making sure that there are no traces of dirt inside the cap and on the spark plug terminal.
5.2 STARTING THE ENGINE (cold)
The engine must be started in the way described in the machine's Instruction Manual, always making sure that any device (if present) that could cause the machine to advance or the engine to stop is disengaged.
a) Move the throttle to «CHOKE».
b) Turn the starter key as described in the machine's instruction manual.
After a few seconds, slowly move the throttle from «CHOKE» to either «FAST» or «SLOW».
5.3 STARTING THE ENGINE (hot starting)
•) Follow the whole cold-starting procedure with throttle control in «FAST» position.
5.4 USE OF THE ENGINE IN OPERATION
Maximum revs must be used to optimise the engine's yield and performance, by setting the throttle trigger to «FAST».
WARNING!
Keep your hands away or and surrounding areas e extremely hot. With the do not get loose-fitting arves, etc.) or hair closer the engine.
IMPORTANT Do not operate on over 20°
inclines to prevent malfunctioning of the engine.
5.5 STOPPING THE ENGINE DURING MOWING
a) Move the throttle to «SLOW».
b) Allow the engine to run at minimum speed for at least 15-20 seconds.
c) Stop the engine following the instructions contained in the machine's Instructions Manual.
19.6 STOPPING THE ENGINE AFTER MOWING
a) Move the throttle to «SLOW».
b) Allow the engine to run at minimum speed for at least 15-20 seconds.
c) Stop the engine following the instructions contained in the machine's Instructions Manual.
d) When the engine is cold, disconnect the spark plug (1) and remove the starter key (if present).
e) Remove any debris from the engine and especially around the exhaust silencer to reduce the risk of fire.
5.7 CLEANING AND STORAGE
a) Do not spray with water or use hydraulic
lances to clean the exterior of the engine.
b) Use a compressed air gun (max. 6 bars) for preference, thus preventing debris and dust from penetrating inside.
c) Store the lawnmower (and the engine) in a dry place, sheltered from severe weather conditions and sufficiently ventilated.
5.8 LONG STORAGE (over 30 days)
In case the engine has to be stored for a long time (for example at the end of the season), a few precautions are needed to help the future start-up.
a) To prevent the formation of deposits inside the tank, empty it of fuel by unscrewing the carburettor float chamber plug (1) and collecting all the fuel in a suitable container. At the end of the operation remember to screw the plug (1) back on and fully tighten it.
b) Remove the spark plug and pour about 3 cl of clean engine oil into the spark plug hole, then, having blocked the hole with a rag, run the starter motor briefly to turn the engine for a few revs and distribute the oil over the inner surface of the cylinder. Finally replace the spark plug without connecting the cable cap.
6. MAINTENANCE
WARNING!
Any attempt to tamper with the emission control system may increase emission levels above legal limits. This definition includes the removal or alteration of parts such as the intake system, the fuel system and the exhaust system.
6.1 SAFETY RECOMMENDATIONS
WARNING!
Remove the spark plug cap and read instructions before carrying out any cleaning, repair or maintenance operation. Wear proper clothing and working gloves whenever your hands are at risk. Do not perform maintenance or repair operations without the necessary tools and technical knowledge.
IMPORTANT
Never get rid of used oil, fuel or other pollutants in unauthorised places.
Follow the hourly or calendar – whichever occur first – maintenance schedule shown in the following table.
IMPORTANT
It is the responsibility owner to perform the machine maintenance operations described in the table below.
IMPORTANT
Clean more frequently when
operating in particularly demanding conditions or when there is debris in the air.
NOTE
Filters should be cleaned /
replaced more often if the machine is used on very dusty ground.
| Operation | After First 5 hours | Every 5 hours or daily | Every 50 hours or every season | Every 100 hours |
| Check oil level (see 5.1.1) | - | √ | - | |
| Change oil ^1) (see 6.3) | √ | - | √ | |
| Clean silencer and engine (see 6.4) | - | √ | - | |
| Air filter cleaning ^2) and check (see 6.5) | - | √ | - | |
| Air filter replacement (see 6.5) | - | - | √ | |
| Check spark plug (see 6.6) | - | - | √ | |
| Replace spark plug (see 6.6) | - | - | - | √ |
| Fuel filter check ^3) | - | - | - | √ |
1) Change oil every 25 hours if the engine is operating under heavy load or in ht weather.
2) Clean air cleaner more frequently if the machine is operating in dusty areas.
^3) To be carried out by a specialized Centre.
6.3 CHANGE OIL
See the specific chapter (8.1) for the oil to be used.
WARNING!
Drain oil while the engine is warm, being careful not to touch the hot engine nor the drained oil.
Unless otherwise stated in this machine In struc-tion Manual, to drain the oil it is necessary to:
a) Place the machine on a flat surface.
b) Clean the area around the filler cap and unscrew the cap with dipstick (1).
c) Provide a suitable container for collecting the oil and unscrew the drain plug (2).
of the Refit the drain plug (2) and fully tighten it having made sure that the gasket is in the right position.
e) Fill up with fresh oil (see 5.1.1).
f) Check that the oil level has reached the
«MAX» notch on the dipstick (3).
g) Close the cap (1) again and clean up any traces of oil that was possibly spilt.
IMPORTANT
The engine holds a maximum of 1.2 litres of oil. Topup gradually adding small amounts of oil at a time; check that the oil level never exceeds the «MAX» notch on the dipstick.
6.4 CLEAN SILENCER AND ENGINE
Silencer must be cleaned when the engine is cold.
a) Use a jet of compressed air to remove any debris and dirt that could cause a fire from the silencer and its protective cover.
b) Make sure that the cooling air intakes (1) are not blocked.
c) Clean the plastic components with a sponge (2) soaked in water and detergent.
6.5 AIR FILTER MAINTENANCE
a) Clean the area around the filter cover (1).
b) Remove the cover (1) by unscrewing the two knobs (2 - TRE0701 - TRE0801), or by pressing the tabs (2a - TRE0702).
c) Remove the filtering element (3a + 3b).
d) Remove the pre-filter (3b) from the cartridge (3a).
e) Tap the cartridge (3a) on a solid surface and blow it from the inside with compressed air to remove dust and debris.
f) Wash the sponge pre-filter (3b) with water and detergent and leave it to dry in the air.
IMPORTANT Do not use water, petrol, detergents or any other products to clean cartridge.
IMPORTANT The sponge pre-filter (3b) must NEVER be oiled.
g) Clean the inside of the filter housing (4) from dust and debris, making sure to block the inlet duct with a rag (5) to prevent them from entering the engine.
h) Remove the rag (5), install the filtering element (3b + 3a) in its housing and refit the cover (1).
6.6 SPARK PLUG SERVICE
a) Remove the spark plug (1) using a spark plug socket wrench (2).
b) Clean the electrodes (3) with a metal brush and remove any carbonaceous build-up.
c) Using a thickness gauge (4), check for the right gap (0.6 - 0.8 mm) between the electrodes.
d) Install the spark plug (1) and tighten with a socket wrench (2).
Replace the spark plug if the electrodes are burnt or if the porcelain is broken or damaged.
WARNING! Fire hazard! Do not check the ignition system with spark plug re moved.
IMPORTANT Use only spark plugs of the recommended type (see 8.1).
7. TROUBLESHOOTING
PROBLEM LIKELY CAUSE SOLUTION
| a) Hard starting | - No fuel | - Check and top up (see 5.1.3) |
| - Old fuel or deposits in the fuel tank | - Empty the fuel tank and add fresh fuel | |
| -Incorrect starting procedure | -Perform the starting procedure correctly (see 5.2) | |
| - Spark plug disconnected | - Check that the spark plug cap fits well over the plug terminals (see 5.1.4) | |
| -The spark plug is wet or the spark plug electrodes are dirty or placed inadequately | - Check (see 6.6) | |
| - Air filter clogged | - Check and clean (see 6.5) | |
| - Incorrect oil for the season | - Replace with proper oil (see 6.3) | |
| - Fuel evaporation in the carburetor (vapor lock) due to high temperatures | - Wait for a few minutes then start again (see 5.3) | |
| - Fault in carburation | - Contact a Licensed Service Centre | |
| - Hard starting | - Contact a Licensed Service Centre | |
| b) Inconsistent working | - Dirty electrodes or incorrect gap | - Check (see 6.6) |
| -The spark plug cap is inserted incorrectly | -Check that the cap is fitted correctly (see 5.1.4) | |
| - Air filter clogged | - Check and clean (see 6.5) | |
| -Throttle trigger in «CHOKE» position | -Move the lever to the «FAST» position | |
| - Fault in carburation | - Contact a Licensed Service Centre | |
| - Fault in ignition | - Contact a Licensed Service Centre | |
| c) Loss of power whilst operating | - Air filter clogged | - Check and clean (see 6.5) |
| - Fault in carburation | - Contact a Licensed Service Centre |
8. TECHNICAL SPECIFICATIONS
8.1 REFILLING AND OPERATION MATERIALS
Fuel Unleaded gasoline, minimum 90 octane
Engine oil: from 5 to 35 °C SAE 30
from -15 to +35 °C 10W-30
Oil capacity 1.2 liter
Spark plug QC12YC / RC12YC (Champion) or equivalent
Spark plug gap 0.6 - 0.8 mm
CO_2 773,41 g/kWh
This CO_2 measurement results from testing over a fixed test cycle under laboratory conditions a(n) (parent) engine representative of the engine type (engine family) and shall not imply or express any guarantee of the performance of a particular engine.
INDICE
6.1 RECOMMANDATIONS POUR LA SÉCURITÉ
ATTENTION!
Spužvasti pred-filter (3b) NE
7. PROBLEEMOPLOSSING
PROBLEMEN MOGELIJKE OORZAAK OPLOSSING
D) VEDLIKEHOLD OG LAGRING
6.5 VEDLIKEHOLD AV LUFTFILTERET
6.6 KONTROLL OG VEDLIKEHOLD AV TENNPLUGGEN
a) Demonter tennpluggen (1) med en pipenøkkel (2).
b) Rengjør elektrodene (3) med en metallbørste, og fjern eventuelle avsetninger av kull.
c) Kontroller med en sensor (4) den korrekte avstanden mellom elektrodene (0,6-0,8 mm).
d) Sett på igjen tennpluggen (1) og skru den helt fast med en pipenøkkel (2).
- NIESPRAWNOŚCI I SPOSOBY USUNI CIA ICH
1.1 INDICAÇÕES PARA A CONSULTA
7. PROBLEMAS E SOLUÇÕES
PROBLEMA CAUSA PROVÁVEL SOLUÇÃO
4.1 PRACOVNÉ PROSTREDIE
5.4 POUŽITIE MOTORA POČAS PRACOVNEJ ČINNOSTI
Spužvasti pred-filter (3b)
NE SME se podmazivati.
g) Očistite unutrašnjost sedišta (4) filtera od prašine i otpadaka, pobrinuvši se da oni ne do spiju u motor tako što ste usisni otvor zatvo rili krpom (5).
h) Izvadite krpu (5), namestite uložak filtera (3b + 3a) u njegovo se dište, a zatim zatvorite po klopac (1).
6.6 KONTROLA I ODRŽAVANJE SVEĆICE
INNEHÅLLSFÖRTECKNING
1. ALLMÄNNA INFORMATIONER
1.1 VARNINGAR OCH ANMÄRKNINGAR
5.7 RENGÖ RING OCH FÖRVARING
8.1 SAMMANFATTNING AV TANKNINGAR OCH RESERVDELAR
EN • The content and images in this User Manual were produced expressly for ST. S.p.A. and are protected by copyright – any unauthorised reproduction or modification to the document, either partially or in full, is prohibited.
Type:
Art.N....-s/n.....CE

- POUŽITÍ MOTORU BĚHEM PRACOVNÍ ČINNOSTI
- GENERAL INFORMATION
- READING AND UNDERSTANDING THE MANUAL
- NOTE
- IMPORTANT
- WARNING!
- DANGER!
- GENERAL SAFETY STANDARDS
- A) TRAINING
- 1.2
- SAFETY SYMBOLS
- B) PREPARATION
- C) OPERATION
- E) EMISSIONS
- COMPONENTS AND CONTROLS
- ENGINE COMPONENTS
- ACCELERATOR CONTROL
- WHAT YOU NEED TO KNOW
- ENVIRONMENTAL CONDITIONS
- a) Temperature:
- b) Altitude:
- FUEL
- OIL
- AIR FILTER
- SPARK PLUG
- STANDARDS OF USE
- BEFORE EVERY USE
- Check oil level
- Check air cleaner
- Refuelling
- Spark plug cap
- STARTING THE ENGINE (cold)
- STARTING THE ENGINE (hot starting)
- USE OF THE ENGINE IN OPERATION
- STOPPING THE ENGINE DURING MOWING
- STOPPING THE ENGINE AFTER MOWING
- CLEANING AND STORAGE
- LONG STORAGE (over 30 days)
- MAINTENANCE
- SAFETY RECOMMENDATIONS
- CHANGE OIL
- CLEAN SILENCER AND ENGINE
- AIR FILTER MAINTENANCE
- SPARK PLUG SERVICE
- TROUBLESHOOTING
- TECHNICAL SPECIFICATIONS
- REFILLING AND OPERATION MATERIALS
- INDICE
- RECOMMANDATIONS POUR LA SÉCURITÉ
- ATTENTION!
- PROBLEEMOPLOSSING
- D) VEDLIKEHOLD OG LAGRING
- VEDLIKEHOLD AV LUFTFILTERET
- KONTROLL OG VEDLIKEHOLD AV TENNPLUGGEN
- INDICAÇÕES PARA A CONSULTA
- PROBLEMAS E SOLUÇÕES
- PRACOVNÉ PROSTREDIE
- POUŽITIE MOTORA POČAS PRACOVNEJ ČINNOSTI
- KONTROLA I ODRŽAVANJE SVEĆICE
- INNEHÅLLSFÖRTECKNING
- ALLMÄNNA INFORMATIONER
- VARNINGAR OCH ANMÄRKNINGAR
- RENGÖ RING OCH FÖRVARING
- SAMMANFATTNING AV TANKNINGAR OCH RESERVDELAR
Brand : STIGA
Model : Combi 2072 H
Category : Tractor