PL45 - Saw SCHEPPACH - Free user manual and instructions
Find the device manual for free PL45 SCHEPPACH in PDF.
| Technical Features | SCHEPPACH PL45 band saw, 400 W power, cutting speed 800 m/min, cutting capacity 90 mm. |
|---|---|
| Dimensions | Machine dimensions: 600 x 400 x 900 mm, weight 25 kg. |
| Usage | Ideal for woodworking, cutting various materials, suitable for professionals and hobbyists. |
| Maintenance | Regularly check blade tension, clean wood residues, lubricate moving parts. |
| Safety | Wear safety glasses, do not wear loose clothing, unplug the device when changing the blade. |
| General Information | 2-year warranty, after-sales service available, spare parts accessible. |
Frequently Asked Questions - PL45 SCHEPPACH
Download the instructions for your Saw in PDF format for free! Find your manual PL45 - SCHEPPACH and take your electronic device back in hand. On this page are published all the documents necessary for the use of your device. PL45 by SCHEPPACH.
USER MANUAL PL45 SCHEPPACH
Plunge Cut Saw Translation from the original instruction manual
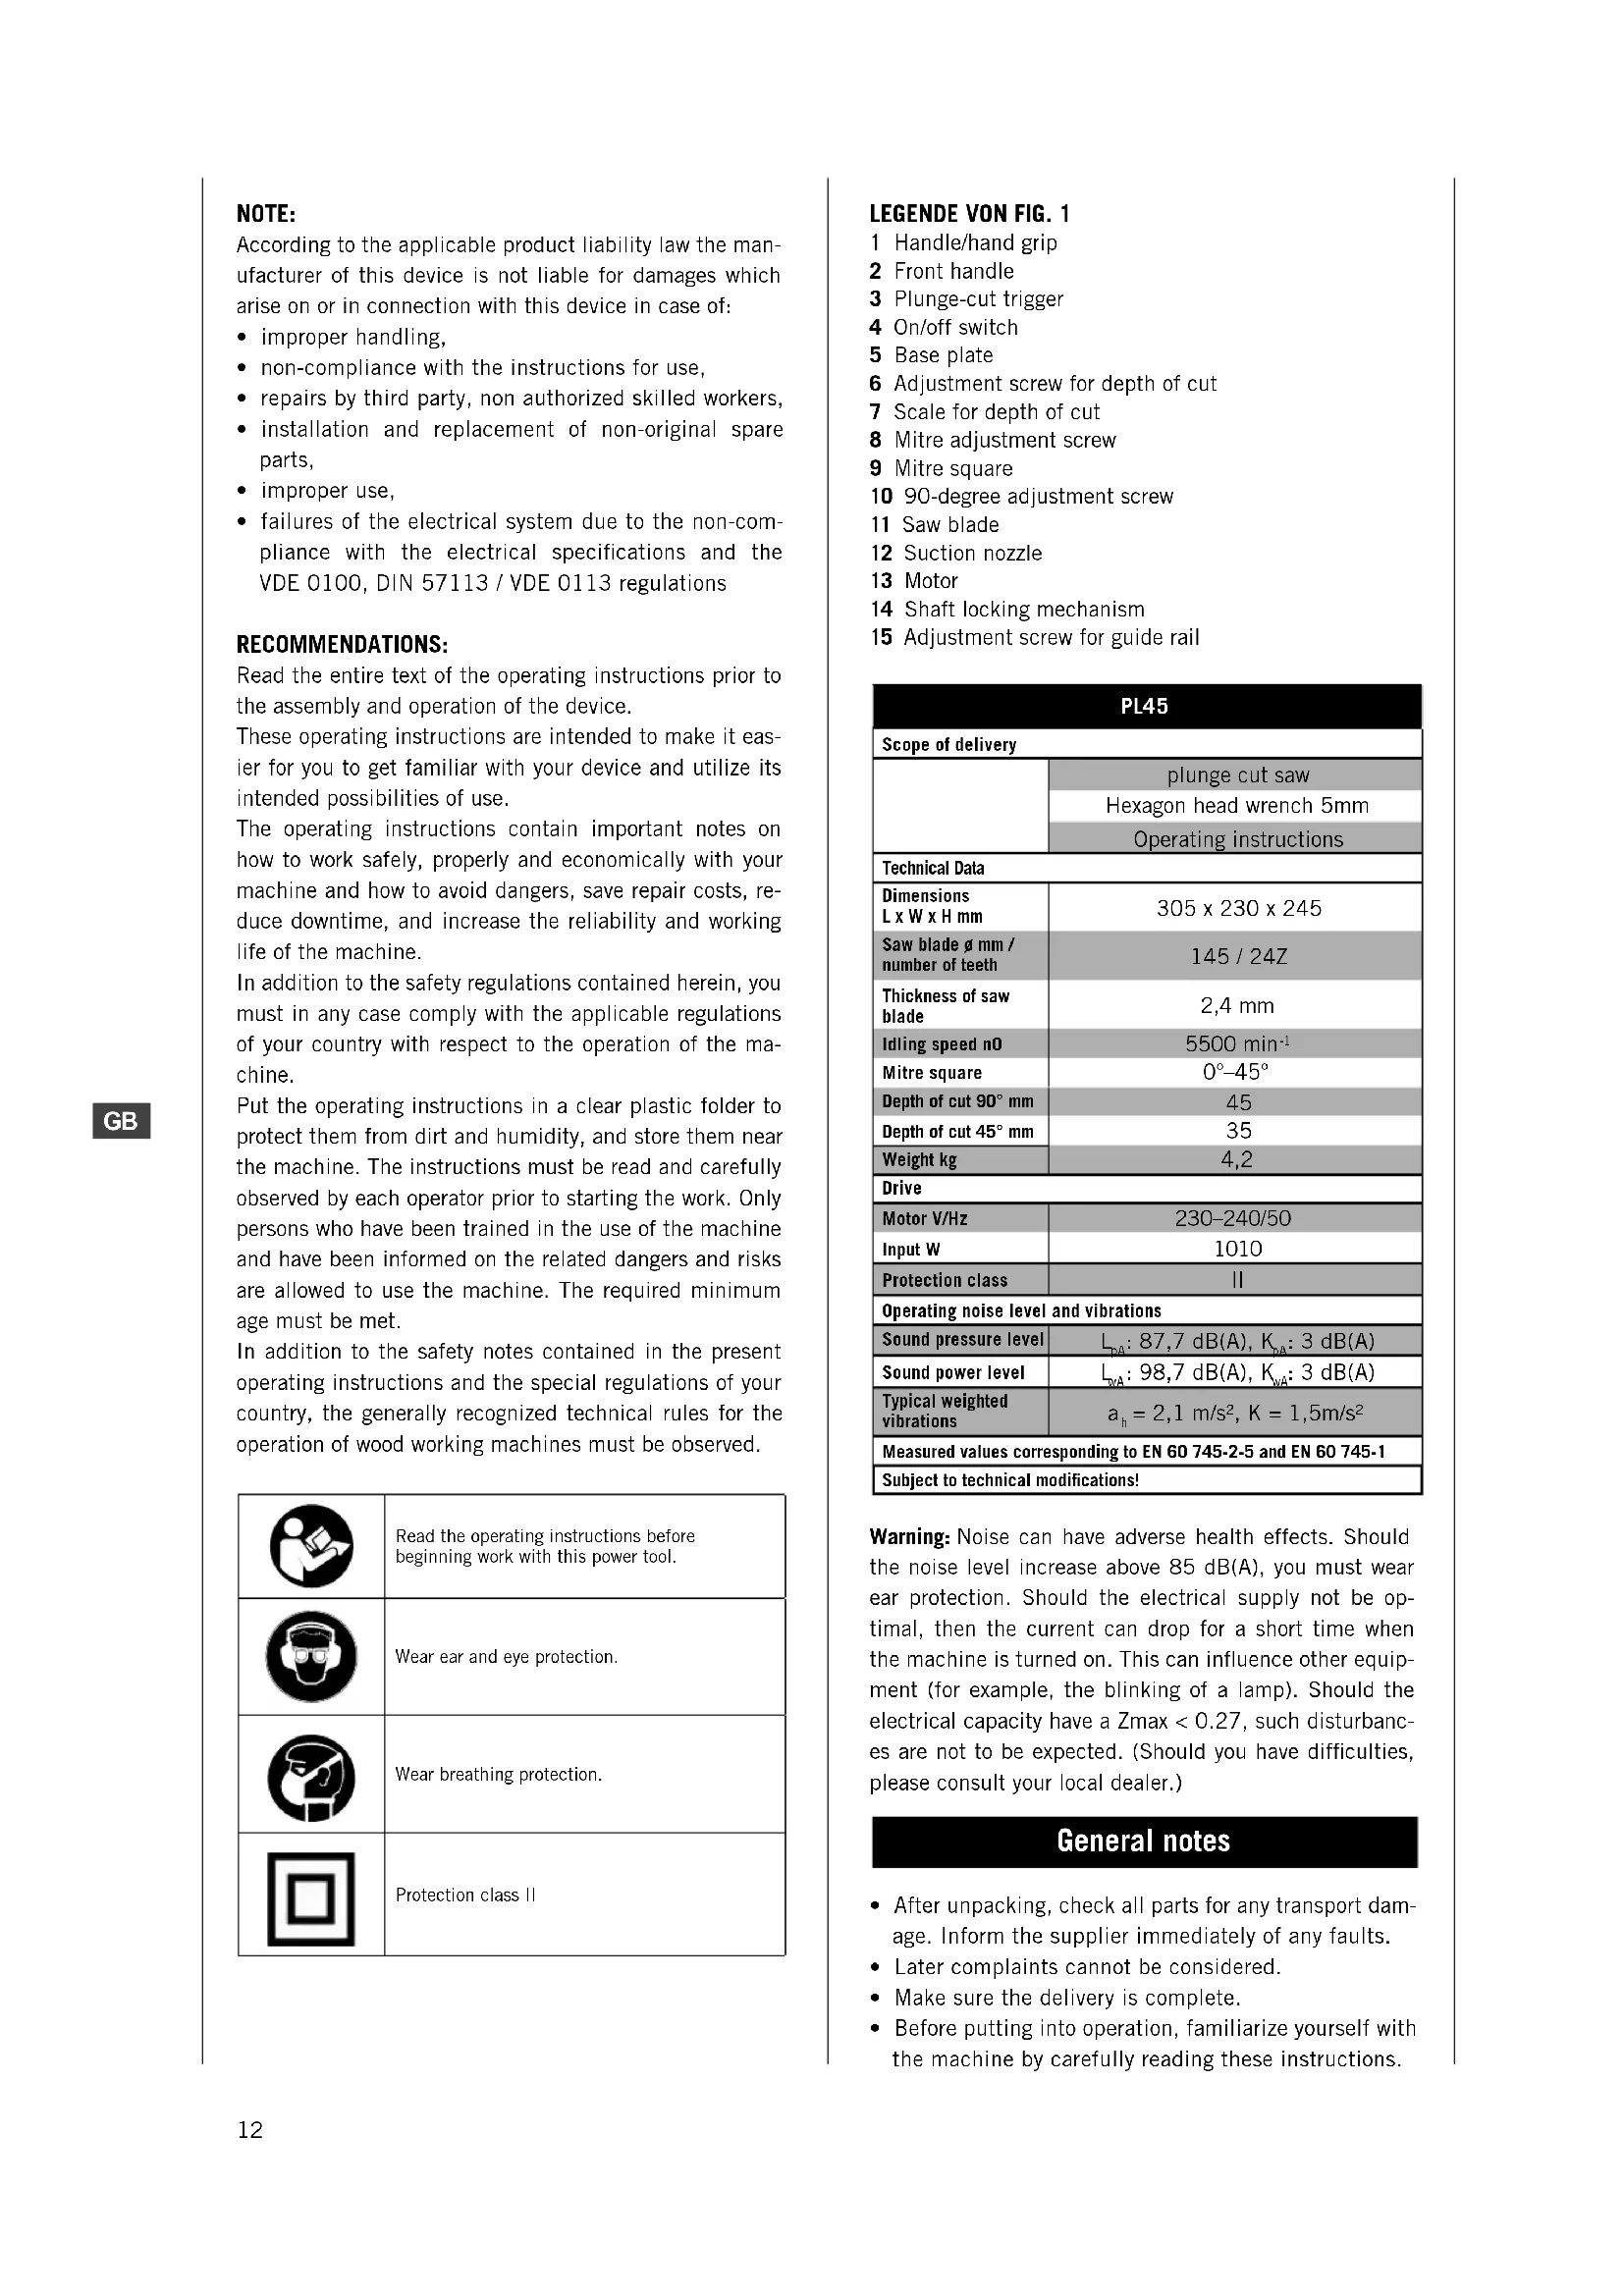
1 Handle/hand grip 2 Front handle 3 Plunge-cut trigger 4 On/off switch 5 Base plate 6 Adjustment screw for depth of cut 7 Scale for depth of cut 8 Mitre adjustment screw 9 Mitre square 10 90-degree adjustment screw 11 Saw blade 12 Suction nozzle 13 Motor 14 Shaft locking mechanism 15 Adjustment screw for guide rail PL45 Scope of delivery plunge cut saw Hexagon head wrench 5mm Operating instructions Technical DataDimensions L x W x H mm 305 x 230 x 245 Saw blade ø mm / number of teeth 145 / 24Z Thickness of saw blade 2,4 mm Idling speed n0 5500 min
= 2,1 m/s², K = 1,5m/s² Measured values corresponding to EN 60 745-2-5 and EN 60 745-1Subject to technical modifications!
Warning: Noise can have adverse health effects. Should
the noise level increase above 85 dB(A), you must wear ear protection. Should the electrical supply not be op- timal, then the current can drop for a short time when the machine is turned on. This can influence other equip- ment (for example, the blinking of a lamp). Should the electrical capacity have a Zmax < 0.27, such disturbanc- es are not to be expected. (Should you have difficulties, please consult your local dealer.) General notes
- After unpacking, check all parts for any transport dam- age. Inform the supplier immediately of any faults.
- Later complaints cannot be considered.
- Make sure the delivery is complete.
- Before putting into operation, familiarize yourself with the machine by carefully reading these instructions. NOTE: According to the applicable product liability law the man- ufacturer of this device is not liable for damages which arise on or in connection with this device in case of:
- non-compliance with the instructions for use,
- repairs by third party, non authorized skilled workers,
- installation and replacement of non-original spare parts,
- failures of the electrical system due to the non-com- pliance with the electrical specifications and the VDE 0100, DIN 57113 / VDE 0113 regulations RECOMMENDATIONS: Read the entire text of the operating instructions prior to the assembly and operation of the device. These operating instructions are intended to make it eas- ier for you to get familiar with your device and utilize its intended possibilities of use. The operating instructions contain important notes on how to work safely, properly and economically with your machine and how to avoid dangers, save repair costs, re- duce downtime, and increase the reliability and working life of the machine. In addition to the safety regulations contained herein, you must in any case comply with the applicable regulations of your country with respect to the operation of the ma- chine. Put the operating instructions in a clear plastic folder to protect them from dirt and humidity, and store them near the machine. The instructions must be read and carefully observed by each operator prior to starting the work. Only persons who have been trained in the use of the machine and have been informed on the related dangers and risks are allowed to use the machine. The required minimum age must be met. In addition to the safety notes contained in the present operating instructions and the special regulations of your country, the generally recognized technical rules for the operation of wood working machines must be observed. Read the operating instructions before beginning work with this power tool. Wear ear and eye protection. Wear breathing protection.Protection class II13
nes. One moment of inattention while using a power tool can result in serious injury. b) Wear personal protective equipment and always wear protective glasses. Wearing personal protective equip- ment, such as a dust mask, slip-free safety shoes, pro- tective headwear or ear protection, depending on the type and use of a power tool reduces the risk of injury. c) Avoid unintentional start-ups. Make sure that the po- wer tool is shut off before it is connected to the power supply, or is carried. If you have your finger on the switch of the tool while carrying it, or have the tool turned on, or connected to a power supply, this behaviour can lead to accidents. d) Remove the adjustment aides or the spanners before turning on the power tool. A tool or wrench that is located in a rotating part of the machine, can lead to injuries. e) Avoid abnormal posture. Make sure that the operator is standing firmly and can maintain balance. This allows the operator to maintain control over the power tool in unexpected situations. f) Wear appropriate clothing. Do not wear loose clothing or jewellery. Keep hair, clothing and gloves away from the moving parts. Loose clothing, jewellery or long hair can get caught in the moving parts. g) If dust vacuums or catching systems can be installed on the tool, make sure that these are correctly connec- ted and assembled. The use of a dust exhaust unit can reduce hazards caused by dust.
4) Use and treatment of the power tool
a) Do not overtax the tool. Use the appropriate tool for the work that is to be done. With the correct power tool, you can work better and more safely. b) Do not use a power tool where the switch is defective. A power tool that cannot be turned on and off is dange- rous and must be repaired. c) Disconnect the plug from the wall outlet before you make adjustments to the tool, change parts or put the tool away. This precaution prevents inadvertent start- ups of the tool. d) Store power tools that are not in use out of reach of children. Do not let anyone use the tool who does not have experience with it, or who has not read these ins- tructions. Power tools can be dangerous when they are used by inexperienced people. e) Take good care of your power tools. Make sure that movable parts function properly and do not jam, see that parts which influence the use of the machine are not broken or damaged. Repair damaged parts before operating the tool. Many accidents are caused by poorly maintained power tools. f) Keep cutting edges sharp and clean. Properly maintai- ned cutting tools with sharp cutting edges jam less often and are easier to control. g) Use power tools, accessories, and equipment accor- ding to these instructions. Taking into account the wor- king conditions and the work being performed. The use of power tools other than those intended for the tool itself can lead to dangerous situations.
- Use only original scheppach accessories, wearing or re place ment parts. You can find replacement parts at your scheppach dealer.
- When ordering, include our item number and the type and year of construction of the machine. In these operating instructions we have marked the places that have to do with your safety with this sign: m m General safety instructions for power tools
- WARNING Read all warnings and instructions. Failure to apply all warnings and instructions can lead to elec- trical shock, fire and/or serious injury.
- Keep all warnings and instructions handy for future con- sultation.
- The term “power tool” used in the warnings refers to po- wer tools that are connected to a source of electrical energy (with an electrical cable)
a) Keep your working area clean and well lit. Cluttered or dimly lit workspaces can lead to accidents. b) Do not operate power tools in areas where explosions could take place, or in which flammable liquids, gases or dust are present. Power tools can create sparks, which can cause dust or fumes to ignite. c) Keep children and bystanders away from the power tool when it is being used. Distractions could cause you to lose control over the equipment.
2) Electrical safety
a) The terminal plug of the tool must fit into the outlet. The plug may not be modified in any way. Do not use an adaptor plug together with grounded power tools. The original plugs and the appropriate outlets reduce the risk of an electrical shock. b) Avoid contact with grounded surfaces, such as pipes, radiators, stoves and refrigerators. There is an increased risk of electrical shock, if your body is grounded. c) Keep power tools away from rain or wet conditions. Penetration of water into the power tool increases the risk of electrical shock. d) Do not use the cable for any purpose other than that for which it was made. Do not use it to carry the tool, hang it up, or to pull the plug out of the outlet. Keep the cable away from heat, oil, sharp corners or parts of the equipment that move. Damaged or entangled cords increase the risk of electrical shock. e) When operating the power tool outdoors, only use ex- tension cords that are suitable for outdoor use. The use of an appropriate extension cord reduces the risk of an electrical shock. f) If the power tool must be used in a damp environment, use a residual current protective device. The use of such a device reduces the risk of electrical shock.
a) Be attentive, watch what you are doing and use the power tool sensibly. Do not use power tools when you are tired or under the influence of drugs, alcohol or medici-14
a) Hold onto the saw with both hands and position your arms so that they can absorb any energy from a kick- back. Always keep to the side of the saw blade, and never bring it into line with your body. In the case of a kickback, the circular saw can jump backwards, but with adequate caution the operator can deal with the energy of the kickback. b) If the saw blade jams or you want to interrupt your work, then turn the saw off and keep the work piece still until the saw blade comes to a full stop. Never try to re- move the saw from the work piece or pull it out when the saw blade is moving since then a kickback can occur. Find out the cause of the jam and remove it. c) If you want to start up a saw that is in the work piece, centre the saw blade in the sawed groove and check that the saw blade teeth are not caught in the work piece. If the saw blade is jammed, it can jump out of the work piece or cause a kick back when it is started up. d) Support larger work pieces in order to reduce the risk of a kick back due to a saw blade jam. The weight of larger work pieces can cause them to bend. Large pieces must be supported on both sides, both near the sawing slot as well as on the edges. e) Do not use dull or damaged saw blades. Saw blades with dull or misaligned teeth increase the friction, in the sawing slot, cause saw blade jams and kickbacks. f) Before you start sawing, tighten the adjustments for the cut depth and angles. If you change settings while sawing, the saw blade can jam and a kickback is the result. g) Be particularly careful when making “inserted cuts” in walls that already exist or other areas where you cannot see what is behind the surface. When the saw blade is inserted into the wall it can be blocked by hidden objects and cause a kick back. mSafety instructions for inserted circular saw use a) Each time before you use the saw, make sure that the protective covering closes. Do not use the saw if the pro- tective covering cannot move freely and does not close immediately. Never clip or tie the protective covering in an opened position. If the saw should accidentally fall to the ground, the protective covering can get bent. Make sure that the protective covering can move freely and does not touch the saw blade or other parts in all cutting positions. b) Check the condition and function of the spring for the protective covering. Have the saw repaired before use if the protective covering and spring do not work perfectly. Damaged parts, sticky residuals or piles of saw dust can interfere with the working of the lower protective cover. c) When making an “inserted cut” that does not describe a right angle, make sure that the saw is guarded against slipping to the side. Slippage can lead to a saw blade jam and a kickback. d) Do not put the saw on the workbench or the floor wi- thout making sure that the protective cover is over the saw blade. An unprotected, running saw blade can move the saw against the cutting direction and saw what is in the way. Check the delay time of the saw.
a) Only let qualified service personnel repair your tool and always use original replacement parts. This guaran- tees that the power tool remains safe to use. m Safety instructions for all saws a) DANGER: Do not put your hands in the sawing area or on the saw blade. Keep your second hand on the extra handle of the motor housing. If both hands are holding the saw, neither can be injured by the saw blade. b) Do not put your hands under the work piece. The pro- tective cap cannot protect your hands from the blade when they are under the work piece. c) Adjust the cutting depth to the thickness of the work piece. Less than one complete sawing tooth should be visible under the work piece. d) Never hold the work piece that is to be sawn in your hand or over your leg. Make sure that the work piece has a stable balance. It is important that the work piece is held securely, in order to minimize the danger of contact of a body part with the saw, loss of control over the saw, or jamming of the blade. e) Hold the equipment on the insulated handles, when you undertake work in which the tool being used could come into contact with hidden electrical wires, or its own cable. Contact with a live power source can electrify the metal parts of the tool and lead to an electrical shock. f) When making a long cut, always use a stop chock or a straightedge. This improves the accuracy of the cut and reduces the chance that the saw blade jams. g) Always use the correct size of saw blades and make sure they have the right locating bore (e.g. Star shaped or round). Saw blades that do not fit the assembly of the saw do not run correctly and cause loss of control. h) Never use damaged or incorrect saw blade shims or screws. The saw blade shims and screws are designed especially for your saw, for optimal performance and operating sa- fety. m Additional safety instructions for all saws Causes and prevention of kickbacks:
- A kickback is a sudden reaction due to a caught, jam- med or incorrectly adjusted saw blade, which leads to the saw rearing up in an uncontrolled manner and moving out of the work piece towards the operator.
- If a saw blade catches or jams in the sawing edge that closes behind it, it is blocked and motor’s drive pushes the saw back in the direction of the operator.
- If the saw blade twists in the saw groove or is incor- rectly positioned, the teeth at the rear side of the saw blade edge catch in the surface of the work piece. The saw then moves out of the saw groove and springs back in the direction of the operator.
- A kickback results from an incorrect or faulty use of the saw. It can be prevented, as will be described in the following, by appropriate cautionary measures.15
erated by persons familiar with it and instructed in its operation and procedures. Arbitrary alterations to the machine release the manufacturer from all responsi- bility for any resulting damages.
- The machine may only be used with original accesso- ries and tools made by the manufacturer.
- The machine may not be operated with sanding belts. m Remaining hazards The machine has been built using modern technology in accor dance with recognized safety rules. Some remaining hazards, how ever, may still exist.
- The use of incorrect or damaged mains cables can lead to injuries caused by electricity.
- Even when all safety measures are taken, some re- maining hazards which are not yet evident may still be present.
- Remaining hazards can be minimized by following the instructions in „Safety Precautions“, „Proper Use“ and in the entire operating manual.
- Do not force the machine unnecessarily: excessive cutt ing pressure may lead to rapid deterioration of the blade and a decrease in performance in terms of finish and cutting precision.
- When cutting aluminium and plastics always use the app ro priate clamps: all workpieces must be clamped down firmly.
- Avoid accidental starts: do not press the start button while inserting the plug into the socket.
- Always use the tools recommended in this manual to obtain the best results from your plunge cut saw.
- Always keep hands away from the work area when the ma chine is running; before performing tasks of any kind release the main switch button located on the handgrip, thus disconnecting the machine. m Suitable use To cut:
- Hard and soft, domestic and exotic wood both longitu- dinally and transversally and with appropriate adjust- ments (specific blade and clamps); Unsuitable use Do not cut:
- Ferrous materials, steel and cast iron or any other ma- terial not mentioned above and in particular foodstuffs. Start-up Observe the safety notes in the operating instructions before operating the machine.
REMOVAL OF PACKAGING
Remove the box used to protect the machine during trans portion and keep it intact for future transportation and storage.
INSTRUCTIONS FOR ALL SAWS
- Do not use a sanding belt.
- Make sure that the dust catching mechanism is cor- rectly installed, as is described in this manual.
- Wear breathing protection.
- Only those saw blades recommended in the manual should be used.
- Always wear ear protection.
- Replace the saw blades as described in this manual.
- The maximum cut depth is 45 mm. If the electrical cable of this tool is damaged it must be replaced by the manufacturer or the customer service department or a similarly qualified specialist in order to avoid dangers.
FURTHER SPECIAL SAFETY INSTRUCTIONS FOR
CIRCULAR SAWS a) Only use the recommended saw blades which corre- spond to EN 847-1. b) Do not use sanding belts. c) Only use the manufacturer’s original saw blades with the number Ø 145 mm, 5500/min, 145 x 20 x 2.4. Do not use any saw blades which do not correspond to the characteristics described in these operating instruc- tions. Saw blades may not be brought to a stop by pres- sure on the machine from the side. Make sure that the saw blade is tightly assembled and turns in the correct direction. m Special Safety Instructions Safety instructions for circular saws - Hold the equipment on the insulated handles, when you undertake work in which the tool being used could come into contact with hidden electrical wires, or its own cable. Contact with a live power source can electrify the metal parts of the tool and lead to an electrical shock. m Proper use CE tested machines meet all valid EC machine guidelines as well as all relevent guidelines for each machine.
- The machine must only be used in technically perfect con dition in accordance with its designated use and the in structions set out in the operating manual, and only by safety-conscious persons who are fully aware of the risks involved in oerating the machine. Any func- tional dis orders, especially those affecting the safety of the machine, sholud terefore be rectified immediately.
- Any other use exceeds authorization. The manufacturer is not responsible for any damages resulting from un- authorized use; risk is the sole responsibility of the operator.
- The safety, work and maintenance instructions of the manufacturer as well as the technical data given in the calibrations and dimensions must be adhered to.
- Relevant accident prevention regulations and other, gene rally recognized safety-technical rules must also be adhered to.
- The machine may only be used, maintained, and op-16
Operations After having performed all the above procedures and opera tions, you may begin cutting. ATTENTION: Always keep hands away from the cutting area and do not try to approach it when the machine is running. Switching the product on/off, Fig. 1 To switch the plunge-cut saw on, press the on/off switch (4). To switch off, release the on/off switch (4). Operating and holding the plunge-cut saw, Fig. 8 1 Secure the work piece so that it cannot get displaced or moved while sawing. 2 Only move the saw forwards. 3 Grip the saw tightly with both hands ensuring that one hand is placed on the main handle and the other on the front handle. 4 When using a guide rail, it must be fastened with screw clamps. 5 Make sure the power cable is not placed in the sawing direction. Sawing 1 Place the front part of the machine onto the work piece. 2 Switch the machine on using the on/off switch (4). 3 Press the plunge-cut trigger (3). 4 Push the saw downwards to reach the sawing depth. 5 Push the saw forward evenly. 6 After finishing the sawing cut, switch the machine off and move the saw blade upwards. Plunge-cuts, Fig. 9 1 Place the saw onto the work piece. 2 Place the cutting indicator with the rear arrow (A) on the deepest plunge-cut position. 3 Switch the machine on and push the saw downwards until you reach the set cutting depth. 4 Move the saw forwards until the cutting indication (C) has reached the marked point. 5 After completion of the plunge-cut, move the saw blade upwards and switch the saw off. Cutting with rails (otional) 1 Place the machine in the guide rails. can be readjusted using the hex driver included in the delivery, when there is the risk of the adjusting screws releasing by themselves. 2 Turn on the machine by pressing the on/off switch (4). 3 Press the dip trigger (3). 4 Press the saw downwards to reach the sawing depth. During first use the rubber lip is sawn off and thus splitter protection is guaranteed up to the saw blade. 5 Push the saw uniformly forwards. 6 Turn off the machine and tilt the saw blade to the top when the saw cutting is complete. Sawing with dust suction Connect the suction hose to the exhaust nozzle - Ø 38 mm (12). ELECTRICAL CONNECTIONS Check that the electrical system to which the machine is connected is earthed in compliance with current safety regulations and that the current socket is in perfect con- dition. The electrical system must be fitted with a magnetother- mal protective device to safeguard all conductors from short circuits and overload. The selection of this device should be in line with the following electrical specifications of the machine stated on the motor. NOTE: Your plunge cut saw’s electrical system is equipped with an undervoltage relay which automatically opens the circuit when the voltage falls below a minimum pre-est- ablished limit and which prevents the self-reset of ma- chine functions when voltage returns to normal levels. If the machine stops involutarily, do not be allarmed. Make sure that there has not been a voltage failure in the electrical system. ADJUSTING Caution: Prior to carrying out one of the following adjust- ment steps, switch the machine off and unplug the mains plug. Cutting depth adjustment, Fig. 2 The cutting depth can be adjusted from 0 to 45 mm. Unfasten the cutting depth adjustment screw (6) and set the required depth using the scale (7) and retighten the screw. The dimentions on the rail shows the cutting depth with- out rail. Mitre settings, Fig. 3 The mitre square can be set from 0° to 45°. Unfasten the mitre adjustment screws (8) on both sides, set the desired mitre square on the scale (9) and retight- en both screws. Saw blade replacement, Fig. 4, 5, 6 Caution: Before you are going to make the saw blade change, switch off the machine and unplug the power cord. 1 Press the plunge trigger (3), bring the saw blade into the blade-change position (Adjustment screw for depth of cut shall be adjusted to 25mm) and insert the hex wrench into the blade locking screw (17). 2 Press on the shaft lock (13) and rotate the saw blade (10) until the lock clicks into place. 3 Hold down the locking shaft (13) and open the blade locking screw (17) counter clockwise, while keeping the blade in the blade-changing position. 4 Remove the outer flange (16) and the saw blade (10). (Caution: risk of injuries, wear protective gloves) 5 Insert the new blade and flange. 6 Screw in and tighten the saw blade locking screw while keeping the shaft locking mechanism pressed again. 7 Set the plunge saw to its original position.17
m Electrical connection The installed electric motor is completely wired ready for operation. The customer’s connection to the power supply system, and any extension cables that may be used, must conform with local regulations. Defective electrical connection cables Electrical connection cables often suffer insulation dam- age. Possible causes are:
- Pinch points when connection cables are run through window or door gaps.
- Kinks resulting from incorrect attachment or laying of the connection cable.
- Cuts resulting from running over the connecting cable.
- Insulation damage resulting from forcefully pulling out of the wall socket.
- Cracks through aging of insulation. Such defective electrical connection cables must not be used as the insulation damage makes them extremely hazardous. Check electrical connection cables regularly for dam- age. Make sure the cable is disconnected from the mains when checking. Electrical connection cables must comply with the regu- lations applicable in your country. Single-phase motor
- The mains voltage must coincide with the voltage spec- ified on the motor’s rating plate.
- Extension cables up to a length of 25 m must have a cross-section of 1.5 mm
, and beyond 25 m at least
- The connection to the mains must be protected with a 16 A slow-acting fuse. Only a qualified electrician is permitted to connect the machine and complete repairs on its electrical equip- ment. In the event of enquiries please specify the following data:
- Type of current of the motor
- Data recorded on the machine’s rating plate
- Data recorded on the switch’s rating plate If a motor has to be returned, it must always be dis- patched with the complete driving unit and switch. m Maintenance If specialist personnel must be brought in for extraordinary ser vice or repairs during the warranty period and thereaf- ter, please contact a service provider recommended by us or con tact the manufacturer directly.
- Overhauls, maintenance work, cleaning, as well as the eli mi nation of any malfunctions must only be under- taken af ter turning off the motor.
- All protective and safety equipment must be rein- stalled immediately upon completion of any repair or maintenance work. REGULAR MAINTENANCE The regular maintenance decribed above and in the para- graph below can be carried out by unskilled personnel.
- Do not oil the plunge cut saw, cause cutting must be carried out in dry conditions; all rotating parts are self-lubricating.
- During maintenance, wear protective gear if possible (accident-prevention goggles and gloves).
- Remove cuttings when necessary both from the cutting area, work surfaces and support bases. Use of an aspirator or brush is recommended. ATTENTION: Do not use compressed air jets!
- Regularly check blade conditions: if difficulties should arise during cutting, have it sharpened by skilled per- sonnel or replace it if necessary. ASSISTENCE When in need of skilled personnel for special main- tenance, or for repairs, both during and following the guarantee pe riod, always apply to authorized centres for assistance or directly to the manufacturer if there is no authorized centre in your area. DISPOSAL OF THE MACHINE. Once its operating activity is finished, the disposal of the machine must take place through a normal collection and disposal Center for industrial waste.18
Trouble shooting Problem Possible Cause Help The motor does not run. Faulty motor, power supply cable or plug. Burned out fuses. Have the machine checked by skilled person- nel. Do not try to repair the machine yourselves as it may be dangerous. Check the fuses and replace them if necessary. The motor starts slowly and does not reach run- ning speed. Low power supply voltage. Damaged windings. Burned out capacitor. Ask for the Electricity Board to check the voltage available. Have the machine motor checked by skilled personnel. Have the capaci- tor replaced by skilled personnel. Excessive motor noise. Damaged windings. Faulty motor. Have the motor checked by skilled personnel. The motor does not reach full power. Overloaded circuit due to lighting, utilities or other motors. Do not use other utilities or motors on the cir- cuit to which the plunge cut saw is connected. Motor overheats easily Overload of the motor; inadequate cooling of the motor Prevent overloading the motor when cutting; remove dust from the motor to ensure an opti- mum cooling of the motor Decrease in cutting power when sawing The saw blade is too small (sharpened too often) Re-adjust the end stop of the saw unit The saw cut is rough or wavy The saw blade is dull; the tooth shape is not suited to the thickness of the material Re-sharpen the saw blade or use an appropri- ate saw blade The work piece rips or splinters The cutting pressure is excessive or the saw blade is not suited to the application Use the correct saw blade19
TO SAW: 1 Set the saw on the guide rail. 2 Switch on the machine. 3 Press the saw slowly down to the set cut depth and move this evenly forward along the rail. PLUNGE CUTS: To Saw: 1 Set the saw on the guide rail at the marked cutting point 2 Secure the rebound protection or fence (accessory not included) at the back and front cut points on the guide rail. 3 Switch on the machine. 4 Press the saw down slowly to the set cut depth and move this forward evenly on the rail up to the front cutting point. MITRE CUTS: For mitre cuts you should turn the two adjustment screws (E) a half a turn to the right after placing the saw. This helps avoid any unintentional tilting of the saw in the slanted position. Only tighten the adjustment screws (E) to the point where the saw can still be pushed along the rails. This will help you avoid injury to the operator or damage to the machine. ACCESSORIES Guide System 2 Piece Guide Rail 700 mm 1 Piece Rail Joiner ACCESSORY PACKAGE (IT IS NOT A STANDARD PART OF DELIVERY): 2 Pieces Screw Clamps 1 Piece Rebound Protection (Fence) Guide Device (Fig. 10, 11) The guide rails (A) enable clean, precise cuts and protect the surfaces from damage. When sawing with the guide rail, the cut depth is 4.5 mm less than the scale value on the machine. For safety, the guide rail can be secured with screw clamps (B). The rebound protection (D) ensures a safe guiding during plunging into the workpiece. By means of the rail joiner (F), 2 guide rails can be con- nected and allow long, precise cuts The guide clearance of the assembly on the guide rail can be regulated with the two adjustment screws (E). With the offered accessories, miter cuts, corner cuts and other fitting tasks can be carried out. When first using this saw on the optional guide rail, it will need to be adjusted to slide with minimal side movement on the guide rail, Adjustable cams (Fig 10 “E”) are fitted to do this.
1. Place saw on guide rail.
2. Turn cams (Fig 10 “E”) anti-clockwise until tight. Then
clockwise slightly to allow clearance. While holding dials in position lock in place by screwing down the Socket head Cap screws in the middle of each Cam (5mm allen key supplied with machine)
3. Pull saw back and forth along rail ensuring it slides
smoothly Re-adjust as needed.
4. Future adjustment may be needed depending on use
of saw. Caution! Always secure the workpiece in such a way that it cannot shift. Always move the machine forward; never pull it toward the body.20
(POZOR: NEVARNOST POŠKODB, NOSITE
hereby declares the following conformity under the EU Directive and standards for the following article
Only for EU countries. Do not dispose of electric tools together with household waste material! In observance of European directive 2012/19/EU on wasted electrical and electronic equipment and its implementation in accordance with national law, electric tools that have reached the end of their life must be collected separately and returned to an environmentally compatible recycling facility.