PL285 - Saw SCHEPPACH - Free user manual and instructions
Find the device manual for free PL285 SCHEPPACH in PDF.
| Feature | Details |
|---|---|
| Saw type | Band saw |
| Power | 500 W |
| Table dimensions | 300 x 300 mm |
| Maximum cutting height | 80 mm |
| Maximum cutting width | 200 mm |
| Blade speed | 10 m/s |
| Weight | 10 kg |
| Compatible materials | Wood, plastic, light metal |
| Usage | Ideal for precision work and curved cuts |
| Maintenance | Regularly check blade tension and lubricate moving parts |
| Safety | Wear safety glasses and gloves when using |
| Warranty | 2 years |
Frequently Asked Questions - PL285 SCHEPPACH
Download the instructions for your Saw in PDF format for free! Find your manual PL285 - SCHEPPACH and take your electronic device back in hand. On this page are published all the documents necessary for the use of your device. PL285 by SCHEPPACH.
USER MANUAL PL285 SCHEPPACH
Plunge Cut Saw Translation from the original instruction manual
11. Lock screw for guide fence
12. Protective cover
19. Battery compartment
20. Battery compartment cover
3. Scope of delivery
- Open the packaging and remove the device care- fully.
- Remove the packaging material as well as the packaging and transport bracing (if available).
- Check that the delivery is complete.
- Check the device and accessory parts for trans- port damage.
- If possible, store the packaging until the warranty period has expired. ATTENTION The device and packaging materials are not toys! Children must not be allowed to play with plas- tic bags, lm and small parts! There is a risk of swallowing and suffocation!
The machine must only be used for its intended pur- pose! Any other use is deemed to be a case of mis- use. To use the machine properly you must also ob- serve and follow all safety regulations, the assembly instructions, operating and maintenance instructions lay down in this manual. The machine is used for: For the sawing, longitudinally and transversely, of solid wood, chipboard, plywood, plastic, aluminium by using the TCT or HSS saw blade. For sawing tiles, printed circuit boards or glass ber reinforced plastic must be used the diamond saw blade.
- Use only saw blades allowable for this machine!
- Never use a damaged saw blade!
- Use the machine never with defective or without mounted guard
MANUFACTURER: scheppach Fabrikation von Holzbearbeitungsmaschinen Günzburger Straße 69 89335 Ichenhausen Germany DEAR CUSTOMER, We wish you much joy and success in working with your new appliance. NOTE: According to the applicable product liability law the manufacturer of this device is not liable for damages which arise on or in connection with this device in case of:
- non-compliance with the instructions for use,
- repairs by third party, non authorized skilled work- ers,
- installation and replacement of non-original spare parts,
- failures of the electrical system due to the non- compliance with the electrical specications and the VDE 0100, DIN 57113 / VDE 0113 regulations Recommendations: Read the entire text of the operating instructions pri- or to the assembly and operation of the device. These operating instructions are intended to make it easier for you to get familiar with your device and uti- lize its intended possibilities of use. The operating instructions contain important notes on how to work safely, properly and economically with your machine and how to avoid dangers, save repair costs, reduce downtime, and increase the reli- ability and working life of the machine. In addition to the safety regulations contained herein, you must in any case comply with the applicable reg- ulations of your country with respect to the operation of the machine. Put the operating instructions in a clear plastic folder to protect them from dirt and humidity, and store them near the machine. The instructions must be read and carefully observed by each operator prior to starting the work. Only persons who have been trained in the use of the machine and have been informed on the related dangers and risks are allowed to use the ma- chine. The required minimum age must be met. In addition to the safety notes contained in the pre- sent operating instructions and the special regu- lations of your country, the generally recognized technical rules for the operation of wood working ma- chines must be observed. www.scheppach.com service@scheppach.com +(49)-08223-4002-99 +(49)-08223-4002-58 16 І GB
2) Electrical safety
a.) The terminal plug of the tool must t into the out- let. The plug may not be modied in any way. Do not use an adaptor plug together with grounded power tools. The original plugs and the appropri- ate outlets reduce the risk of an electrical shock. b.) Avoid contact with grounded surfaces, such as pipes, radiators, stoves and refrigerators. There is an increased risk of electrical shock, if your body is grounded. c.) Keep power tools away from rain or wet condi- tions. Penetration of water into the power tool increases the risk of electrical shock. d.) Do not use the cable for any purpose other than that for which it was made. Do not use it to carry the tool, hang it up, or to pull the plug out of the outlet. Keep the cable away from heat, oil, sharp corners or parts of the equipment that move. Damaged or entangled cords increase the risk of electrical shock. e.) When operating the power tool outdoors, only use extension cords that are suitable for outdoor use. The use of an appropriate extension cord reduces the risk of an electrical shock. f.) If the power tool must be used in a damp envi- ronment, use a residual current protective de- vice. The use of such a device reduces the risk of electrical shock. Warning! This electric tool generates an electro- magnetic eld during operation. This eld can im- pair active or passive medical implants under certain conditions. In order to prevent the risk of serious or deadly injuries, we recommend that persons with medical implants consult with their physician and the manufacturer of the medical implant prior to operat- ing the electric tool.
a.) Be attentive, watch what you are doing and use the power tool sensibly. Do not use power tools when you are tired or under the inuence of drugs, alcohol or medicines. One moment of in- attention while using a power tool can result in serious injury. b.) Wear personal protective equipment and always wear protective glasses. Wearing personal pro- tective equipment, such as a dust mask, slip-free safety shoes, protective headwear or ear protec- tion, depending on the type and use of a power tool reduces the risk of injury. c.) Avoid unintentional start-ups. Make sure that the power tool is shut off before it is connected to the power supply, or is carried. If you have your nger on the switch of the tool while carrying it, or have the tool turned on, or connected to a power sup- ply, this behaviour can lead to accidents. d.) Remove the adjustment aides or the spanners before turning on the power tool. A tool or wrench that is located in a rotating part of the machine, can lead to injuries. Ambient conditions The machine may be operated: humidity max. 70% temperature von +5°С bis +40°С The machine shall not be operated in areas exposed to increased re or explosion hazard. Prohibited use
- The operation of the machine outside the stated technical limits described in this manual is forbid- den.
- Operation of the machine function without emer- gency device is prohibited.
- The use of the machine not according with the re- quired dimensions is forbidden.
- The use of the machine not being suitable for the use of the machine and not being certied is for- bidden.
- Any manipulation of the machine and parts is for- bidden.
- The use of the machine for any purposes other than described in 12.1 is forbidden.
- The unattended operation on the machine during the working process is forbidden!
- It is not allowed to leave the immediate work area during the work is being performed. m Please note that our equipment has not been de- signed for use in commercial, trade or industrial ap- plications. Our warranty will be voided if the machine is used in commercial, trade or industrial businesses or for equivalent purposes.
5. General safety instructions for power
- WARNING Read all warnings and instructions. Failure to apply all warnings and instructions can lead to electrical shock, re and/or serious injury.
- Keep all warnings and instructions handy for future consultation.
- The term “power tool” used in the warnings refers to power tools that are connected to a source of electrical energy (with an electrical cable)
a.) Keep your working area clean and well lit. Clut- tered or dimly lit workspaces can lead to acci- dents. b.) Do not operate power tools in areas where explo- sions could take place, or in which ammable liq- uids, gases or dust are present. Power tools can create sparks, which can cause dust or fumes to ignite. c.) Keep children and bystanders away from the power tool when it is being used. Distractions could cause you to lose control over the equip- ment. www.scheppach.com service@scheppach.com +(49)-08223-4002-99 +(49)-08223-4002-58 17 І GB
6. Safety instructions for all saws
a.) DANGER: Do not put your hands in the sawing area or on the saw blade. b.) Do not put your hands under the work piece. The protective cap cannot protect your hands from the blade when they are under the work piece. c.) Adjust the cutting depth to the thickness of the work piece. Less than one complete sawing tooth should be visible under the work piece. d.) Never hold the work piece that is to be sawn in your hand or over your leg. Make sure that the work piece has a stable balance. It is important that the work piece is held securely, in order to minimize the danger of contact of a body part with the saw, loss of control over the saw, or jam- ming of the blade. e.) Hold the equipment on the insulated handles, when you undertake work in which the tool being used could come into contact with hidden elec- trical wires, or its own cable. Contact with a live power source can electrify the metal parts of the tool and lead to an electrical shock. f.) When making a long cut, always use a stop chock or a straightedge. This improves the accuracy of the cut and reduces the chance that the saw blade jams. g.) Always use the correct size of saw blades and make sure they have the right locating bore (e.g. Star shaped or round). Saw blades that do not t the assembly of the saw do not run correctly and cause loss of control. h.) Never use damaged or incorrect saw blade shims or screws. The saw blade shims and screws are designed especially for your saw, for optimal per- formance and operating safety.
7. Additional safety instructions for all
saws Causes and prevention of kickbacks:
- A kickback is a sudden reaction due to a caught, jammed or incorrectly adjusted saw blade, which leads to the saw rearing up in an uncontrolled manner and moving out of the work piece towards the operator.
- If a saw blade catches or jams in the sawing edge that closes behind it, it is blocked and motor’s drive pushes the saw back in the direction of the op- erator.
- If the saw blade twists in the saw groove or is in- correctly positioned, the teeth at the rear side of the saw blade edge catch in the surface of the work piece. The saw then moves out of the saw groove and springs back in the direction of the operator.
- A kickback results from an incorrect or faulty use of the saw. It can be prevented, as will be de- scribed in the following, by appropriate caution- ary measures. e.) Avoid abnormal posture. Make sure that the oper- ator is standing rmly and can maintain balance. This allows the operator to maintain control over the power tool in unexpected situations. f.) Wear appropriate clothing. Do not wear loose clothing or jewellery. Keep hair, clothing and gloves away from the moving parts. Loose cloth- ing, jewellery or long hair can get caught in the moving parts. g.) If dust vacuums or catching systems can be in- stalled on the tool, make sure that these are cor- rectly connected and assembled. The use of a dust exhaust unit can reduce hazards caused by dust.
4) Use and treatment of the power tool
a.) Do not overtax the tool. Use the appropriate tool for the work that is to be done. With the correct power tool, you can work better and more safely. b.) Do not use a power tool where the switch is de- fective. A power tool that cannot be turned on and off is dangerous and must be repaired. c.) Disconnect the plug from the wall outlet before you make adjustments to the tool, change parts or put the tool away. This precaution prevents inadvertent start-ups of the tool. d.) Store power tools that are not in use out of reach of children. Do not let anyone use the tool who does not have experience with it, or who has not read these instructions. Power tools can be dan- gerous when they are used by inexperienced people. e.) Take good care of your power tools. Make sure that movable parts function properly and do not jam, see that parts which inuence the use of the machine are not broken or damaged. Repair damaged parts before operating the tool. Many accidents are caused by poorly maintained power tools. f.) Keep cutting edges sharp and clean. Properly maintained cutting tools with sharp cutting edges jam less often and are easier to control. g.) Use power tools, accessories, and equipment according to these instructions. Taking into ac- count the working conditions and the work being performed. h.) The use of power tools other than those intend- ed for the tool itself can lead to dangerous situ- ations.
a.) Only let qualied service personnel repair your tool and always use original replacement parts. This guarantees that the power tool remains safe to use. www.scheppach.com service@scheppach.com +(49)-08223-4002-99 +(49)-08223-4002-58 18 І GB Further Special safety Instructions for Circular Saws Only use the recommended saw blades which cor- respond to EN 847-1. Do not use any saw blades which do not correspond to the characteristics described in these operating in- structions. Saw blades may not be brought to a stop by pressure on the machine from the side. Make sure that the saw blade is tightly assembled and turns in the correct direction.
9. Special Safety Instructions
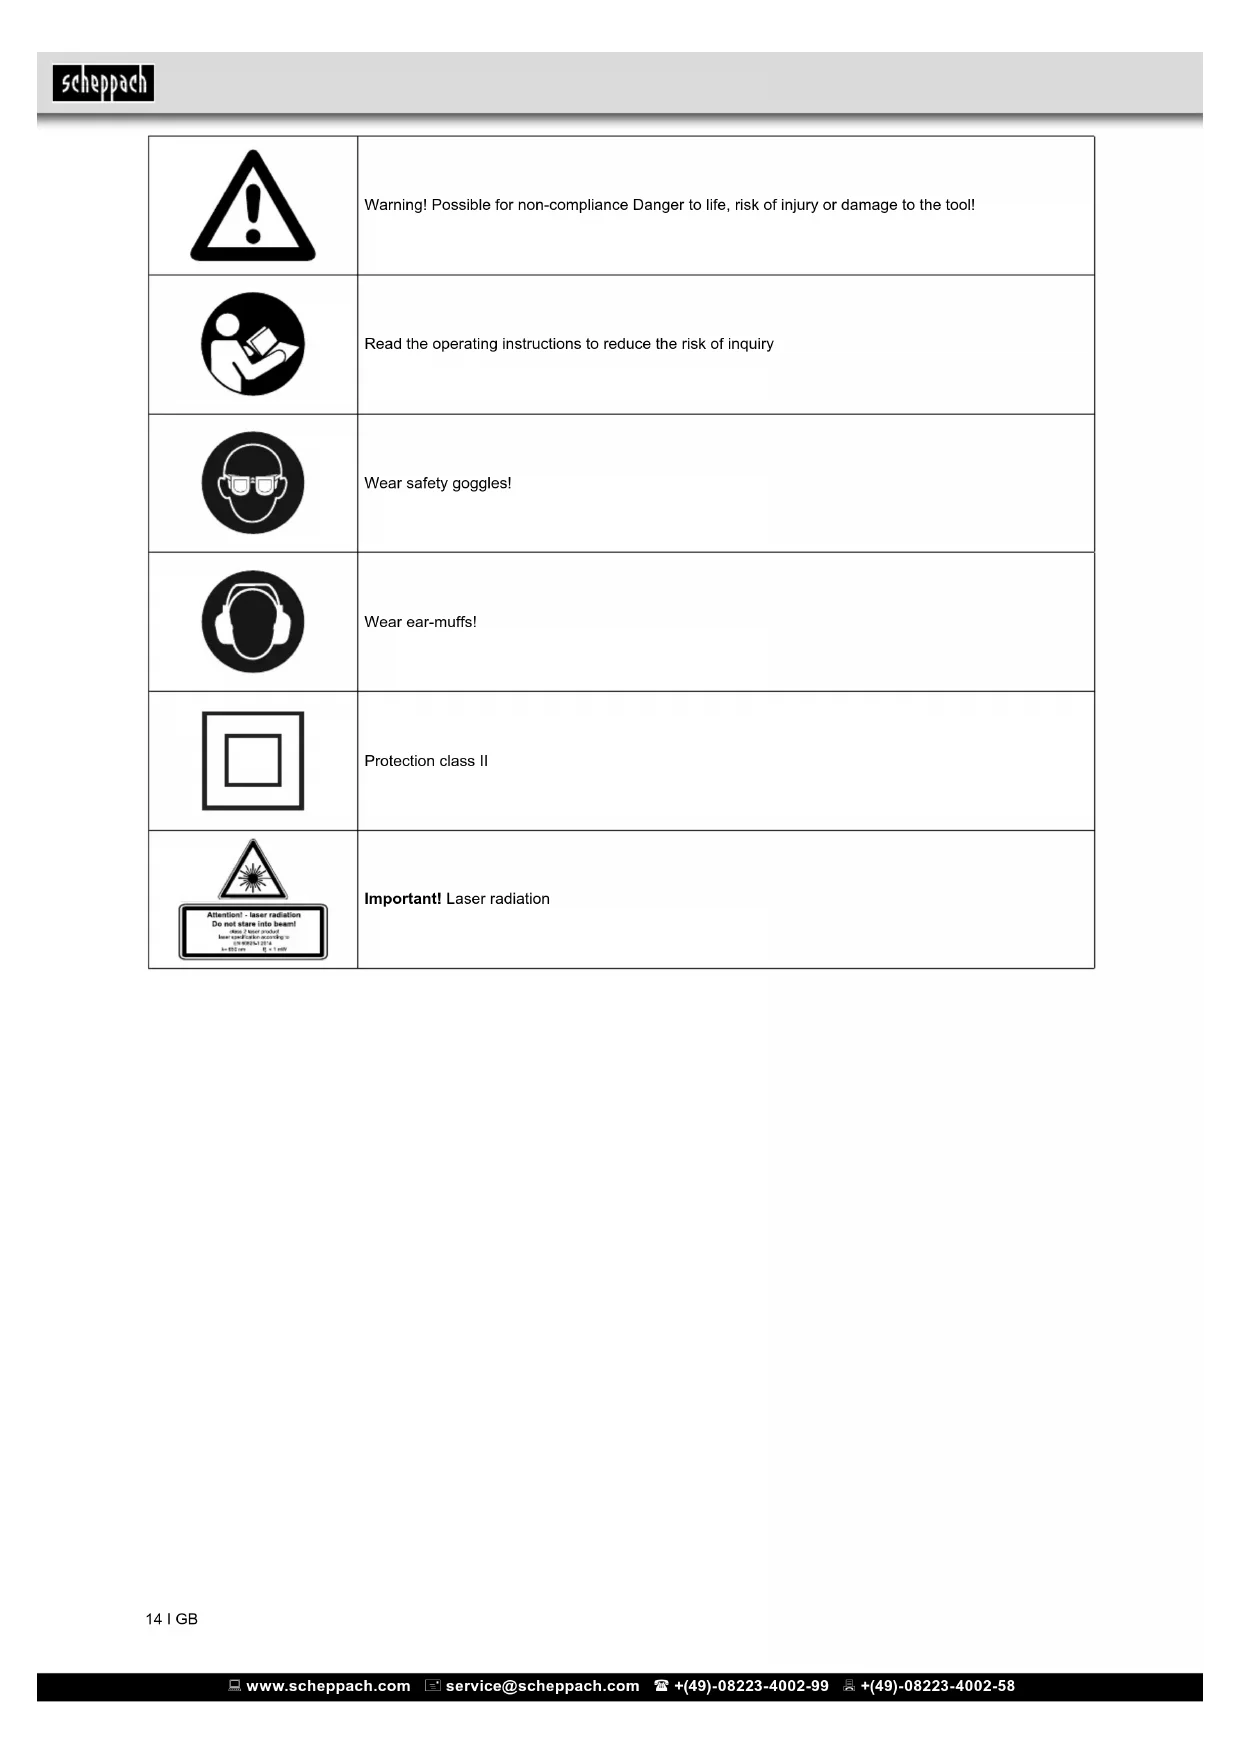
Safety instructions for circular saws Hold the equipment on the insulated handles, when you undertake work in which the tool being used could come into contact with hidden electrical wires, or its own cable. Contact with a live power source can electrify the metal parts of the tool and lead to an electrical shock. Attention: Laser radiation Do not stare into the beam Class 2 laser Protect yourself and you environment from ac- cidents using suitable precautionary measures!
- Do not look directly into the laser beam with un- protected eyes.
- Never look into the path of the beam.
- Never point the laser beam towards reecting sur- faces and persons or animals. Even a laser beam with a low output can cause damage to the eyes.
- Caution - methods other than those specied here can result in dangerous radiation exposure.
- Never open the laser module. Unexpected expo- sure to the beam can occur.
- If the mitre saw is not used for an extended period of time, the batteries should be removed.
- The laser may not be replaced with a different type of laser.
- Repairs of the laser may only be carried out by the laser manufacturer or an authorised representa- tive. Safety instructions for handling batteries 1 Always make sure that the batteries are inserted with the correct polarity (+ and –), as indicated on the battery. 2 Do not short-circuit batteries. 3 Do not charge non-rechargeable batteries. 4 Do not overcharge batteries! 5 Do not mix old and new batteries or batteries of different types or manufacturers! Replace an entire set of batteries at the same time. 6 Immediately remove used batteries from the de- vice and dispose of them properly! a.) Hold onto the saw and position your arms so that they can absorb any energy from a kickback. Al- ways keep to the side of the saw blade, and never bring it into line with your body. In the case of a kickback, the circular saw can jump backwards, but with adequate caution the operator can deal with the energy of the kickback. b.) If the saw blade jams or you want to interrupt your work, then turn the saw off and keep the work piece still until the saw blade comes to a full stop. Never try to remove the saw from the work piece or pull it out when the saw blade is moving since then a kickback can occur. Find out the cause of the jam and remove it. c.) If you want to start up a saw that is in the work piece, centre the saw blade in the sawed groove and check that the saw blade teeth are not caught in the work piece. If the saw blade is jammed, it can jump out of the work piece or cause a kick back when it is started up. d.) Support larger work pieces in order to reduce the risk of a kick back due to a saw blade jam. The weight of larger work pieces can cause them to bend. Large pieces must be supported on both sides, both near the sawing slot as well as on the edges. e.) Do not use dull or damaged saw blades. Saw blades with dull or misaligned teeth increase the friction, in the sawing slot, cause saw blade jams and kickbacks. f.) Before you start sawing, tighten the adjustments for the cut depth and angles. If you change set- tings while sawing, the saw blade can jam and a kickback is the result. g.) Be particularly careful when making “inserted cuts” in walls that already exist or other areas where you cannot see what is behind the sur- face. When the saw blade is inserted into the wall it can be blocked by hidden objects and cause a kick back.
8. Safety instructions for inserted circular
- Make sure that the dust catching mechanism is correctly installed, as is described in this manual.
- Wear breathing protection.
- Only those saw blades recommended in the man- ual should be used.
- Always wear ear protection.
- Replace the saw blades as described in this man- ual.
- The maximum cut depth is 28,5 mm. If the electrical cable of this tool is damaged it must be replaced by the manufacturer or the customer service department or a similarly qualied specialist in order to avoid dangers. www.scheppach.com service@scheppach.com +(49)-08223-4002-99 +(49)-08223-4002-58 19 І GB
Dimensions L x W x H
3 dB sound power level L
3 dB Vibrations sawing of wood a
2,845 m/s² Vibrations sawing of concrete a
Wear hearing protection. The effects of noise can cause a loss of hearing. Total vibration values (vector sum - three directions) deter- mined in accordance with EN 61029.
Operation instructions Device to be operated in a perfect state only. In- spect the device visually every time it is to be used. Check in particular the safety equipment, electrical controls, electric cables and screwed connection for damage and if tightened properly. Replace any dam- aged parts before operating the device. Perform all machine settings with the machine being disconnected from the power supply! Check before starting work:
- All cables and plugs
- The function of the protective cover (check the spring!) The sawing:
- Always use the proper, located in perfect condi- tion saw blades. 7 Do not allow batteries to heat up! 8 Do not weld or solder directly on batteries! 9 Do not dismantle batteries! 10 Do not allow batteries to deform! 11 Do not throw batteries into re! 12 Keep batteries out of the reach of children. 13 Do not allow children to replace batteries without supervision! 14 Do not keep batteries near re, ovens or other sources of heat. Do not use batteries in direct sunlight or store them in vehicles in hot weather. 15 Keep unused batteries in the original packaging and keep them away from metal objects. Do not mix unpacked batteries or toss them together! This can lead to a short-circuit of the battery and thus damage, burns or even the risk of re. 16 Remove batteries from the equipment when it will not be used for an extended period of time, unless it is for emergencies! 17 NEVER handle batteries that have leaked without appropriate protection. If the leaked uid comes into contact with your skin, the skin in this area should be rinsed off under running water imme- diately. Always prevent the uid from coming into contact with the eyes and mouth. In the event of contact, please seek immediate medical at- tention. 18 Clean the battery contacts and corresponding contacts in the device prior to inserting the bat- teries
10. Remaining hazards
The machine has been built using modern technolo- gy in accor dance with recognized safety rules. Some remaining hazards, how ever, may still exist.
- The use of incorrect or damaged mains cables can lead to injuries caused by electricity.
- Even when all safety measures are taken, some remaining hazards which are not yet evident may still be present.
- Remaining hazards can be minimized by following the instructions in „Safety Precautions“, „Proper Use“ and in the entire operating manual.
- Do not force the machine unnecessarily: excessive cutt ing pressure may lead to rapid deterioration of the blade and a decrease in performance in terms of nish and cutting precision.
- When cutting aluminium and plastics always use the app ro priate clamps: all workpieces must be clamped down rmly.
- Avoid accidental starts: do not press the start but- ton while inserting the plug into the socket.
- Always use the tools recommended in this manual to obtain the best results from your plunge cut saw.
- Always keep hands away from the work area when the ma chine is running; before performing tasks of any kind release the main switch button located on the handgrip, thus disconnecting the machine. www.scheppach.com service@scheppach.com +(49)-08223-4002-99 +(49)-08223-4002-58 20 І GB
- Use inner hexagon wrench to loosen and remove the ange screw (8)
- Press the safety lock button (3) to lift up the base plate (18)
- Change saw blade and x them in reverse order
- Attention: The saw blade continues to rotate after the machine is switched off.
Don’t clean or do maintenance on the machine while it is still connected to the power supply. The machine requires little maintenance and con- tains little parts that must undergo the operator of a service. Faults or defects that may affect the safety of the machine must be rectied immediately. Notice: Clean your machine regularly after every usage – it prolongs the machines lifespan and is a pre- requisite for a safe working environment. Repair jobs shall be performed by respectively trained professionals only!
- Check regularly the condition of the security stick- ers. Replace them if required.
- Check regularly the condition of the saw band and the saw band guide.
- The good condition and perfect adjustment of the guiding rollers is essential for a smooth band guid- ance and a clean cut.
- Store the machine in a closed, dry location. Maintenance plan
- After each workshift: Remove chips and dust from the device
- After 10 hours of operation: When working metal it is possible for conductive dust to settle in the in- terior of the power tool. The total insulation of the power tool can be impaired. Blow out the interior of the power tool via the ventilation slots with com- pressed air. Cleaning After each workshift the machine has to be cleaned. Remove chips etc. with a suitable tool. Do not remove them by hand (cutting injury!). Remove dust as well. Notice The usage of certain solutions containing ingre- dients damaging metal surfaces as well as the use of scrubbing agents will damage the ma- chine surface! Clean the machine surface with a wet cloth soaked in a mild solution
- If possible we recommend that the cutting depth is set approximately 2 mm deeper than the material thickness. This should help to ensure you achieve a clean cut.
- Do not exert too much pressure to the workpiece.
- Never lay up the saw with open protective cover. Cutting depth (Fig. 2)
- Lift the lock lever to release the cutting depth set- ting clamp (7)
- Move indicator to the desired depth of cut
- Lower the lock lever to secure depth of cut ON/OFF (Fig. 3)
- Connect the plug to the power supply (230V): The power on light (14) is on
- Push ON/OFF switch (5)
- Push the lock-off button (6) forward with the fore- nger
- The machine is running until releasing the ON/ OFF-switch Enable cut (Fig. 4)
- Let saw blade run to maximum speed
- Pressing the safety lock button (3) unlocks the plunge cut mechanism at the same time, so that the motor can be moved downwards Guide fence (Fig. 5)
- Release the lock screw for guide fence (11)
- Set the guide fence (B) in the guide fence slot (10)
- Set a desired width and retighten the lock screw for the guide fence (11) Laser (Fig. 5, 11, 12)
- On/Off with switch (2)
- Line the laser up with cutting marks on your work- piece
- Replacing the battery: Switch off the laser (1). Remove the battery compartment cover (20). Re- move the batteries and replace with new batteries (2 x LR44) Check that the battery terminals are positioned correctly when inserting new batteries. Close the battery compartment (19) again. Dust extraction (Fig. 7)
- Always use a dust extraction
- Plug the small end of the dust extraction hose (C) with the dust collector plug (17)
- Connect the bigger end of C with a vacuum device Selection of saw blades (Fig. 8)
- Always use cutting tiles to the diamond wheel (D)
- Use of wood TCT saw blades always the (E).
- Always use plastic and Alumionium the HSS saw blade (F) Change the saw blade (Fig. 9+10)
- Set cutting depth to maximum
- On/OFF-switch damaged
- Fuse blown on circuit breaker tripped
- Check all power connections
- Allow motor to cool and reset by pushing off switch
- Change fuse or reset circuit breake
- Change cable Machine slows down during working Experting too much pressure to the sanding abrasive Exert less pressure on the work piece Work piece burns during the working process
- Reduce pressure Service information Please note that the following parts of this product are subject to normal or natural wear and that the fol- lowing parts are therefore also required for use as consumables. Wear parts*: Carbon brush, saw blade, batteries
- Not necessarily included in the scope of delivery!
14. Disposal and recycling
The eqipment is supplied in packaging to prevent it from being damaged in transit. The raw materials in this packaging can be reused or recycled. The equip- ment and its accessories are made of various types of material, such as metal and plastic. Defective components must be disposed of as special waste. Ask your dealer or your local council. Old devices must not be disposed of with house- hold waste! This symbol indicates that this product must not be disposed of together with domestic waste in compliance with the Directive (2012/19/EU) pertaining to waste electrical and electronic equipment (WEEE). This product must be disposed of at a designated collection point. This can occur, for example, by handing it in at an authorised collecting point for the recycling of waste electrical and electronic equipment. Improper han- dling of waste equipment may have negative conse- quences for the environment and human health due to potentially hazardous substances that are often contained in electrical and electronic equipment. By properly disposing of this product, you are also con- tributing to the effective use of natural resources. You can obtain information on collection points for waste equipment from your municipal administration, public waste disposal authority, an authorised body for the disposal of waste electrical and electronic equipment or your waste disposal company. Batteries and rechargeable batteries do not be- long in the household waste! As the consumer you are required by law to bring all batteries and rechargeable batteries, regardless whether they contain harmful sub- stances* or not, to a collection point run by the local authority or to a retailer, so that they can be disposed of in an environmentally friendly manner. *labelled with: Cd = cadmium, Hg = mercury, Pb = lead