
SSC1507SIA - Vacuum Cleaner GORENJE - Free user manual and instructions
Find the device manual for free SSC1507SIA GORENJE in PDF.

| Product type | Steam cleaner with vacuum |
| Brand | Gorenje |
| Model | SSC1507SIA |
| Power supply | Mains (check voltage on device) |
| Main functions | Steam cleaning, vacuum, programs: 100% steam, hot water (65 °C), cold water |
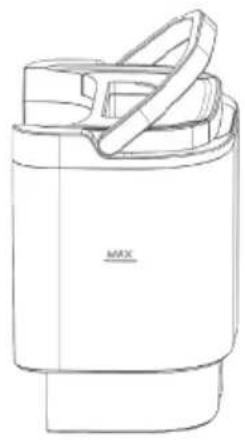
| Clean water tank capacity | Up to the MAX mark (not specified) |
| Waste water tank capacity | Up to the MAX mark (not specified) |
| Included accessories | Concentrator, cleaning brush, steam deflector, round bristle nozzle, specialised nozzle, squeegee nozzle, clean water container |
| Self-cleaning | Yes, with plastic cap and cold water program |
| Recommended surfaces | Hard, heat-resistant surfaces (avoid untreated wood, soft plastic) |
| Safety | Do not point steam at people, do not immerse, unplug before cleaning |
| Regular maintenance | Clean tanks and accessories, use distilled water if hard water to prevent limescale |
| Usage | Household only, indoors and dry places |
| Warranty | International warranty, contact country customer service |
| Repairability | Do not disassemble yourself, return to retailer |
| Environment | Selective collection (WEEE) according to directive 2012/19/EC |
Frequently Asked Questions - SSC1507SIA GORENJE
User questions about SSC1507SIA GORENJE
0 question about this device. Answer the ones you know or ask your own.
Ask a new question about this device
Download the instructions for your Vacuum Cleaner in PDF format for free! Find your manual SSC1507SIA - GORENJE and take your electronic device back in hand. On this page are published all the documents necessary for the use of your device. SSC1507SIA by GORENJE.
USER MANUAL SSC1507SIA GORENJE
natural_image
Technical line drawing of a mechanical device with no visible text or symbolsSI Navodila za uporabo....13
EN Instruction manual....33
natural_image
Line drawing of a modern water dispenser with two side-mounted units and a digital display (no text or symbols)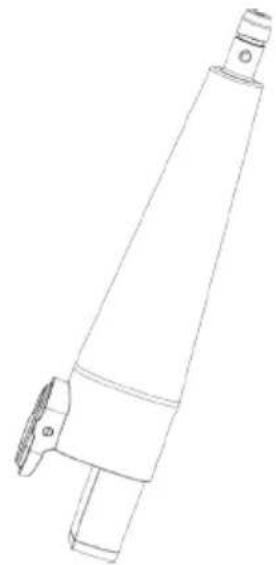
natural_image
Technical line drawing of a mechanical component with cylindrical body and flanged ends (no text or symbols)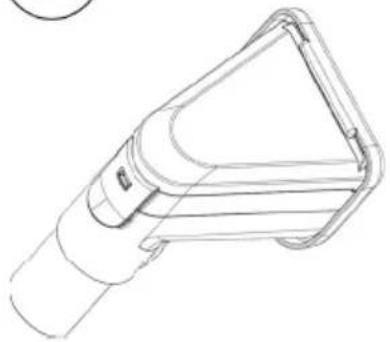
natural_image
Line drawing of a mechanical device with a triangular handle and cylindrical body (no text or symbols)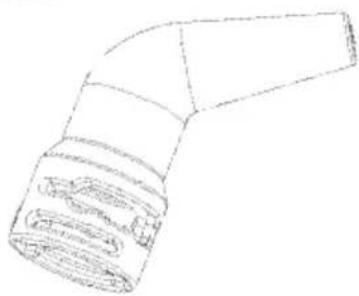
natural_image
Line drawing of a bent pipe fitting (no text or symbols)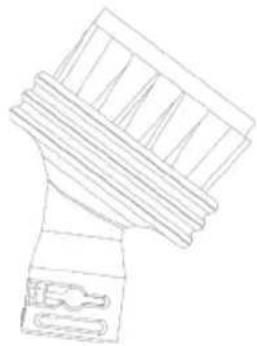
natural_image
Line drawing of a mechanical component with layered structure and a base (no text or symbols)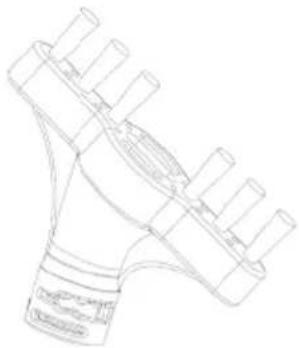
natural_image
Technical line drawing of a mechanical component with multiple ports and a central hub (no text or symbols)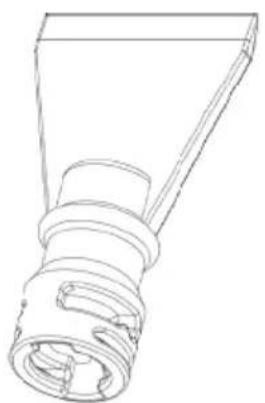
natural_image
Technical line drawing of a mechanical component with threaded end and flange (no text or symbols)
natural_image
Simple line drawing of a container with a lid (no text or symbols)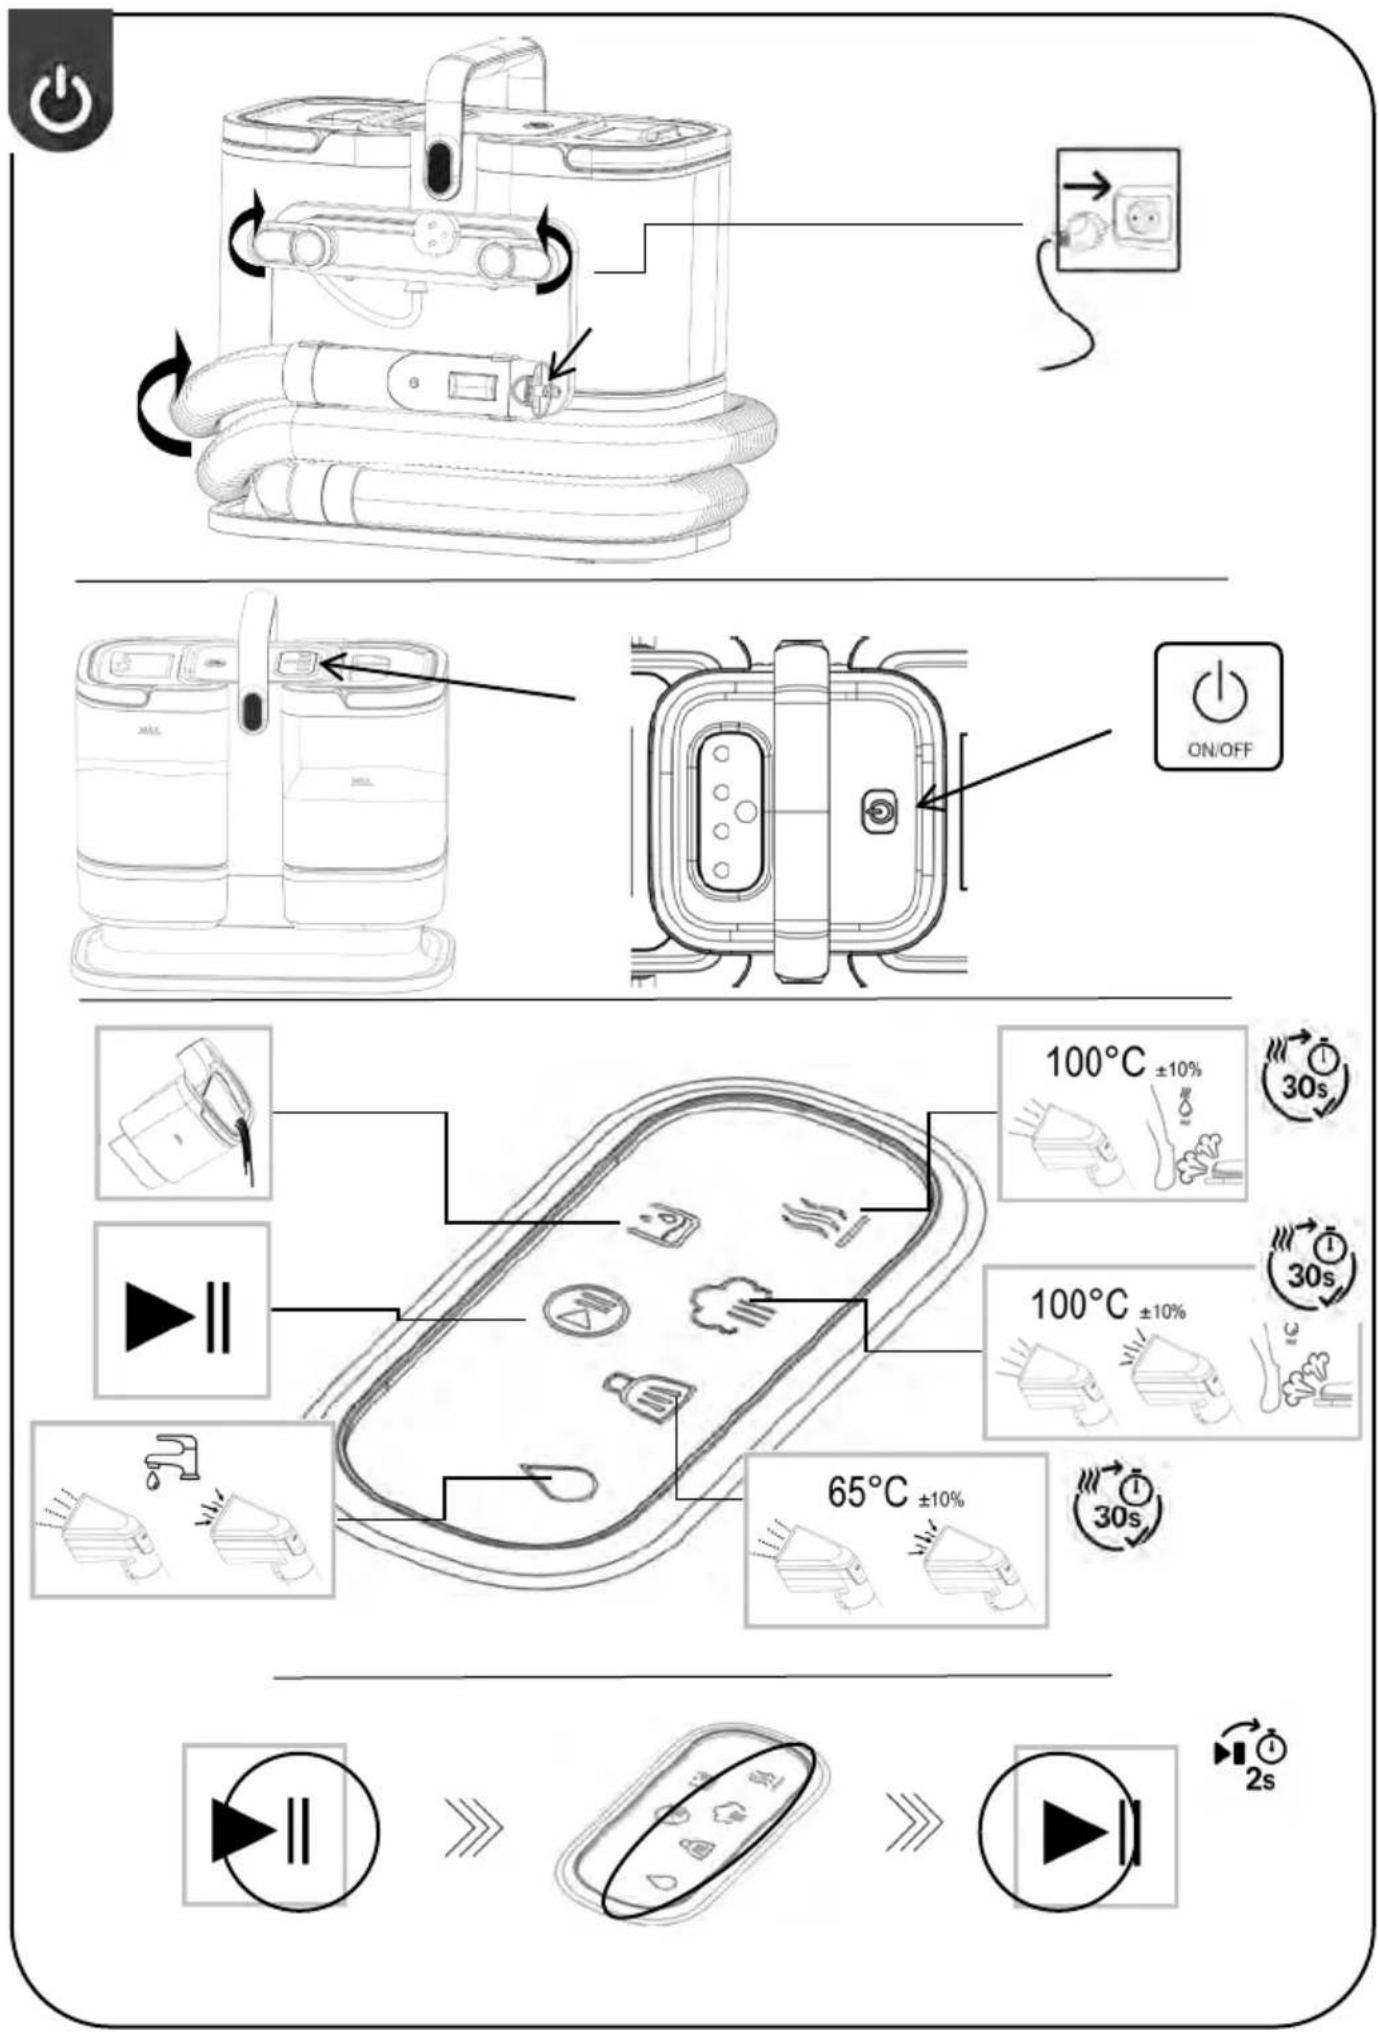


flowchart
graph TD
    A["Lighting Lamp"] --> B["Lighting Kit"]
    B --> C["Lighting Washer"]
    C --> D["Lighting Washer"]
    D --> E["Lighting Washer"]
    E --> F["Lighting Washer"]
    F --> G["Lighting Washer"]
    G --> H["Lighting Washer"]
    H --> I["Lighting Washer"]
    I --> J["Lighting Washer"]
    J --> K["Lighting Washer"]

    subgraph Initial Lighting
        L1["Lighting Lamp Icon"] --> L2["Lighting Kit Icon"] --> L3["Lighting Washer Icon"] --> L4["Lighting Washer Icon"] --> L5["Lighting Washer Icon"] --> L6["Lighting Washer Icon"] --> L7["Lighting Washer Icon"] --> L8["Lighting Washer Icon"] --> L9["Lighting Washer Icon"] --> L10["Lighting Washer Icon"] --> L11["Lighting Washer Icon"] --> L12["Lighting Washer Icon"] --> L13["Lighting Washer Icon"] --> L14["Lighting Washer Icon"] --> L15["Lighting Washer Icon"] --> L16["Lighting Washer Icon"] --> L17["Lighting Washer Icon"] --> L18["Lighting Washer Icon"] --> L19["Lighting Washer Icon"] --> L20["Lighting Washer Icon"] --> L21["Lighting Washer Icon"] --> L22["Lighting Washer Icon"] --> L23["Lighting Washer Icon"] --> L24["Lighting Washer Icon"] --> L25["Lighting Washer Icon"] --> L26["Lighting Washer Icon"] --> L27["Lighting Washer Icon"] --> L28["Lighting Washer Icon"] --> L29["Lighting Washer Icon"] --> L30["Lighting Washer Icon"] --> L31["Lighting Washer Icon"] --> L32["Lighting Washer Icon"] --> L33["Lighting Washer Icon"] --> L34["Lighting Washer Icon"] --> L35["Lighting Washer Icon"] --> L36["Lighting Washer Icon"] --> L37["Lighting Washer Icon"] --> L38["Lighting Washer Icon"] --> L39["Lighting Washer Icon"] --> L40["Lighting Washer Icon"] --> L41["Lighting Washer Icon"] --> L42["Lighting Washer Icon"] --> L43["Lighting Washer Icon"] --> L44["Lighting Washer Icon"] --> L45["Lighting Washer Icon"] --> L46["Lighting Washer Icon"] --> L47["Lighting Washer Icon"] --> L48["Lighting Washer Icon"] --> L49["Lighting Washer Icon"] --> L50["Lighting Washer Icon"] --> L51["Lighting Washer Icon"] --> L52["Lighting Washer Icon"] --> L53["Lighting Washer Icon"] --> L54["Lighting Washer Icon"] --> L55["Lighting Washer Icon"] --> L56["Lighting Washer Icon"] --> L57["Lighting Washer Icon"] --> L58["Lighting Washer Icon"] --> L59["Lighting Washer Icon"] --> L60["Lighting Washer Icon"] --> L61["Lighting Washer Icon"] --> L62["Lighting Washer Icon"] --> L63["Lighting Washer Icon"] --> L64["Lighting Washer Icon"] --> L65["Lighting Washer Icon"] --> L66["Lighting Washer Icon"] --> L67["Lighting Washer Icon"] --> L68["Lighting Washer Icon"] --> L69["Lighting Washer Icon"] --> L70["Lighting Washer Icon"] --> L71["Lighting Washer Icon"] --> L72["Lighting Washer Icon"] --> L73["Lighting Washer Icon"] --> L74["Lighting Washer Icon"] --> L75["Lighting Washer Icon"] --> L76["Lighting Washer Icon"] --> L77["Lighting Washer Icon"] --> L78["Lighting Washer Icon"] --> L79["Lighting Washer Icon"] --> L80["Lighting Washer Icon"] --> L81["Lighting Washer Icon"] --> L82["Lighting Washer Icon"] --> L83["Lighting Washer Icon"] --> L84["Lighting Washer Icon"] --> L85["Lighting Washer Icon"] --> L86["Lighting Washer Icon"] --> L87["Lighting Washer Icon"] --> L88["Lighting Washer Icon"] --> L89["Lighting Washer Icon"] --> L90["Lighting Washer Icon"] --> L91["Lighting Washer Icon"] --> L92["Lighting Washer Icon"] --> L93["Lighting Washer Icon"] --> L94["Lighting Washer Icon"] --> L95["Lighting Washer Icon"] --> L96["Lighting Washer Icon"] --> L97["Lighting Washer Icon"] --> L98["Lighting Washer Icon"] --> L99["Lighting Washer Icon"] --> L100["Lighting Washer Icon"]


natural_image
Line drawings of two different household appliances with labeled MAX branding, showing a transformation from a left-side device to a right-side device (no text or symbols present)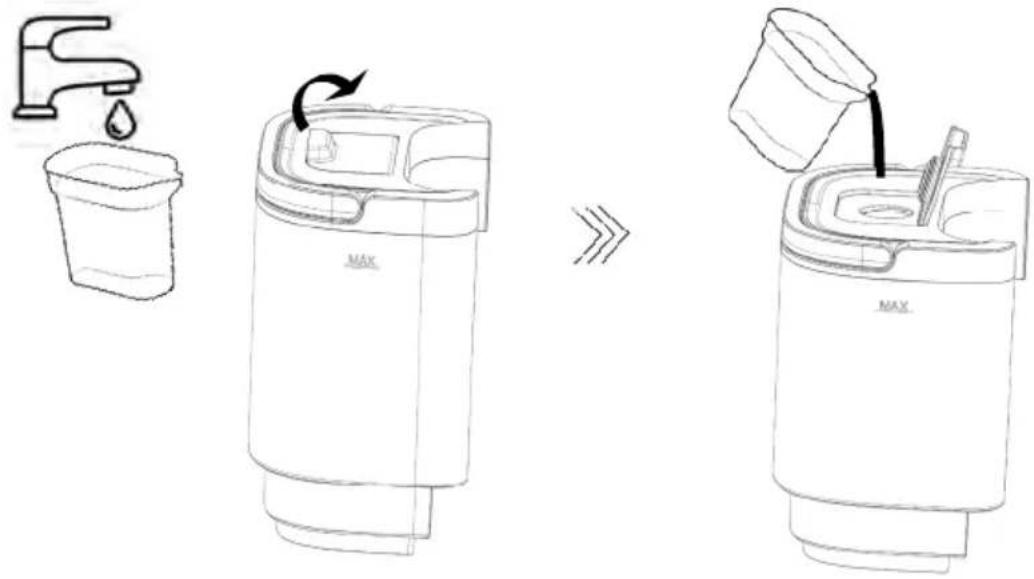


natural_image
Line drawing of a cylindrical device with a scroll wheel and a curved arrow indicating rotation (no text or symbols)
natural_image
Line drawing of a coffee maker with a cup pouring liquid from a spool (no text or symbols)[Figure]
natural_image
Line drawing of a two-tiered digital water purifier with a downward arrow indicating flow or component (no text or symbols present)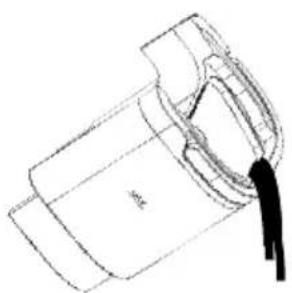
natural_image
Simple line drawing of a mechanical component with a tassel, no text or symbols present[Figure]
natural_image
Line drawing of a mechanical device with a handle and lever, showing a downward arrow (no text or symbols)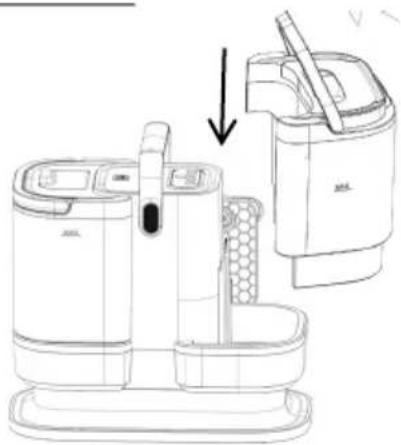
natural_image
Line drawing of a hand holding a small electronic device with a brush, showing internal components and a downward arrow (no text or symbols)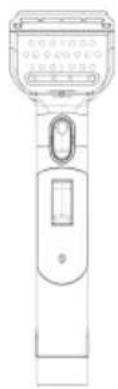
natural_image
Line drawing of a handheld electronic device with control panel and display (no text or symbols)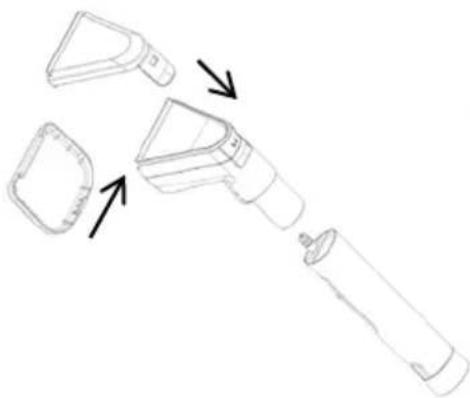
natural_image
Line drawing of a spray gun with three components and arrows indicating assembly (no text or symbols)[Non-Text]
natural_image
Technical line drawing of a mechanical component (no text or symbols)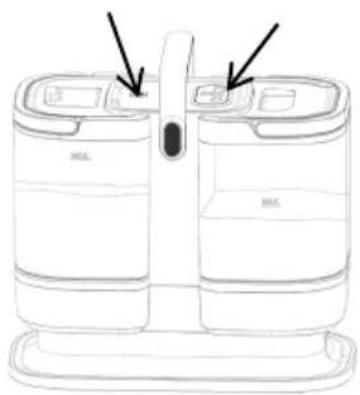
natural_image
Line drawing of a dual-panel washing machine with control panel and tray (no text or symbols)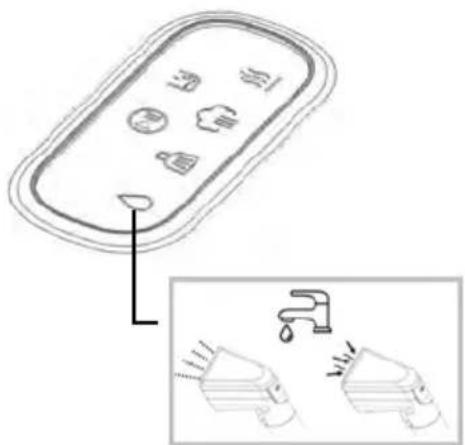
natural_image
Technical line drawing of a handheld device with a handle and control panel (no text or symbols)
natural_image
Line drawing of a portable water dispenser with a handle and 'MAX' logo (no text or symbols on the device itself)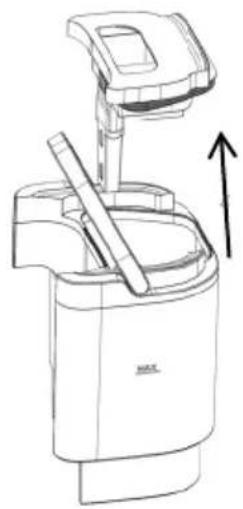
natural_image
Line drawing of a portable electronic device with a handle and arrow indicator (no text or symbols)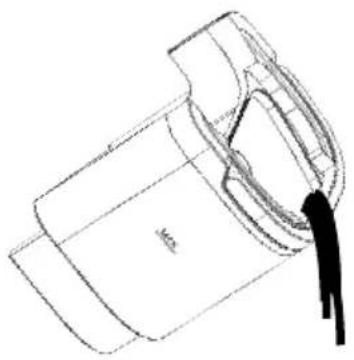
natural_image
Technical line drawing of a mechanical component with a highlighted section and a silhouette of a person (no text or symbols)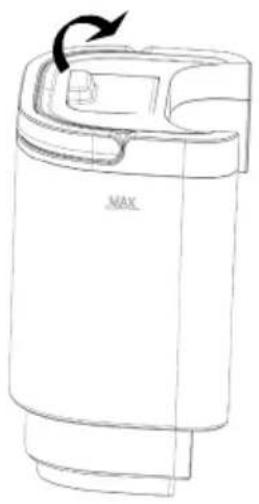
natural_image
Line drawing of a portable device with a circular button and an arrow indicating rotation (no text or symbols)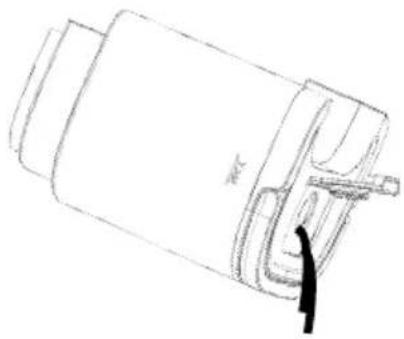
natural_image
Line drawing of a mechanical component with a hand pointing to a feature (no text or symbols)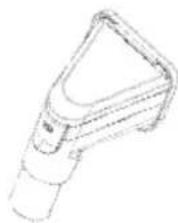
natural_image
Line drawing of a handheld device with a triangular handle and cylindrical body (no text or symbols)
natural_image
Simple line drawing of a handheld device with a curved handle and textured surface (no text or symbols)
natural_image
Line drawing of a portable device with a 'MAX' label on the side (no other text or symbols)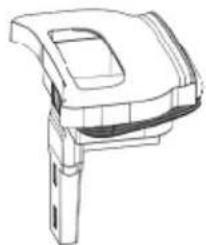
natural_image
Line drawing of a mechanical device with no visible text or symbols
natural_image
Line drawing of a mechanical component with no visible text or symbols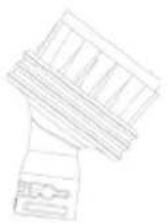
natural_image
Line drawing of a mechanical device with no visible text or symbols
SPLOŠNA OPOZORILA
When using the appliance, always observe the following basic safety precautions: // Before using the appliance for the first time, remove all protective film or plastics. // Before connecting the appliance to the power mains, make sure the specified voltage matches the voltage of the power mains in your home. // Never leave the appliance unattended during use. // Before using the appliance, carefully assemble all of its parts. // Only use the appliance indoors and in dry areas. // Only use the appliance with the parts recommended by the manufacturer. // Do not use the appliance if it has been dropped, if it is damaged, if it has been kept outdoors, or if it has been dropped or immersed in water. // Do not use the appliance if its power cord or power plug are damaged, if the appliance or any of its parts or any part of the system is damaged, or if a part of the appliance or a part of the system has fallen off. Do not disassemble the appliance and do not attempt to fix it, as this could result in an electric shock. Return the appliance to your dealer for inspection and repair. Incorrect reassembly or repair could present danger of electric shock or physical injury. // Do not use any extension cords or sockets with inadequate current capacity. // Regular cleaning will extend the appliance's useful life. // The appliance is not intended to be used by children and persons with impaired physical or mental abilities. This appliance may be used, cleaned and maintained by children aged 8 years or more, and by persons with reduced physical, sensory or mental capabilities or lack of experience and knowledge if they are supervised during the use of the appliance or if they have been provided relevant instructions on safe use of the appliance and if they understand the hazards involved. Keep children under supervision while they are using the appliance and make sure they do not play with it. // Switch off the appliance after use. // It is necessary to disconnect the power connector when the device is not used, disassembled or cleaned for a long time. Please check whether the voltage marked on this product is consistent with the current voltage before children use it unsupervised. Please check whether the voltage marked on this product is consistent with the current voltage. // Please stay away from fire sources and other hot places. Please don't suck burning items, such as cigarette butts, matches or waste heat of ashes. // Please do not use the machine to suck glass, needles, gasoline and other items. // Please do not use the device to suck cement, gypsum powder, wall powder and other small particles, otherwise it may cause the machine plug, motor burn out and other failures. // The device cannot be used for large amounts of water absorption. // Do not invade the water to clean, so as to avoid danger. // Remove the plug from the socket before cleaning and after use to prevent accidental electric shock. // The appliance should be unplugged when using liquid filling and cleaning.
DANGER
Do not immerse the appliance in water or any other liquid, and do not rinse it under running water.
SPECIAL WARNINGS
There is danger of burns or scalding due to hot parts, hot water or steam. Never direct steam towards people. // Do not add any cleaning solutions, perfumes, oils or other chemicals to the water used in this appliance, as this may damage the appliance or make it unsafe for use. Only use tap water or, if tap water in your area is very hard, distilled water. Always pour cool water into the appliance, since hot water can deform the water tank. // Never pull the appliance by the power cord, and do not use the power cord as an appliance handle. Do not kink or pinch the cord (with a door or a heavy object) and do not pull it around sharp edges or corners. Keep the power cord away from hot surfaces. // When disconnecting the appliance, do not pull by the power cord; always hold the plug. // Do not touch the power plug or the appliance if your hands or wet, and never operate the appliance barefooted. // Do not insert any objects into the appliance vents. Do not use the appliance if any of the vents are clogged or blocked. // Only use the appliance in a well-lit space. // Do not turn over or lift the appliance, as this may cause water to leak from the appliance. Never direct steam towards people, animals or plants. // Before you put away the appliance, always empty the water tank and leave it to dry. // During use, and before the appliance has cooled down, do not disassemble it and do not touch the vents or nozzles, as this may cause burns.
USE
The appliance is intended for cleaning and sterilization. It is simple and safe to use. // The appliance is intended for cleaning of hard surfaces resistant to high temperatures. Do not use it on soft plastics. Surfaces treated with wax, as well as some types of non-waxed flooring, may lose their sheen as a result of heat or steam. // Do not use the appliance on untreated wood, as this can cause changes in the wood structure. It is therefore recommended that you test the effect of using the appliance on a separate part of the surface. // After use, do not leave the appliance on the surface, as this could cause deformation of the flooring. // Do not use the appliance without a suitable mop. // After use, leave the appliance to cool down, then remove the mop. // Do not dry the mop in a tumble dryer. // Note! Residues of soap or certain cleaning agents sometimes cause a rough surface due to minerals in the water. In such a case, use a brush to remove this surface – or spray or wipe it first with lemon, vinegar, or mineral water to soften the minerals. Slow cleaning movements can cause soap residues to dry out and accumulate as granules on the
surface. This surface will be grainy to the touch. If this has happened, use the brush to apply steam to the surface once more and clean it again. // Always check the colour fastness in an inconspicuous place on the carpet before cleaning. If your steam cleaner does not remove stubborn stains, it may be necessary to use a carpet shampoo. Do NOT add cleaning solutions, perfumes, oils or other chemicals to the water used in the appliance as this may damage the appliance or make it unsafe to use.
ENVIRONMENT
After the expiry of its useful life, do not discard the appliance with common household waste. Rather, take it to an authorized recycling centre. This will help preserve the environment.
This equipment is labelled in compliance with the European Directive 2012/19/EC on waste electric and electronic equipment – WEEE. The Directive specifies the requirements for collection and management of waste electric and electronic equipment effective in the entire European Union.
WARRANTY AND REPAIR
If you need information or if you have a problem, please contact the our Customer Care Centre in your country (the phone number is in the worldwide warranty declaration).
For household use only.
The device has been tested for adding water before leaving the factory. If there is water remaining in the machine, it is a normal phenomenon. Please feel relieved the use!
For easier transport, some appliance parts are packed separately and safely placed in the main packaging unit. // Before first use, read and follow the instructions for assembly and safe use. // The instructions below are also shown pictorially at the beginning of the user manual. The appliance is intended for domestic use.
PARTS
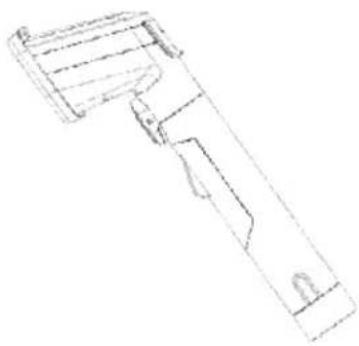
1 Housing with motor, hose and carry handle
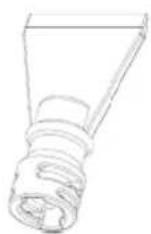
2 Concentrator
3 Cleaning brush
4 Steam router
5 Nozzle with round bristles
6 Specialised nozzle
7 Scraper nozzle
8 Water refill container
OPERATION
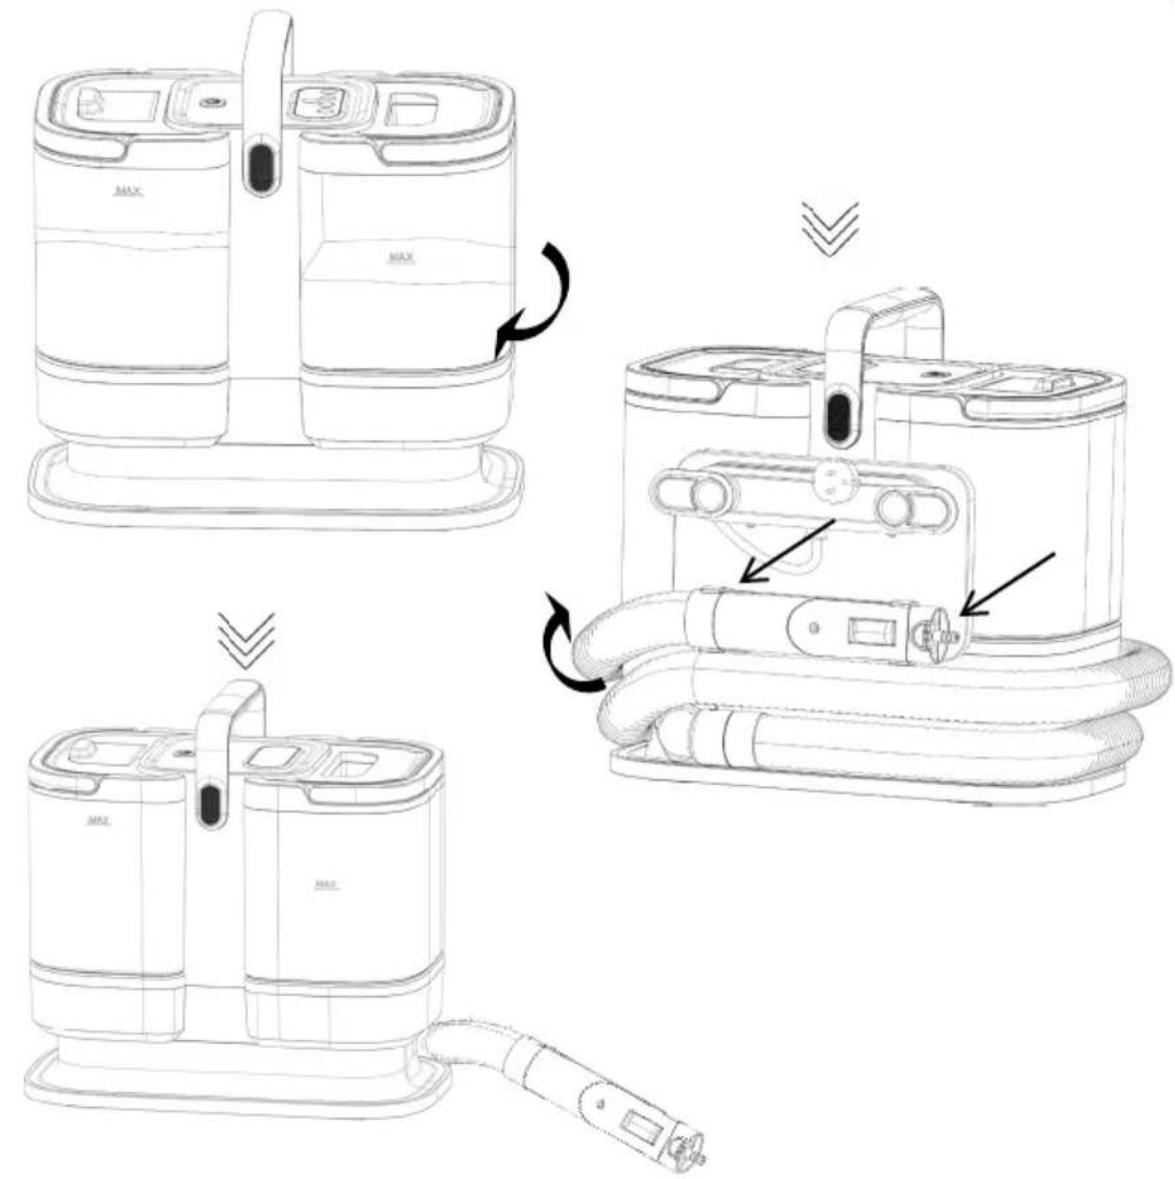
On the back of the cleaner is a coiled cable. Two small clips that hold the cable in place can be turned to facilitate the release of the cable. Before unwinding the cable, the clips must be placed in their original horizontal state so that the cable can be unwound. // To take up as little storage space as possible, the flexible hose is wrapped around the appliance. The clip attaches the base attachment to the appliance. Unwind the flexible hose before use.
There is an On/Off button on the top display.
The display shows various functions:

Start/Pause
After selecting the cleaning program you want, press this icon and confirm the program. Without confirmation, the desired program will not run.

If this icon lights up, it means that it is necessary to empty the dirty water tank. Press the Pause button and remove the container safely.

This program releases 100% steam. At the same time, be careful not to point the evaporator at someone, as this may cause burns or even more severe injuries. Always keep the evaporator away from people or heat-sensitive objects. Aim the steam at the stain you want to clean. The program does not support the suction of released steam and dirt.

This program releases 100% steam. At the same time, be careful not to point the evaporator at someone, as this may cause burns or even more severe injuries. Always keep the evaporator away from people or heat-sensitive objects. The program allows water to be sprayed from the brush and at the same time sucks liquid from the surface.

Cleaning with hot water at approx. 65^ C. The program allows water to be sprayed from the brush and at the same time sucks liquid from the surface. The program is suitable for cleaning surfaces sensitive to heat.

Cleaning with water at tap temperature. The program allows water to be sprayed from the brush and at the same time sucks liquid from the surface. The program is suitable for cleaning surfaces sensitive to heat.

USE
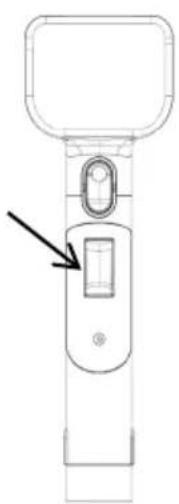
The appliance has a handle for easy carrying. The flexible hose is wound around the appliance. Release it from the clips it is attached to. The hose also features a base attachment, allowing you to fit one of the added attachments. // This appliance is not intended for cleaning cigarette butts, ash, sharp items, or burning materials, as these could damage the unit. // Never point the appliance at someone while in use, as it may cause burns. // To use the appliance, select the appropriate programs by pressing the button located at the bottom of the handle. // After using the appliance, always disconnect it from the mains.
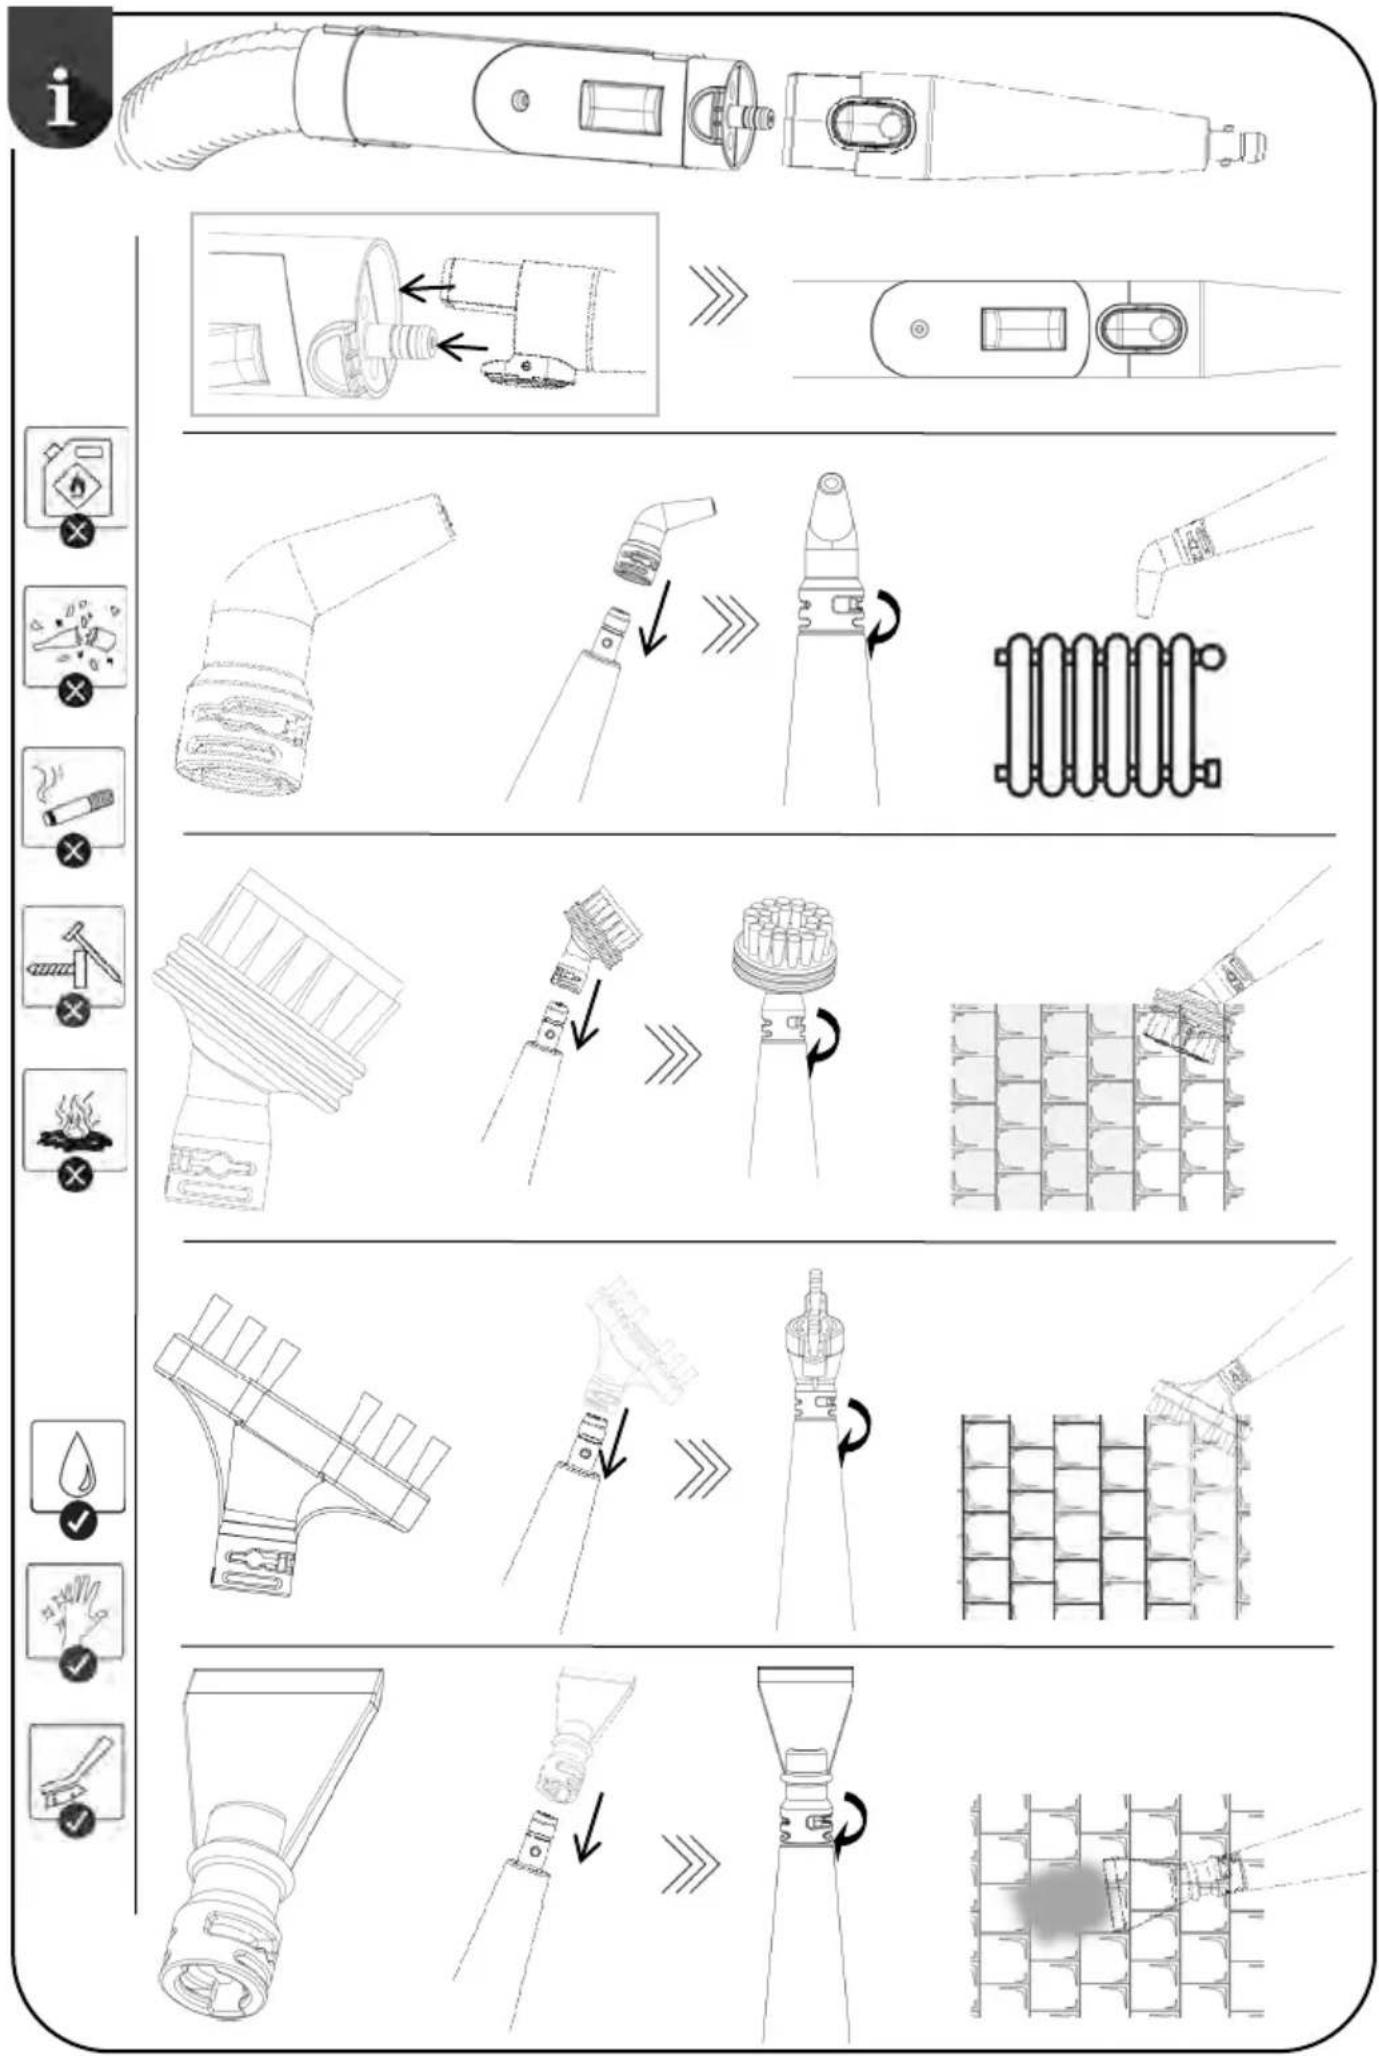
Additional attachments
- Assemble the brush according to the included pictorial instructions. // Fit the brush onto the attachment connected to the hose. // A gentle click will indicate it is properly in place. // Select the desired program on the appliance and press the button located at the bottom of the attachment. Aim the brush at the stain and slowly draw it over the stain to clean it.
- Fit the concentrator properly onto the hose attachment. // Follow the pictorial instructions for proper assembly. // A gentle click will indicate it is properly in place. // Smaller nozzles can be attached to the concentrator.
- Attach the steam router to the concentrator and turn it until it locks into the openings. The nozzle is suitable for hard-to-reach places.
- Attach the round nozzle to the concentrator and turn it until it locks into the openings. The nozzle is suitable for hard-to-reach places, such as tile grouting.
- Attach the specialised nozzle to the concentrator and turn it until it locks into the openings. The nozzle is suitable for hard-to-reach places, such as tile grouting.
- Attach the scraper nozzle to the concentrator and turn it until it locks into the openings. The nozzle is suitable for stubborn stains that are more difficult to remove.
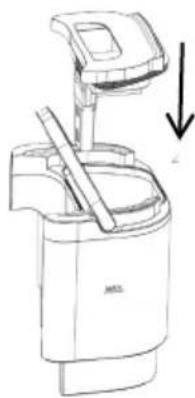
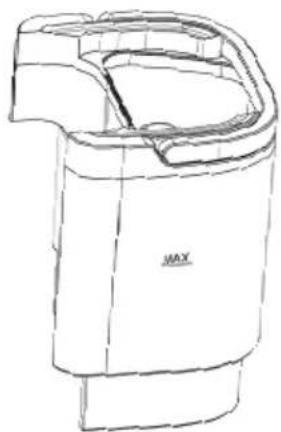
Clean water container
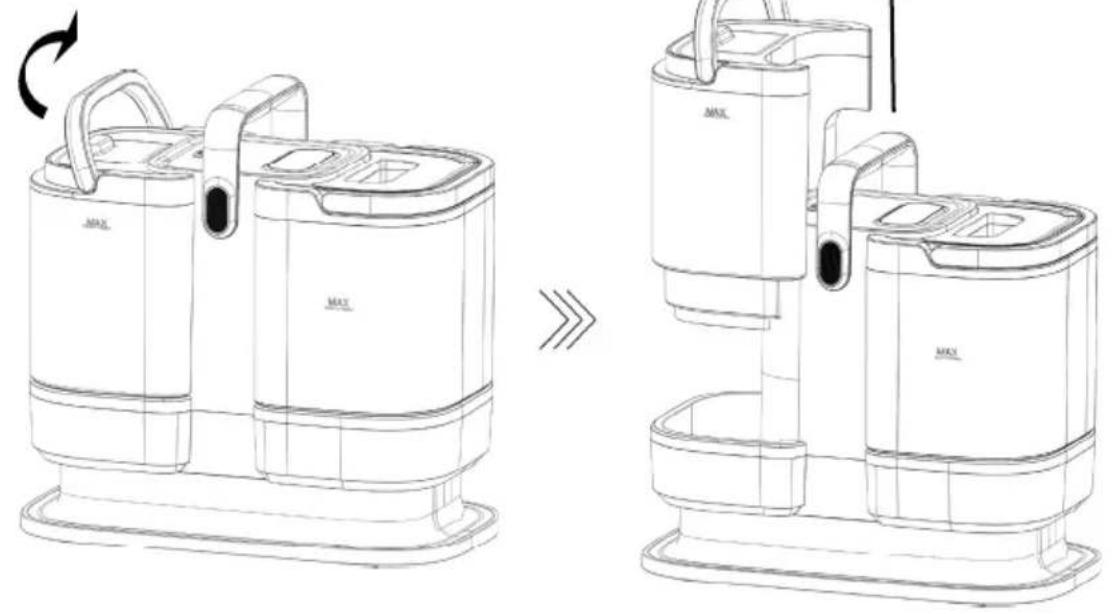
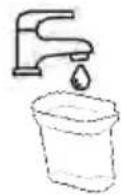
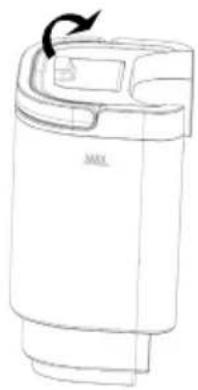
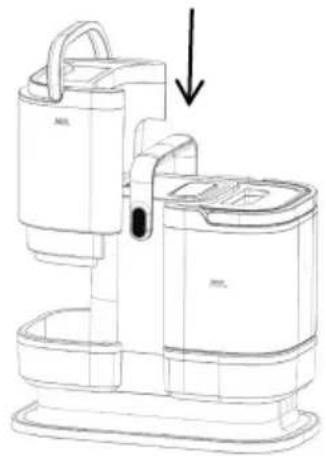
For easier reference, the clean water container has a MAX line marked higher up on the container. // Lift the handle and remove the container from the appliance. // Remove the small cap and pour in tap water using the water container provided. // If you have very hard water, it is recommended to use distilled water instead.
Prolonged use without regular cleaning can lead to limescale build-up, potentially damaging the appliance. // Pour in the water to the MAX mark indicated on the container. // Return the container to the appliance. // Check that the container is correctly installed in the appliance.
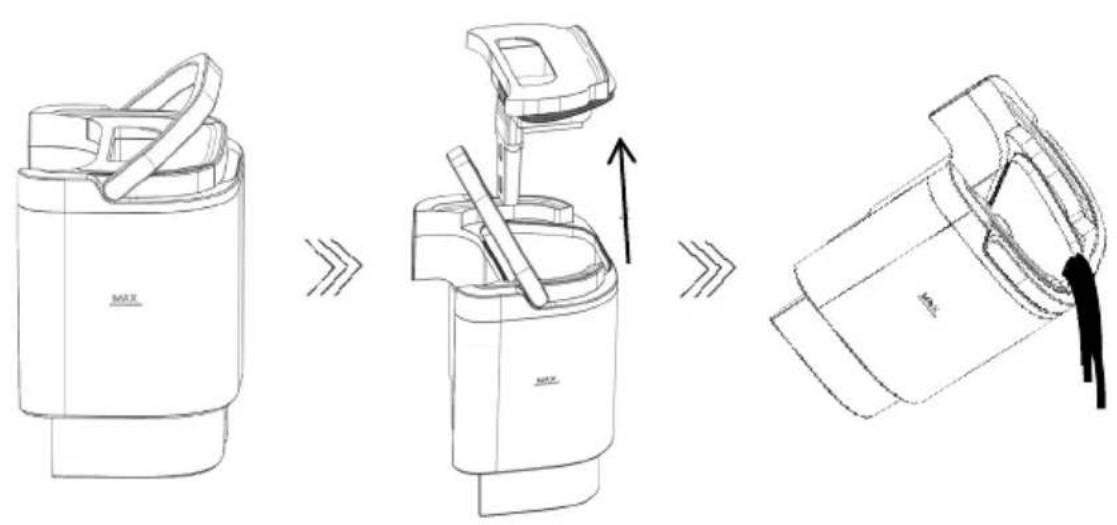
Dirty water / wastewater container
For easier reference, the waste water container has a MAX line marked lower down on the container. // Lift the handle and remove the container from the appliance.// There are small buttons on the lid that you press together with your fingers to pull the lid off the container. // Rinse the container and lid with clean water and reassemble them. // Check that the container is correctly installed in the appliance.
CLEANING AND CARE OF THE APPLIANCE
1 Self-cleaning
Fill the clean water tank with water up to the MAX mark, as already described in the USE section. // If you have very hard water, it is recommended to use distilled water instead. Prolonged use without regular cleaning can lead to limescale build-up, potentially damaging the appliance. // Pour in the water to the MAX mark indicated on the container. // Return the container to the appliance. // Check that the container is correctly installed in the appliance. // Ensure the dirty water container is empty and clean.
Attach the plastic cap included with the package to the cleaning brush. // Select the program on the display showing the water droplet symbol (tap water temperature).
When the appliance is ready, press the button on the lower part of the handle and perform self-cleaning. // It is recommended to stop cleaning before all the water in the clean tank has been used. // Despite the cap on the handle, make sure that any droplets that could escape from under the cap do not cause any damage. // It is recommended to perform the self-cleaning in an area (such as a bathroom) where you can prevent damage.
2 Cleaning
After cleaning, clean the containers and the lid of the dirty container to prevent dirt from accumulating in the containers. All the additional nozzles can be washed under running water. Dry thoroughly and reassemble so it is ready for the next use.
To prolong the life of your appliance, it is recommended to clean the appliance, containers and accessories regularly.