universal 4500 - Pump EHEIM - Free user manual and instructions
Find the device manual for free universal 4500 EHEIM in PDF.
| Product Type | Discharge and circulation pump |
| Brand | EHEIM |
| Model | universal 4500 |
| Areas of use | Aquariums and garden ponds |
| Maximum immersion depth | 1.0 m |
| Permissible water temperature | +4 °C to +35 °C |
| Protection class | II |
| Protection rating | IPX8 (permanent immersion) |
| Main functions | Water transport and circulation, operation of filtration systems, aeration, supply of waterfalls and streams |
| Outdoor use | Yes, for outdoor versions (check reference) |
| Indoor use | Yes, models with specific references |
| Supplied accessories | Motor body, mounting plate, threaded connections, pump impeller, ceramic shaft, pump cover, coarse filter, suction strainer, closure cover, retaining ring |
| Installation | Place on stable support, fix with plate or removable battens |
| Priming | Not self-priming, requires manual filling of the pump chamber |
| Regular maintenance | Cleaning of the suction strainer and coarse filter |
| Thorough cleaning | Disassemble pump impeller and ceramic shaft, rinse with clear water, use EHEIM cleaning brushes ref. 4009570 |
| Safety instructions | Use a 30 mA residual current device, do not run dry, keep a distance of 30 cm from medical implants |
| Repairs | Only by an EHEIM authorized service |
| Spare parts | Use exclusively original EHEIM parts |
| Common fault | Pump does not start: check voltage, cable, or clean impeller |
| Storage when not in use | Disconnect, clean, store frost-free |
| Disposal | Complies with WEEE directive, do not dispose of with household waste |
Frequently Asked Questions - universal 4500 EHEIM
User questions about universal 4500 EHEIM
0 question about this device. Answer the ones you know or ask your own.
Ask a new question about this device
Download the instructions for your Pump in PDF format for free! Find your manual universal 4500 - EHEIM and take your electronic device back in hand. On this page are published all the documents necessary for the use of your device. universal 4500 by EHEIM.
USER MANUAL universal 4500 EHEIM
natural_image
Exterior view of a mechanical electric motor (no visible text or symbols)300 600

natural_image
Exterior view of a mechanical electric motor with cooling fins and mounting base (no visible text or symbols)1200

natural_image
Exterior view of a mechanical electric motor or pump unit (no visible text or symbols)2400 3400 4500

de Bedienungsanleitung
en Operating Instructions
fr Mode d'emploi
nl Gebruiksaanwijzing
sv Bruksanvisning
no Bruksanvisning
fi Käyttöohje
da Betjeningsvejledning
it Istruzioni per l'uso
es Instrucciones de uso
pt Manual de instruções
el oδηγίες χρήσης
cs Návod k obsluze
hu Kezelési utasítás
pl Instrukcja obsługi
sl Navodila za uporabo
sk Návod na obsluhu
ro Manual de folosința
tr kullanım kılavuzu
sr Uputstvo za rukovanje
ru Руководство по эксплуатации
bg Ръководство за експлоатация
zh 使用说明
ko 사용 설명서
A1

text_image
Exploded view diagram of an electric motor assembly with numbered parts for identificationtext_image
A3 ① ③ ⑫ ⑥ ⑪ ⑦ ⑧ ⑨ ⑤ ④ ② ⑩
natural_image
Pure schematic diagram of a fluid system with pipe, valve, and motor (no text or symbols)
text_image
C min. 2 cmEHEIM universal 2400 (type 1260010 - 1260200) / 3400 (type 1262010 - 1262200)

natural_image
Technical line drawing of a mechanical assembly with no visible text or symbols
natural_image
Technical line drawing of a mechanical device with rope and base, suspended over water (no text or symbols)natural_image
Line drawing of a mechanical device with ventilation slots and a base, showing no text or symbolsH

natural_image
Symbolic diagram of a mechanical component with a central cross mark and diagonal lines (no text or labels)
natural_image
Technical line drawing of a mechanical component with a central circular hole and flanged base (no text or symbols)natural_image
Diagram of a mechanical device with rotating components and directional arrows indicating motion (no text or symbols)
natural_image
Diagram of a mechanical device with rotating components and directional arrows indicating motion (no text or symbols)natural_image
Technical line drawing of a mechanical device with a coiled spring and housing (no text or symbols)
natural_image
Technical line drawing of a mechanical device with gears and a shaft (no text or symbols)text_image
Diagram showing electrical connections with a power source, switch, and circuit board with labeled componentsTranslation of the original operating manual
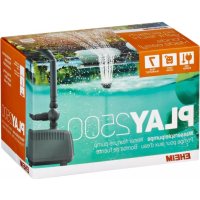
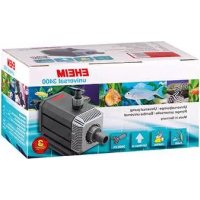
Feed and Recirculation Pump Universal 300 / 600 / 1200 / 2400 / 3400 / 4500
1. General user instructions
Information on using the operating manual

▶ Before using the appliance for the first time, the operating manual must be read fully and understood.
▶ Consider the operating manual as part of the product and keep in a safe and accessible location.
▶ Enclose this operating manual if passing the appliance on to a third party.
Symbol explanation
The following symbols are used on the appliance:

The appliance must only be used indoors, and exclusively for aquariums.

The device has an immersion depth of max. 1.0 m.

The appliance is of protection class II.
IPX8
The symbol indicates that the appliance is protected against permanent submerging.

The appliance is certified according to the relevant national regulations and directives, and conforms to EU standards.
The following symbols and signal words are used in this operating manual:

DANGER!
The symbol indicates imminent danger from electric shock that can result in death or serious injury.

DANGER!
The symbol indicates imminent danger that can result in death or serious injury.

WARNING!
The symbol indicates imminent danger that can re sult in moderate to minor injury or a health risk.

Danger from magnetic fields
The symbol denotes imminent danger causing severe personal injury or death if the corresponding measures are not taken.

CAUTION!
The symbol indicates the danger of material damage.

Note with useful information and tips.
Typographical conventions:

Reference to a figure; in this case, reference to figure A.

You are prompted for an action.
2. Application
The appliance and all parts included in the scope of delivery are intended for private use and must only be used:
• for aquarium purposes and in garden ponds
• for the feeding and re-circulation of water
- for the operation of filtration systems, water features, water falls, running streams, etc.
• for water aeration and circulation
• in compliance with the technical data
For outdoor use (see type no. on the type plate) NOT FOR USA / CAN:
EHEIM universal 300 type-no. 1046019 up to 1046209
EHEIM universal 600 type-no. 1048019 up to 1048209
EHEIM universal 1200 type-no. 1250019 up to 1250209
EHEIM universal 2400 type-no. 1260010 up to 1260200
EHEIM universal 3400 type-no. 1262010 up to 1262200
For indoor use only (see type no. on the type plate):
EHEIM universal 300 type-no. 1046219 up to 1046999 EHEIM universal 600 type-no. 1048219 up to 1048999 EHEIM universal 1200 type-no. 1250219 up to 1250999 EHEIM universal 2400 type-no. 1260210 up to 1260990 EHEIM universal 3400 type-no. 1262210 up to 1262990 EHEIM universal 4500 type-no. 1264210 up to 1264990
The following limitations apply to the appliance:
- do not use for commercial or industrial purposes.
- the water temperature may not exceed 35^ .
- Corrosive, highly flammable, aggressive or explosive substances, foodstuffs and drinking water must not be conveyed.
- do not operate in swimming pools, swimming ponds, pools, whirlpools.
VERY IMPORTANT SAFETY INSTRUCTIONS
WARNING- To guard against injury, basic safety precautions should be observed, including the following.
• FOR HOUSEHOLD USE ONLY · WARNING! RISK OF ELECTRIC SHOCK!
- This pump has not been investigated for use in swimming pools areas!
- DO NOT RUN DRY
READ AND FOLLOW ALL SAFETY INSTRUCTIONS.
- DANGER. To avoid possible electric shock, special care should be taken since water is employed in the use of aquarium equipment. For each of the following situations, do not attempt repairs by yourself; return the appliance to an authorized service facility for service or discard the appliance.
- If the appliance shows any sign of abnormal water leakage, immediately unplugit from the power source.
- Carefully examine the appliance after installation. It should not be plugged in if there is water on parts not intended to be wet.
- Do not operate any appliance if it has a damaged cord or plug, or if it is malfunctioning or if it is dropped or damaged in any manner.

text_image
POWER SUPPLY CORD DRIP Loo the appliance. Thencle.
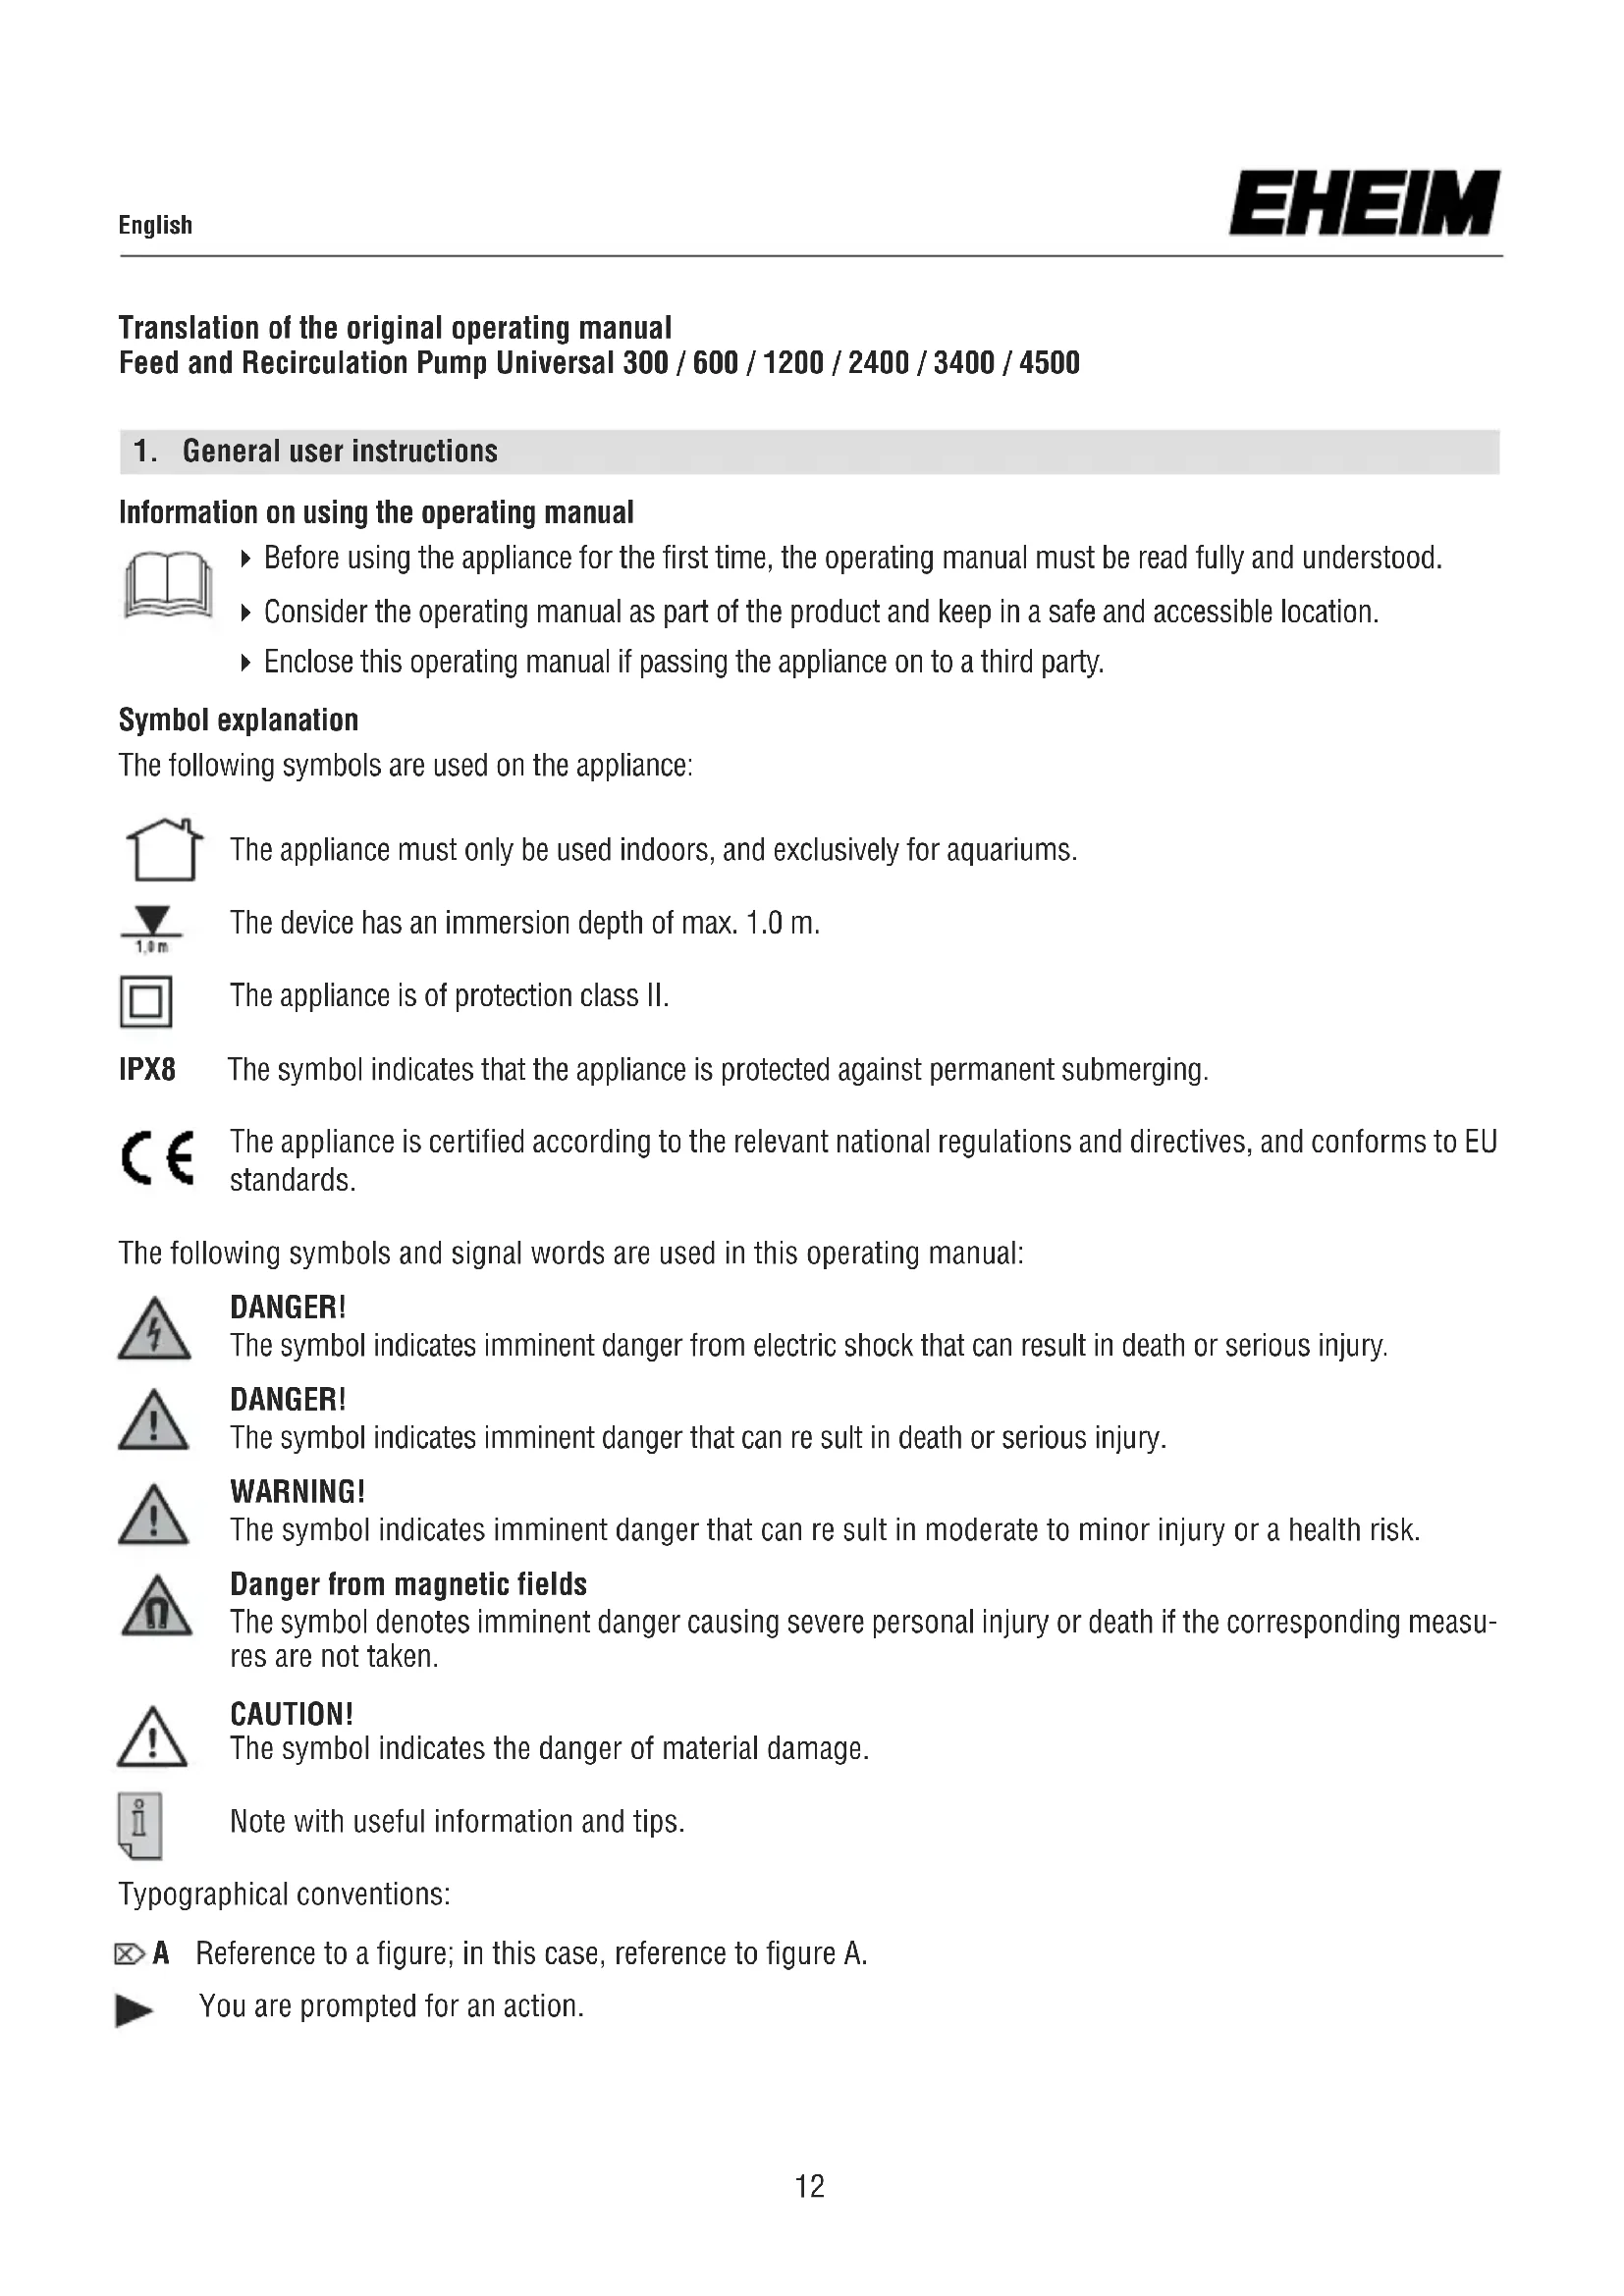
- To avoid the possibility of the appliance plug or receptacle getting wet, position aquarium stand and tank to one side of a wall mounted receptacle to prevent water from dripping onto the receptacle or plug. A “drip loop”, shown in the figure, should be arranged by the user for each cord connecting the aquarium appliance to a receptacle. The “drip loop” is that part of the cord below the level of the cord and coming in contact with the receptacle. If the plug or receptacle does get wet, DON'T unplug the cord; disconnect the fuse or circuit breaker that supplies power unplug and examine for presence of water in the recepta-
- Close supervision is necessary when any appliance is used by or near children.
- To avoid injury, do not contact moving parts.
- Always unplug an appliance from an outlet when not in use, before putting or taking off parts, and before cleaning. Never yank cord to pull plug from outlet. Grasp the plug and pull to disconnect.
- Do not use an appliance for other than intended use. The use of attachments not recommended or sold by the appliance manufacturer may cause an unsafe condition.
- Do not install or store the appliance where it will be exposed to the weather or to temperatures below freezing.
- Make sure an appliance mounted on a tank is securely installed before operating it.
- Read and observe all the important notices on the appliance and its cord.
- If an extension cord is necessary, a cord with a proper rating should be used. A cord rated for less amperes or watts than the appliance rating may overheat. Care should be taken to arrange the cord so that it will not be tripped over or pulled.
- Check that the voltage shown on the label of the unit corresponds to the voltage of the mains supply.
- Disconnect all electrical appliances from the mains before placing hands in the water.
- The line cord of this unit cannot be replaced or repaired. Should the line cord become damaged the appliance must be discarded.
KEEP THESE INSTRUCTIONS FOR FUTURE REFERENCE.
GROUNDING INSTRUCTIONS
This appliance should be grounded to minimize the possibility of electric shock. This appliance is equipped with an electric cord having an equipment grounding conductor and a grounding type plug. The plug must be plugged into an outlet that is installed and grounded in accordance with all appropriate codes and ordinances.
This appliance is for use on a nominal 120-volt circuit, and has a grounding plug that looks like the plug illustrated in (A) below. A temporary adapter which looks like the adapter illustrated in (B) and (C) below may be used to connect this plug to a two-pole receptacle as shown in (B) if a grounded outlet is not available. The temporary adapter should be used only until a grounded outlet can be installed by a qualified electrician. The green-colored rigid ear (lug, and the like) extending from the adapter must be fastened to a permanent ground such as a grounded outlet box.

text_image
GROUNDING PIN (A) METAL SCREW COVER OF GROUNDED OUTLET BOX (B) ADAPTER (C) GROUNDING MEANS GROUNDING PIN (D)3. Safety instructions
Risks for persons and property can arise from this appliance if the appliance is improperly used or not used as intended or if the safety instructions are not heeded.
For your safety
- Do not allow the device packaging and small parts to get into the hands of children or persons who are not fully in control of their actions as this can be dangerous (risk of suffocation!). Keep away from animals.
Only for EU countries:

- This appliance can be used by children from the age of 8 and by persons with reduced physical, sensory or mental capabilities or lack of experience and/or knowledge if they are supervised and have been instructed in the safe use of the appliance and have understood the resulting dangers. Children must not play with the appliance. Cleaning and user maintenance must not be carried out by children unless they are supervised.
This equipment is not intended for use by persons (including children) with limited physical, sensory or mental abilities or for persons with no experience or knowledge unless they are supervised by a person respond for safety or unless they have received from such a person instructions on how to use the equipment. Children should be supervised to ensure that they do not play with the equipment.

- Before use, carry out a visual inspection to ensure that the appliance, especially the mains cable and plug, are undamaged.
- Repairs must only be carried out by an EHEIM service centre.
- The connecting line of this device can not be replaced. When the line is damaged, the device must no longer be used.
- Only carry out the work described in these instructions.
- Only use original spare parts and accessories for the appliance.

- The appliance has magnets with strong magnetic fields that can affect pacemakers or implanted defibrillators (ICD). Maintain a distance of AT LEAST 30 CM between the implant and magnet.

- To protect against contact voltage being too high, the fixture must have a residual current device with a rated release fault current not exceeding 30 mA. Ask your electrician.
- In the event of water leakage or when the residual current protection device is triggered, immediately disconnect all devices in the aquarium from the power supply.
- If they are not being used, always disconnect all devices in the aquarium from the power supply before you install/remove any parts and before all cleaning and maintenance work.
- Protect the mains socket and mains plug against moisture. It is recommended to form a drip loop with the mains cable to prevent any water running along the cable to the mains socket.
- The electrical data of the pump must match the data of the power mains. This data is found on the type plate, the packaging and in these instructions.
text_image
Diagram showing electrical connections with a power source, switch, and circuit board with labeled componentsFor outdoor use (open spaces):
- Only use equipment suitable for outdoor use.
- Extension cables and power distributors must be suitable for outdoor use (splash-proof).
- Power supply cables must not have a smaller cross-section than rubber hose lines with the abbreviation H05RN-F3G 0.75. Extension cables must meet the requirements of DIN VDE 0620.
- The device must be protected by a residual current device with a maximum rated residual current of 30 mA. If you have any questions or problems, please contact a qualified electrician.
- Connect the device only to a properly installed protective contact mains socket.
- Protect the power cable from heat, oil and sharp edges. The connecting cable must not be walked on if it has been laid in the ground or in gravel without an empty conduit.
- Only operate the device when there are no persons present in in the water!
4. Function
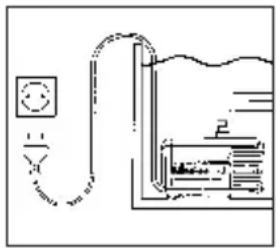
The pump can be used both inside and outside the water. It is not self-priming and must therefore be placed below the water level when operating outside.

- The pump must not run dry.
• Temperature range min +4°C to max 35°C.
① Motor body ② Mounting plate ③ Threaded connection, discharge side ④ Pump impeller ⑤ Ceramic shaft ⑥ Pump cover with sealing ring ⑦ Coarse filter ⑧ Intake grille ⑨ Threaded connections, intake side ⑩ Sealing cover
① Motor body ② Mounting strip ③ Threaded connection, discharge side ④ Pump impeller ⑤ Ceramic shaft ⑥ Pump cover with sealing ring ⑦ Coarse filter ⑧ Intake grille ⑨ Threaded connections, suction side ⑩ Closure cover ⑪ Retaining ring ⑫ Orifice plate
① Motor body ② Mounting plate ③ Threaded connection on discharge side ④ Pump wheel ⑤ Ceramic shaft ⑥ Pump cover with O-ring ⑦ Coarse filter ⑧ Intake grille ⑨ Threaded connections on the intake side ⑩ Sealing cover ⑪ Holding ring ⑫ Carrying handle, for outdoor version only
5. Assembly
For use outside the water, a hose is preferably used on the suction side (☒ B) via the threaded connection ⑨.
If the pump is used inside the water as a submersible pump (☒ C), it may only be operated via the suction grille ⑧ and the coarse filter ⑦. The threaded connection on the suction side ⑨ is unscrewed for this purpose and the suction opening is covered with the enclosed sealing cover ⑩.
For versions suitable for outdoor use only
Placement in the pond on a stable base, e.g. garden slab or similar. Do not place in the ground (mulm!).
Only for EHEIM universal2400 and 3400 (suitable for outdoor use)
The carrying handle ⑫ is inserted from the front into the upper groove of the motor body ①. When used in ponds, the carrying handle serves as a rope attachment (☒ D + E).
The mounting plate ② can be attached at 3 different points (☒ F) for universal pump mounting.
The two mounting strips ② can be moved for universal pump mounting. After loosening the catch, the strip can be pulled out and optionally pushed into another guide. To do this, first remove (☒ G) the covers ⑫ on the upper bevels of the motor body ①.

ATTENTION!
The threaded connection on the pressure side ③ must not point downwards. (☒ H)
6. Commissioning
For use outside the water:
Mount the appropriate hose on the threaded connection on the pressure side and suck on the end of the hose until water flows into the pump. Only when the pump chamber is completely filled with water, insert the mains plug into the mains socket and start the unit. A short starting noise of the pump is normal (☒ B).
When used inside the water (submersible pump):
Submerge the pump completely into the water, then plug the power plug into the power socket and start the unit (☒ C).

ATTENTION!
Observe the minimum immersion depth of 2 cm from the water surface to the upper edge of the pump.
7. Maintenance and care

DANGER! Electrocution!
- Always disconnect all devices from the mains before carrying out maintenance work.

CAUTION! Damage to property.
- Do not use hard objects or aggressive cleaning agents for cleaning. The unit components are not dish-washer-safe!
- Cleaning the unit or parts of the appliance not in the dishwasher.

The following sections describe the maintenance operations required for a optimal and trouble-free operation is required. Regular maintenance prolongs the service life and ensures the function of the device.
Remove the pump from the aquarium or garden pond. Press the two lateral pressure points together slightly and pull off the suction grille ⑧. Remove the coarse filter ⑦ from the suction grille and rinse both under running water. Replace the coarse filter if necessary (☒ I + J).

Clean the coarse filter more frequently if the water is very dirty. If the pump is heavily soiled on the suction or pressure side, this will cause noise: A time for thorough cleaning.

CAUTION! Risk of breakage
High-quality, fragile ceramic axis.
Unlock the pump cover ⑥ and carefully pull it off in a straight direction. Carefully remove the pump wheel ④ and ceramic shaft ⑤ (☒ A1). Rinse all pump parts thoroughly under running water. Clean the motor body ① with the EHEIM cleaning brush set, order no. 4009560 (☒ K). Then reassemble the parts in reverse order.
Cleaning the pump (for EHEIM universal1200 / 2400 / 3400 / 4500)
Open the retaining ring ⑪ by turning it to the left and remove it.
Carefully pull off the pump cover ⑥ in a straight direction. Carefully remove the pump wheel ④ and ceramic shaft ⑤ (☒ A2 or ☒ A3). Rinse all pump parts thoroughly under running water. Clean the motor body ① with the EHEIM cleaning brush set order no. 4009560 (☒ L). Then reassemble the parts in reverse order.
- Always disconnect all devices from the mains before carrying out maintenance work.
| Fault | Cause possible | Remedy |
| Pump does not start | Mains voltage missing | ▶ Check the mains voltage▶ Check the supply line |
| Pump does not deliver | Mains plug is not plugged in | ▶ Plug the mains plug into the mains socket |
| Pump wheel is blocked | ▶ Clean the pump | |
| Thermal circuit breaker is activated (only for universal 1200/2400/3400/4500) | 1. Pull the mains plug and let the pump cool down.2. Plug the power plug back in after about one hour. If this procedure is repeated, contact the EHEIM Service | |
| Pump does not deliver enough | suction grille and/or coarse filter dirty | ► Clean suction grille and coarse filter |
| Pump housing and / or Impeller is dirty | ► Rinse pump wheel thoroughly and clean motor body with cleaning brush | |
| Hose line kinked | ► Remove kink | |
| Hose lines dirty on suction and/or pressure side | ► Clean hose lines |
For other faults, please contact EHEIM Service www.eheim.com
9. Decommissioning
Storage

- Switch off the device by pulling out the mains plug.
- Clean the appliance
- Store the appliance in a frost-proof place.
Disposal

When disposing of the appliance, heed the respective statutory regulations. Information on the disposal of electrical and electronic appliances in the European Union: Within the European Union, disposal of electrically operated appliances is governed by national regulations that are based on the EU Directive 2012/19/EU on waste electrical and electronic equipment (WEEE). The appliance may no longer be disposed of with the municipal or household waste. The appliance will be accepted free of charge at municipal collection points or recycling centres. The product packaging is made up of recyclable materials. Dispose of them in an environmentally responsible manner and take them for recycling.
10. Technical data
text_image
Diagram showing electrical connections with a power source, switch, and circuit board labeled 'P'Élimination/destruction

text_image
Diagram showing electrical connections with a power source, switch, and circuit board labeled 'P'text_image
Diagram showing electrical connections with a power source, switch, and water tank labeled 'E'text_image
Diagram showing a power source connected to a water channel with labeled components and connections- Apparatets tekniske data må stemme overens med strøm-nettets data. Du finner disse data på merkeplaten, emballasjen eller i denne bruksanvisningen.
Ved bruk ute:
Rengjør pumpen (EHEIM universal 300 / 600)
text_image
Diagram showing electrical connections with a power source, switch, and water tank labeled 'E'text_image
Diagram showing electrical connections with a power source, switch, and circuit board labeled 'E'text_image
Diagram showing electrical connections with a power source, switch, and water tank labeled 'E'text_image
Diagram showing electrical connections with a power source, switch, and circuit board with labeled componentstext_image
Diagram showing electrical connections with a power source, switch, and circuit board with labeled componentstext_image
Diagram showing electrical connections with a power source, switch, and circuit board labeled '2'


text_image
Diagram showing electrical connections with a power source, switch, and circuit board labeled 'E'text_image
Diagram showing electrical connections with a power source, switch, and water tank labeled 'E'text_image
Diagram showing electrical connections with a power source, switch, and water tank labeled 'E'text_image
Diagram showing electrical connections with a power source, switch, and water tank, labeled with symbols like 'I' and 'R'.text_image
Diagram showing a power outlet connected to a water channel with labeled components and connectionstext_image
Diagram showing electrical connections with a power source, switch, and internal components labeled 'E'text_image
Diagram showing electrical connections with a power source, switch, and internal components labeled 'E' and 'R'text_image
Diagram showing electrical connections with a power source, switch, and water tank labeled 'E'- Električni podaci uređaja moraju da odgovaraju podacima strujne mreže. Ove podatke možete pogledati na tipskoj pločici, ambalaži ili u ovom uputstvu.
text_image
Diagram showing electrical connections with a power source, switch, and circuit board with labeled componentstext_image
Diagram showing electrical connections with a power source, switch, and labeled componentstext_image
Diagram showing a circuit with a power source, switch, and internal components labeled 'E' and 'R'text_image
Diagram showing electrical connections with a power source and a device labeled 'E' in a containerReproduction or copying – even parts thereof – only with the express permission of the producer.