USER MANUAL RS54N3003EF SAMSUNG
French - Français ......9
German - Deutsch ......17
Dutch - Nederlands......25
Italian - Italiano 33
Hungarian - Magyar ....57
Polish - Polski......65
Czech - Čeština....73
Slovakian - Slovenčina......81
Serbian - Srpski......97
Greek - ελληνικά......105
Croation - Hrvatski......121
Albanian-Shqip 129
Norwegian - Norsk......177
Finnish - Suomi ....185
Swedish - Svenska......193
Slovenian - Slovenščina ..... 201
User servicing manual
- You can check where to buy replacement parts at http://samsung.com/support
- Visit the part purchase site and enter the model code of your product to check the parts available for purchase. The model code is labelled on the outer side of your product.
- You can check the model code and version on the barcode label at the bottom left of the product.
- For replacement parts, make sure the part name matches that of the illustration in this manual.
- User-serviceable parts are limited to handles (some models only), gaskets, drawers, and hinges.

NOTE
Following the repair by a non-authorised service provider, self-repair or non-professional repair of the product, Samsung is not liable for any damage to the product, any injury or any other product safety issue caused by any attempt to repair the product which does not carefully follow these repair and maintenance instructions. Any damage to the product caused by an attempt to repair the product by any person other than a Samsung certified service provider will not be covered by the warranty.

CAUTION
- The part name listed on the site may differ from that in this manual. Please make sure you choose the right part name.
- Replacing hinges requires extreme caution because it involves detaching the door.
- Be sure to wear safety gloves while making repairs.
The actual image and provided parts of the refrigerator may differ, depending on the model and the country.
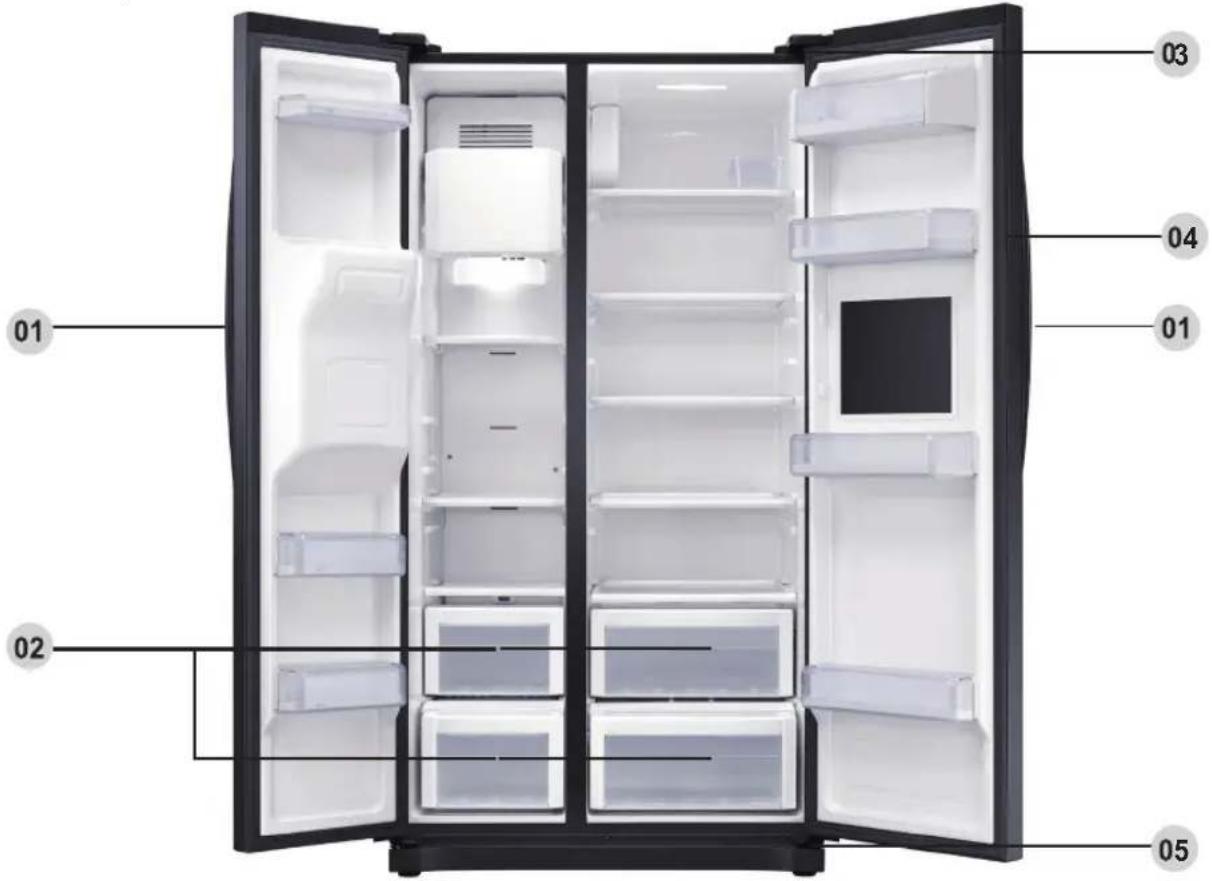
01 Handle
02 Drawer
03 Top hinge
04 Gasket
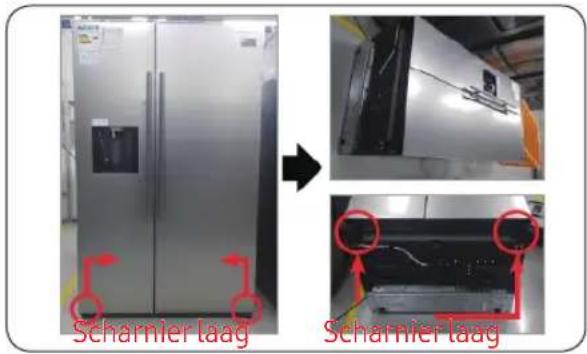
05 Bottom hinge
Handle replacement
Model name looks like this: RS54**3****, RS52**3****, RS50**3****, What replaces the asterisks may differ depending the model.
Asterisk(s) in the model code indicate a variant model and may replace (0-9) or (A-Z) in the model code.
CAUTION
- When replacing the door handle, take care not to scratch the front of the door.
- Firmly press the handles at the supports. Make sure there is no gap between the supports and the door.
- Tightly fasten the screws when attaching the handle.
- Check that the handle is firmly attached before using the product.
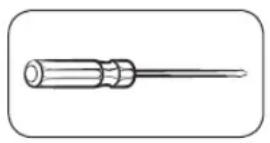
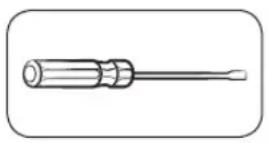
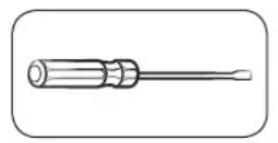
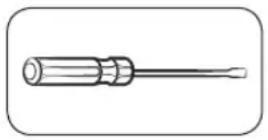
Philips screwdriver Flat-head screwdriver
To detach the handles
NOTE
This procedure applies to both the fridge and freezer compartment.
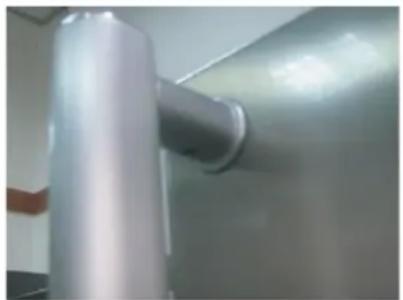
- Handle assemblies are located on the front of the refrigerator door.
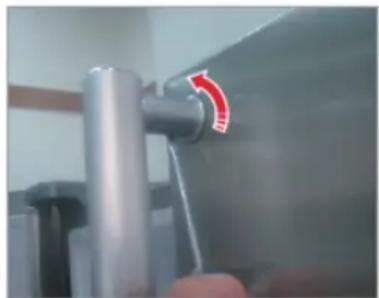
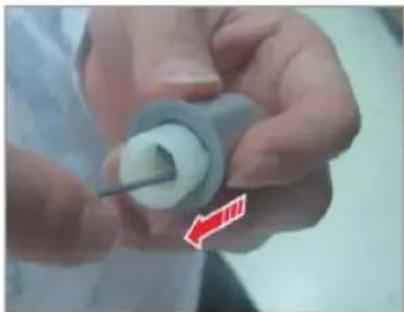
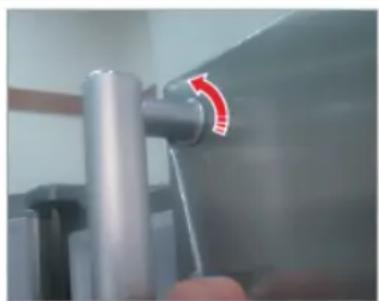
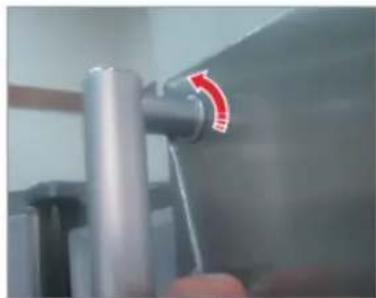
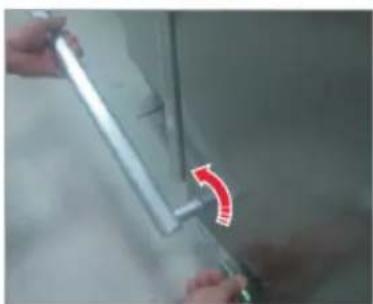
- Insert the small flat-head screwdriver into the hole at the bottom of the cap support handle and pull the handle assembly out to the front side while turning the screwdriver to one side.
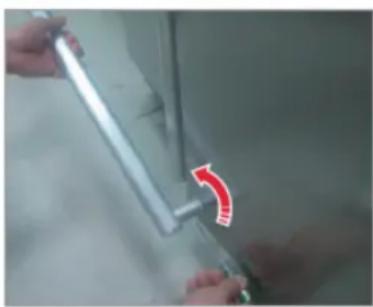
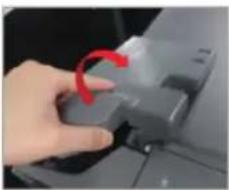
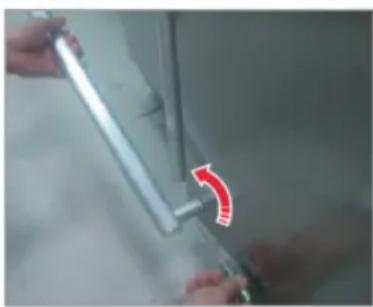
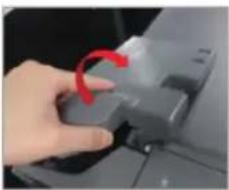
Turn the handle assembly to one side to disassemble it from the bottom position.
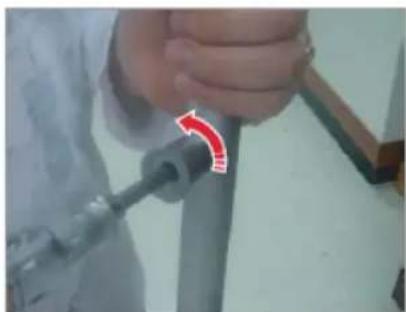
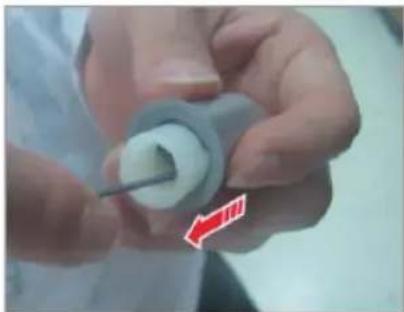
- Unscrew 4 screws to disassemble the cap support handle and support handle.
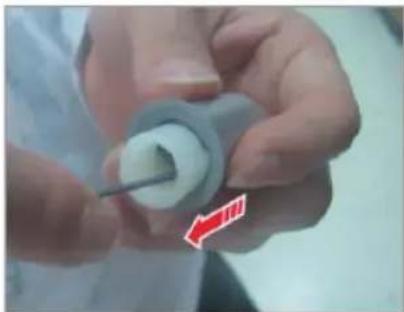
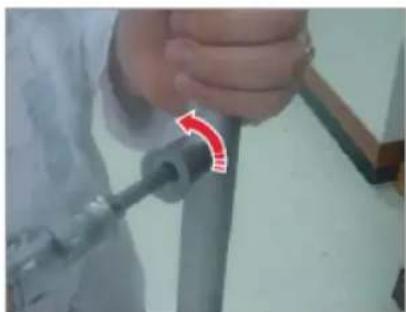
- Pull the support handle out using a hex wrench as shown, or a flat-head screwdriver pushing the back side.

CAUTION
Make sure you firmly attach the gasket. Otherwise, cold air from the refrigerator may leak.
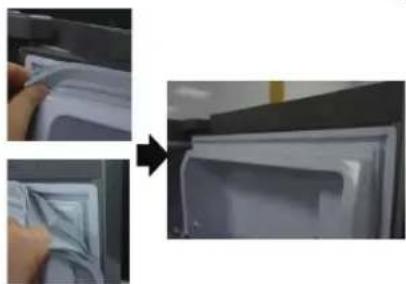
To remove the gasket
Pull the corner of the gasket.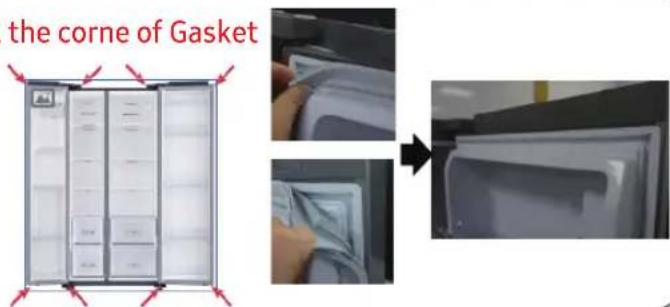
- Pull the 4 corners of the gasket.
- Pull the center of the gasket.
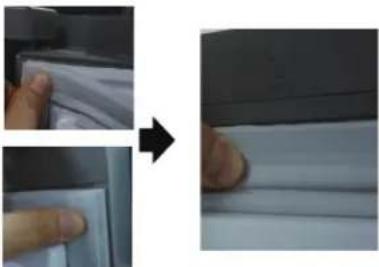
To replace the gasket
Pull the corner of the gasket.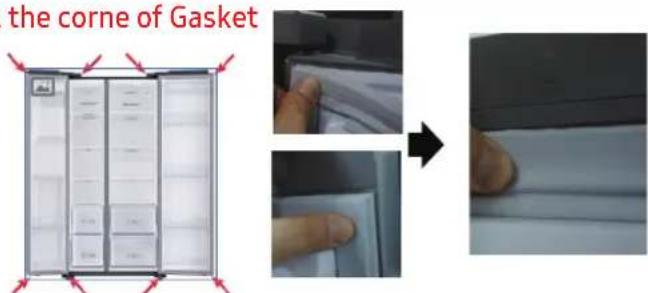
- Push the 4 corners of gasket.
- Push the center of gasket.
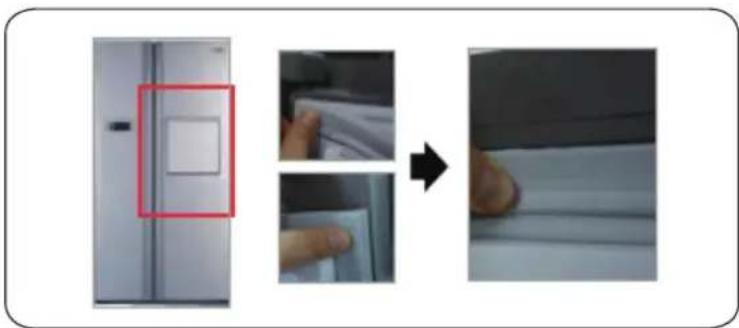
- Push the 4 corners of gasket.
- Push the center of gasket.
CAUTION
Check that the drawer is inserted properly into the rail during assembly.
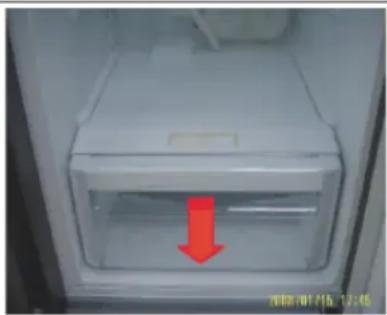
To remove the drawer
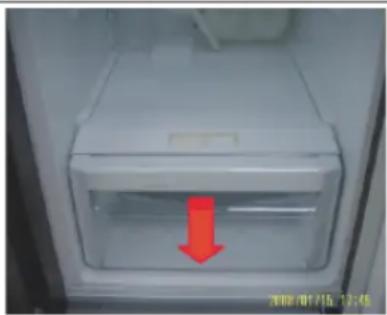
- Pull out the drawer as far as it goes.
- Tilt the drawer up and pull it out until it is removed.
To reattach the drawers
Reattaching the drawers follows the reverse order of their respective removal steps.
Hinge replacement
To replace the hinges, you must remove the doors first.
CAUTION
- When removing the doors, take extreme caution because the doors are heavy.
- Before replacing the hinges, put a soft pad such as cardboard on the floor to prevent scratches on the door when you place the doors down.
- As the hinges must be handled carefully and replaced by two or more persons, we recommend you to call for professional technical service. • If you remove the hinge without holding the door, the door may fall and cause injury.
- Ensure that the shaft is firmly tightened on the hinge.
- Check that the hinge is firmly attached to the cabinet.
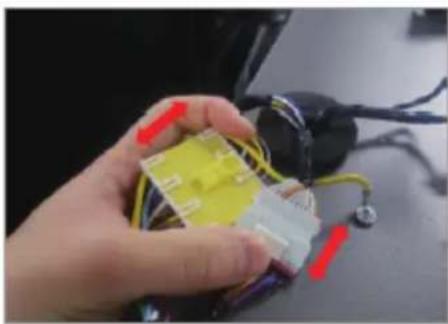
- Make sure the wire connectors are connected properly.
- Be careful not to damage the wires when fastening the top cover.
WARNING
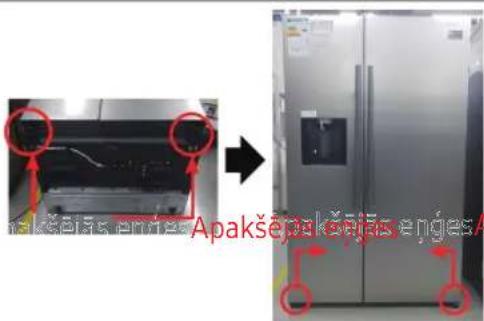
- Tilting/laying the refrigerator requires a minimum of 2 people.
- Disconnect the power cord before reversing the doors.

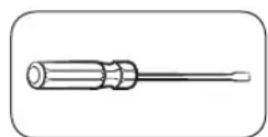
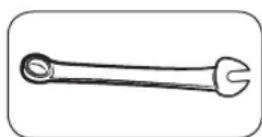
Philips screwdriver Flat-head screwdriver 11 mm spanner
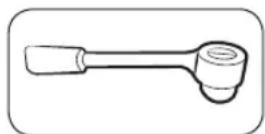
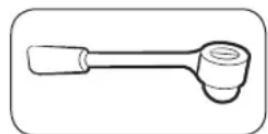

10 mm socket wrench 8 mm socket wrench 10 mm spanner
Reversing the door

NOTE
For the models with handles, reverse the handles first. (For detailed information, see the "Reversing the door handle position (For models with bar handles)" section.)
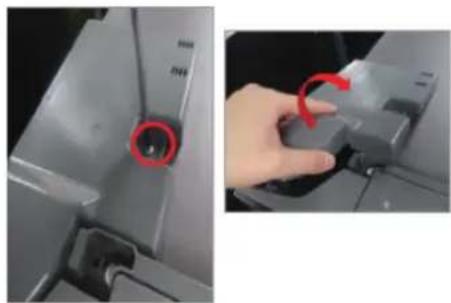
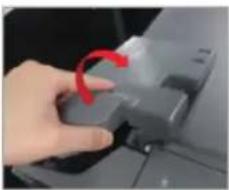
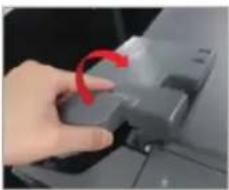
- Disconnect the power cord, and remove 1 cover screw using a Phillips screwdriver. Then open the freezer door and pull the hooks on the sides to loosen the cover. Lift the cover towards you to detach it.
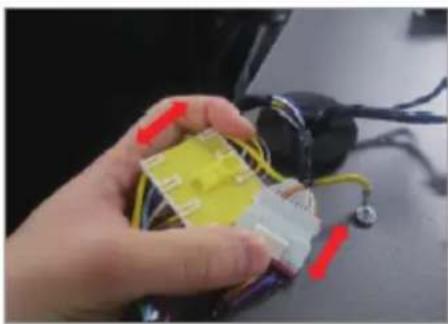
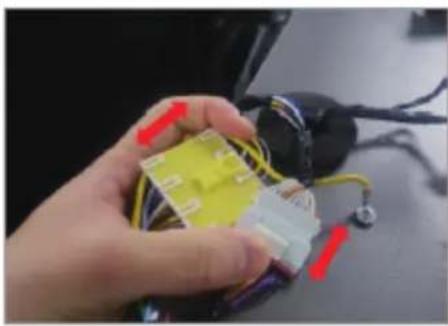
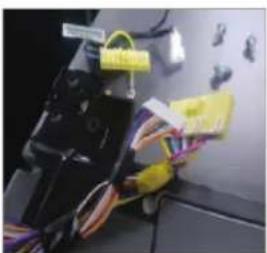
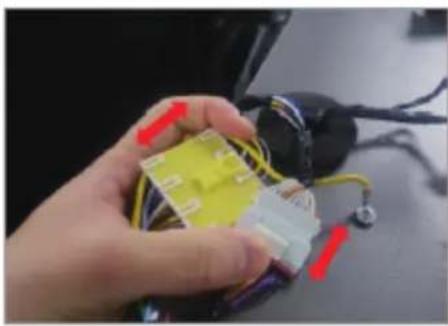
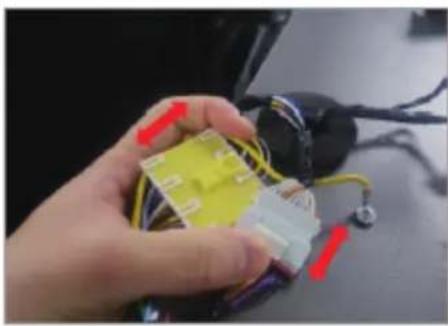
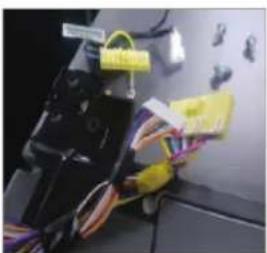
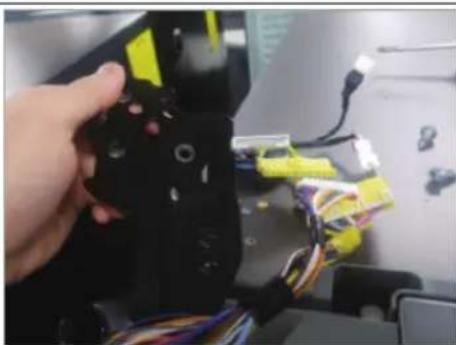
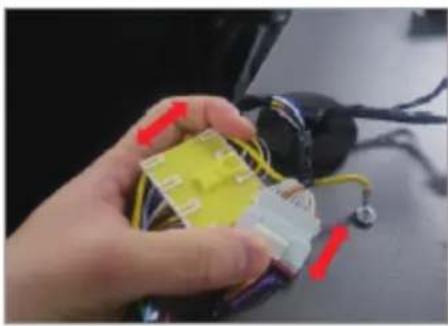
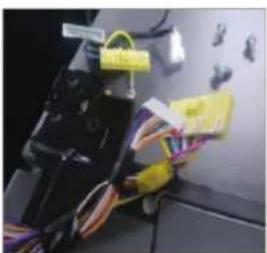
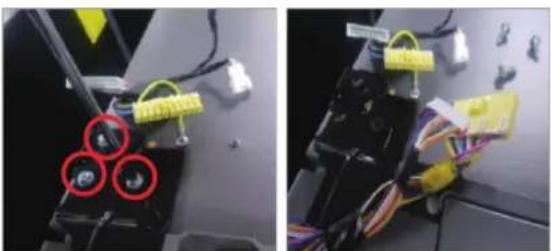
- Disconnect the two top housings.
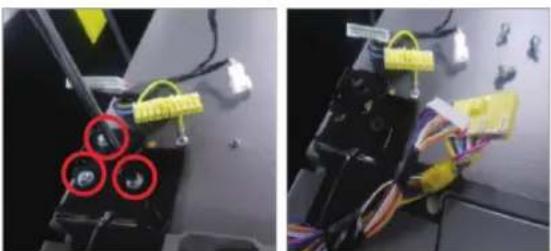
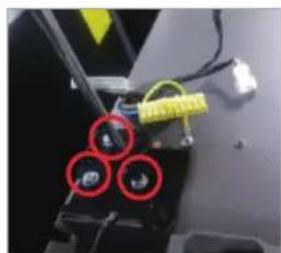
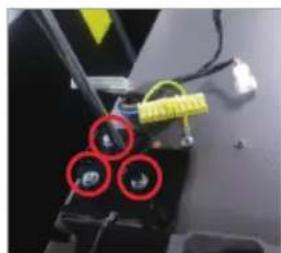
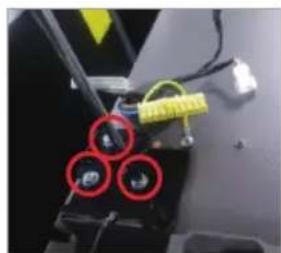
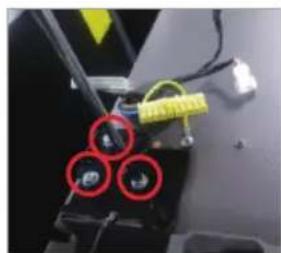
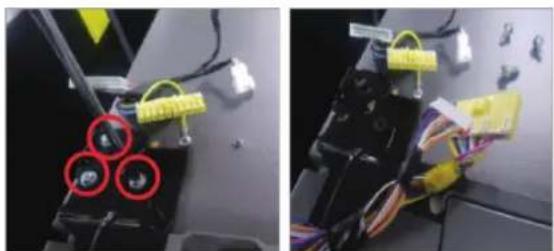
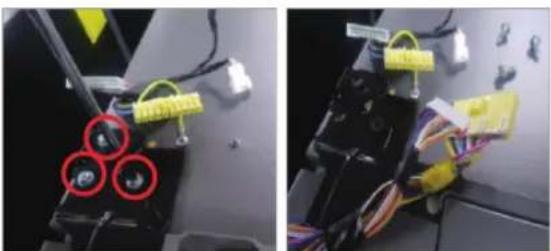
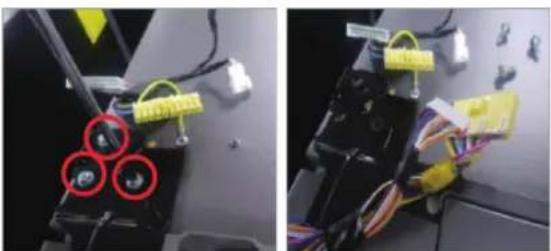
- Remove the three bolts holding the hinge.
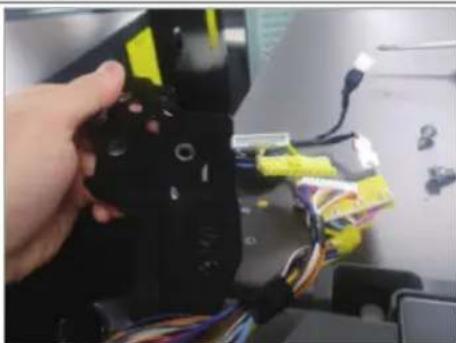
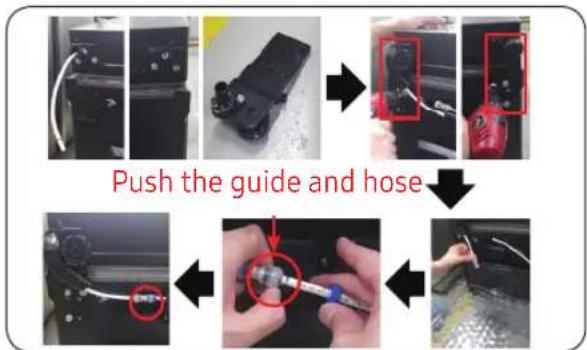
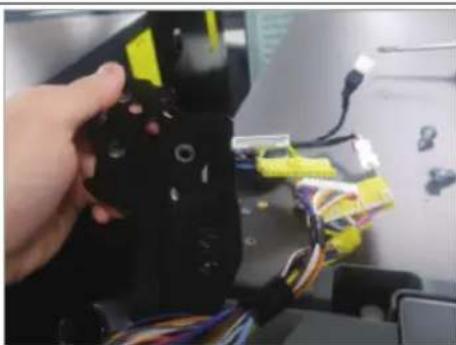
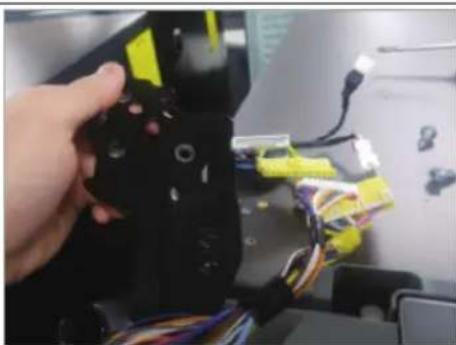
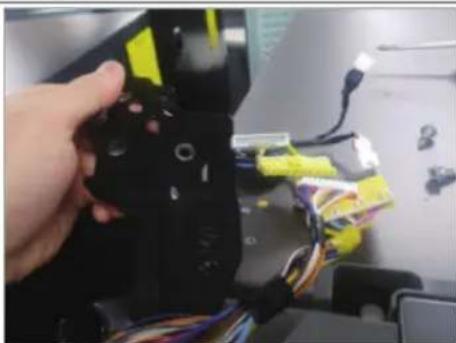
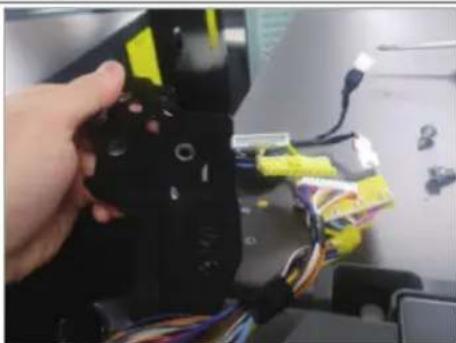
- Disassemble the top hinge from
![graph TD A["Start"] --> B["Close-up of tool"] B --> C["Close-up of tool with screwdriver"] C --> D["Close-up of tool with hose"] D --> E["Final assembly with hand holding part"]](/content/2026/03/504328/images/d2ee3640d3c70cc08aedb759d1a95dbc795471d0989b97e5619390cc77445576.jpg)
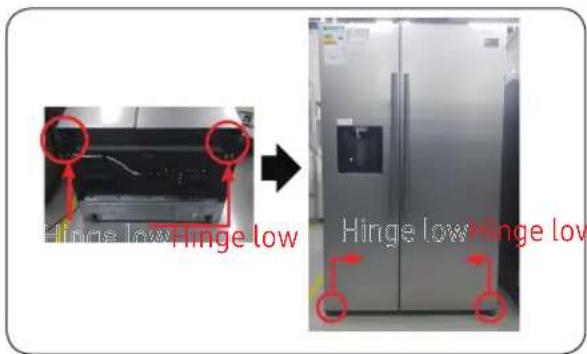
- Disconnect the power cord.
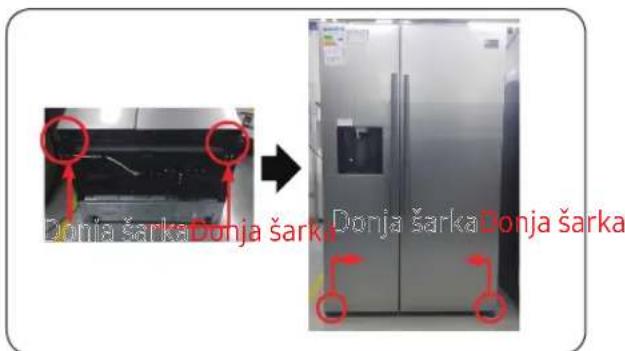
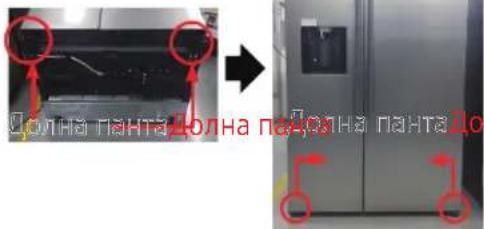
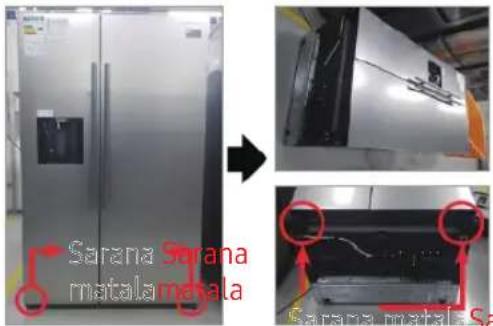
- Lay down the set.


Must work with more than 2 people.
Be sure to unplug the power cord before performing the operation above.
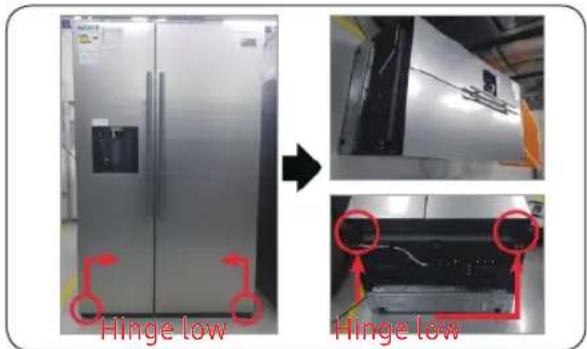
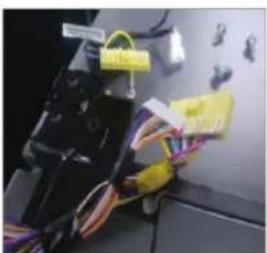
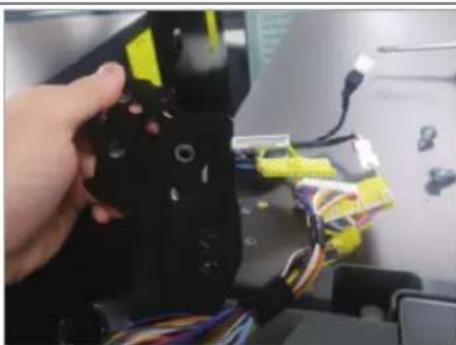
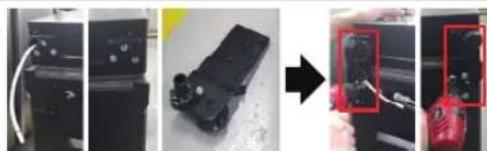
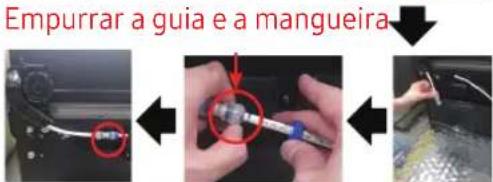
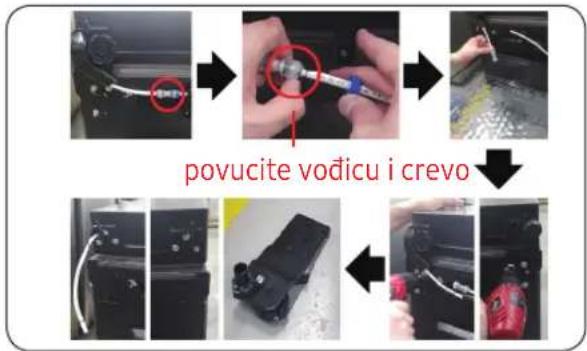
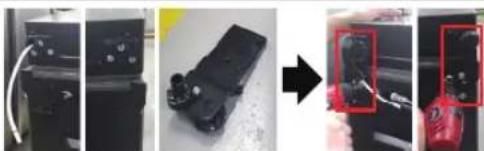
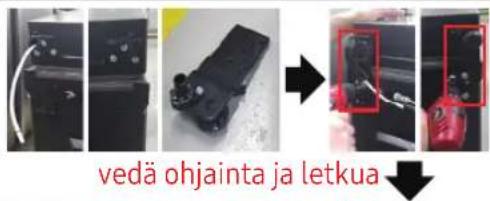
- Disconnect hose. (Only hinge low left)
- Exhaust water in hose. (Only hinge low left)
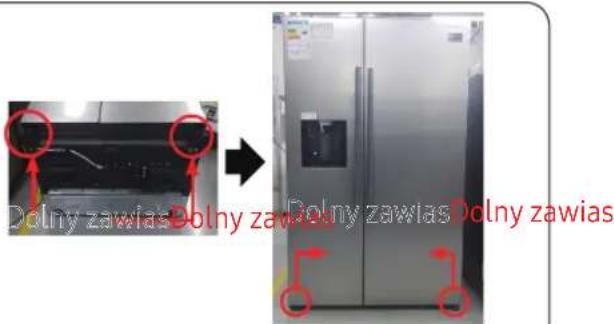
- Remove bolt (3 ea). (Using spanner or 10mm box wrench)
- Remove hinge low R/L.
- Assemble hinge low on bottom. (Using spanner or 10mm box wrench)
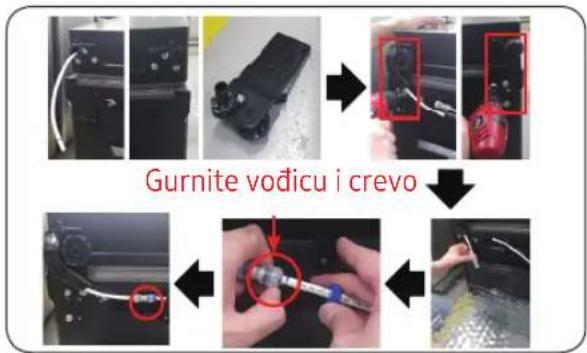
- Connect hose (only hinge low left)
- Assemble water in hose. (Only hinge low left)

Be sure to unplug the power cord before performing the operation above.
- Assemble hinge low R/L.
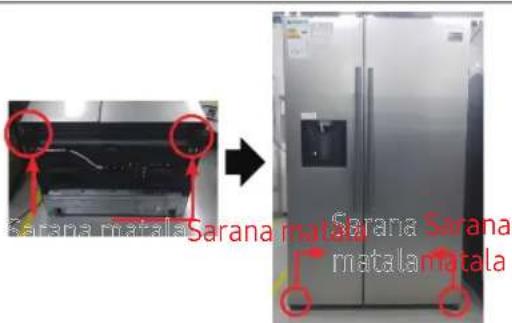
- Put up the set.

Must work with more than 2 people.
01 Handle

To remove the gasket
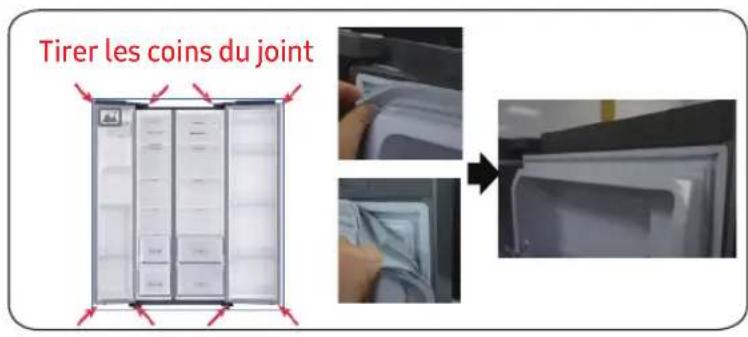
01 Handle
03 Upper hinge

01 Handle
03 Upper hinge
05 Lower hinge
02 Drawer
04 Upper bracket
Spare door handle
- Unscrew 4 screws to remove the cover and handle.
- Remove the top hinge.
01 Handle


Phillips screwdriver Flathead screwdriver
flathead
To separate the handles
NOTE
To remove the drawer
To put the drawers back
01 Top hinge
03 Top handle
05 Bottom hinge
02 Drawer
04 Packaging
Handle replacement
Phillips screwdriver

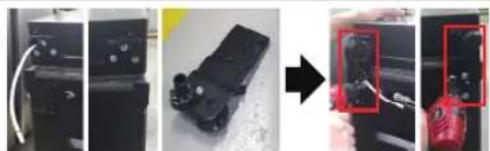
01 Handle
03 Upper hinge
05 Lower hinge
02 Drawer
04 Basket
Replacing handles

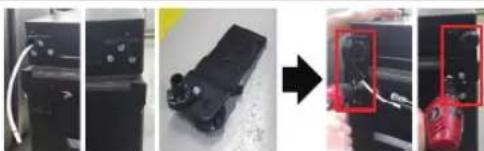

01 Handle
03 Upper hinge
05 Lower hinge
02 Drawer
04 Seal
Replacing the handle
Flat-head screwdriver
01 Handle
03 Upper hinge
05 Lower hinge
02 Drawer
04 Gasket

01 Handle
03 Upper hinge
05 Lower hinge
02 Drawer
04 Gasket
Handle replacement
Phillips screwdriver Flat-head screwdriver
Disconnecting handles

NOTES

Turn the handle assembly to one side to remove it from the lower position.
- Press the 4 corners of the gasket.
- Press the center of the gasket.

WARNING
- Disconnect the two top covers.
01 Handle

01 Handle
03 Top hinge
05 Bottom hinge
02 Gasket
04 Seal
Replacing the handle
Philips
cross-head screwdriver
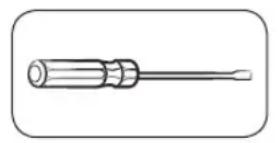
Flat-head screwdriver
To remove the handles

NOTE
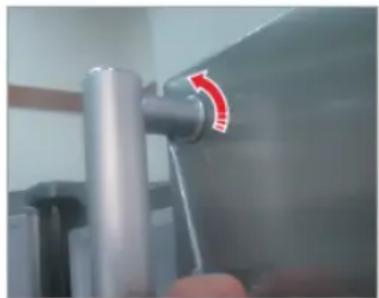
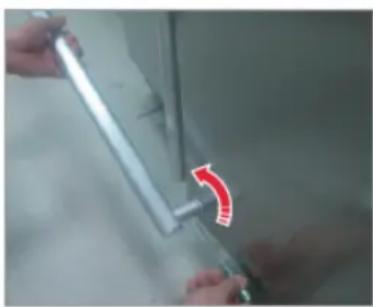
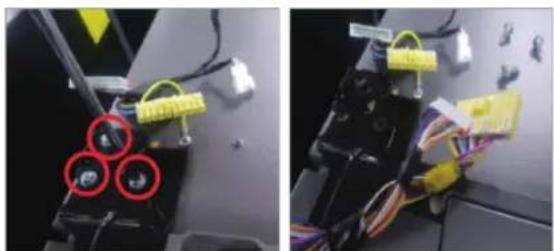
- Unscrew the 4 screws to separate the handle support and the handle bracket.
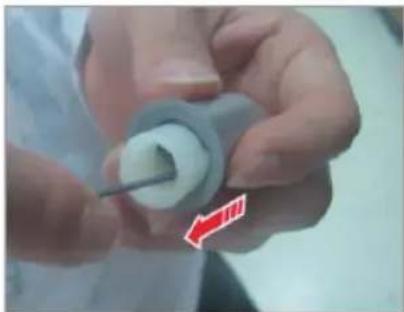
- Press the 4 corners of the seal.
- Press the center of the gasket.
Replacing the drawer

CAUTION
Check that the drawer is correctly positioned on the rails during assembly.
To remove the drawer
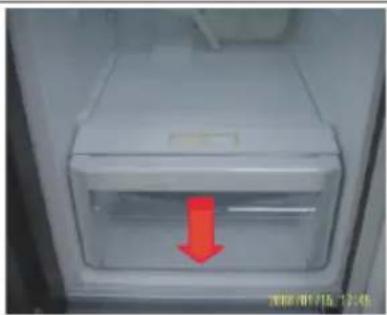
- Pull the drawer out fully.
- Tilt the drawer upward and pull it out until it is removed.
To reattach the drawers
Reinstalling the drawers follows the reverse order of the steps for removing them.
Replacing the hinge
To replace the hinges, you must first remove the door.

CAUTION
- When removing the door, be extremely careful because the door is heavy.
- Before replacing the hinges, place a soft pad on the floor, such as cardboard, to prevent scratches on the door when you remove it.
- Since the hinges need to be handled carefully and two or more people should participate in their replacement, we recommend that you call a professional technical service.
- If you remove the hinge without holding the door, the door may fall and cause injury.
- Make sure the shaft is firmly tightened on the hinge. •Check that the hinge is firmly attached to the housing. •Make sure the wire connections are properly connected.
- Be careful not to damage the wires when attaching the top cover.

WARNING
- Tilting / positioning the refrigerator should be done by at least 2 people.
- Disconnect the power cord before starting the door reversal.
- Disconnect the power cord and remove 1 cover screw using a Phillips screwdriver. Then open the freezer door and pull the hooks on the side to loosen the cover. Lift the cover towards you to detach it.
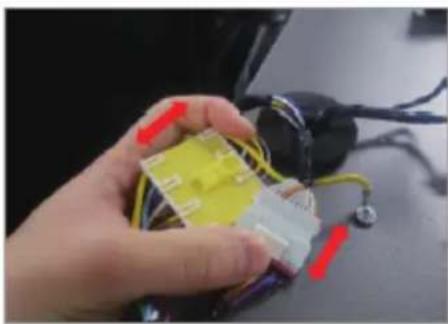
- Remove the top hinge.
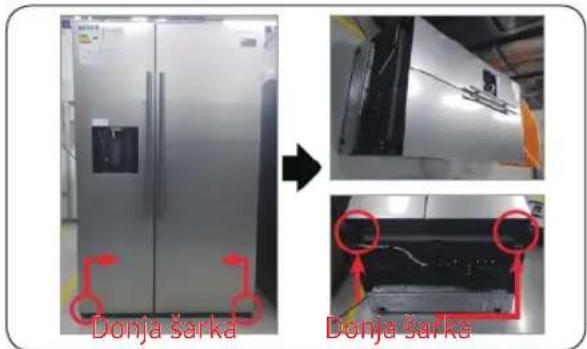
- Disconnect the power cord.
- Lay down the set.

This must be done by more than 2 people.

Be sure to unplug the power cord before starting the above operation.
- Disconnect the hose.
(Only bottom left hinge)
- Insert water into the hose.
(Only bottom left hinge)
- Remove the screw (3ea).
(Using a wrench or a 10 mm box wrench)
- Remove the bottom hinge D / L.
- Mount the hinge low at the bottom.
(Using a wrench or a 10 mm box wrench)
- Connect the hose (only bottom left hinge)
- Connect water to the hose (Only bottom left hinge)

Be sure to unplug the power cord before starting the above operation.
- Assemble the bottom hinge D / L.
- Place the set.

This must be done by more than 2 people.
01 Handle
03 Top hinge
05 Bottom hinge
02 Drawer
04 Gasket
Handle replacement

01 Handle
03 Top hinge
05 Bottom hinge
02 Drawer
04 Seal

- Disconnect the power cord.
- Place the kit in a lying position.


01 Handle
03 Top hinge
05 Bottom hinge
02 Drawer
04 Seal
Handle replacement
The model name looks like this: RS54**3****, RS52**3****, RS50**3****. The asterisks may vary depending on the model.
The asterisk(s) in the model code indicate(s) the model variant and may change (0-9) or (A-Z) in the model code.

CAUTION
- When replacing the door handle, be careful not to scratch the front of the door.
- Press the handles firmly onto the brackets. Make sure there is no gap between the brackets and the door.
- Tighten the screws firmly when installing the handle.
- Before using the product, check that the handle is firmly attached.
- Unscrew the 4 screws to disassemble the handle bracket cap and the handle bracket.
- Press the 4 corners of the gasket.
- Press the center of the gasket.
Replacing the drawer

CAUTION
- Pull the drawer out fully.
- Tilt the drawer upward and pull it out until it is removed.
To reposition the drawers
- Separate the two upper housings.
01 Door

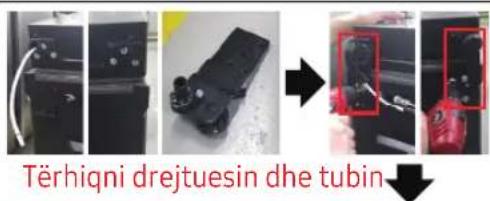
- Disconnect the power cord.
- Spread the set.

01 Handle
03 Upper hinge
05 Lower hinge
02 Drawer
04 Washer
Handle replacement

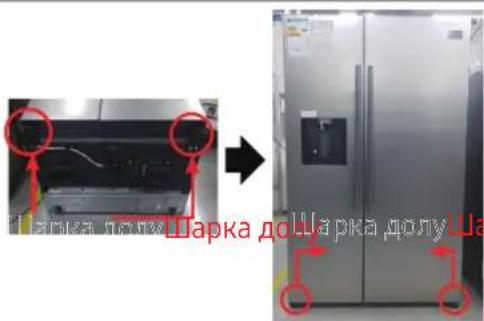
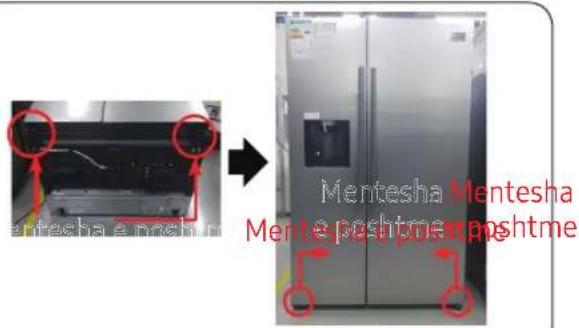
01 Handle
03 Upper hinge
05 Lower hinge
02 Drawer
04 Gasket
Gasket replacement
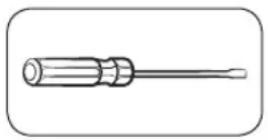
Phillips screwdriver Flathead screwdriver
To remove the handles

NOTES
This instruction applies to both the refrigerator and freezer compartments.

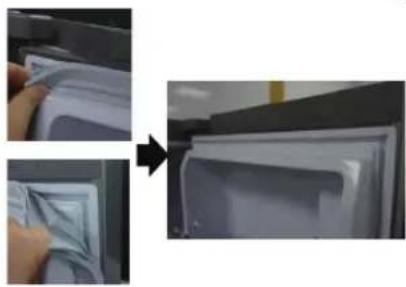
- Pull the 4 corners of the gasket.
- Pull the middle of the gasket.
To replace the gasket
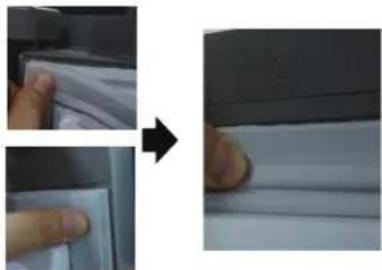
- Press the 4 corners of the gasket.
- Press the middle of the gasket.
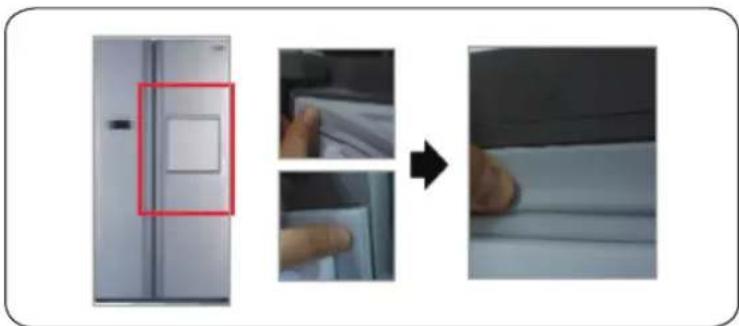
- Press the 4 corners of the gasket.
- Press the middle of the gasket.
Drawer replacement

CAUTION
- Remove the three screws that hold the handle.
01 Handle
03 Upper hinge
05 Lower hinge
02 Drawer
04 Seal
- Push the seal into the 4 corners.
- Push the center of the seal.

CAUTION
- Install the P/V lower hinge.
- Prepare the kit.

01 Handle
03 Upper hinge
05 Lower hinge
02 Drawer
04 Tarpinè
Rankenos keitimas

- Atjunkite du viršutinius korpusus.
01 Håndtere
03 ∅verste hængsel
05 Nederste hængsel
02 Skuffe
04 Pakning

- Frakobl de to øverste huse.
01 Håndtak
03 Topphengsel
05 Nederste hengsel
02 Skuff
04 Pakning
Stjernejern-
skrutrekker
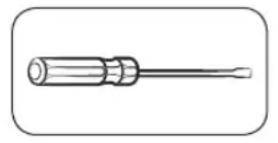
Flat screwdriver

- Press on the four corners of the gasket.
- Press on the center of the gasket.

CAUTION
01 Handle
03 Top hinge
05 Bottom hinge
02 Drawer
04 Gasket
Handle replacement
Philips screwdriver
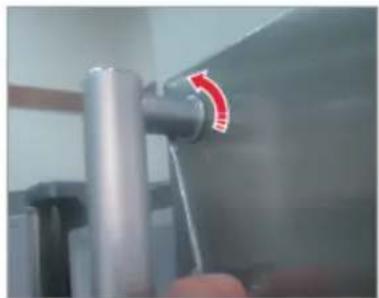
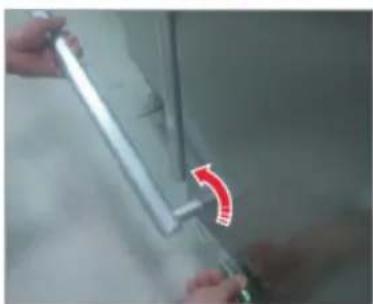
- Remove the top hinge
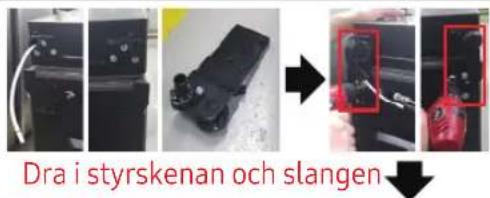
- Disconnect the hose.
(Only hinge low left)
- In the drain hose.
(Only hinge low left)
- Remove the bolt (3 pcs).

01 Handle
03 Top hinge
05 Bottom hinge
02 Drawer
04 Seal
Replacing the handle

- Press the 4 corners of the seal.
- Press the middle of the seal.

CAUTION
- Pull the drawer out as far as it will go.
- Then tilt the drawer upward and pull it until it is removed.
- Remove the three screws that hold the hinge.