classicLED - Lighting EHEIM - Free user manual and instructions
Find the device manual for free classicLED EHEIM in PDF.
| Product type | LED aquarium light |
| Brand | Eheim |
| Model | classicLED |
| Power supply | External power supply (protection class III) |
| Protection class | II (unit), III (power supply) |
| Protection rating | IPX7 (light), not water-protected (power supply) |
| Minimum distance to water | 15 mm between the bottom of the light and the highest water level |
| Compatibility | Cover frame, open aquarium, T5/T8 adapter kit (accessory) |
| Features | LED lighting for aquariums, compatible with EHEIM Dimmer Day & Night classicLED |
| Photosynthetic efficiency | > 1.2 μmol/J, suitable for aquatic plants and corals |
| Maintenance and cleaning | Unplug, allow to cool for 5-10 min, clean with a soft damp cloth, do not use hard objects or harsh chemicals |
| Safety | Do not look directly at the light source, do not open the unit, use a residual-current circuit breaker (30 mA), form a cable drip loop |
| Spare parts | Original EHEIM spare parts (see page 3 of the manual) |
| Repairability | Unit cannot be opened, if defective dispose of it |
| Disposal | Observe the WEEE directive, do not discard with household waste, take to a recycling center |
| Dimensions (approx.) | Length adjustable via brackets, refer to the full manual |
| Weight (approx.) | Not specified, lightweight (LED light) |
Frequently Asked Questions - classicLED EHEIM
User questions about classicLED EHEIM
0 question about this device. Answer the ones you know or ask your own.
Ask a new question about this device
Download the instructions for your Lighting in PDF format for free! Find your manual classicLED - EHEIM and take your electronic device back in hand. On this page are published all the documents necessary for the use of your device. classicLED by EHEIM.
USER MANUAL classicLED EHEIM
text_image
classicLED daylight plants hybrid

Accessories (not included in the delivery)
Adapterset T5/T8
Adapter set T5/T8
natural_image
Exploded view diagram of various mechanical components (no text or symbols)Spare parts

text_image
7300378 (20 W) 7300388 (36 W) 7300368 (12 W) 7421078 7239678
text_image
A ① ② EHEM 2 - 3 cm ③
natural_image
Mechanical assembly diagram showing a rotating conveyor belt system with pipe routing (no text or symbols)
text_image
C click!
natural_image
3D diagram of a mechanical component with internal channels and a directional arrow, no text or symbols present
natural_image
Technical diagram of a mechanical assembly with a lever and directional arrow (no text or symbols)
text_image
F ④
text_image
G > 15 mm
text_image
H ⑥ ⑤
text_image
1 ⑥
text_image
J ⑦ ⑧
text_image
K click!
text_image
L ⑨ CHEMY CHEM ⑩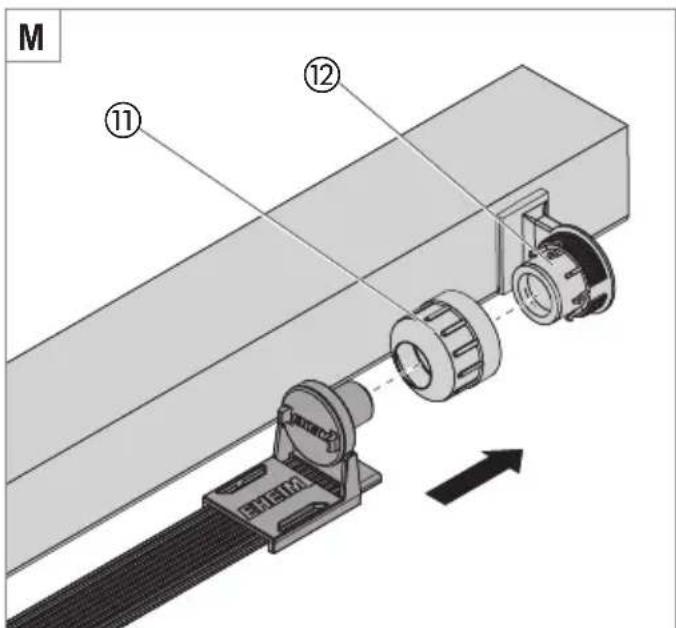
text_image
M ⑪ ⑫ EHEM
natural_image
Mechanical assembly diagram showing a rotating component mounted on a beam, with no visible text or symbols.Operating manual (translation)
EHEIM classicLED aquarium lighting
General user instructions
Information on using the operating manual

▶ Before using the appliance for the first time, the operating manual must be read fully and understood.
- Consider the operating manual as part of the product and keep in a safe and accessible location.
- Enclose this operating manual if passing the appliance on to a third party.
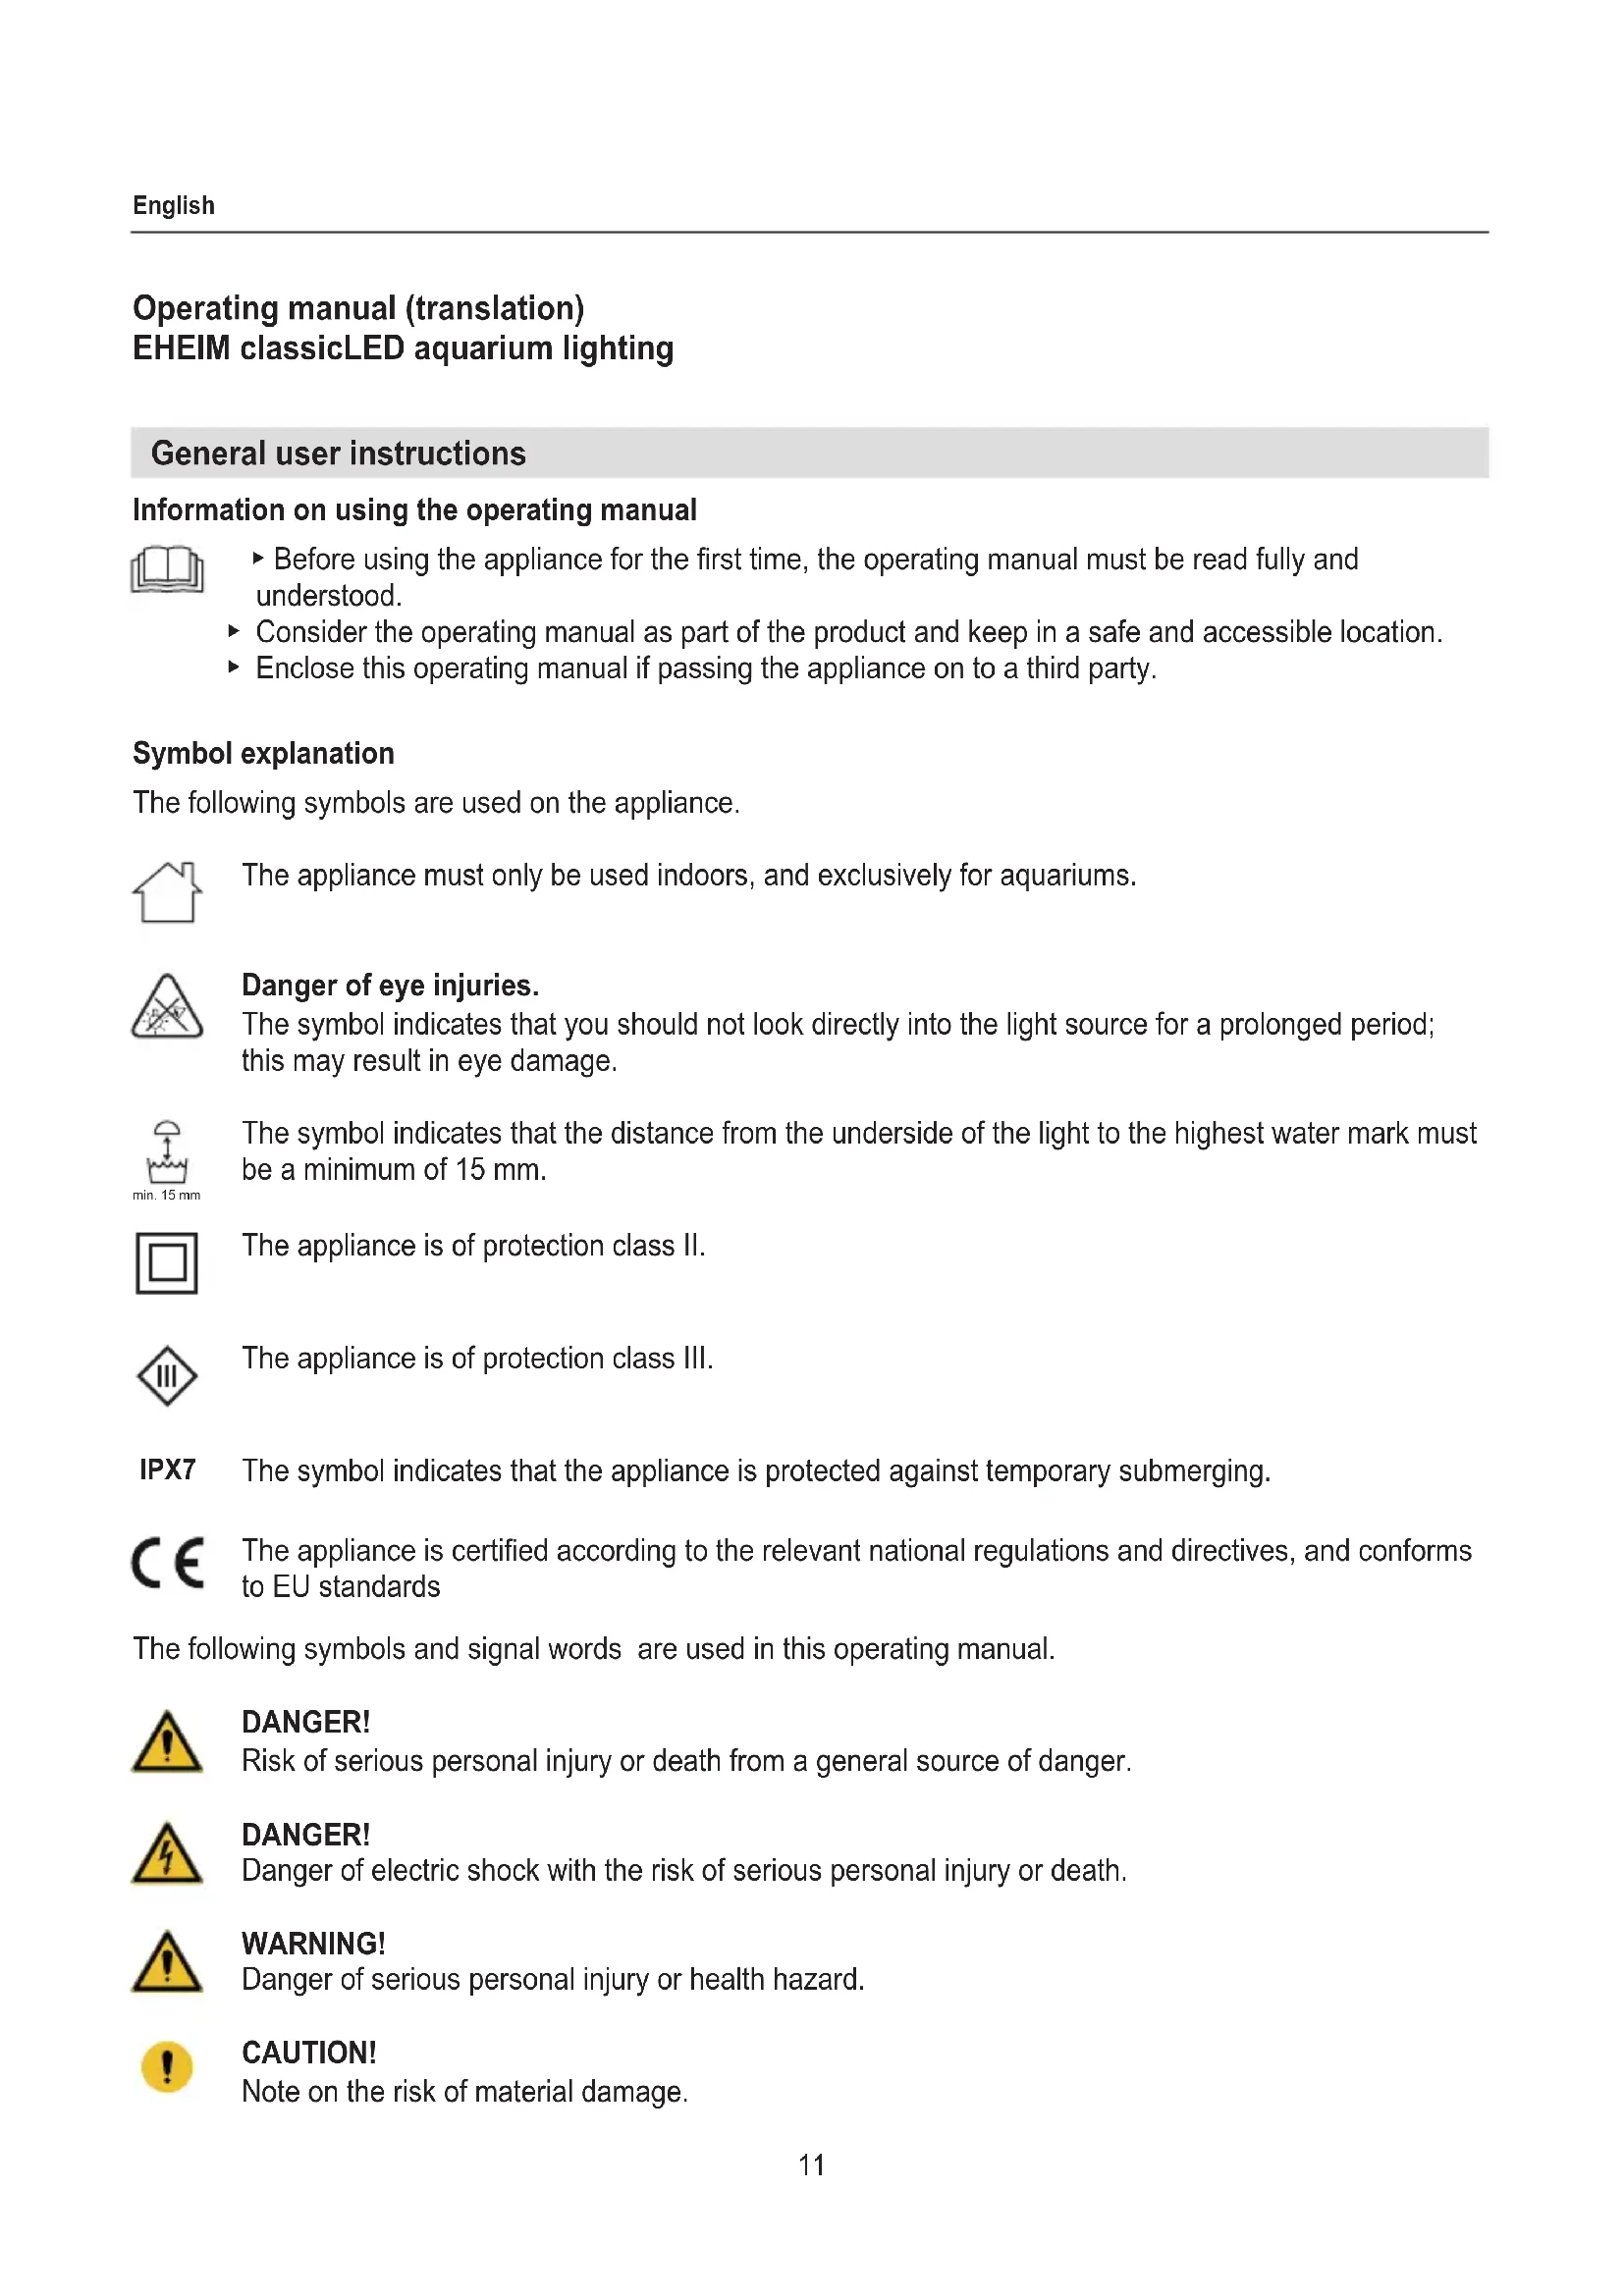
Symbol explanation
The following symbols are used on the appliance.

The appliance must only be used indoors, and exclusively for aquariums.

Danger of eye injuries.
The symbol indicates that you should not look directly into the light source for a prolonged period; this may result in eye damage.

The symbol indicates that the distance from the underside of the light to the highest water mark must be a minimum of 15 mm.

The appliance is of protection class II.

The appliance is of protection class III.
IPX7 The symbol indicates that the appliance is protected against temporary submerging.
CE The appliance is certified according to the relevant national regulations and directives, and conforms to EU standards
The following symbols and signal words are used in this operating manual.

DANGER!
Risk of serious personal injury or death from a general source of danger.

DANGER!
Danger of electric shock with the risk of serious personal injury or death.

WARNING!
Danger of serious personal injury or health hazard.

CAUTION!
Note on the risk of material damage.
i
Note with useful information and tips.
Typographical conventions:
☒A Reference to a figure, in this case, reference to figure A.
▶ You are prompted for an action.
Application
The appliance and all parts included in the scope of delivery are intended for private use and must only be used:
· for aquarium lighting
· in compliance with the technical data
Safety
Risks for persons and property can arise from this appliance if the appliance is improperly used or not used as intended or if the safety instructions are not heeded.
For your safety

- Do not let the appliance packaging and small parts get into the hands of children or people who are unaware of how to handle them, as hazards can arise (danger of suffocation!). Keep away from animals.
- This appliance is not intended for use by persons (including children) with reduced physical, sensory or mental capabilities, or lack of experience and knowledge, unless they are under the supervision of someone responsible for their safety or have received instruction on usage of the appliance from said person. Children should be supervised to ensure that they do not play with the appliance.
· Only for European markets:
This appliance can be used by children from the age of 3 and by persons with reduced physical, sensory or mental capabilities or lack of experience and/or knowledge if they are supervised and have been instructed in the safe use of the appliance and have understood the resulting dangers. Children must not play with the appliance. Cleaning and user maintenance must not be carried out by children unless they are supervised.
- Before use, carry out a visual inspection to ensure that the appliance, especially the mains cable and plug, are undamaged.
- Do not look directly into the light source for a prolonged period; this may result in eye damage.
- The appliance must not be opened. A defective appliance must be scrapped.
- Only carry out the work described in these instructions.
· Never make technical modifications to the appliance.
- Only use original spare parts and accessories for the appliance.

- We recommend protecting all electrical aquarium appliances via a residual current protective device with a rated residual current of 30 mA maximum.
- In the event of water leakage or when the residual current protection device is triggered, immediately disconnect all devices in the aquarium from the power supply.
- If they are not being used, always disconnect all devices in the aquarium from the power supply before you install/remove any parts and before all cleaning and maintenance work.
- Protect the mains socket and mains plug against moisture and wetness. A drip loop must be formed with the mains cable.
This prevents any water running along the cable to the mains socket, which would result in a short-circuit.

- The electrical data of the appliance must match the data of the power mains. This data is found on the type plate, the packaging and in these instructions.
- The distance from the underside of the light to the highest water mark must be a minimum of 15 mm.
Commissioning
Fitting the LED holder
- Lay the mains cable ③ along under the LED light ① (☒A).
- Push the LED holder ② approx. 2 – 3 cm over the LED light edge.
- Turn the LED holder by 90^ in a clockwise direction (☒B).
- Press the LED holder downwards until the LED light engages (☒C).
- Adapt the length of the LED light to your cover frame by moving the LED holder accordingly (☒D).
- Fasten the cable in the LED holder with the snap fittings (☒E).
- Place the LED light in the cover frame ④. Make sure that the LED light is secure (☒F).
- Feed the cable into the cover frame and through the rear opening to the outside.

- For maintenance work, the LED light can be pushed into the cover frame (☒F).
- The LED light can be directly placed on an open aquarium with the holder.
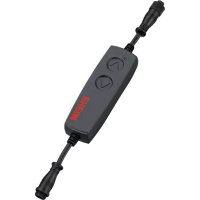
Operation
Switching the LED on/off

DANGER! Electric shock due to penetrating water!
The LED light is only protected against penetrating water if immersed temporarily.
The distance from the underside of the LED light to the highest water mark must be a minimum of 15 mm (☒G).
The power supply unit is not protected against penetrating water!
▶ Never mount the power supply unit on or in the cover frame.
- Connect the plug ⑥ of the LED light to the socket of the power supply unit ⑤ (☒H).
- Tighten the plug with the union nut (☒I).
- Insert the mains plug in the mains socket.
Optional accessories (not included in the scope of delivery)
Adapter set T5/T8
With the T5/T8 adapter, you can replace traditional fluorescent bulbs with the EHEIM classicLED.
i
The T5/T8 adapter set is available as an original EHEIM accessory.
The set includes:
· 2 × T5 adapter ⑩ (⊗L)
· 2 × T8 adapter ⑩ (×L)
· 2 × clamping ring ⑨ (⊗L)
· 2 × holder for mounting the LED light underneath the sockets ⑧ (☒J)
- 2 × holder for mounting the LED light laterally next to the sockets ⑦ (☒J)

DANGER! Electric shock!
Before all assembly work, remove the mains plug of the lighting unit and or cover.
- Keep the lighting unit or cover disconnected from the mains!
- Secure the mains plug of the lighting unit or cover against any unintentional connection to the socket

With the holder for mounting underneath the sockets, the minimum distance of 15 mm from the underside of the LED light to the water surface may not be able to be adhered to, depending on the aquarium. If this is the case, use the holder for lateral mounting ⑦ (☒J).
- Push the correct holder until it locks onto the LED light (☒K).
- Push the clamping ring ⑨ and the T5 or T8 adapter ⑩ together until they lock onto the holder bracket (☒L).
- Loosen the end cap ⑪ and remove the fluorescent bulb.
- Insert the LED light with the T5/T8 adapter into the lamp socket ⑫ via the end cap (☒M).
- Screw down the end cap (☒N).
Maintenance

CAUTION! Material damage.
- Do not use hard objects or aggressive cleaning agents for cleaning.
▶ Before cleaning, allow the LED light to cool down for 5-10 minutes.
Cleaning the LED light
- Disconnect the light from the power supply
- Allow the LED light to cool down for least 5-10 minutes.
- When required, clean the LED light with a soft, damp cloth.
Technical data
See page 120.
Spare parts
See page 3.
Decommissioning and disposal
Disposal

When disposing of the appliance, pay attention to the relevant statutory regulations.
Information on the disposal of electrical and electronic appliances in the European Union: Within the European Union, disposal of electrically operated appliances is governed by national regulations that are based on the EU Directive 2012/19/EU on waste electrical and electronic equipment (WEEE). The appliance may no longer be disposed of with the municipal or household waste. The appliance will be accepted free of charge at municipal collection points or recycling centres. The product packaging is made up of recyclable materials. Dispose of them in an environmentally responsible manner and take them for recycling.
Élimination/destruction

This light sources has a photosynthetic efficacy > 1,2 mol/J and is intended for aquatic plants.
These products are compatible with EHEIM Dimmer Day& Night classicLED, Item number 4200110
| Type No. 7608020 | |||
| Power supply [V] 220 - 240 | |||
| [Hz] 50 | |||
| Lamp length [mm] 550 | |||
| For aquariums from-to [mm] 550 - 635 | |||
| QR-Code to EPREL |  | ||
| Luminous flux Φ | use, 360° | [lm] 438 | |
| Electrical power consumption | P on | [W] 7,7 | |
| Ec | [kWh/1000 h] 9 | ||
| Peak wavelength [nm] 450 (royal blue LEDs) | |||
| Luminous efficiency [lm/W] 57 | |||
| Energy efficiency class | G | ||
| Psb | [W] | 0,00 | |
| Colour temperature | [K] | n.a. | |
| Beam angle | [°] | 120 | |
| CRI | n.a. | ||
| R9 | n.a. | ||
| L70B50 [h] | >50000 | ||
| Survival factor | 1,00 | ||
| Lumen maintenance factor | 0,96 | ||
| Colour consistency (McAdam ellipses) | 3 | ||
| PstLM | 2,53 | ||
| SVM | 0,28 | ||
This light source is intended exclusively for fluorescence and for coral zooxanthellae symbioses.
These products are compatible with EHEIM Dimmer Day& Night classicLED, Item number 4200110
Reproduction or copying – even parts thereof – only with the express permission of the producer.