
Chevron 34VC - Lawn mower FLYMO - Free user manual and instructions
Find the device manual for free Chevron 34VC FLYMO in PDF.
| Product type | Electric lawn mower |
| Brand | Flymo |
| Model | Chevron 34VC |
| Cutting width | 34 cm |
| Weight | 10.8 kg |
| Power | 1.4 kW |
| Power supply | 220-240 V, 50 Hz, alternating current |
| Blade rotation speed | 3700 rpm |
| Cutting heights | 5 positions from 20 to 60 mm |
| Grass box type | Rigid collection box |
| Main functions | Rear collection, mulching possible without bag, adjustable height handle |
| Safety | Double insulation, lock-off switch, two on/off levers, automatic blade stop |
| Maintenance and cleaning | Dry cleaning with soft brush, do not use water or solvents |
| Main spare parts | Blade 34 cm ref. FLY066 (577366490) |
| Repairability | Repair by Husqvarna approved center, blade replaceable by user |
| General information | User manual available for free download, manufacturer warranty 2 years |
Frequently Asked Questions - Chevron 34VC FLYMO
User questions about Chevron 34VC FLYMO
0 question about this device. Answer the ones you know or ask your own.
Ask a new question about this device
Download the instructions for your Lawn mower in PDF format for free! Find your manual Chevron 34VC - FLYMO and take your electronic device back in hand. On this page are published all the documents necessary for the use of your device. Chevron 34VC by FLYMO.
USER MANUAL Chevron 34VC FLYMO
Read before use and retain for future reference
DE
WICHTIGE INFORMATION
-
Cable Hook x 2
-
Screw x 2
-
Upper handle
-
Lower handle
-
Cable clip x2
-
Handle knob and nut x 2
-
Washer x 2
-
Handle Bolt x 2
-
Grassbox Upper
10.Grassbox lower
- Lower handle screw x 2
12 Height adjustment lever
-
Instruction Manual
-
Warning Symbols
15.Product rating label
D-INHALT
GB DO NOT use liquids for cleaning.
GB For further advice or repairs, contact your local dealer.
If not used properly this product can be dangerous! This product can cause serious injury to the operator and others, the warnings and safety instructions must be followed to ensure reasonable safety and efficiency in using this product. The operator is responsible for following the warning and safety instructions in this manual and on the product.
Explanation of Symbols on the product

Warning

Read the user instructions carefully to make sure you understand all the controls and what they do.

Always keep the product on the ground when operating. Tilting or lifting the product may cause stones to be thrown out.

Keep bystanders away. Do not operate whilst people especially children or pets are in the area.
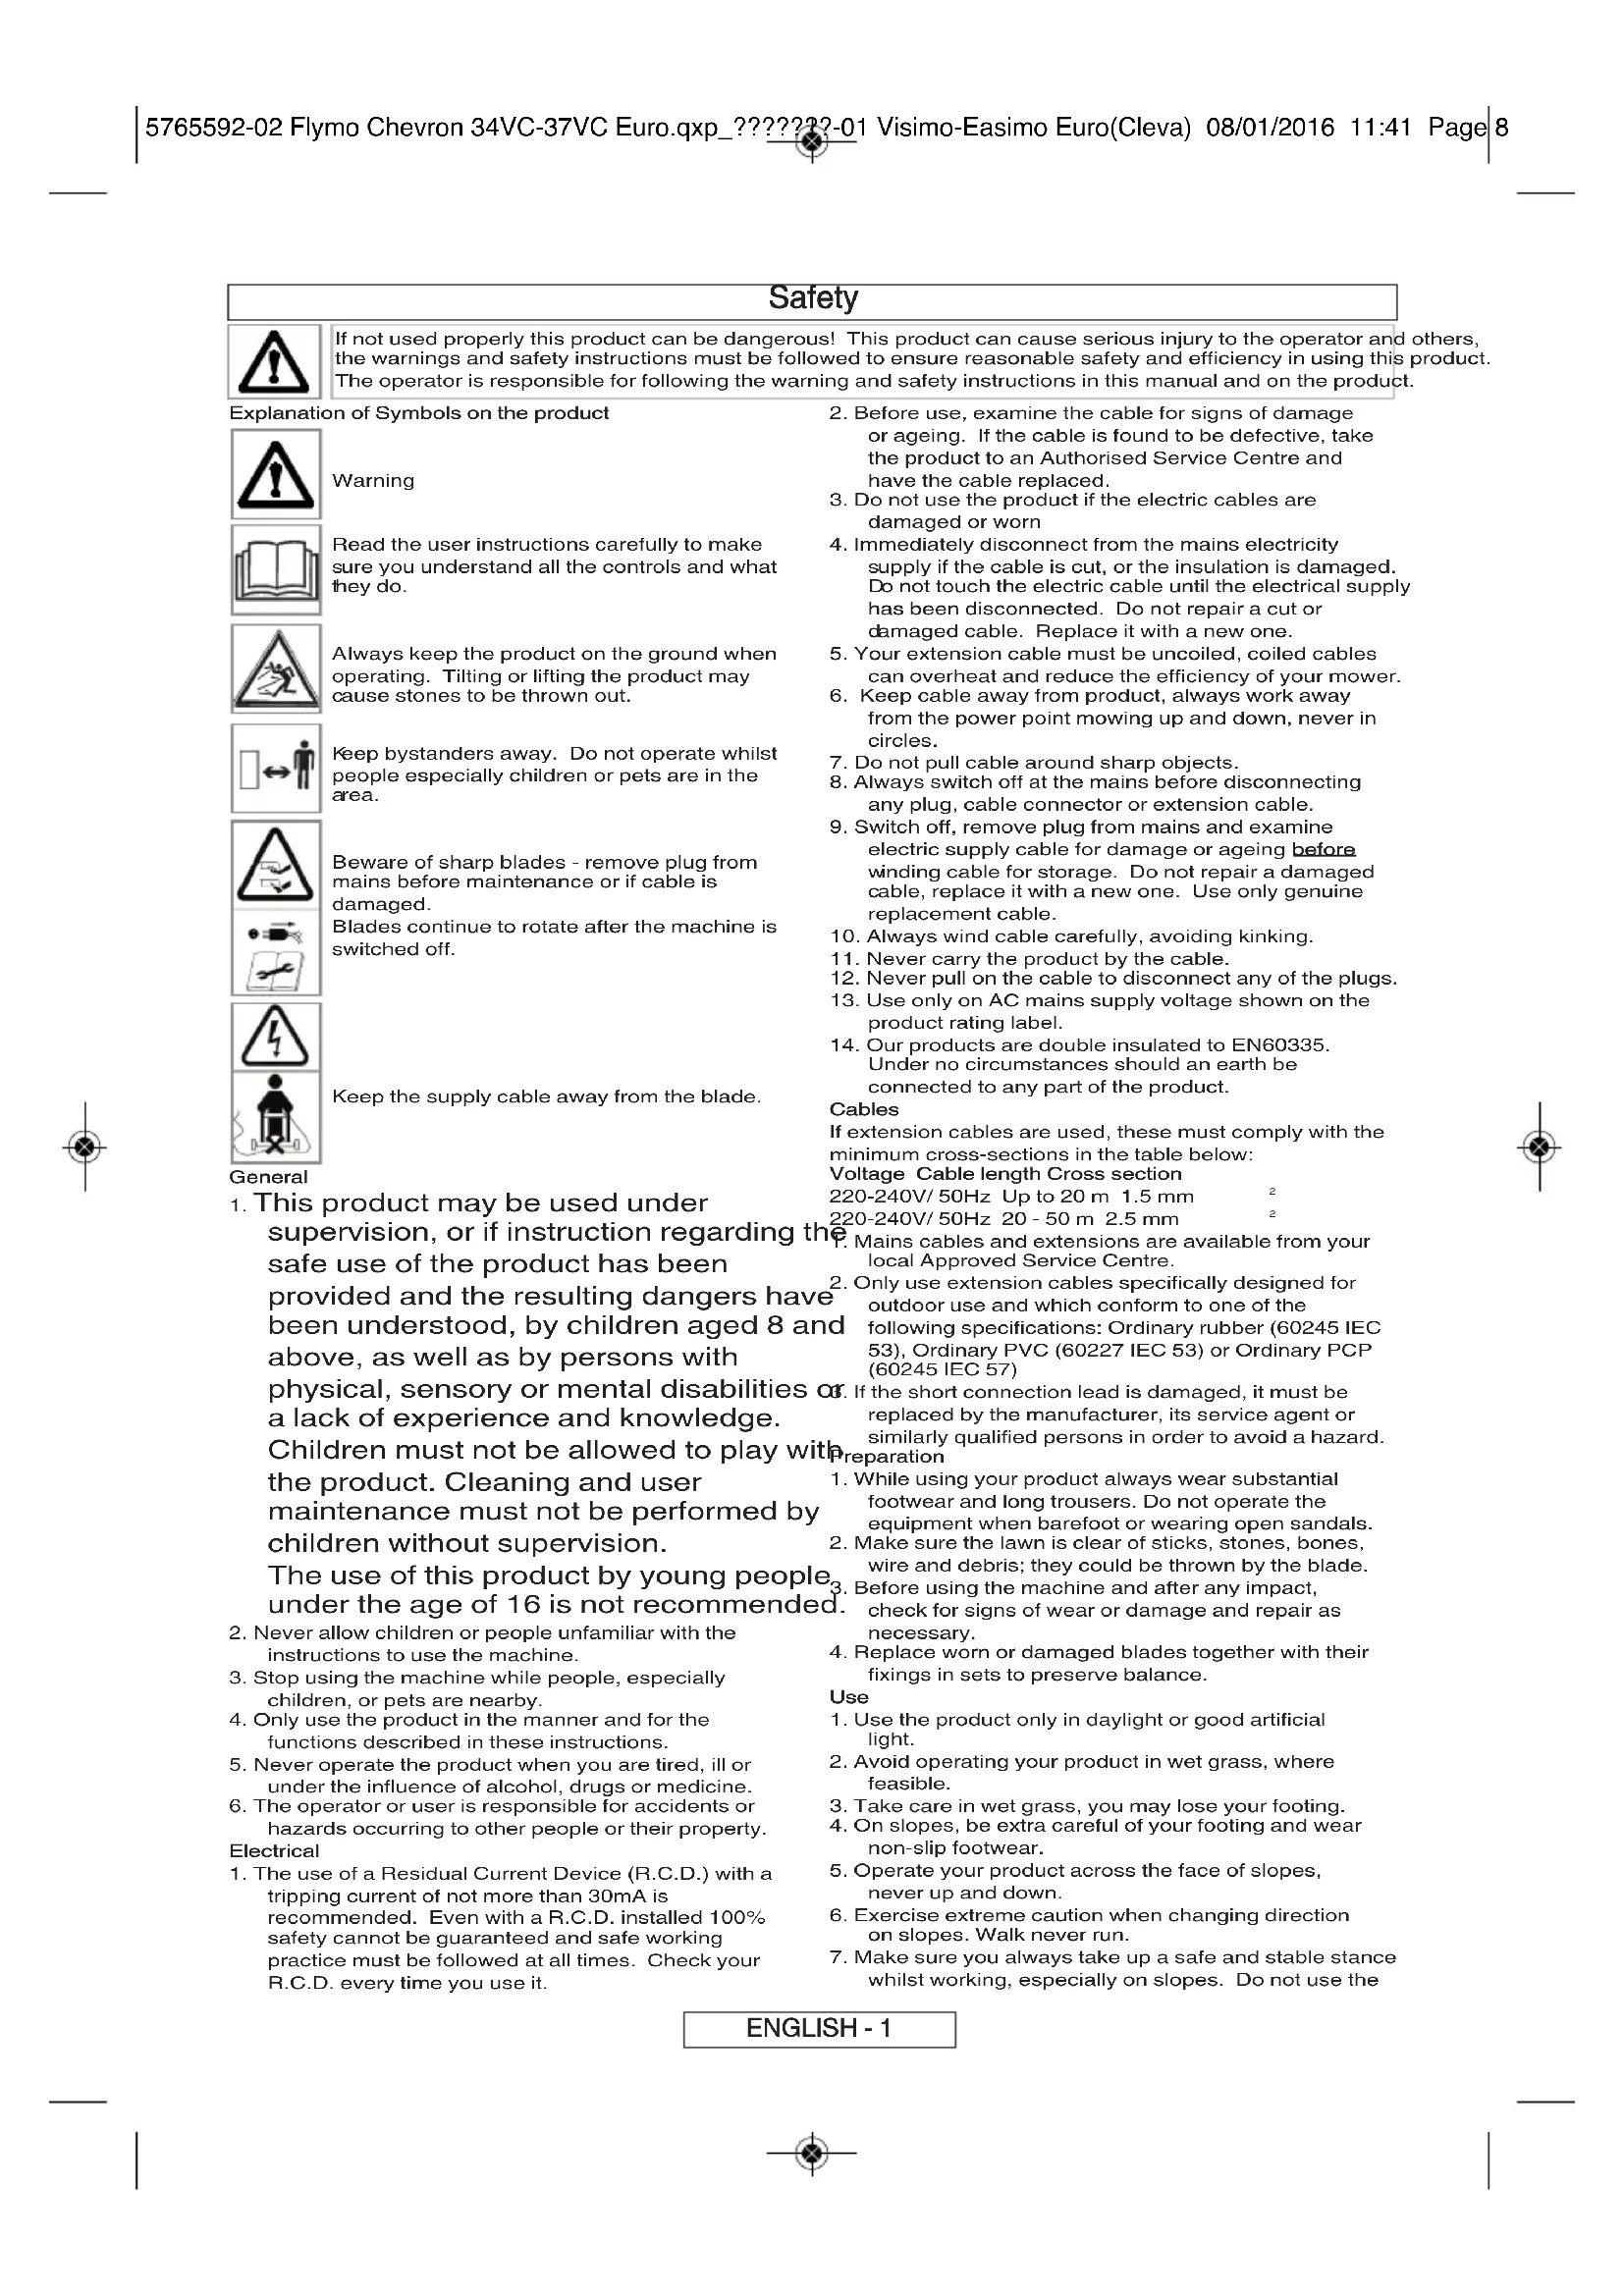
Beware of sharp blades - remove plug from mains before maintenance or if cable is damaged. Blades continue to rotate after the machine is switched off.

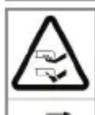
Keep the supply cable away from the blade.
General
-
Before use, examine the cable for signs of damage or ageing. If the cable is found to be defective, take the product to an Authorised Service Centre and have the cable replaced.
-
Do not use the product if the electric cables are damaged or worn
-
Immediately disconnect from the mains electricity supply if the cable is cut, or the insulation is damaged. Do not touch the electric cable until the electrical supply has been disconnected. Do not repair a cut or damaged cable. Replace it with a new one.
-
Your extension cable must be uncoiled, coiled cables can overheat and reduce the efficiency of your mower.
-
Keep cable away from product, always work away from the power point mowing up and down, never in circles.
-
Do not pull cable around sharp objects.
-
Always switch off at the mains before disconnecting any plug, cable connector or extension cable.
-
Switch off, remove plug from mains and examine electric supply cable for damage or ageing before winding cable for storage. Do not repair a damaged cable, replace it with a new one. Use only genuine replacement cable.
-
Always wind cable carefully, avoiding kinking.
-
Never carry the product by the cable.
-
Never pull on the cable to disconnect any of the plugs.
-
Use only on AC mains supply voltage shown on the product rating label.
-
Our products are double insulated to EN60335. Under no circumstances should an earth be connected to any part of the product.
Cables
If extension cables are used, these must comply with the minimum cross-sections in the table below: Voltage Cable length Cross section
220-240V/50Hz Up to 20 m 1.5 mm
220-240V/50Hz 20 - 50 m 2.5 mm
e. P. Mains cables and extensions are available from your local Approved Service Centre.
- Only use extension cables specifically designed for outdoor use and which conform to one of the following specifications: Ordinary rubber (60245 IEC 53), Ordinary PVC (60227 IEC 53) or Ordinary PCP (60245 IEC 57)
If the short connection lead is damaged, it must be replaced by the manufacturer, its service agent or similarly qualified persons in order to avoid a hazard.
-
While using your product always wear substantial footwear and long trousers. Do not operate the equipment when barefoot or wearing open sand
-
Make sure the lawn is clear of sticks, stones, bones, wire and debris; they could be thrown by the blade. 3. Before using the machine and after any impact, check for signs of wear or damage and repair as necessary.
-
Replace worn or damaged blades together with their fixings in sets to preserve balance.
Use
- Use the product only in daylight or good artificial light.
- Avoid operating your product in wet grass, where feasible.
- Take care in wet grass, you may lose your footing.
- On slopes, be extra careful of your footing and wear non-slip footwear.
- Operate your product across the face of slopes, never up and down.
- Exercise extreme caution when changing direction on slopes. Walk never run.
- Make sure you always take up a safe and stable stance whilst working, especially on slopes. Do not use the
ENGLISH - 1
Safety
mower close to swimming pools or garden ponds.
8. Do not walk backwards when operating, you could trip.
9. Never cut grass by pulling the product towards you.
10. Switch off before pushing the product over surfaces other than grass.
11. Never operate the product with damaged guards or without guards in place.
12. Keep hands and feet away from the cutting means at all times and especially when switching on the motor.
13. Do not tilt product when the motor is running
14. Do not put hands near the grass discharge chute.
15. Never pick up or carry a product when it is operating or still connected to the mains supply.
16. Remove the plug from the mains :
- before leaving the product unattended for any period;
- before clearing a blockage;
- before checking, cleaning or working on the appliance;
- if you hit an object. Do not use your product until you are sure that the entire product is in a safe operating
condition;
- if the product starts to vibrate abnormally. Check immediately. Excessive vibration can cause injury.
Maintenance and storage - Caution: Do not touch rotating blade(s)
- Keep all nuts, bolts and screws tight to be sure the product is in safe working condition.
- Check the grassbox frequently for wear or deterioration.
- Replace worn or damaged parts for safety.
- Only use the replacement parts specified for this product.
- Be careful during adjustment of the product to prevent entrapment of the fingers between moving blades and fixed parts of the machine.
- Store in a cool dry place and out of reach of children. Do not store outdoors.
- Allow the product to cool for at least 30 minutes before storing.
IMPORTANT INFORMATION
When received from the Manufacturer, the wheels are in a raised position. Do not switch on the product before removing from the raised position into position 5. (See fig A)
Assembly of Lower Handles to Lawnmower
-
Insert lower handles into the deck and push down (B1).
-
Using a pozi drive screwdriver insert the screws into the deck and handles and fully tighten (B2).
Assembly of Upper Handles to Lower Handles
- Ensure the upper handle is located correctly with the lock-off button on the switchbox uppermost.
- Insert the nut into the handle knob. (C1)
- Ensure the upper handle and the lower handle are aligned correctly (C2). There are two holes for upper handle height adjustment.
- Fit the bolt, washer and handle knob (C2). Tighten the handle knob.
- Repeat on the other side.
- Fit the cable to the handles with the clips provided.
See Contents page for position. Make sure the cable is not trapped between the upper and lower handles. Attaching the Cable Hooks (for storage of the mains cable)
- Insert the post on the Cable Hook through the hole in the Upper Handle (D1).
- Insert the smaller screw and tighten to secure (D2)
- Repeat on the other side.
Grassbox Assembly
Grassbox Assembly
- Locate the grassbox lid onto the grassbox by aligning the clips. Ensure all clips are correctly located before clicking into position (E)
Fitting Fully Assessed Grassbox to Lawnmower. - Lift safety flap (F1)
- Make sure the discharge chute is clean and free from debris (F2)
-
Locate fully assembled grassbox onto 2 location points (F3) at the rear of the deck as illustrated in pic. G
-
Locate safety flap onto the top of the grassbox. Ensure the grassbox is securely located.
IMPORTANT! AFTER FITTING ENSURE NO GAP REMAINS BETWEEN THE SAFETY FLAP AND THE GRASSBOX. - Removal is the reverse procedure.
- For larger areas of grass where grass collection is not required you can use your lawnmower without the grassbox. Ensure the Safety Flap is fully closed. The design of the safety flap permits the cut grass to be discharged downward behind the machine.
Cutting Height Adjustment
- Height of cut is adjusted by raising or lowering the wheels using the height adjustment lever (H)
- There are five heights of cut on this product (20-60 mm).
Heights of cut:- 1 & 2 - low, 3 - medium, 4 & 5 - high
NOTE A medium height of cut is recommended for most lawns. The quality of your lawn will suffer and collection will be poor if you cut too low.
Starting and Stopping
To Start your Lawnmower
- Attach the extension cable to the back of the switchbox.(J)
- Form a loop in the cable and push the loop through the slot. (K)
- To secure, position the loop over the hook and pull the cable back through the slot (L).
- Connect the plug to the mains and switch on.
The switchbox is provided with a lock-off button (M1) to prevent accidental starting.
- Press and hold the lock-off button (M1) on the switchbox, then squeeze one of the Start/Stop levers towards the upper handle (N).
- Continue to squeeze the start/stop lever towards the upper handle and release the lock-off button (P).
NOTE - There are two start/stop levers fitted. Either one can be used for starting the lawnmower.
To Stop your Lawnmower
- Release the pressure on the Start/Stop lever.
ENGLISH - 2
Grassbox Full Window
-
As the grassbox fills up, grass will be visible through the window (Q).
-
When the window/grassbox is full it is time to empty the grassbox.
How to Mow
How to Mow
- Start mowing the edge of the lawn nearest to the power point so the cable is laid out on the lawn you have already cut.
- Mow twice a week during the growing season, your lawn will suffer if more than a third of its length is cut at one time.
Do Not Overload Your Mower
Mowing long thick grass may cause the motor speed to
drop, you will hear a change in the motor sound. If the motor speed drops you may overload your lawnmower which may cause damage. When mowing in long thick grass a first cut with the cutting height set higher will help reduce the load. See Cutting Height Adjustment.
Edging Comb (R1)
Enables cutting up close to walls and fences
Removing and Fitting the Blade
Switch off, wait until the blade has stopped rotating and disconnect from the mains electricity supply BEFORE attempting to remove or refit the blade.
Always handle the blade with care - sharp edges could cause injury. USE GLOVES.
Removing the Blade
S1 - blade bolt S2 - washer S3 - blade
- To remove the blade bolt, hold the blade firmly with a gloved hand and with a spanner, loosen the blade bolt by turning it anti-clockwise (S).
- Remove the blade bolt, washer and blade. (S)
- Inspect for damage and clean as necessary.
- In the event of a blade becoming difficult to remove, insert a screwdriver (T1) into the hole (T2) to lock the
drive, then use a spanner to loosen the blade bolt by turning the spanner anti-clockwise. Ensure the screwdriver is removed before attempting to turn on the machine.
Renew your metal blade after 50 hours mowing or 2 years whichever is the sooner - regardless of condition. If the blade is cracked or damaged replace it with a new one. Fitting the Blade
- Fit the blade to the shaft with the sharp edges of the blade pointing away from the shaft.
- Re-assemble blade bolt through the washer and the blade.
- Hold the blade firmly with a gloved hand and tighten the blade bolt firmly with a spanner. Do not over tighten.
Caring for your Lawnmower
Cleaning
USE GLOVES
- IMPORTANT: - It is very important that you keep your lawnmower clean. Grass clippings left in any of the air intakes or under the deck could become a potential fire hazard.
1. Remove grass from under the deck with brush. (V1)
2. Using a soft brush - remove grass clippings from all air intakes (V2), the discharge chute (V3) and the grass box (V4).
3. Using a soft brush, remove grass clippings from the vision window (V5).
4. Wipe over the surface of your lawnmower with a dry cloth (V6).
- IMPORTANT: -Never use water for cleaning your lawnmower, as this could damage the lawnmower and invalidate the guarantee. Do not clean with
chemicals, including petrol, or solvents - some can destroy critical plastic parts.
Storing your Cable
- Your electric cable can be wrapped around the hooks to enable tidy and safe storage (W1).
Storing your Lawnmower: - Store in a dry place where your lawnmower is protected from damage
- Loosen the wing knobs to enable the handles to be folded over the product (W2) ensuring that the upper handle is supported.
At the End of the Mowing Season - Replace bolts, nuts or screws, if necessary.
- Clean your lawnmower thoroughly.
- Make sure that the electric cable is stored correctly to prevent damage.
Replacement Parts
Blade 34cm
Reference no.: FLY 066
Part no.: 577366490
Blade 37cm
Reference no.: FLY 067
Part no.: 579041990
Fault Finding Hints
Fails to Operate
- Is the correct Starting procedure being followed? See 'To Start your Lawnmower'
- Is the Power Turned On?
- Check the fuse in the plug, if blown replace.
- Fuse continues to blow? Immediately disconnect from the mains electricity supply and consult your Husqvarna Service Centre.
Poor Grass Collection
- Disconnect from the mains electricity supply.
- Clean the outside of the air intakes, the discharge chute and the underside of the deck.
- Raise to a higher height of cut. See Cutting Height Adjustment.
- If poor collection persists, Immediately disconnect from the mains electricity supply and consult your Husqvarna Service Centre.
Excessive Vibration
- Disconnect from the mains electricity supply.
- Check that the blade is fitted correctly?
- If the blade is damaged or worn, replace it with a new one.
- If vibration persists? Immediately disconnect from the mains electricity supply and consult your Husqvarna Service Centre.
Lawnmower becomes heavy to push
- Disconnect from the mains electricity supply.
- In long grass or uneven ground, the height of cut should be raised to a higher position. See Cutting Height Adjustment.
- Check that the wheels can rotate freely.
- If problem persists? Immediately disconnect from the mains elec supply and consult your Husqvarna Service
ENGLISH - 3
Service Recommendations
- Your product is uniquely identified by a silver and black product rating label.
We strongly recommend that your product is serviced at least every twelve months, more often in a professional application.
Environmental Information
- Awareness of the environment must be considered when disposing of 'end-of-life' product.
If necessary, contact your local authority for disposal information.
electrical and electronic equipment. By ensuring this product is disposed of correctly, you will help prevent potential negative consequences for the environment and human health, which could otherwise be caused by inappropriate waste handling of this product.
The symbol on the product or on its packaging indicates that more detailed information about recycling of this product, please product may not be treated as household waste. Instead it shall bcontact your local council office, your household waste disposal handed over to the applicable collection point for the recycling of service or the shop where you purchased the product.
Guarantee and Guarantee Policy
If any part is found to be defective due to faulty manufacture within the guarantee period, Husqvarna UK Ltd., through its Authorised Service Repairers will effect the repair or replacement to the customer free of charge providing:
(a) The fault is reported directly to the Authorised Repairer.
(b) Proof of purchase is provided.
(c) The fault is not caused by misuse, neglect or faulty adjustment by the user.
(d) The failure has not occurred through fair wear and tear.
(e) The machine has not been serviced or repaired, taken apart or tampered with by any person not authorised by Husqvarna UK Ltd.
(f) The machine has not been used for hire.
(g) The machine is owned by the original purchaser.
(h) The machine has not been used commercially.
*This guarantee is additional to, and in no way diminishes the customers statutory rights.
Failures due to the following are not covered, therefore it is important that you read the instructions contained in this Operator's Manual and understand how to operate and maintain your machine:
Failures not covered by guarantee
Failures as a result of not reporting an initial fault.
Failures as a result of sudden impact.
Failures as a result of not using the product in accordance with the instructions and recommendations contained in this Operator's Manual.
Machines used for hire are not covered by this guarantee.
The following items listed are considered as wearing parts and their life is dependent on regular maintenance and are, therefore not normally subject to a valid warranty claim: Blades, Electric Mains cable
Caution! Husqvarna UK Ltd. does not accept liability under the warranty for defects caused in whole or part, directly or indirectly by the fitting of replacement parts or additional parts that are not either manufactured or approved by Husqvarna UK Ltd., or by the machine having been modified in any way.
EC DECLARATION OF CONFORMITY
Husqvarna AB, S-561 82 Huskvarna, Sweden
Declare under our sole responsibility that the product(s);
Designation.............Lawnmower
Designation of Type(s).....C340VC,C370VC
Identification of Series.... See Product Rating Label
Year of Construction.... See Product Rating Label
Conforms to the essential requirements & provisions of the following EC Directives:
2006/42/EC, 2004/108/EC, 2000/14/EC, 2011/65/EU
based on the following EU harmonized standards applied:
The maximum A weighted sound pressure level L_PA at the operator's position, measured according to EN60335-2-77 is given in the table.
The maximum hand / arm vibration weighted value a h measured according to EN ISO 20643 on a sample of the above product(s) is given in the table.
2000/14/EC: The Measured Sound Power L_WA & Guaranteed Sound Power L_WA values are according to the tabulated figures. Conformity Assessment Procedure..................................................Annex VI
Notified Body.... Intertek,
Knowlhill, Milton Keyn
Bucks., MK5 8NL, England

| Type | C340VC | C370VC |
| Width of Cut (cm) | 34 | 37 |
| Speed of rotation cutting device (rpm) | 3700 | 3600 |
| Power (kW) | 1.4 | 1.6 |
| Measured Sound Power LwA (dB(A)) | 94 | 93 |
| Guaranteed Sound Power LwA (dB(A)) | 96 | 96 |
| Sound pressure LpA (dB(A)) | 78.2 | 82.1 |
| Uncertainty KpA (dB(A)) | 2.5 | 2.5 |
| Hand / arm vibration a vhw (m/s2) | 1.79 | 2.7 |
| Uncertainty Kahw (m/s2) | 1.5 | 1.5 |
| Weight (Kg) | 10.8 | 11.2 |
ENGLISH - 4
herkömmliches PCP (60245 IEC 57)
Officier technique responsible
Conserver la documentation technique
Bucks., MK5 8NL, England


Huskvarna, 22/01/2013
P. Lameli
Technisch Direkteur
Houder van technische documentationie
| Type | C340VC | C370VC |
| Maaibreedte (cm) | 34 | 37 |
| Toerental maaier (rpm) | 3700 | 3600 |
| Vermogen (kW) | 1.4 | 1.6 |
| Gemeten geluidsvermögen LwA (dB(A)) | 94 | 93 |
| Gegarandeerd geluidsvermögen LwA (dB(A)) | 96 | 96 |
| Geluidsdruk LpA (dB(A)) | 78.2 | 82.1 |
| Onzekerheid KpA (dB(A)) | 2.5 | 2.5 |
| Hand-armtrillingen avhw (m/s2) | 1.79 | 2.7 |
| Onzekerheid Kthw (m/s2) | 1.5 | 1.5 |
| Gewicht (Kg) | 10.8 | 11.2 |
NEDERLANDS - 4
Sikkerhet
Vindu for full oppsmler
Fault Tips on feilsøking Hints
Vil-ilke starte
Myndighet. Intertek, Davy Avenue,
Knowlhill, Milton Keynes,
Bucks., MK5 8NL, England
Huskvarna, 22/01/2013
P. Lameli
Teknisk Direktor
Underattat organ. Intertek, Davy Avenue,
Knowlhill, Milton Keynes,
Bucks., MK5 8NL, England


Huskvarna, 22/01/2013
P. Lameli
Teknisk direktor
Bucks., MK5 8NL, England
Huskvarna, 22/01/2013
P. Lameli
Knowlhill, Milton Keynes,
Bucks., MK5 8NL, England
Huskvarna, 22/01/2013
P. Lameli
Director General Técnico
Knowhill, Milton Keynes,
Bucks.,MK5 8NL,England
Huskvarna, 22/01/2013
P. Lameli
Direto的技术
Bucks., MK5 8NL, England


Huskvarna, 22/01/2013
P. Lameli
Bucks., MK5 8NL, England
Huskvarna, 22/01/2013
P. Lameli
Muszaki igazgatoh
Bucks., MK5 8NL, England


Huskvarna, 22/01/2013
P. Lameli
Knowlhill, Milton Keynes, Bucks., MK5 8NL, Englar


Huskvarna, 22/01/2013
P. Lameli
Technicky reditel
Bucks., MK5 8NL, England


Huskvarna, 22/01/2013
P. Lameli
Technicky riaditel
Bucks., MK5 8NL, England
Huskvarna, 22/01/2013
P. Lameli
Tehnicki director
Bucks., MK5 8NL, England
Huskvarna, 22/01/2013
P. Lameli
.Intertek, Davy Avenue,
Knowlhill, Milton Keynes,
Bucks., MK5 8NL, England


Huskvarna, 22/01/2013
P. Lameli
TexHnueckn DnpeKTop
Blaedeneu texhneecKoDokymeHTaun
Intertek, Davy Avenue,
Knowlhill, Milton Keynes,
Bucks., MK5 8NL, England


Huskvarna, 22/01/2013
P. Lameli
Ulemtehnik
"Notified Body". Intertek, Davy Avenue,
Knowlhill, Milton Keynes,
Bucks., MK5 8NL, England
Huskvarna, 22/01/2013
P. Lameli
Tehniskas nodalas vaditajs
Bucks., MK5 8NL, England
Huskvarna, 22/01/2013
P. Lameli
Inginersef
ZouBouLcs yia tv avupeon 3aabwv
Aetoupye
1. Akouthetaiata n othia diakopia evapn, aeitoupiad. Avatpse otnyevotna Flava Ekvneptoe ToaAokottikkdoa.
2. Tpofoosotto npiov mektpiqo;
3.EAEYTe TNOaAeia OTO BuaKaK,avExI Kc, AVTIAOTNEV.
4.Ha oia kaiyctaiEva; Anouvote qouo anot nynp oxn nAekpKoukou ouauuue Te to Kevnp oepactnHusqvarna.
Maueev suvanotn aouaoyc yow ou
1. Anouvdsot ano tv npoxnlaektako u.
2. KaopioTe to 8wepkoTuov 10eobv aepo, oowka BoaBoaKo katoKaTuWepou Kupiw Ooc Tou KOntkou.
3. Auñóte to ùʊoçkɔnç, Avatpègε οπν εναπτa Púquon ùψouko nç.
4.Avseviopwei top oBnna uWuEvnoovanotntac ouoanyic yaaioiu Atouvoeote qieow, aToNv npoxn nAekpkou kai oubouleute To KevnpocplicnHusvarna.
YrTepeBoAikoKpaδaqoi
1. Anouovse ano nv npoxn nAekipoku
2. Eλεγεσοιηλεπιδα εΙναι τοῦμενη σωστα.
3. Eav n erna exenoe ci n e xei oapnykataoTne Tnv mea kauovpyia.
4. Av Ekaolooov va maopov kpaadooi: Anouseote aoe uao nTnpox npAkrkou ka oubaue ue to kevtpoepic mHusqvarna. HooonrTOAooKoTIKOyvi eordelta
1. AnouvEo ano nV npoxn Ieepkoou
2. Σε εδαφομε μακρύ γρασιδη πανοίπεδό εδαφοσο ὄνος κοπήμε ρθμιζεαι αυλότερο επιπεδό. Ανρείε τόπιν ενόντην Pūθμισι Φαμακόπε
3. Bεβαιωθεις οτιοι τροχί μιπορουν va περιστρέφονταυ ελεύθερα.
4. Av to npoBnua devBe: Anouvoe s quo so an to nVnpoxyn aeKpKa Ka oubaue ue To kVtpoo epoc TchHusvarma.
PpoooiopouoC tunou/ov. C340VC, C370VC
Ppoooioipoiouc Tns Zieipac....AvatpeEe TnV nivakia xaapaktnpiotikwv npoiovtoc
EToC kataoKeuIc....AvatpeTe oTnV nivakla xaapaktnpiotikwv npoiovtoC
Bucks., MK5 8NL, England


Huskvarna, 22/01/2013
P. Lameli
BaseteknikSorumlu
GARDENA Manufacturing
GmbH
Central Service
(C1428ARP) Buenos Aires
Phone: (+54) 11 5194 5000
info.gardena@
ar.husqvarna.com
Armenia
Garden Lane
61 Tigran Mets
0005 Yerevan
Australia
Husqvama Australia Pty.
Locked Bag 5
Central Coast BC
NSW 2252
Phone: (+61) (0) 243527400y
customer.service@
husqvarna.com.au
GARDENA Belgium NV/SA
Brampton, Ontario L6T 4X3
Phone: (+1) 905 792 93 30
info@gardenacadada.com
Chile
Maguinarias Agrofores
Ltda. (Maga Ltda.)
Santiago, Chile
Ayda. Chesterton
8355 comuna Las Condes
Phone: (+56) 2 202 4417
Dalton@maga.cl
Zipcode: 756033C
Temuco, Chile
Avda. Valparaiso # 01466
Phone: (+56) 45222126
Zipcode: 4780441
China
Hus
Manufacturing Co., Ltd.
No.1355.Jia Xin Rd.
Ma Lu Zhen, Jia Ding Dist.,
Shanghai
201801
Phone: (+86) 21 59159629
Domestic Sales
www.gardena.com.cn
Colombia
Husqvarna Colombia S.A.
Calle 18 No.68 D-31, zone
Industrial de Montevideo
Bogotá, Cundinamarca
Tel. 571 2922700 ext. 105
jairo.salazar@
husqvarna.com.co
Costa Rica
Compania Exim
Euroiberoamericana S.A.
LosColegios,Moravia
Consumer Outdoor Products Phone: (+39) 0341.203.111
Consumer Outdoor Prod
Consumer Outdoor Products atvia
Lautatarhankatu 8 B / PL 3
00581 HELSINKI
info@gardena.fi
France
Husqvarna France
Aycliffe Industrial Park
Newton Aycliffe
County Durham
DL56UP
info.gardena@
husqvarna.co.uk
Greece
П.IПАДОПОYOАОАEВБ
AεωΦ.Aθηνωv 92
Aeriva
T.K.104 42
Eλδa
Tnλ. (+30) 210 5193100
info@papadopoulos.com.gr
Hungary
Husqvarna Magyarorszag
Ezred u. 1-3
1044 Budapest
Telefon: (+36) 1 251-4161
Avcliffe Industrial Park
Newton Aycliffe
County Durham
DL56UP
info.gardena@
husqvarna.co.uk
Italy
Husqvarna Italia S.p.A.
Via Como 72
23868 VALMADRERA
Phone: (+39) 0341.203.111
info@gardenitalia.it
Japan
KAKUICHI Co. Ltd.
Sumitomo Realty &
Development Kojimachi
BLDG.,8F
5-1 Nibanncyo
Chiyoda-ku
Tokyo 102-0084
Phone: (+81) 33 264 4721
m_ishihara@kaku-ichi.co.jp
Kazakhstan
LAMED Ltd.
155/1, Tazhibayevoi Str.
050060 Almaty
IP Schmidt
Abayavenue 3B
110 005 Kostanay
Korea
Kyung Jin Trading CO.,LTD.
107-4, SunDuk Bld.,
YangJae-dong,
Seocho-qu,
Seoul, (zipcode: 137-891)
Phone: (+82) (0)2 574-630
Kyrgyzstan
Alve Maki
ay. Moladava Guardir J 3
720014
Bishkek
S atvia
Latvia Husgvarna Latvija
Consumer Outdoor Produce
Bakuzu jela 6
LV-1024Biga
info@husqvanna.lv
huang
UAB Husqvarna Lietuva
Consumer Outdoor ProductDomel d.o.o.
rAteities pl. 77C
LT-52104 Kaunas
centras@husqvarna.nl
Luxembourg
Magasins Jules Neuf
Husqvarna New Zealand Ltd
PO Box 76-437
Manukau City 2241
Phone: (+64) (0) 9 9202410
support.nz@husqvarna.co.nSuriname
Norway
GARDENA
Husqvarna Consumer
Outdoor Products
Salgskontor Norge
Kleverveien 6
1540 Vestby
info@gardena.no
Peru
Husqvarna Peru S.A.
Jr. Ramón Cárcamo 710
Lima
Tel: (+51) 1 3320400 ext. 4
juan.remuzgo@
husqyarna.com
Poland
Husqvarna
02-08 Tat Ann Building
Singapore 577185
Phone: (+65) 6253 2277
shiying@hyray.com.sg
Slovak Republic
Husqvarna Cesko s.r.o.
Turkova 2319/5b
$49 00 Praha 4 - Chodov
Bezplatá infolinka:
800154044
servis@sk.husqvarna.com
Slovenia
Husqvarna Austria GmbH
Consumer Products
Industriezeile 36
4010 Linz
Tel.: (+43) 732 77 01 01-90
consumer.service@
husqvarna.at
South Africa
Husqvarna
South Africa (Pty) Ltd
Postnet Suite 250
Private Bag X6,
Cascades, 3202
South Africa
Phone: (+27) 338469700
info@gardena.co.za
Spain
Husqvarna Espana S.A.
C/ Basauri, n°6
a Florida
28023 Madrid
Phone: (+34) 917080500

- WICHTIGE INFORMATION
- Cables
- Use
- Safety
- IMPORTANT INFORMATION
- When received from the Manufacturer, the wheels are in a raised position. Do not switch on the product before removing from the raised position into position 5. (See fig A)
- Assembly of Lower Handles to Lawnmower
- Assembly of Upper Handles to Lower Handles
- Grassbox Assembly
- Cutting Height Adjustment
- Starting and Stopping
- To Start your Lawnmower
- To Stop your Lawnmower
- Grassbox Full Window
- How to Mow
- Removing and Fitting the Blade
- Caring for your Lawnmower
- Cleaning
- Replacement Parts
- Blade 34cm
- Blade 37cm
- Fault Finding Hints
- Fails to Operate
- Poor Grass Collection
- Excessive Vibration
- Lawnmower becomes heavy to push
- Service Recommendations
- Environmental Information
- Guarantee and Guarantee Policy
- EC DECLARATION OF CONFORMITY
- Sikkerhet
- Vindu for full oppsmler
- Fault Tips on feilsøking Hints
- Vil-ilke starte
- ZouBouLcs yia tv avupeon 3aabwv
- comuna Las Condes
Brand : FLYMO
Model : Chevron 34VC
Category : Lawn mower