
AD 6422 - Multi-cooker ADLER - Free user manual and instructions
Find the device manual for free AD 6422 ADLER in PDF.

User questions about AD 6422 ADLER
0 question about this device. Answer the ones you know or ask your own.
Ask a new question about this device
Download the instructions for your Multi-cooker in PDF format for free! Find your manual AD 6422 - ADLER and take your electronic device back in hand. On this page are published all the documents necessary for the use of your device. AD 6422 by ADLER.
USER MANUAL AD 6422 ADLER
AD 6422
| EN | User Manual | 3 | PL | Instrukcja obsługi | 91 |
| DE | Bedienungsanleitung | 8 | IT | Manuale d'uso | 97 |
| FR | Mode d'emploi | 14 | SV | Bruksanvisning | 103 |
| ES | Manual de usuario | 20 | BG | Ръководство за употреба | 108 |
| PT | Manual de Instruções | 25 | DA | Brugsanvisning | 114 |
| LT | Naudojimo instrukcija | 31 | SK | Používatel'ská príručka | 119 |
| LV | Lietošanas instrukcija | 36 | BS | Korisnički priručnik | 124 |
| ET | Kasutusjuhend | 41 | MK | Упатство за употреба | 129 |
| HU | Használati útmutató | 46 | HR | Korisnički priručnik | 135 |
| RO | Manual de utilizare | 52 | UK | Керівництво користувача | 141 |
| CS | Návod k použití | 57 | SR | Упутство за употребу | 147 |
| RU | Руководство пользователя | 63 | AR | دليل المستخدم | 152 |
| EL | Еүхειρίδιο хрήσης | 69 | AZ | İstifadəçi təlimatı | 155 |
| NL | Gebruikershandleiding | 75 | SQ | Manuali i përdorimit | 160 |
| SL | Navodila za uporabo | 81 | KA | Общегزجور | 166 |
| FI | Käyttöohje | 86 |
User Manual (EN)
GENERAL SAFETY CONDITIONS IMPORTANT SAFETY INSTRUCTIONS FOR USE READ CAREFULLY AND KEEP FOR FUTURE REFERENCE
- Before using the device, read the instruction manual and follow the instructions contained therein. The manufacturer is not responsible for damages caused by using the device contrary to its intended use or improper operation.
- The device is for domestic use only. Do not use for other purposes incompatible with its intended use.
- Connect the device only to a 220-240V \~ 50-60Hz outlet. In order to increase the safety of use, multiple electrical appliances should not be plugged into a single circuit at the same time.
- To provide additional protection, it is advisable to install in an electrical circuit, a residual current device (RCD) with a rated residual current of not more than 30 mA. In this regard, consult a specialist electrician.
- Take special care when using the device when children are around. Do not allow children to play with the device do not allow children or anyone unfamiliar with the device to use it.
- WARNING: This equipment may be used by children over 8 years of age and persons with limited physical, sensory or mental ability, or persons without experience or familiarity with the equipment, if this is done under the supervision of a person responsible for their safety or they have been given instructions on the safe use of the equipment and are aware of the dangers associated with its use. Children should not play with the equipment. Cleaning and maintenance of the equipment should not be performed by children unless they are over 8 years of age and these activities are performed under supervision.
-
WARNING: Do not use the device if its housing is cracked.
-
WARNING: Do not open the lid if the water is boiling.
- WARNING: Do not leave the appliance plugged into an outlet unattended.
- WARNING: Keep the device out of the reach of children.
- WARNING: Improper use of the device, may result in injuries such as cuts, abrasions or electric shock, among others.
- WARNING: Always remove the plug from the power outlet after use by holding the outlet with your hand. DO NOT pull on the power cord.
- WARNING: Do not move the unit while it is in use.
- Do not immerse the cord, plug or entire unit in water or other liquid. Do not expose the unit to weather conditions (rain, sun, etc.) or use in high humidity conditions (bathrooms, humid motor homes).
- Periodically check the condition of the power cord. If the power cord is damaged, it should be replaced by a specialized repair facility to avoid danger.
- Do not use the device with a damaged power cord or if it has been dropped or damaged in any other way or is not working properly. Do not repair the device yourself, as there is a risk of electrocution. Return a damaged device to a competent service center for inspection or repair. All repairs may be made only by authorized service centers. Improper repair may cause serious danger
- Place the appliance on a cool stable, level surface, away from hot kitchen appliances such as an electric stove, gas burner, etc....
- Do not use the device near flammable materials.
- The power cord must not hang over the edge of the table or touch hot surfaces.
- Always take extra care when cooking.
- This equipment is intended for cooking, domestic and similar use, e premises such as: staff kitchen areas in stores, offices and other working environments, farm rooms, by customers in hotels,
motels and other residential environments of this type, in sleeping and breakfast rooms.
-
Do not fill the unit above the MAX or below the MIN, as this may cause burns or damage to the unit.
-
Do not use aggressive detergents that may damage or remove applied markings to wash the unit housing.
-
The unit is not designed to operate with external timers or a separate remote control system.
-
Do not touch the hot surfaces of the device. Use protective gloves to remove or touch any hot parts.
-
Do not move or relocate the unit during operation. When finished working, it may only be moved after it has cooled down.
-
Each time you pick up the appliance, remove the plug from the power outlet by holding the outlet with your hand. DO NOT pull the power cord.
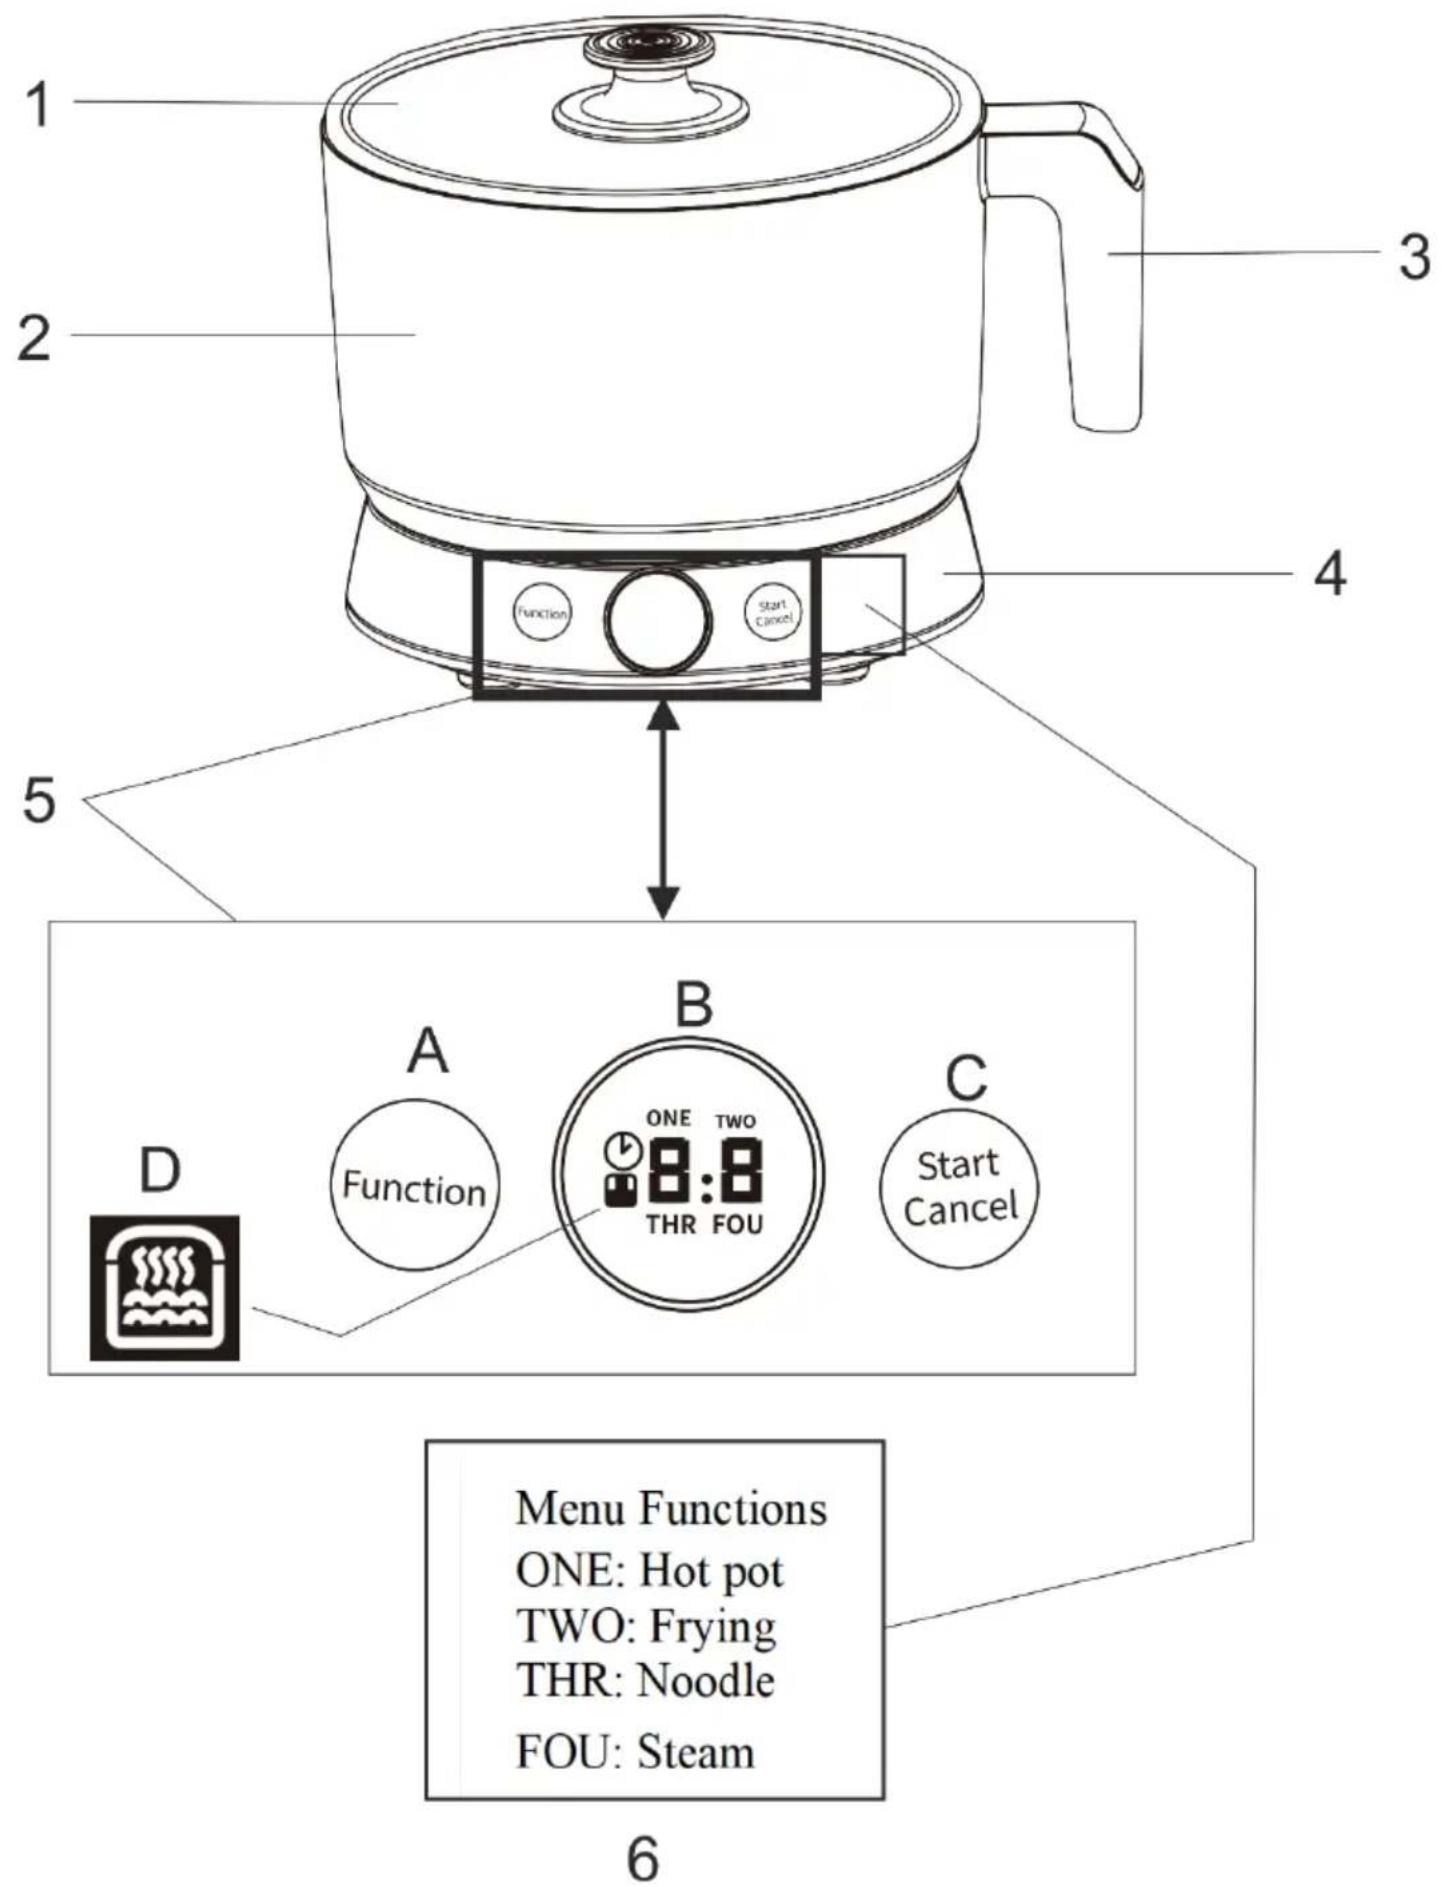
Appliance description electric pot:
| 1. Glass lid | 2. Pot container | 3. Handle |
| 4. Base | 5. Control panel with display | 6. Explanation of the panel |
Description of the Control Panel (5):
| A. Function selection button | B Display with timer | C. Start / Cancel button |
| D. Icon of the keep warm function |
Function Explanation:
"ONE: Hot Pot": Cooking water, stock at high temperature.
"TWO: Frying": Frying in oil or other fat at high temperature.
"THR: Noodle": Cooking noodles and noodles at medium temperature.
"FOU: Steam": Steam cooking at low and medium temperature.
Temperature table:
| Setting: | Temperature : | ||
| Hot pot 1 | 100°C | 100°C | 100°C |
| Frying 2 | 130-140°C | 155-165°C | 170-180°C |
| Noodle 3 | 98°C | 98°C | 98°C |
| Steam 4 | 50°C | 70°C | 100°C |
Before first use:
Remove any packing materials and use a damp cloth to wipe the inside of the pot container (2) to remove production dirt.
Usage:
- Connect the power cord to the base of the unit and then plug the unit into an outlet.
- Place the device on the base (4).
- The unit will emit a control sound stating that power is properly flowing to the unit.
- Add properly prepared ingredients, water, oil to the container (2).
- Then proceed according to the selected function.
Hot Pot:
■ The maximum capacity of this product is indicated by the MAX line; do not exceed the maximum water level.
■ Press the "Function (5.A)" button to select the "ONE" function ("Hot Pot"). The screen will display "0:2" (average power). When you press the start button (5.C), the cooking time will be set to "6:0" (60 minutes). (During operation, the heating level and cooking time will change. You can press the function button to adjust the heating level, to small "0:1", medium "0:2" and large "0:3". The default setting is medium "0:2").
■ When you finish cooking, the appliance will automatically enter the keep warm mode for 2 hours.
■ At the end of the heat holding period, the appliance will automatically enter standby mode. (During operation, you can press and hold the "Cancel" button (5.C) to enter standby mode)
Frying
■ The maximum capacity of this product is indicated by the MAX line; do not exceed the maximum water level.
■ Press the "Function" button (5.A) to select the "TWO" (Frying) function. The screen will display "0:2" (medium power). After pressing the start button, the cooking time will be set to "3:0" (30 minutes). (During operation, the heat level and cooking time will change, you can press the function button (5.A) to adjust the heat level, to low "0:1", medium "0:2" and high "0:3". The default setting is medium "0:2").
■ At the end of the heat holding period, the unit will automatically enter standby mode. (During operation, you can press and hold the "Cancel" button (5.C) to enter standby mode)
Pasta
■ The maximum capacity of this product is indicated by the MAX line; do not exceed the maximum water level.
■ Press the "Function" button (5.A) to select the "THR" (Pasta) function. The screen will display "3:0" (30 minutes).
When you press the start button, the cooking time will be set to "3:0" (30 minutes), and the time and heat level cannot be adjusted.
■ When the cooking is finished, the appliance will automatically enter the keep warm mode for 2 hours.
■ At the end of the heat holding period, the appliance will automatically enter standby mode. (During operation, you can press and hold the "Cancel" button (5.C) to enter standby mode)
Steaming
■ Press the "Function" button to select the "FOU" (Steam) function. The screen will display "6:0" (60 minutes). When the start button is pressed, the cooking time will be set to 60 minutes (displayed as 6:0), and the time cannot be changed. The default temperature is 70°C and cannot be changed.
■ Put the steaming basket on the container. And then put the lid on the basket.
■ When cooking is finished, the appliance will automatically go into keep warm mode for 2 hours.
Keeping the temperature
■ Press the "Function" button to select the "Keep Warm" function icon (5.D). The screen will display "1:2" (12 hours). When the start button is pressed, the operating time will be set to 12 hours (displayed as 1:2), and the time cannot be adjusted. The temperature range for keeping warm is from 50°C to 60°C.
Cleaning and maintenance:
Note: Before cleaning, disconnect the power supply and let the unit cool completely to avoid burns.
■ Clean the inner pot and glass lid with warm water, dishwashing liquid and a sponge. Do not use abrasive cleaners or
steel wool.
■ If food has stuck to the bottom of the inner pot, wipe it off with a dry paper towel. If dirt still remains, pour the amount of water needed to cover the burnt bits into the pot and set it aside for an hour after which time try to clean the pot again.
■ Use only plastic or wooden utensils instead of metal ones to prevent scratching the pot's interior surfaces.
■ To prolong the life of the non-stick coating, avoid cutting food directly into the inner pot.
■ Do not pour vinegar into the inner pot to prevent corrosion.
| Symptoms of failure | Possible causes | Solutions |
| Screen backlight goes out | Main unit has gone into standby modeThe power cord is not connected | Touch the button to turn onMake sure the power cord is properly inserted |
| The screen displays text, but the unit does not work | Function has been selected but not confirmedThe device alarm sounds | After selecting a function, lightly press the screen to confirmDisconnect the power and restart according to the instruction manual |
| Food is undercooked or cooking time is too long | Too much or too little water/ingredientsMain circuit board damage or temperature control failure | Adjust water or ingredients accordinglySend to an authorized service center for repair |
| Rice burns, does not switch to keep warm modeor the temperature control is defective | Main circuit board damaged or thermostat malfunctioning | Send to an authorized service center for repair |
| Oatmeal overflows excessively | Damage to the main motherboard | Send to an authorized service center for repair |
| Rice/oatmeal does not reach boiling point | Damage to the thermostat | Send to an authorized service center for repair |
| Displays E1 | Open circuit of bottom sensor | Send to an authorized service center for repair |
| Displays E2 | Bottom sensor short circuit | Send to an authorized service center for repair |
| Displays E3 | Dry cooking or inner pot not detected | Allow to cool down before attempting the operation again |
Specifications:
Power: 800 W
Power consumption in standby mode: 0,314 W
Voltage: 220-240V\~50-60Hz
Capacity: 1.6L

For the sake of the environment. Information about waste electrical and electronic equipment In accordance with Article 13(1) and (2) of the Law of September 11, 2015 on Waste Electrical and Electronic Equipment, we inform you about the proper handling of waste electrical and electronic equipment:
- It is forbidden to place waste electrical and electronic equipment together with other waste - this is confirmed by marking in the form of a "crossed out basket", ordering selective collection of this type of waste.
- Electrical and electronic equipment may contain hazardous substances, mixtures and components that, when released into the environment, can cause serious danger to the health and life of humans and living organisms. They can lead to numerous health ailments, such as vision, hearing and speech disorders, and can also damage the kidneys, liver and heart, and cause skin diseases. Harmful substances, can also have adverse effects on the respiratory and reproductive systems and lead to cancerous changes. Consumption of plants growing on contaminated soils, and products made from them, can risk the aforementioned health effects.
- Waste electrical and electronic equipment should be handed over only to authorized collection points, a list of which should be included on
each Municipality's website.
- The household plays an important role, in contributing to the reuse and recovery, including recycling, of waste equipment. It also plays a key role in the waste electrical and electronic equipment management system due to the possibility of direct delivery to authorized collection points and the elimination of undesirable social habits resulting in leaving waste equipment in places not intended for it.
In addition, Donate waste electrical and electronic equipment at the point of delivery. A distributor, when supplying equipment intended for households to a purchaser, is obliged to take back used household equipment free of charge at the place of delivery of such equipment, provided the used equipment is of the same type and performed the same functions as the supplied equipment.
Cardboard packaging and polyethylene (PE) bags should be placed in the appropriate containers for separate collection of municipal waste according to their description. If there are batteries in the equipment, remove them and separately dispose of them at a collection and storage facility.
Do not dispose of the device in the municipal waste container!!!
Service If you wish to purchase spare parts or report any complaints, please contact directly with the seller who issued the receipt.
natural_image
Exterior view of a modern silver kettle with blue liquid, no visible text or symbolsElectric Kettle AD 1282

natural_image
Close-up of a black and white graser mixer with powder spilling out (no text or symbols visible)Burr Coffee Grinder AD 4450

Milk Frother
AD 4491
natural_image
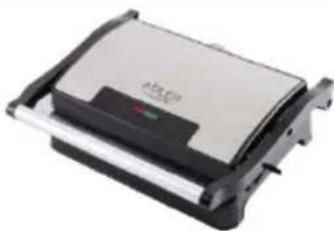
Black rectangular electronic device with a handle and ventilation slots (no visible text or symbols)Sandwich Maker AD 3055
natural_image
Silver standard 200 square toaster with two handles and a side grater (no visible text or symbols)TOASTER 2 SLICE AD 3222
natural_image
Exterior view of a modern office building (no signage)ELECTRIC GRILL AD 3052

natural_image
White ADJER juice shaver with orange liquid and a white spoon (no text or symbols visible)CITRUS JUICER AD 4009

natural_image
Product photo of a black and silver blender with fruit and orange juice in foreground (no text or symbols visible)PERSONAL BLENDER AD 4081
natural_image
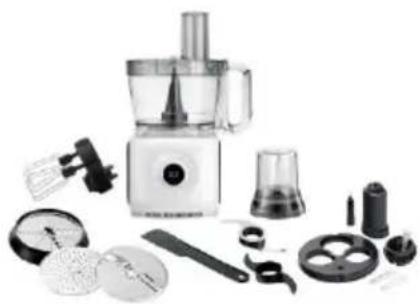
Assorted kitchen utensils including a blender, spatula, and kitchen tools (no text or labels visible)FOOD PROCESSOR AD 4224
natural_image
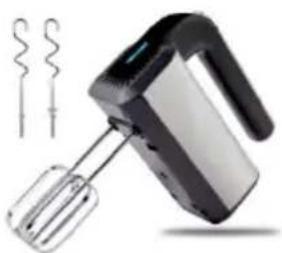
Electric hand mixer with a whisk, accompanied by two wavy lines (no text or symbols visible)MIXER AD 4225
natural_image
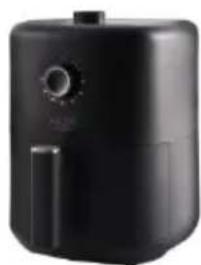
Black air fryer with control knob and side handle (no visible text or symbols)AIR FRYER AD 6310
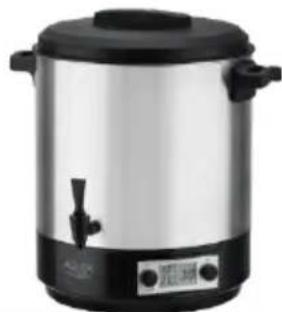
natural_image
Exterior view of a modern stainless steel coffee maker with black lid and side ports (no visible text or symbols)PASTEURIZATION POT AD 4496

natural_image
White portable air conditioner unit with control panel and wheels (no visible text or symbols)AIR CONDITIONER AD 7916
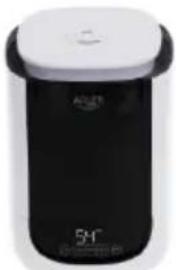
natural_image
Black and white photo of a modern cylindrical device with a lid and '54" label (no readable text or symbols beyond branding)AIR HUMIDIFIER AD 7966
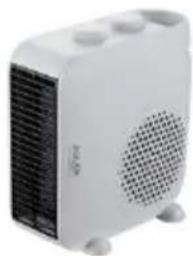
natural_image
White portable heater with ventilation grille and mounting feet (no visible text or symbols)FAN HEATER AD 7725
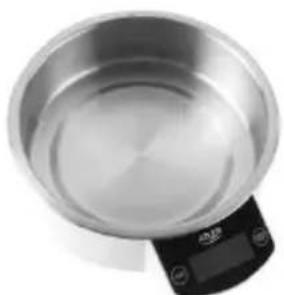
natural_image
Top-down view of a stainless steel kitchen scale with digital display (no text or symbols visible)KITCHEN SCALE AD 3166

AFTER SALE SERVICE NOTICE