
CR 4414 - Coffee machine CAMRY - Free user manual and instructions
Find the device manual for free CR 4414 CAMRY in PDF.

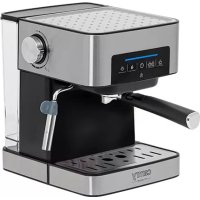
| Product type | Multi-capsule coffee machine |
| Brand | Camry |
| Model | CR 4414 |
| Power supply | 230 V ~ 50 Hz, 1450 W |
| Beverage type | Espresso, Caffe Lungo |
| Main functions | Brewing with capsules (Nespresso, Dolce Gusto, Lavazza, Caffitaly, Modo Mio) or ground coffee, automatic shut-off after 15 minutes, programmable standby mode |
| Water tank capacity | Not specified |
| Brew basket type | Interchangeable baskets for different capsule systems and ground coffee |
| Housing material | Not specified |
| Maintenance and cleaning | Monthly descaling with special descaler; clean with a soft, non-abrasive cloth; do not immerse |
| Safety | Automatic standby shut-off, lever safety lock, protection against temperatures below 0°C |
| Sensors | Not specified |
| Repairability | Repairs only by authorized centers |
| Included accessories | Multiple brew baskets, adapters for different capsule types |
| Weight | Not specified |
| Dimensions | Not specified |
| Warranty | See dealer's terms |
Frequently Asked Questions - CR 4414 CAMRY
User questions about CR 4414 CAMRY
0 question about this device. Answer the ones you know or ask your own.
Ask a new question about this device
Download the instructions for your Coffee machine in PDF format for free! Find your manual CR 4414 - CAMRY and take your electronic device back in hand. On this page are published all the documents necessary for the use of your device. CR 4414 by CAMRY.
USER MANUAL CR 4414 CAMRY
natural_image
White and black milk tea maker with a circular base (no visible text or symbols)CR 4414
| EN | User Manual | 6 | PL | Instrukcja obsługi | 81 |
| DE | Bedienungsanleitung | 10 | IT | Manuale d'uso | 86 |
| FR | Mode d'emploi | 15 | SV | Bruksanvisning | 91 |
| ES | Manual de usuario | 20 | BG | Ръководство за употреба | 95 |
| PT | Manual de Instruções | 25 | DA | Brugsanvisning | 100 |
| LT | Naudojimo instrukcija | 30 | SK | Používatel'ská príručka | 105 |
| LV | Lietošanas instrukcija | 34 | BS | Korisnički priručnik | 110 |
| ET | Kasutusjuhend | 39 | MK | Упатство за употреба | 114 |
| HU | Használati útmutató | 43 | HR | Korisnički priručnik | 119 |
| RO | Manual de utilizare | 48 | UK | Керівництво користувача | 124 |
| CS | Návod k použití | 55 | SR | Упутство за употребу | 129 |
| RU | Руководство пользователя | 57 | AR | دليل المستخدم | 133 |
| EL | Еүхειρίδιο хрήσης | 62 | AZ | İstifadəçi tõlimatı | 136 |
| NL | Gebruikershandleiding | 67 | SQ | Manuali i përdorimit | 141 |
| SL | Navodila za uporabo | 72 | KA | Общёمْجُجْنَد | 145 |
| FI | Käyttöohje | 77 |
User Manual (EN)
GENERAL SAFETY CONDITIONS IMPORTANT SAFETY INSTRUCTIONS. PLEASE READ CAREFULLY AND KEEP FOR FUTURE REFERENCE
- Before using the device, read the instruction manual and follow the instructions contained therein.
- The device is intended for household use only. Do not use for other purposes that are not intended.
- Connect the device only to a grounded outlet 230V\~50 Hz. To increase the safety of operation, do not connect multiple electrical appliances to a single circuit at the same time.
- Be especially careful when using the device when children are around.
- WARNING: This equipment may be used by children over 8 years of age and persons with limited physical, sensory or mental abilities, or persons who have no experience or knowledge of the equipment, if it is done under the supervision of a responsible person for their safety or has received information about the safe use of the equipment and is aware of the dangers associated with its use. Children should not play with the equipment. Cleaning and maintenance of the equipment should not be performed by children, unless they are at least 8 years old and these activities are performed under supervision.
- Boil the water in the tank and pour it twice to get rid of the smell before the first use.
- Always remove the plug from the outlet after use, holding the outlet with your hand after use.
- When removing the plug from the outlet, never pull on the power cord, but on the plug.
- Do not expose the device to weather conditions (rain, sun, etc.) or use in high humidity conditions (bathrooms, humid mobile homes).
- Do not immerse the cable, plug and device in water or other liquid.
- Periodically check the condition of the power cord. If the power cord is damaged, it should be replaced by a specialized workshop to avoid danger.
- Do not use the device with a damaged power cord or if it has been dropped or otherwise damaged, or if it is not working properly. Do not repair the device yourself, as there is a risk of electric shock. Have the damaged device checked or repaired at a suitable service center. Any repairs must be carried out only by
authorized service centers. Improper repairs may cause serious danger to the user.
- Place the appliance on a cool, stable surface, away from hot kitchen appliances such as an electric stove, gas burner, etc.
- Do not use the appliance near flammable materials.
- The power cord must not hang from the edge of the table or touch hot surfaces. The manufacturer is not responsible for any damage caused by the use of the device not in accordance with its purpose or improper operation. Do not allow children to play with the device, do not allow children or anyone unfamiliar with the device to use it.
- Do not leave the device or power supply on unattended when unattended.
- For additional protection, it is advisable to install a residual current device (RCD) in an electrical circuit with a rated residual current not exceeding 30 mA. Ask your electrician for this advice.
- Never use the device without water! It may be damaged.
- Never use the device with carbonated water !!!
- Never leave the device at a temperature below 0 degrees Celsius, as this may cause damage to the device.
- Always unplug the machine before filling the tank with water.
- Regularly clean and check the machine to ensure the quality of the coffee you receive and prolong the life of the machine.
- Always disconnect the power source before cleaning and let all hot parts cool down. Clean the machine with a mild, non-abrasive detergent. Never use solvent for cleaning, as it may damage the paint layer.
- Use a liquid descaler designed for pressurized coffee makers to descale the machine.
- Use only original accessories.
- Do not move or shift the machine during operation.
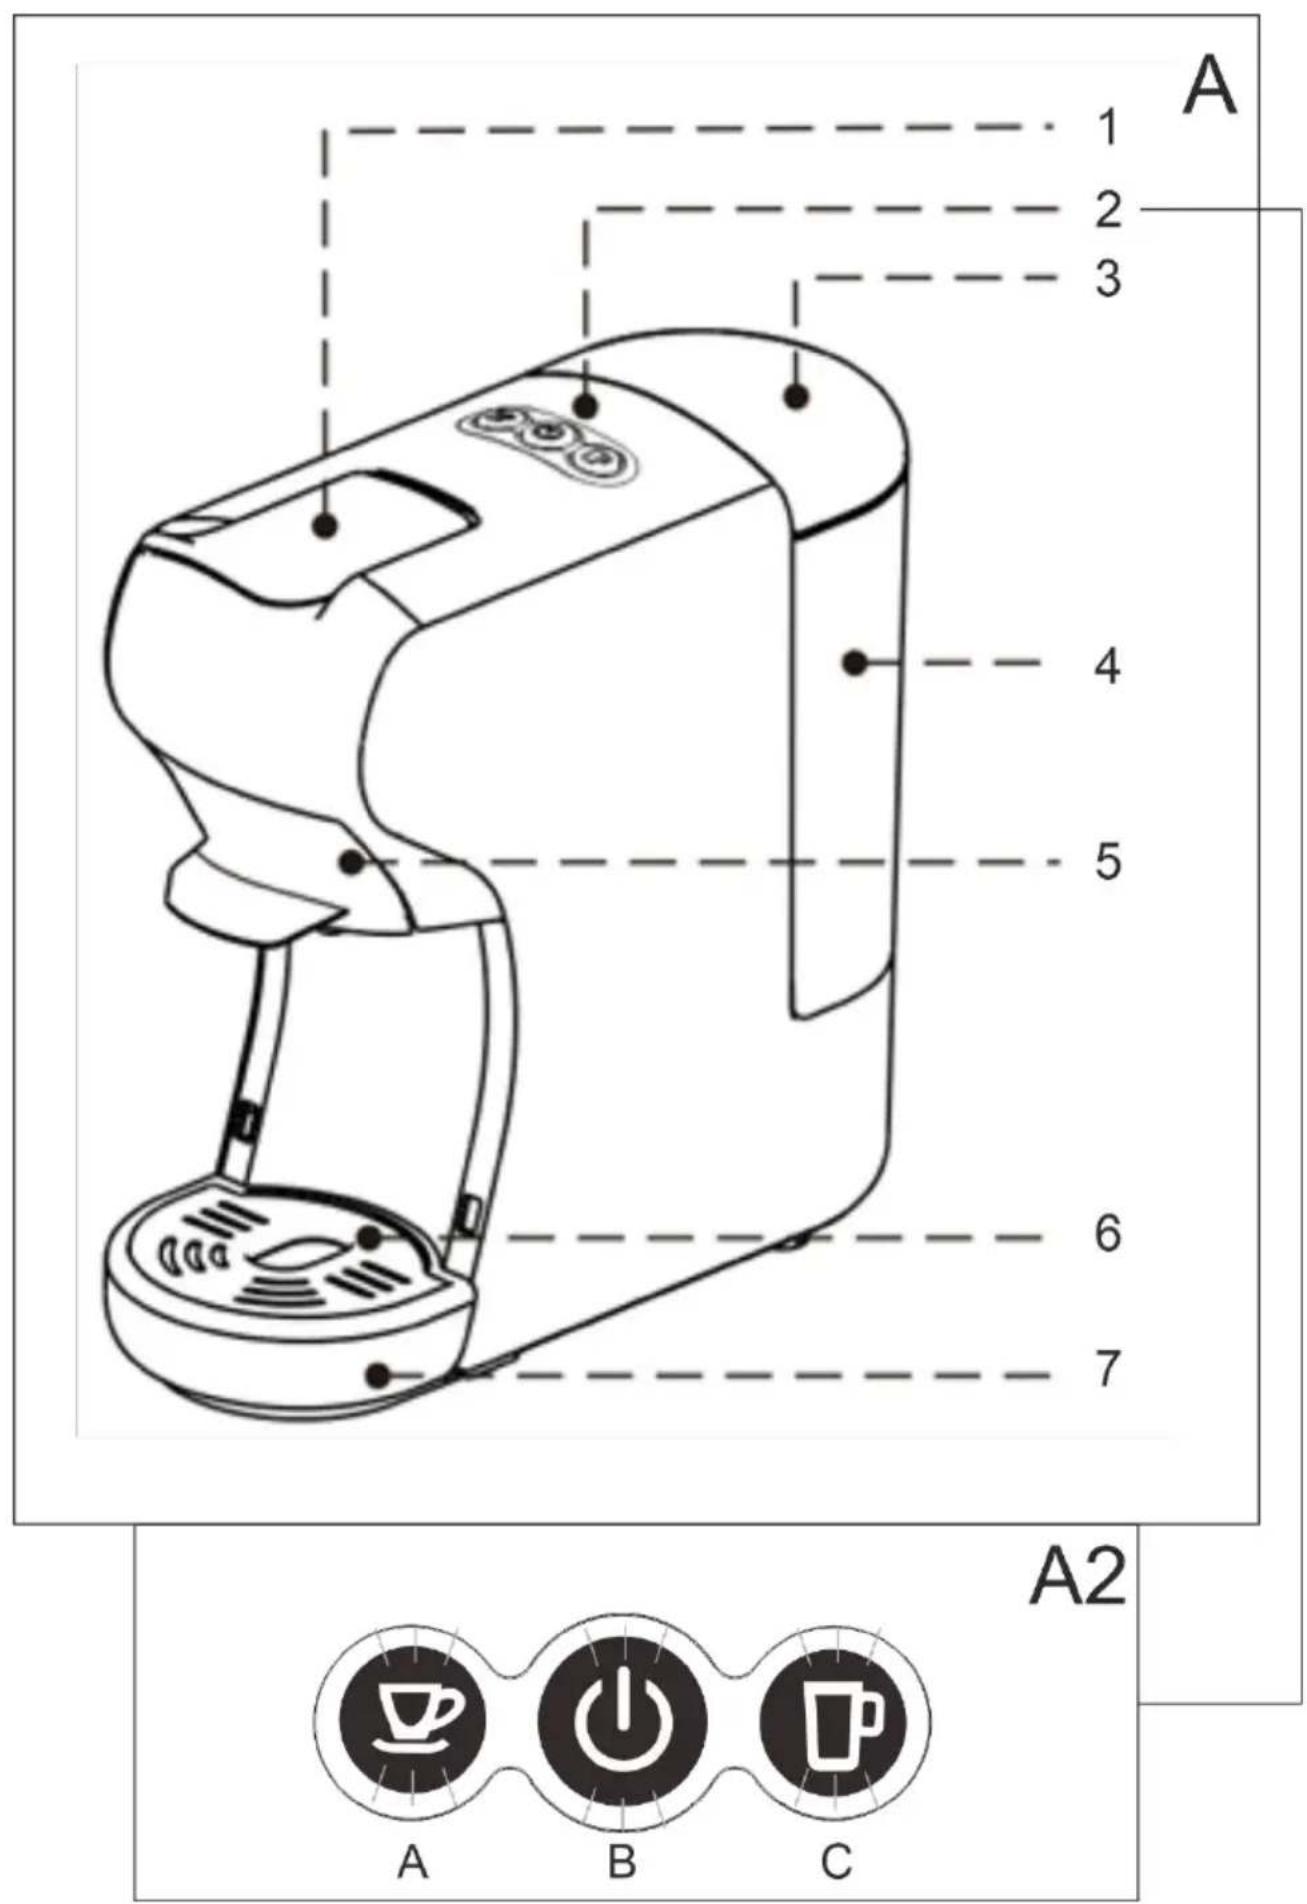
Description of multi-capsule coffee maker:
Photo A1:
-
Lever
-
Control panel
-
Water tank cover
-
Water tank
-
Brewing basket 6. Drip tray cover 7. Drip tray (removable)
Photo A2:
A. Espresso B. Power on/off C. CaffeLungo
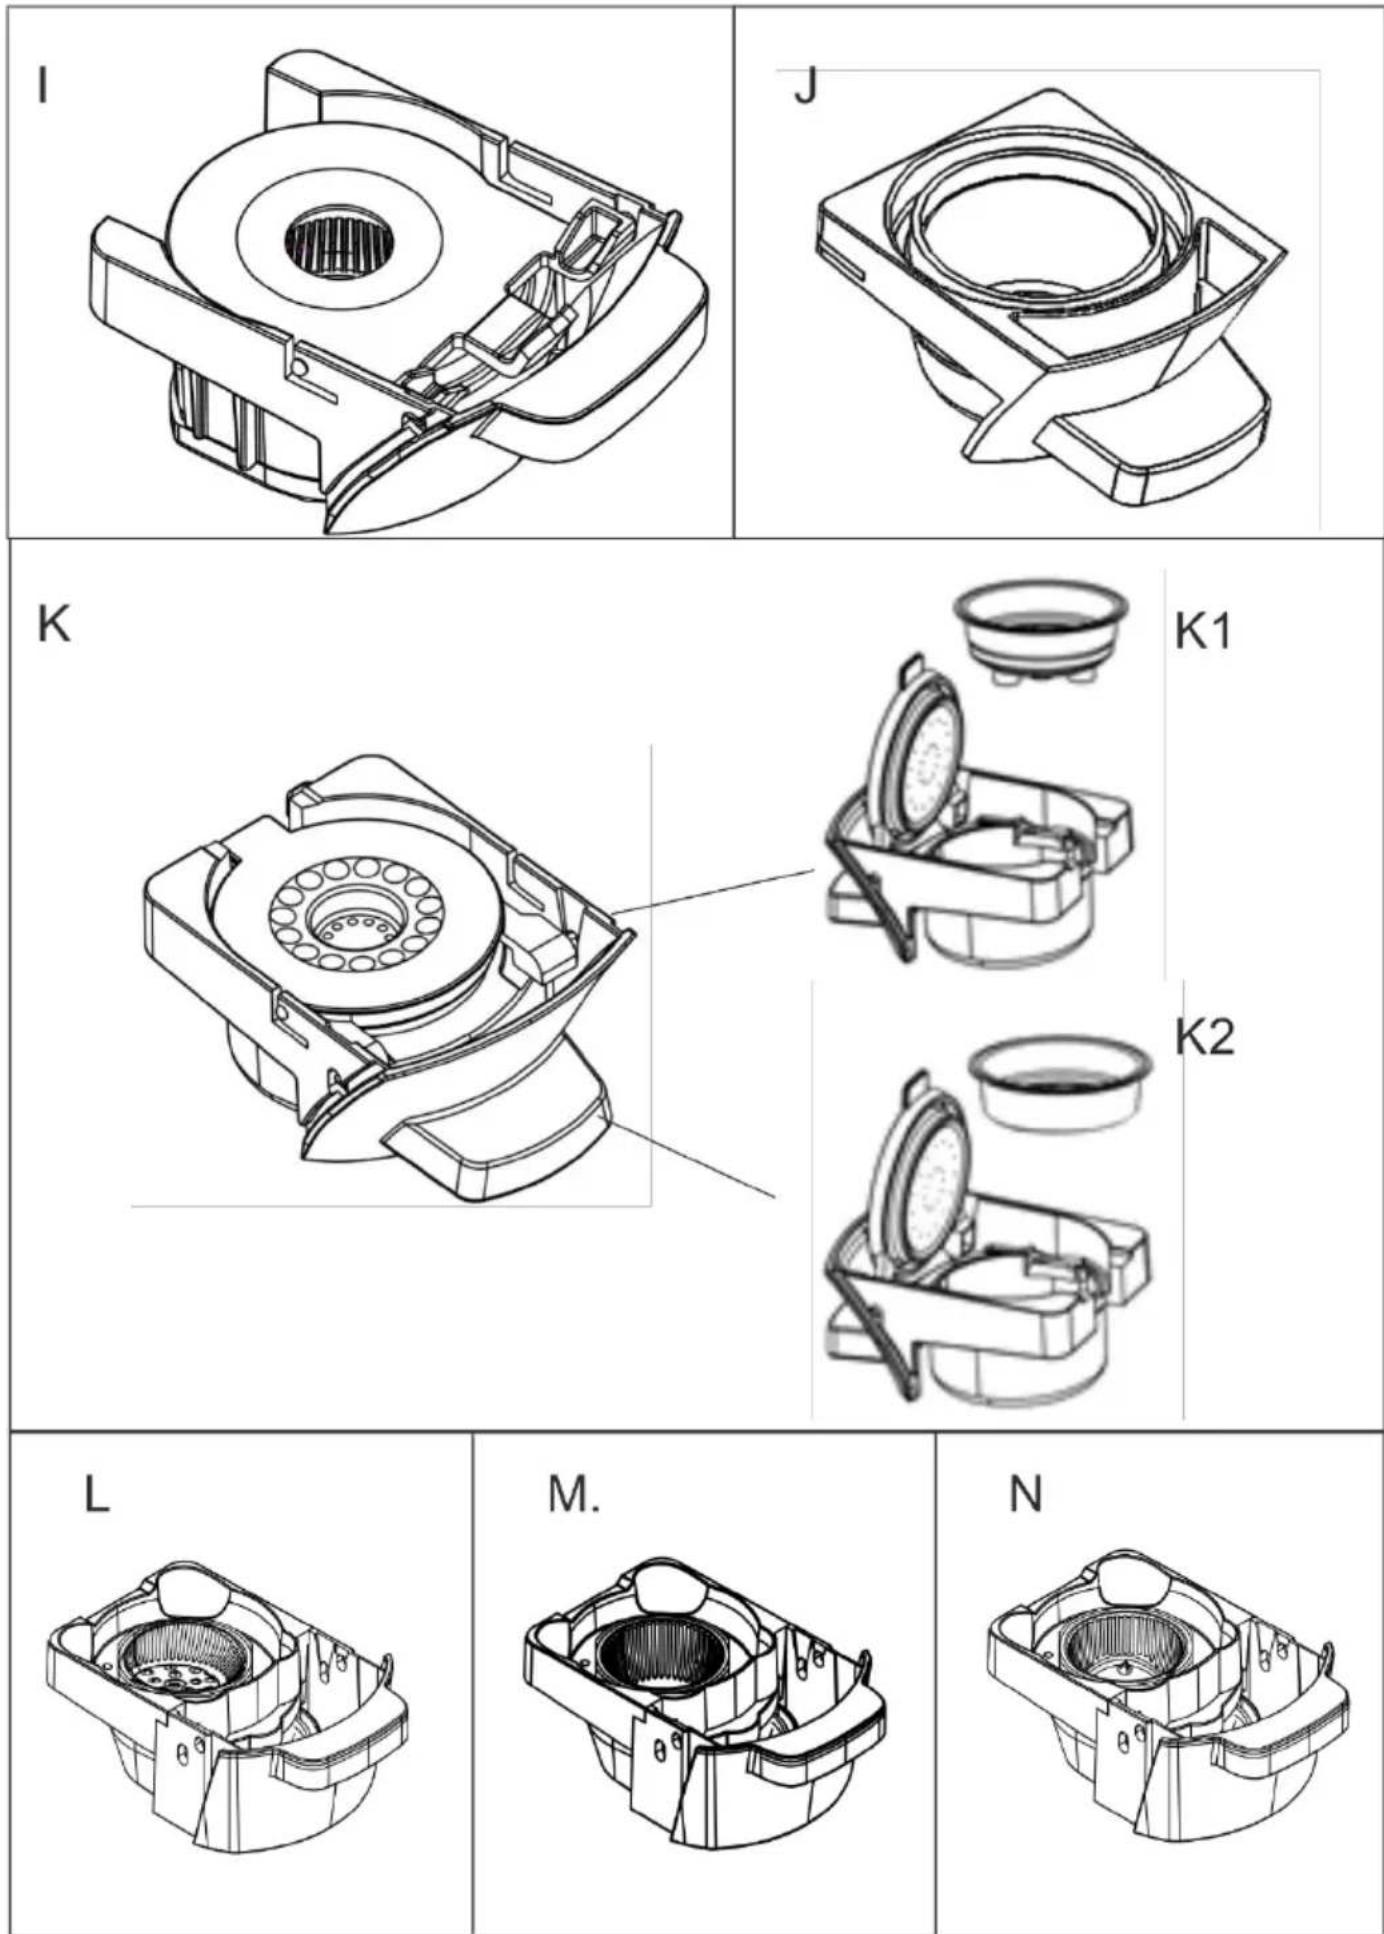
Brewing baskets:
I. Nespresso capsule J. Dolce Gusto K1. Coffee insert K2. Ground coffee
L. Lavazza Modo Mio M. Lavazza BLUE N. Caffitaly
Preparation:
First, remove all packaging from the machine and baskets.
Clean the appliance housing, water tank, baskets, water tank, water tank cover, drip tray with a soft, slightly damp cloth.
Use of the device:
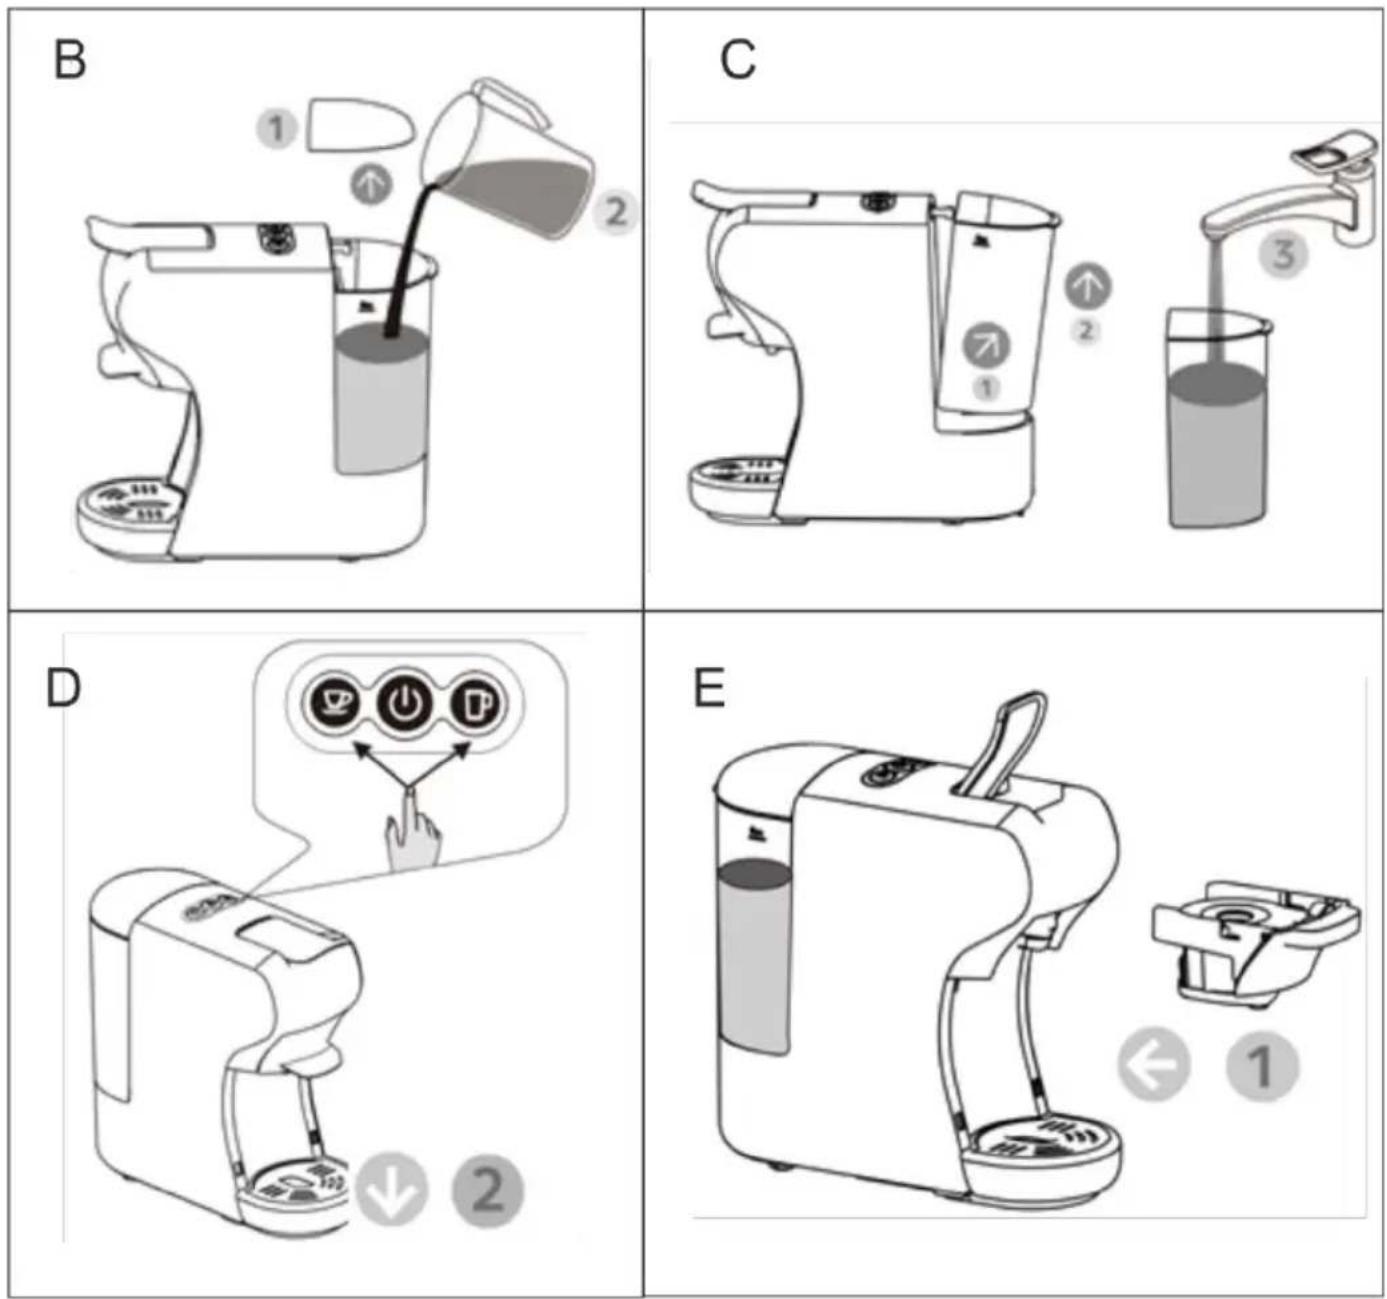
To use the device, you must fill the device with water.
You can do this in 2 ways.
- Directly into the water tank.
- By removing the water tank from the device, filling it and putting it back into the device.
ABY adding water directly to the water tank (as shown on page 3 figure B):
- Remove the water tank cover (3).
- Pour water into the water tank (4).
- Put the water tank cover back in place.
To remove the water tank (as shown on page 3 figure C):
- Remove the water tank cover (3).
- Gently but firmly pull the water tank up and away from the machine.
- Fill the tank with water.
- Place the water tank back in the designated location.
- Put the water tank cover (3) back in place.
Configure the brewing process:
- After filling the water tank (3) with water.
-
Turn on the machine by pressing the ON/OFF button (A2 B).
NOTE: DO NOT TURN ON THE DEVICE WITHOUT PUTTING ON THE WATER TANK. BEFORE STARTING THE DEVICE EMITS STEAM AND HOT WATER BACK INTO THE TANK. -
The control panel will light up and start flashing.
- When the control panel stops flashing and begins to shine with a steady light, you can proceed to prepare the brewing basket (5).
- If the brewing basket (5) is already inserted in the machine:
5a. Pull the lever (1) upward to release the brewing basket (5).
5b. Remove the steaming basket (5).
- If the steaming basket (5) is not inserted into the machine:
6a. Pull the lever (1) upward to prepare the machine to accept the brewing basket (5).
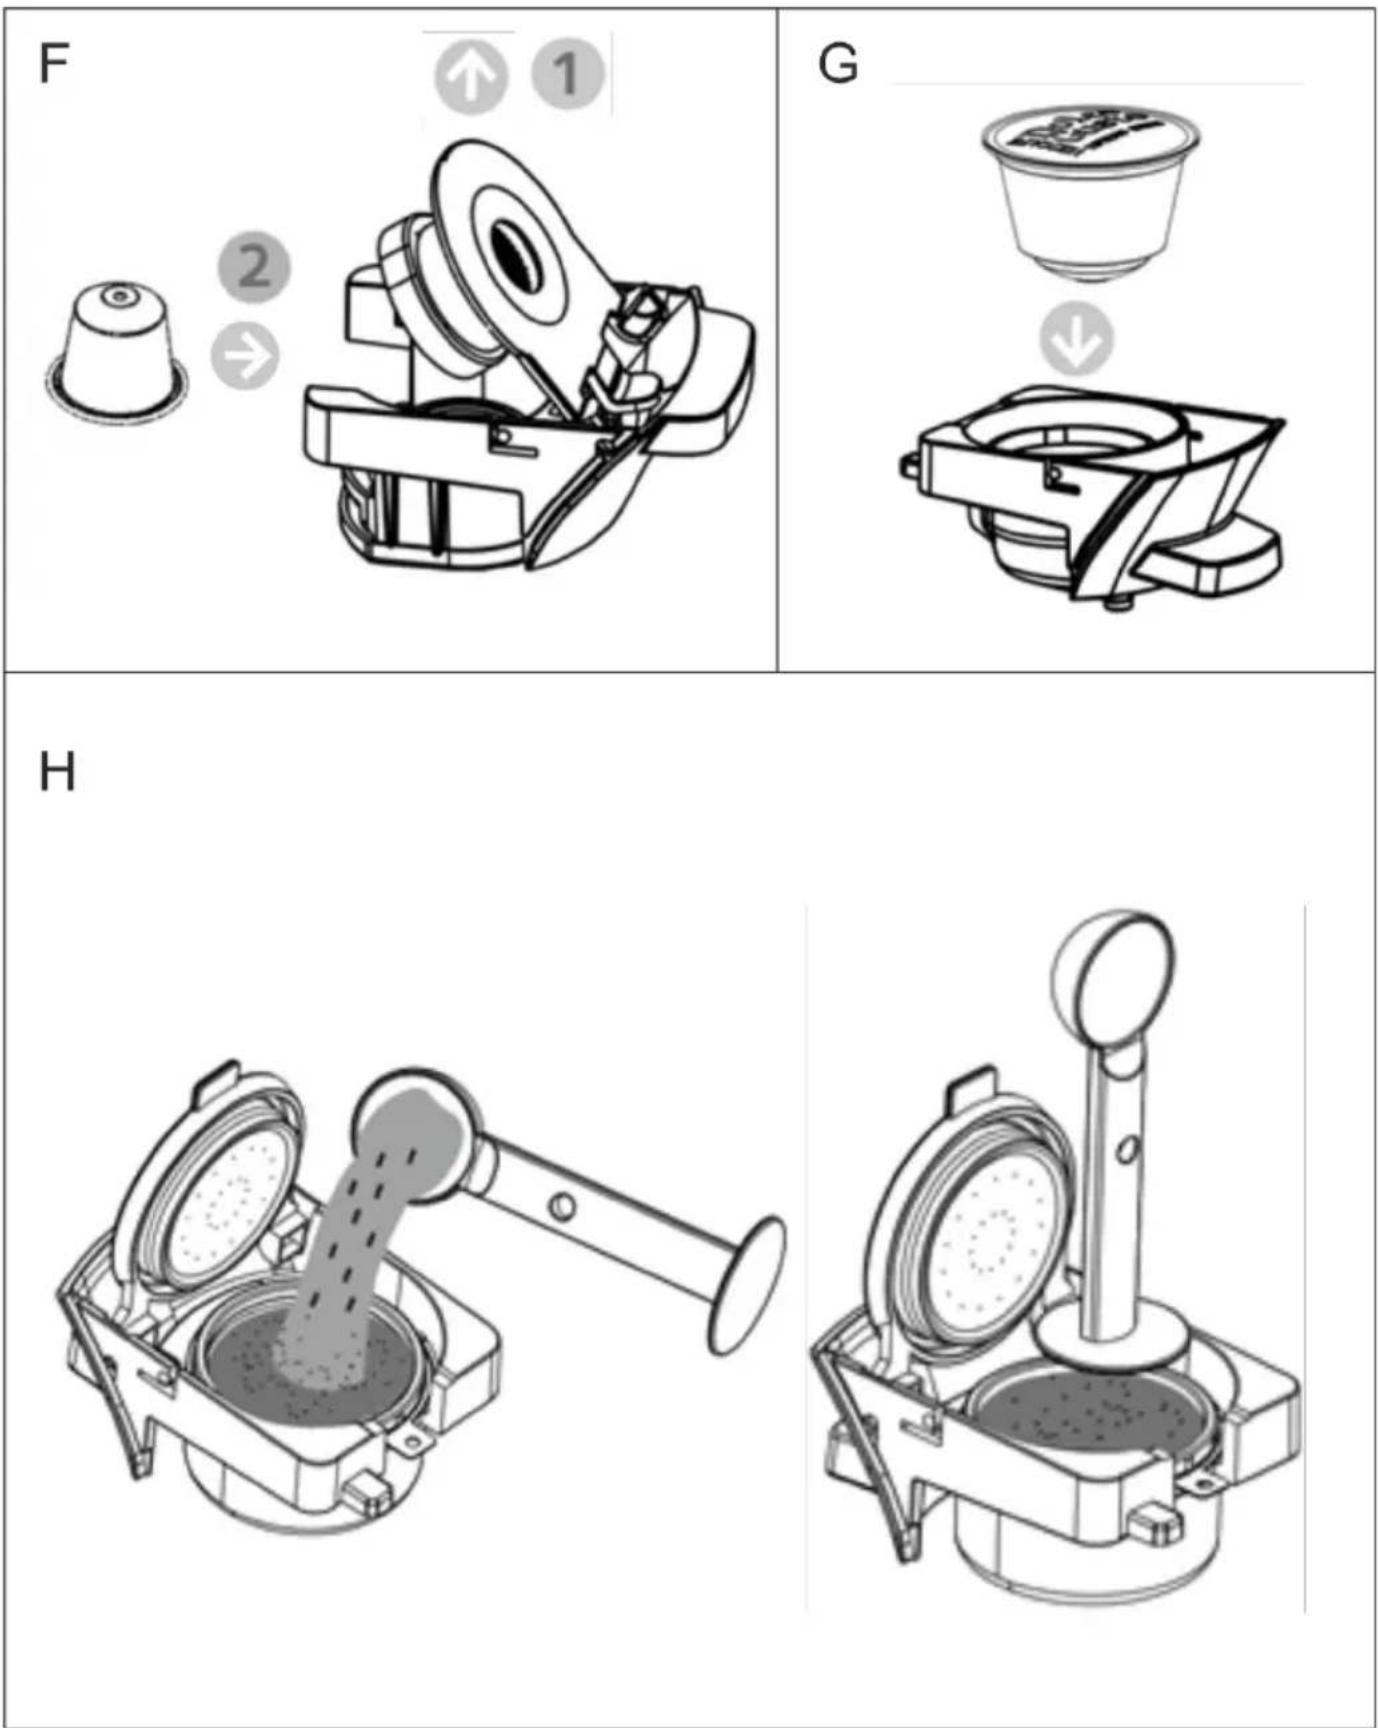
Preparing the brewing basket (5):
- Depending on the type of capsule or ground coffee, select the appropriate brewing basket (5).
- There are 3 types of capsules.
A. Inserted from the top. Dolce Gusto (J), Lavazza (L)
B. Inserted from the bottom. Nespresso capsule (I)
C. Inserted into the metal brewing compartment. Coffee insert (K1), ground coffee (K2)
Depending on the type of capsule, follow Figures F and G.
Photo F:
- Pull the inside of the steaming basket (5) to open.
- Insert the capsule into the opening of the brewing basket (5) so that it is firmly seated inside and does not move.
- Close the brewing basket (5).
NOTE: The brewing basket (5) should close completely and no part of the basket should protrude compared to the empty brewing basket (5).
Photo G:
- Push the capsule down into the brewing basket (5).
NOTE: The brewing basket (5) should close completely and no part of the basket should protrude compared to the empty brewing basket (5).
For ground coffee:
- Please check figure H on page 4.
- Pour the ground coffee into the metal adapter of the brewing basket (5). (Note that the powder should not spill outside the metal insert)
- Press the ground coffee down, making sure it is nice and flat and the adapter can be closed without using too much pressure.
For coffee sachets:
- Select the basket for brewing ground coffee (5).
- Insert the sachet adapter into the brewing basket.
- Place the coffee sachet in the adapter.
Brewing:
- Insert the previously prepared brewing basket (5) into the machine.
-
Slowly but firmly push the lever (1) down.
WARNING: IF THE LEVER DOES NOT MOVE OR OFFERS A LOT OF RESISTANCE. DO NOT FORCE IT DOWN. REMOVE THE BREWING BASKET (5) AND CHECK THAT THE BREWING BASKET (5) IS PROPERLY FOLDED. OR IF THERE IS TOO MUCH COFFEE IN THE BREWING BASKET (5). -
Check that the control panel lights up without blinking.
- If the control panel shows no problems, press the desired option. Espresso (A2A) or Café Lungo (A2C).
-
The machine will begin to operate. (NOTE THAT THE MACHINE WILL DRAIN ANY REMAINING WATER FROM THE BREWING TANK BACK INTO THE WATER TANK.)
-
When finished, it will emit 2 beeps and stop operating.
-
It will be in standby mode for about 15 minutes.
-
After this time it will turn off.
You can also always cancel brewing by pressing the ON / OFF button (A2B).
-
Pull the lever (1) upward to release the brewing basket (5).
-
WARNING. AFTER STEAMING, THE STEAMING BASKET (5) WILL BE HOT TO THE TOUCH. PLEASE BE CAREFUL NOT TO BURN YOURSELF.
-
Remove the capsule / sachet / coffee powder from the brewing basket (5).
- Rinse the basket with water until it is completely clean.
- Remember to empty the removable drip tray and rinse it with water.
If you want to add more water or think the amount of coffee is too small, you can press and hold the espresso button and the machine will continue to produce water. To stop release the button.
You can turn the standby mode on or off.
Turn standby mode off or on:
- Press both the Espresso (A2A) and Lungo (A2C) buttons while connecting the device to power.
- Press the Espresso (A2A) button to enable standby mode (light on) or off mode (light off).
- Press the ON / OFF button (A2B) to confirm the setting.
Decalcification:
Decalcify the machine at least once a month or sooner depending on the number of drinks made.
To do this, follow the instructions below:
NOTE: NEVER USE VINEGAR OR OTHER ACID-BASED DECALCIFIERS FOR THIS APPLIANCE. MAY DAMAGE THE APPLIANCE.
- Use special descalers for pressure coffee makers.
- Fill the tank with descaler solution and water according to the manufacturer's descaler guidelines.
-
Insert the brewing basket (5) into the machine and lower the lever (1).
-
Turn on the device.
- Place a large bowl in place of the cup.
- Use the Lungo setting (A2C) and empty at least 2 full tanks of decalcifier and water solution.
- After emptying the second solution tank. Pour fresh water into the tank and rinse out the solution, emptying the fresh water tank by pressing the lungo button until the tank is empty.
Device data:
Voltage: 230V \~ 50Hz
Power: 1450 W
Maximum power: 3000 W
Water capacity: 0.6 l

For the sake of the environment. Cardboard packaging and polyethylene (PE) bags should be disposed of in the appropriate containers for separate collection of municipal waste according to their description. If there are batteries in the device, remove them and separately return them to the collection and storage facility. Return the used device to a suitable collection and storage facility, as the hazardous substances in it may pose a threat to health and the environment. The marking on the product indicates that the device should not be disposed of in the container with municipal waste. Waste electrical equipment, is waste that contains substances harmful to humans, animals and the environment. These substances can lead to contamination of the soil, water or air, and through this they can get into the human body and lead to numerous health ailments, such as: vision, hearing, speech disorders, they can also lead to kidney, liver and heart damage, and cause skin diseases. Harmful substances can also have adverse effects on the respiratory and reproductive systems and lead to cancerous changes. Consumption of plants growing on the complained of soils, and products made from them may risk the above-mentioned health effects. Do not dispose of the device in the municipal waste container!!!
Service If you wish to purchase spare parts or report any complaints, please contact directly with the seller who issued the receipt.
Para as saquetas de café:
-
Seleccionar o cesto para a preparação do café moído (5).
-
Introduzir o adaptador para saquetas no cesto de café.
-
Colocar a saqueta de café no adaptador.
Preparação do café:
fghmou s3bou sdmbsgdsq (6mzmb3 bsh3gbdos dg-3 33gmo9g, lghsono C):
- მონსენით წყლის ავზის საფარი (3).
- 65650, 4565034830300 85933600 85933600 85933600 85933600 85933600 85933600
- ἄροςχύμον υςδο δύγωσον.
- ροσδόμηβον ἡγμούς σχόν οσχόν ροσδόμημον σχόνομεις.
- ωσδόμηβον ἡγμού σζόνος υσχόνο (3).
bsmdzou 36m0gjou 3mbg0g7m50s:
- ἡγμού σζδού (3) ἡγμούση δχθυβού δγαργδ.
- ḥδεσογον δημγμδοσμας ḥδεσος/χδεσμαςου ρομεςου (A2 B) ωσξηφωον.
yghsqqgds: sb hsmomon dmymdommds hymol szbbl gsygbdol zsmgdy. lsbsd qsohygqgon, dmymdommds soszolgygmgdl mmonjml qs ghgm fysmli szbdo. - მართვის პანელი აინთება და დაიწყებს ციმციმს.
- ἐπρογλυς δισμοτού 3δβμο ∂θψγεξηδί 2αδαδύ ρα 3δβψγεξηδί Σδσωδύ, ∂θσόσμοσον ρασφγμον χρημομού 3σεσσού ∂αδάθεσργδύ (5).
- οπη ωημοσμού 3σεσσας (5) χρ339 βλυδημος δηφγμδομονδασό:
5s. sʃɔŋoŋ ɒŋfɔʒɔŋo (1) ɕɔʒɔŋ, ɕsɔns ʒsđmŋðʒɔn ɕmŋənʊ ʒsɛnsɔns (5). - sđmogno çuŋmognol zsmsos (5).
- Μηγ χημομον 3σωσως (5) σή σήσι βλύδημο ταθμόμοσμόσο:
6s. s̥̥̥̥̥̥̥̥̥̥̥̥̥̥̥̥̥̥̥̥̥̥̥̥̥̥̥̥̥̥̥̥̥̥̥̥̥̥̥̥̥̥̥̥̥̥̥̥̥̥̣(1) ̃b̃b̃b̃m, ̃b̃m̃s ∂msd̃bsqom ∂ds̃jsbs m̃g̃qol b̃sɛmsən ol (5) dɔlsɛŋ̃dʒɔq.
### 3507018246988 (5):
- 3s2g2y2m0u sb qos2d2y2mo yszou lsbgm2doqssb zsdmdqnobshg, sombogon dylusdsdolo o mynqoul 3smsons (5).
- అంగురమంటి 3 ల్పంగు స్యాన్నా.
s 6gdmqosb bsbdynmo. Dolce Gusto (J), Lavazza (L)
B. ḥδυδημο ḥδηδηρος. ḥγδεθμιν 3σθεγμας (I)
C. ∂ποσχιγδημος ποστόν δηλεργημαξη μεβυμαρομηδασο. ργσού βελάς (K1), ρασχήμο ργσύ (K2)
359170000 00300 0060000, 00399000 00899000 F 00 G.
gmoF:
natural_image
Illustration of a modern silver kettle with blue liquid inside, no text or symbols visibleElectric Kettle AD 1282
natural_image
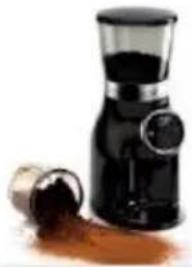
Close-up of a black and white grainer with a spool of brown liquid nearby (no text or symbols visible)Burr Coffee Grinder AD 4450
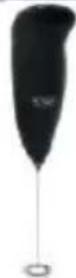
Milk Frother
AD 4491
natural_image
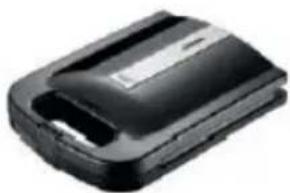
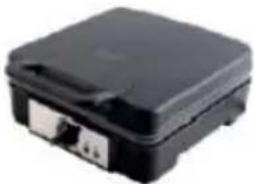
Black plastic electronic device casing with a rectangular body and a flat top (no visible text or symbols)Sandwich Maker AD 3055
natural_image
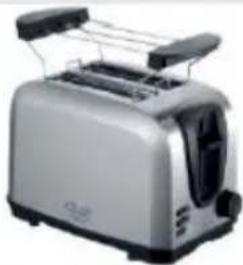
Modern kitchen toaster with silver casing and black handles (no visible text or symbols)TOASTER 2 SLICE AD 3222
natural_image
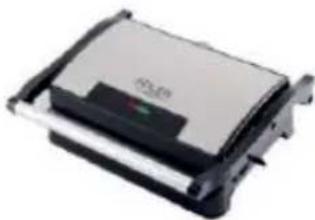
Exterior view of a rectangular electronic device with a black and silver casing (no visible text or symbols)ELECTRIC GRILL AD 3052
natural_image
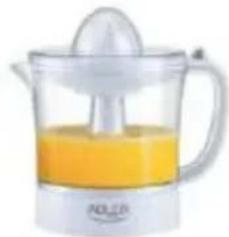
Glass juiceizer with orange liquid and a white spoon, no visible text or symbolsCITRUS JUICER AD 4009

natural_image
Product photo of a black and silver blender with fruit slices in the foreground (no visible text or symbols)PERSONAL BLENDER AD 4081
natural_image
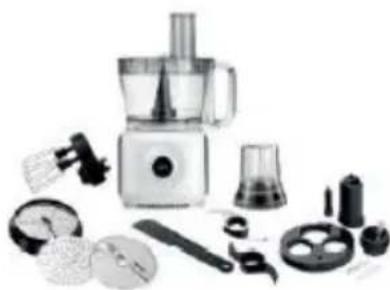
Assorted kitchen appliances including blender, keyboard, and cleaning tools (no visible text or labels)FOOD PROCESSOR AD 4224
natural_image
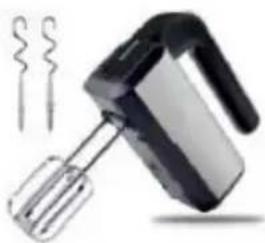
Illustration of a hand mixer with whisk, no text or symbols presentMIXER AD 4225
natural_image
Black air fryer with control panel and side handle (no visible text or symbols)AIR FRYER AD 6310
natural_image
Exterior view of a modern stainless steel rice cooker with black lid and side control panel (no visible text or symbols)PASTEURIZATION POT AD 4496
natural_image
White portable air conditioner unit with control panel and wheels (no visible text or symbols)AIR CONDITIONER AD 7916
natural_image
Black and white cylindrical object with a lid, resembling a water filter or container (no visible text or symbols)AIR HUMIDIFIER AD 7966
natural_image
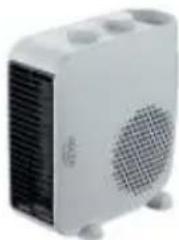
White portable heater with three heat sinks and a mesh vent (no visible text or symbols)FAN HEATER AD 7725
natural_image
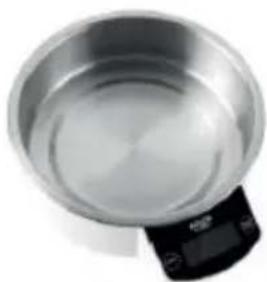
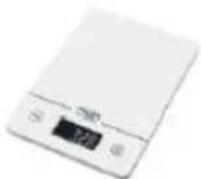
Top-down view of a stainless steel kitchen scale with digital display (no text or symbols visible)KITCHEN SCALE AD 3166
ADLER
EUROPE
COFFEE GRINDER
AD 4446
natural_image
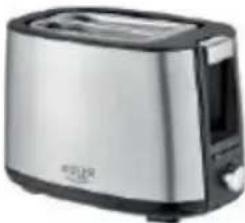
Exterior view of a stainless steel toaster with black handle and control panel (no visible text or symbols)TOASTER 2 SLICE AD 3214
HAND BLENDER
Ad4625
natural_image
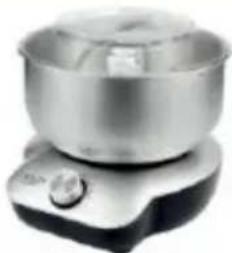
Close-up of a stainless steel kitchen appliance with a digital scale and control knob (no visible text or symbols)MIXER WITH BOWL AD 4222
natural_image
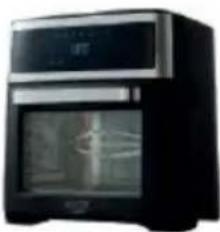
Exterior view of a modern kitchen appliance with digital display (no visible text or symbols)AIR FRYER OVEN AD 6309
natural_image
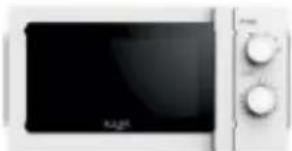
Front view of a white microwave oven with control knobs and a blank screen (no visible text or symbols)MICROWAVE OVEN AD 6205
natural_image
Black plastic electronic device with a lid and ports (no visible text or symbols)WAFFLE MAKER AD 3049
KITCHEN SCALE
AD 3170

natural_image
Glass water heater with blue liquid, no text or symbols visibleELECTRIC KETTLE AD 1286
natural_image
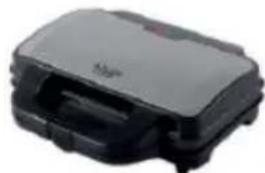
Black plastic electronic device with no visible text or symbols on its bodySANDWICH MAKER
AD 3043
natural_image
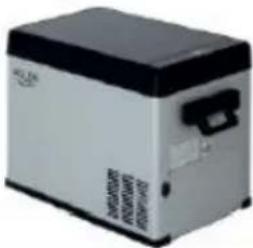
Exterior view of a silver and black electronic device (no visible text or symbols)PORTABLE FRIDGE AD 8077
natural_image
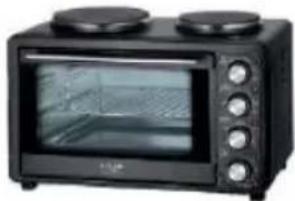
Black four-wheeled toaster oven with two top ovens (no visible text or labels)Electric Oven With HOB AD 6020
natural_image
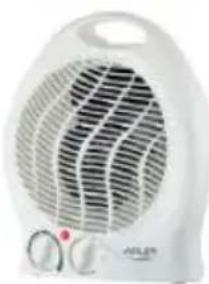
White portable electric heater with visible cooling fins and control knobs (no text or symbols)FAN HEATER AD 7728
natural_image
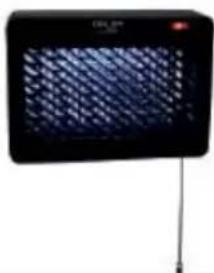
Black rectangular electronic device with a grid-patterned screen and antenna (no visible text or symbols)MOSQUITO LAMP AD 7938
natural_image
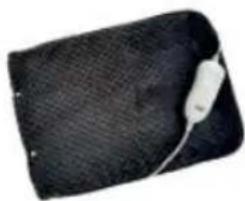
Black textured fabric with a white bandage on the side (no text or symbols visible)HEATED PAD AD 7433
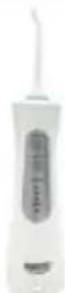
ORAL IRRIGATOR
AD 2176
ADLER
EUROPE
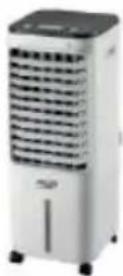
AIR COOLER
AD 7913

natural_image
Close-up of a white spherical device with blue internal components and a metallic handle (no visible text or symbols)FOOT SPA AD 2177
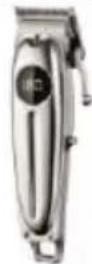
HAIR CLIPPER
AD 2831

natural_image
Green handheld hair dryer with black handle and pointed tip (no visible text or symbols)HAIR DRYER AD 2265

natural_image
Close-up of a white medical or dental appliance with a digital thermometer and a white cushion (no visible text or symbols)HEATED PAD AD 7412
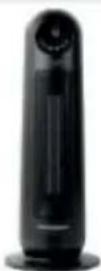
CERAMIC FAN HEATER
AD 7731
natural_image
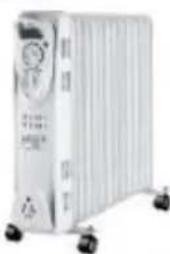
White industrial electrical heater with cooling fan and wheels (no visible text or symbols)OIL-FILLER RADIATOR
AD 7811

natural_image
Black digital balance scale with a digital display showing 328 (no visible text or symbols on the device itself)KITCHEN SCALE AD 3171
natural_image
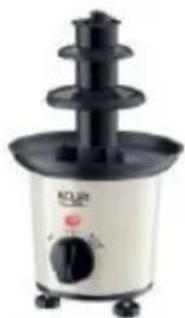
White and black photo of a small decorative food appliance with a black top and side handles (no visible text or symbols)CHOCOLATE FOUNTAIN AD 4487

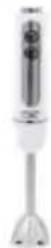
HAND BLENDER
AD 4617
LINT REMOVER
AD 9616
natural_image
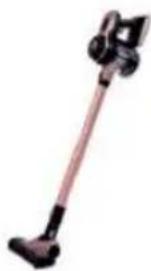
Black handheld vacuum cleaner with adjustable arm and handle (no visible text or symbols)VACUUM CLEANER AD 7044
natural_image
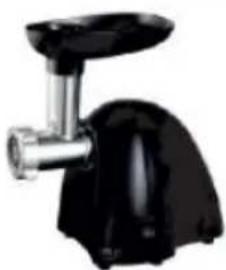
Close-up of a black and white kitchen meat maker (no visible text or labels)MEAT MINCER AD 4811
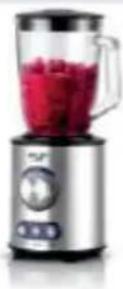
Blender AD 4078

natural_image
Exterior view of a modern kitchen grater with a glass lid and two food items on the grates (no visible text or symbols)ELECTRIC GRILL AD 6610
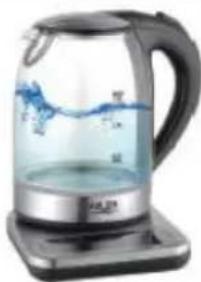
natural_image
Glass water-filled kettle with blue liquid, no visible text or symbolsELECTRIC KETTLE AD 1293
KARTA GWARANCYJNA

Brand : CAMRY
Model : CR 4414
Category : Coffee machine