iHarbour - Car seat Joie - Free user manual and instructions
Find the device manual for free iHarbour Joie in PDF.
Download the instructions for your Car seat in PDF format for free! Find your manual iHarbour - Joie and take your electronic device back in hand. On this page are published all the documents necessary for the use of your device. iHarbour by Joie.
USER MANUAL iHarbour Joie
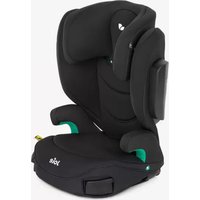
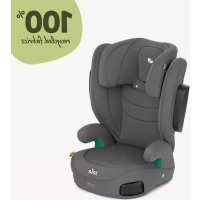
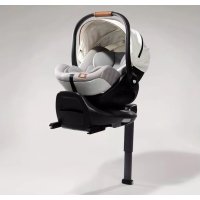
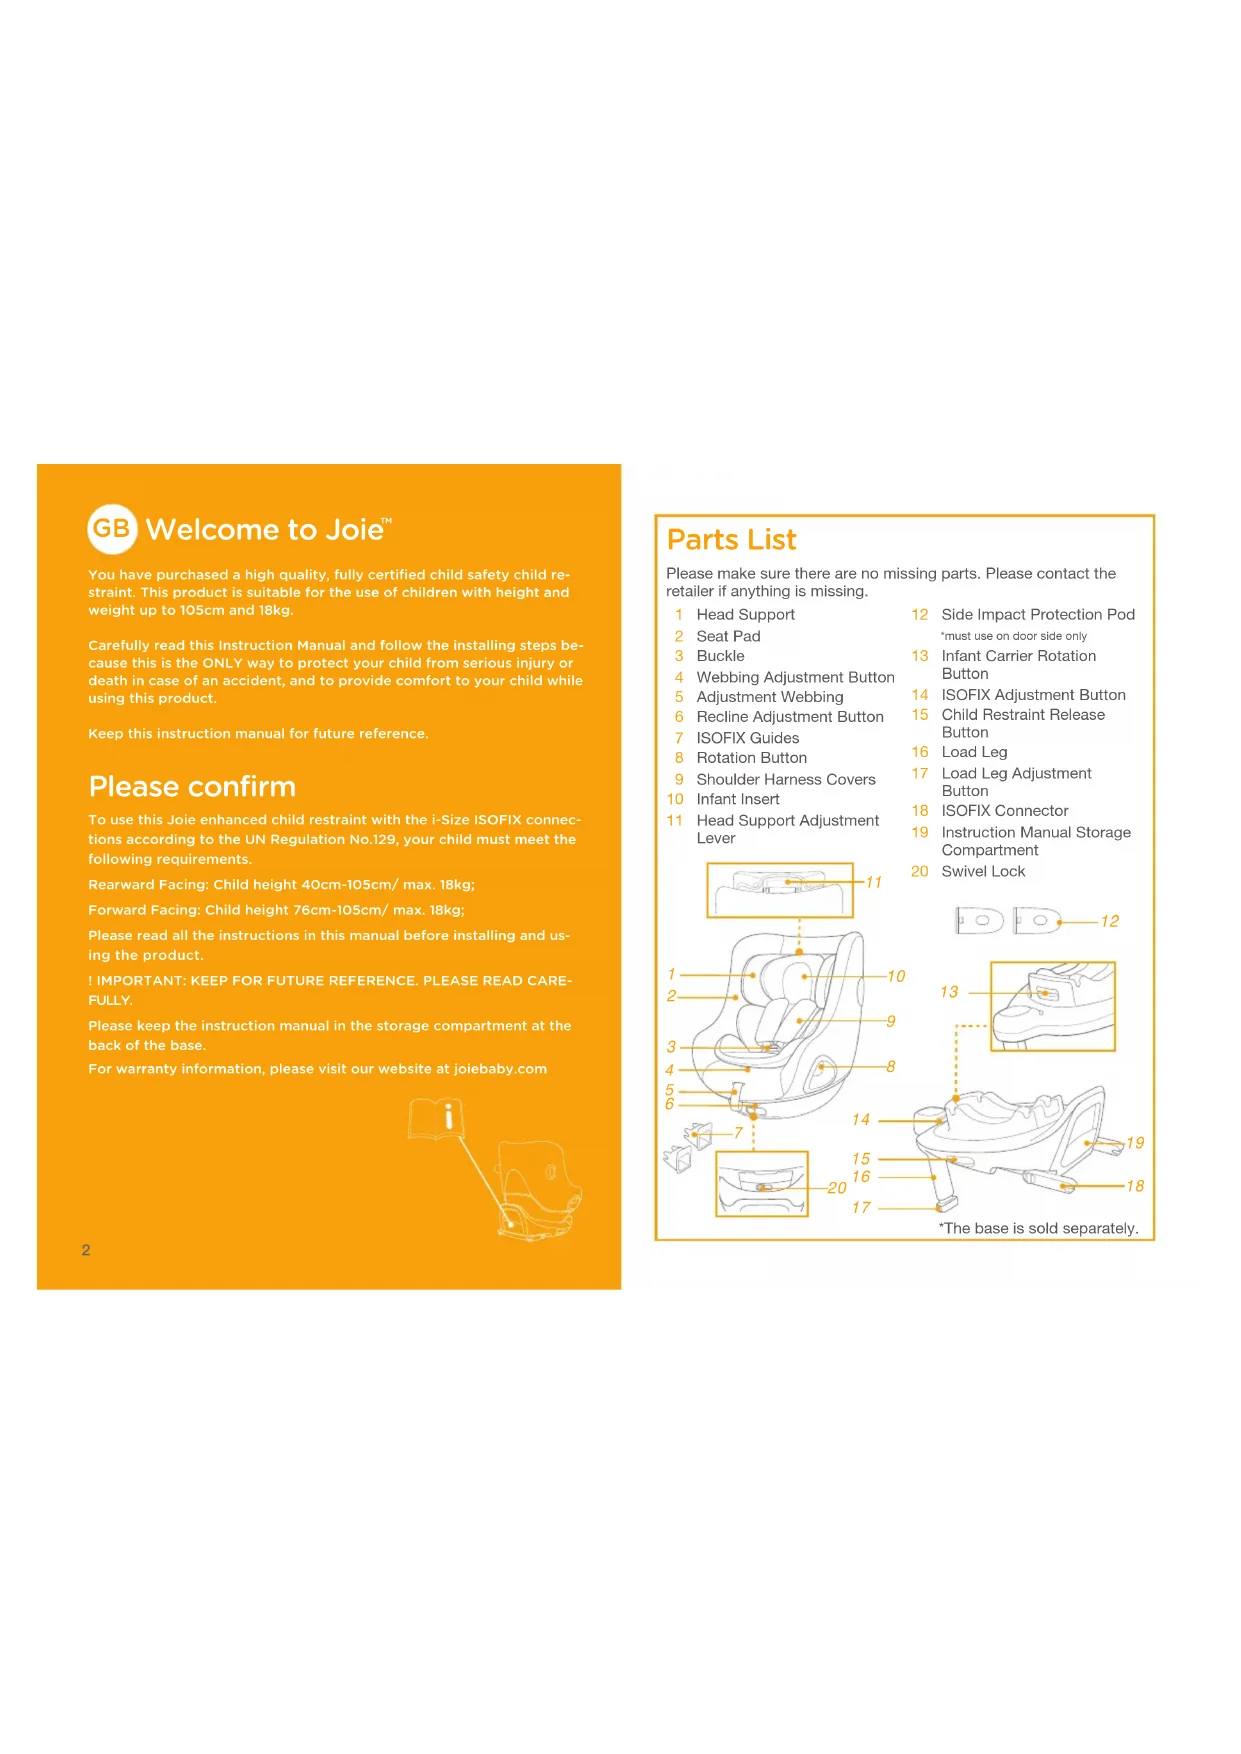
You have purchased a high quality﹐ fully certified child safety child re-straint. This product is suitable for the use of children with height and weight up to 105cm and 18kg.Carefully read this Instruction Manual and follow the installing steps be-cause this is the ONLY way to protect your child from serious injury or death in case of an accident﹐ and to provide comfort to your child while using this product.Keep this instruction manual for future reference. Please confirm To use this Joie enhanced child restraint with the i-Size ISOFIX connec-tions according to the UN Regulation No.129﹐ your child must meet the following requirements.Rearward Facing: Child height 40cm-105cm/ max. 18kg;Forward Facing: Child height 76cm-105cm/ max. 18kg;Please read all the instructions in this manual before installing and us-ing the product.! IMPORTANT: KEEP FOR FUTURE REFERENCE. PLEASE READ CARE-FULLY.Please keep the instruction manual in the storage compartment at the back of the base. For warranty information﹐ please visit our website at joiebaby.com Parts List 1 Head Support 2 Seat Pad 3 Buckle 4 Webbing Adjustment Button 5 Adjustment Webbing 6 Recline Adjustment Button 7 ISOFIX Guides 8 Rotation Button 9 Shoulder Harness Covers10 Infant Insert11 Head Support Adjustment Lever12 Side Impact Protection Pod *must use on door side only13 Infant Carrier Rotation Button14 ISOFIX Adjustment Button15 Child Restraint Release Button16 Load Leg17 Load Leg Adjustment Button 18 ISOFIX Connector19 Instruction Manual Storage Compartment20 Swivel LockPlease make sure there are no missing parts. Please contact the retailer if anything is missing. *The base is sold separately.
BE cautious that the rigid items and plastic parts of the enhanced child restraint system shall be so located and installed that they are not liable to become trapped by a movable seat or in the door of the vehicle.
DO NOT use the rearward facing enhanced child restraint system in seating positions where there is an active frontal airbag installed.
The enhanced child restraint may not fit in all ap- proved vehicles. Please refer to the fitting list includ- ed for more details.
Any support-leg should be in contact with the vehicle floor and any straps restraining the child should be adjusted to the child’s body. The straps should not be twisted.
Ensure that any lap strap is worn low down, so that the pelvis is firmly engaged, shall be stressed.
This enhanced child restraint should be replaced when it has been subject to violent stresses in an accident. An accident can cause damage to it that you cannot see. WARNING
Consider the danger of making any alterations or additions to the device without approval of the adequate authority, and the danger of not following closely to the installation instructions provided by the enhanced child restraint manufacturer.
Children should not be left unattended in their enhanced child restraint system.
Any luggage or other objects liable to cause injuries in the event of a collision shall be properly secured.
The enhanced child restraint system shall NOT BE USED without the soft goods.
The soft goods should not be replaced with any other than the one recommended by the manufacturer, because the soft goods constitutes an integral part of the restraint performance.
Please also pay attention to the instructions and warnings in the vehicle manufacturer’s handbook.5 6
InstallationMode Installation Swivel Lock Child's Age Rear facingmode <15 Months>15 Months Rear/Forwardfacing mode <15M 15M
Choose Your Installation Emergency In case of emergency or accidents, it is most important to have your child taken care of with first aid and medical treatment immediately. Product Information
1. This is an “ i-Size ” Enhanced Child Restraint System. It is approved
according to UN Regulation No.129, for use in, i-Size compatible vehicle seating positions as indicated by vehicle manufacturers in the vehicle users’ manual.
2. If in doubt, consult either the Enhanced Child Restraint System
manufacturer or the retailer. Materials Plastics, metal, fabrics Patent No. Patents pending7 8 Installation Concerns
1. Attach the ISOFIX guides to the vehicle’s ISOFIX anchor points (see
The ISOFIX guides can protect the surface of the vehicle seat from being torn. They can also guide the ISOFIX connectors.
2. Unfold the load leg from storage compartment.
3. Extend the ISOFIX connectors by pressing the ISOFIX adjustment
button while pulling on the connector.
connectors. Line up the ISOFIX connectors with the ISOFIX guides, and then click both ISOFIX connectors into the ISOFIX anchor points.
Base Installation ! Make sure that both ISOFIX connectors are securely attached to the vehicle’s ISOFIX anchor points. There should be two audible clicks and the colors of the indicators on both ISOFIX connectors should be completely green.
! Check to make sure the base is securely installed by pulling on both ISOFIX connectors.
5. After placing the base on the vehicle seat, extend the load leg to
. When the load leg is installed correctly, the load leg indicator will show green. Red will be shown when installed incorrectly.
! The load leg has multiple positions. When the load leg indicator shows red this means the load leg is in the wrong position. ! Make sure the load leg is in full contact with the vehicle floor pan. ! Squeeze the load leg adjustment button, then shorten the load leg upwards.
6. The completely assembled base is shown as
! The ISOFIX connectors must be attached and locked onto the ISOFIX anchor points.
! The load leg must be installed correctly with green indicator.
! Always make sure the support load leg has direct contact with the floor and is in locked position even when the child is not in it. Removing the Base
7. To remove the base from the vehicle seat, push the secondary lock
on the ISOFIX connectors before removing the base from the vehicle seat.
ISOFIX connectors back into the storage position.
1. The enhanced child restraint is delivered with removable side
Use Side Impact Protection Height Adjustment for Head Support and Shoulder Harnesses see images
1. Please adjust the head support and check if the shoulder harnesses
are at the correct height according to
! When used in rearward facing mode, the shoulder harness height must be even with or just below the top of child’s shoulders.
! When used in forward facing mode, the shoulder harness height must be even with the top of child’s shoulders.
Pull the head support adjustment lever
, meanwhile pull up or down the head support until it snaps into one of the 6 positions. The head support positions are shown as
Squeeze the recline adjustment button to adjust the enhanced child restraint to the proper position.
Both rear facing mode and forward facing mode have 5 recline positions, the recline angles are shown as
Recline Adjustment Rearward Facing Mode (Child height 40cm-105cm/ Child weight 18kg) see images
! Please install the enhanced child restraint on the rear vehicle seat and then put the child in the enhanced child restraint.
1. Push the enhanced child restraint down onto the base
. If the enhanced child restraint is secure, the enhanced child restraint indicator will show green.
2. To release the enhanced child restraint, first take the child out of the
child restraint. Pull the child restraint release button
-1, then lift the child restraint up
-2. The enhanced child restraint can ONLY be installed and released when in rearward facing mode.
3. Press and hold the ISOFIX adjustment button and push the
enhanced child restraint system back until it comes in contact with the vehicle seatback.
4. Press and hold the rotation button to rotate for easier side loading/
unloading of the child, then rotate the seat to the rear facing position.
! Always make sure the seat is in locked position (rearward facing / forward facing) even when the child is not in it.11 12 ! Press the rotation button on either side to rotate the enhanced child restraint.
5. Press the harness adjustment button while pulling the shoulder
harnesses to the desired length (Pull from below the fixed shoulder pads to lengthen).
6. Unlock the buckle of the harnesses by pressing the red button.
7. Place the buckle tongues against the magnetic area on the outer
side of the enhanced child restraint so that the tongues are held in place.
Remove the head supportportion of the infant insert when the child’shead no longer fitscomfortably.Remove the bodyportion of the infant insert when the infant’sshoulders no longer fitcomfortably.Remove the infant insertcushion by detaching thesnaps to allow more spacewhen the infant does notfit comfortably. Thecushion can be usedseparately without beingattached to the insert tobolster the infant's backfor more comfort.
We recommend usingthe full infant insertwhile the baby is under60cm and ≤13kg. It can be useduntil they outgrow the insert.The infant insert increasesside impact protection. Use Infant Insert
8. Place the child into the enhanced child restraint and pass both arms
through the harnesses.
9. Engage the buckle. Please refer to
10.Rotate the enhanced child restraint to the rear facing position. The enhanced child restraint indicator will show green.
11.Pull down the adjustment webbing and adjust it to the proper length to make sure your child is properly secured.
! Always keep child secured in harness and properly tightened byremoving any slack. Forward Facing Mode (Child height 76cm-105cm/ Child weight 18kg/ Child’s Age 15 Month) see images
! Please install the enhanced child restraint on the rear vehicle seat, and then place the child in the enhanced child restraint. ! Please slide swivel lock button to left to rotate the enhanced child restraint to the forward facing mode.
of the child, then rotate the seat to the forward facing position.
! Press the rotation button on either side to rotate the enhanced child restraint.
2. Press the harness adjustment button while pulling the shoulder
harnesses to the desired length (Pull from below the fixed shoulder pads to lengthen).
3. Unlock the buckle of the harnesses by pressing the red button.
4. Place the buckle tongues against the magnetic area on the outer
side of the enhanced child restraint so that the tongues are held in place.
5. Rotate the enhanced child restraint seat to forward facing the
enhanced child restraint indicator will show green.
! Always make sure the seat is in locked position (rearward facing / forward facing) even when the child is not in it.13 14
6. Pull down the adjustment webbing and adjust it to the proper length
to make sure your child is properly secured.
! Always keep child secured in harness and properly tightened by removing any slack. ! DO NOT use forward facing unless your child is at least 76cm AND 15 months old. see images
Press the red button to disengage the buckle.
to detach soft goods. To re-attach the soft goods please repeat the above steps in the reverse order. Detach Soft Goods ! Please store the infant insert somewhere out of the child’s reach. ! Please wash the soft goods with cold water under 30°C. ! Do not iron the soft goods. ! Do not bleach or dry clean the soft goods. ! Do not use undiluted detergents gasoline or other organic solvent to wash the enhanced child restraint or base. It may cause damage to the enhanced child restraint. ! Do not twist the soft goods to dry with great force. It may leave the soft goods with wrinkles. ! Please hang dry the soft goods in the shade. ! Please remove the enhanced child restraint from the vehicle seat if it will not be in use for a long period of time. Care and Maintenance15 16 Bem-vindo à Joie
Installation Mode Figure for Installation Reference Age Seat Position Child's Size <4 years 40cm-105cm/ 18kg
Remove the head support portion of the infant insert when the child’s head no longer fits comfortably.Remove the body portion of the infant insert when the infant’s shoulders no longer fit comfortably. Remove the infant insert cushion by detaching the snaps to allow more space when the infant does not fit comfortably. The cushion can be used separately without being attached to the insert to bolster the infant's back for more comfort.
We recommend using the full infant insert while the baby is under 60cm and ≤13kg. It can be used until they outgrow the insert. The infant insert increases side impact protection. Bruke spedbarnsinnlegg