BDP 43400 C - Polisher Kärcher - Free user manual and instructions
Find the device manual for free BDP 43400 C Kärcher in PDF.
Download the instructions for your Polisher in PDF format for free! Find your manual BDP 43400 C - Kärcher and take your electronic device back in hand. On this page are published all the documents necessary for the use of your device. BDP 43400 C by Kärcher.
USER MANUAL BDP 43400 C Kärcher
- Die Unterzeichnenden handeln im Auftrag und mit Vollmacht des Vorstands. Dokumentationsbevollmächtigter: S. Reiser Alfred Kärcher SE & Co. KG Alfred-Kärcher-Str. 28 - 40 71364 Winnenden (Germany) Tel.: +49 7195 14-0 Fax: +49 7195 14-2212 Winnenden, /09/01 Contents General notes Read these original operating instructions and the enclosed safety instructions before using the device for the first time. Proceed accordingly. Keep both books for future reference or for future owners. Intended use Use the device only in accordance with the information in these operating instructions. This device is suitable for commercial use, e.g. in hotels, schools, hospitals, factories, shops, offices, and rental com- panies. Only use the device for cleaning hard surfaces that are not sensitive to mois- ture and not sensitive to polishing. Use the device only at an ambient tem- perature between +5°C and +40°C. Do not use the device for cleaning fro- zen floors (e.g. in cold stores). General notes p. 12
- Intended use p. 12
- Safety instructions p. 13
- Environmental protection p. 13
- Accessories and spare parts p. 13
- Scope of delivery p. 13
- Control elements p. 14
- Installation p. 14
- Initial startup p. 14
- Operation p. 15
- Shutting down p. 16
- Transport p. 16
- Storage p. 17
- Care and service p. 17
- Troubleshooting guide p. 17
- Warranty p. 18
- Technical data p. 18
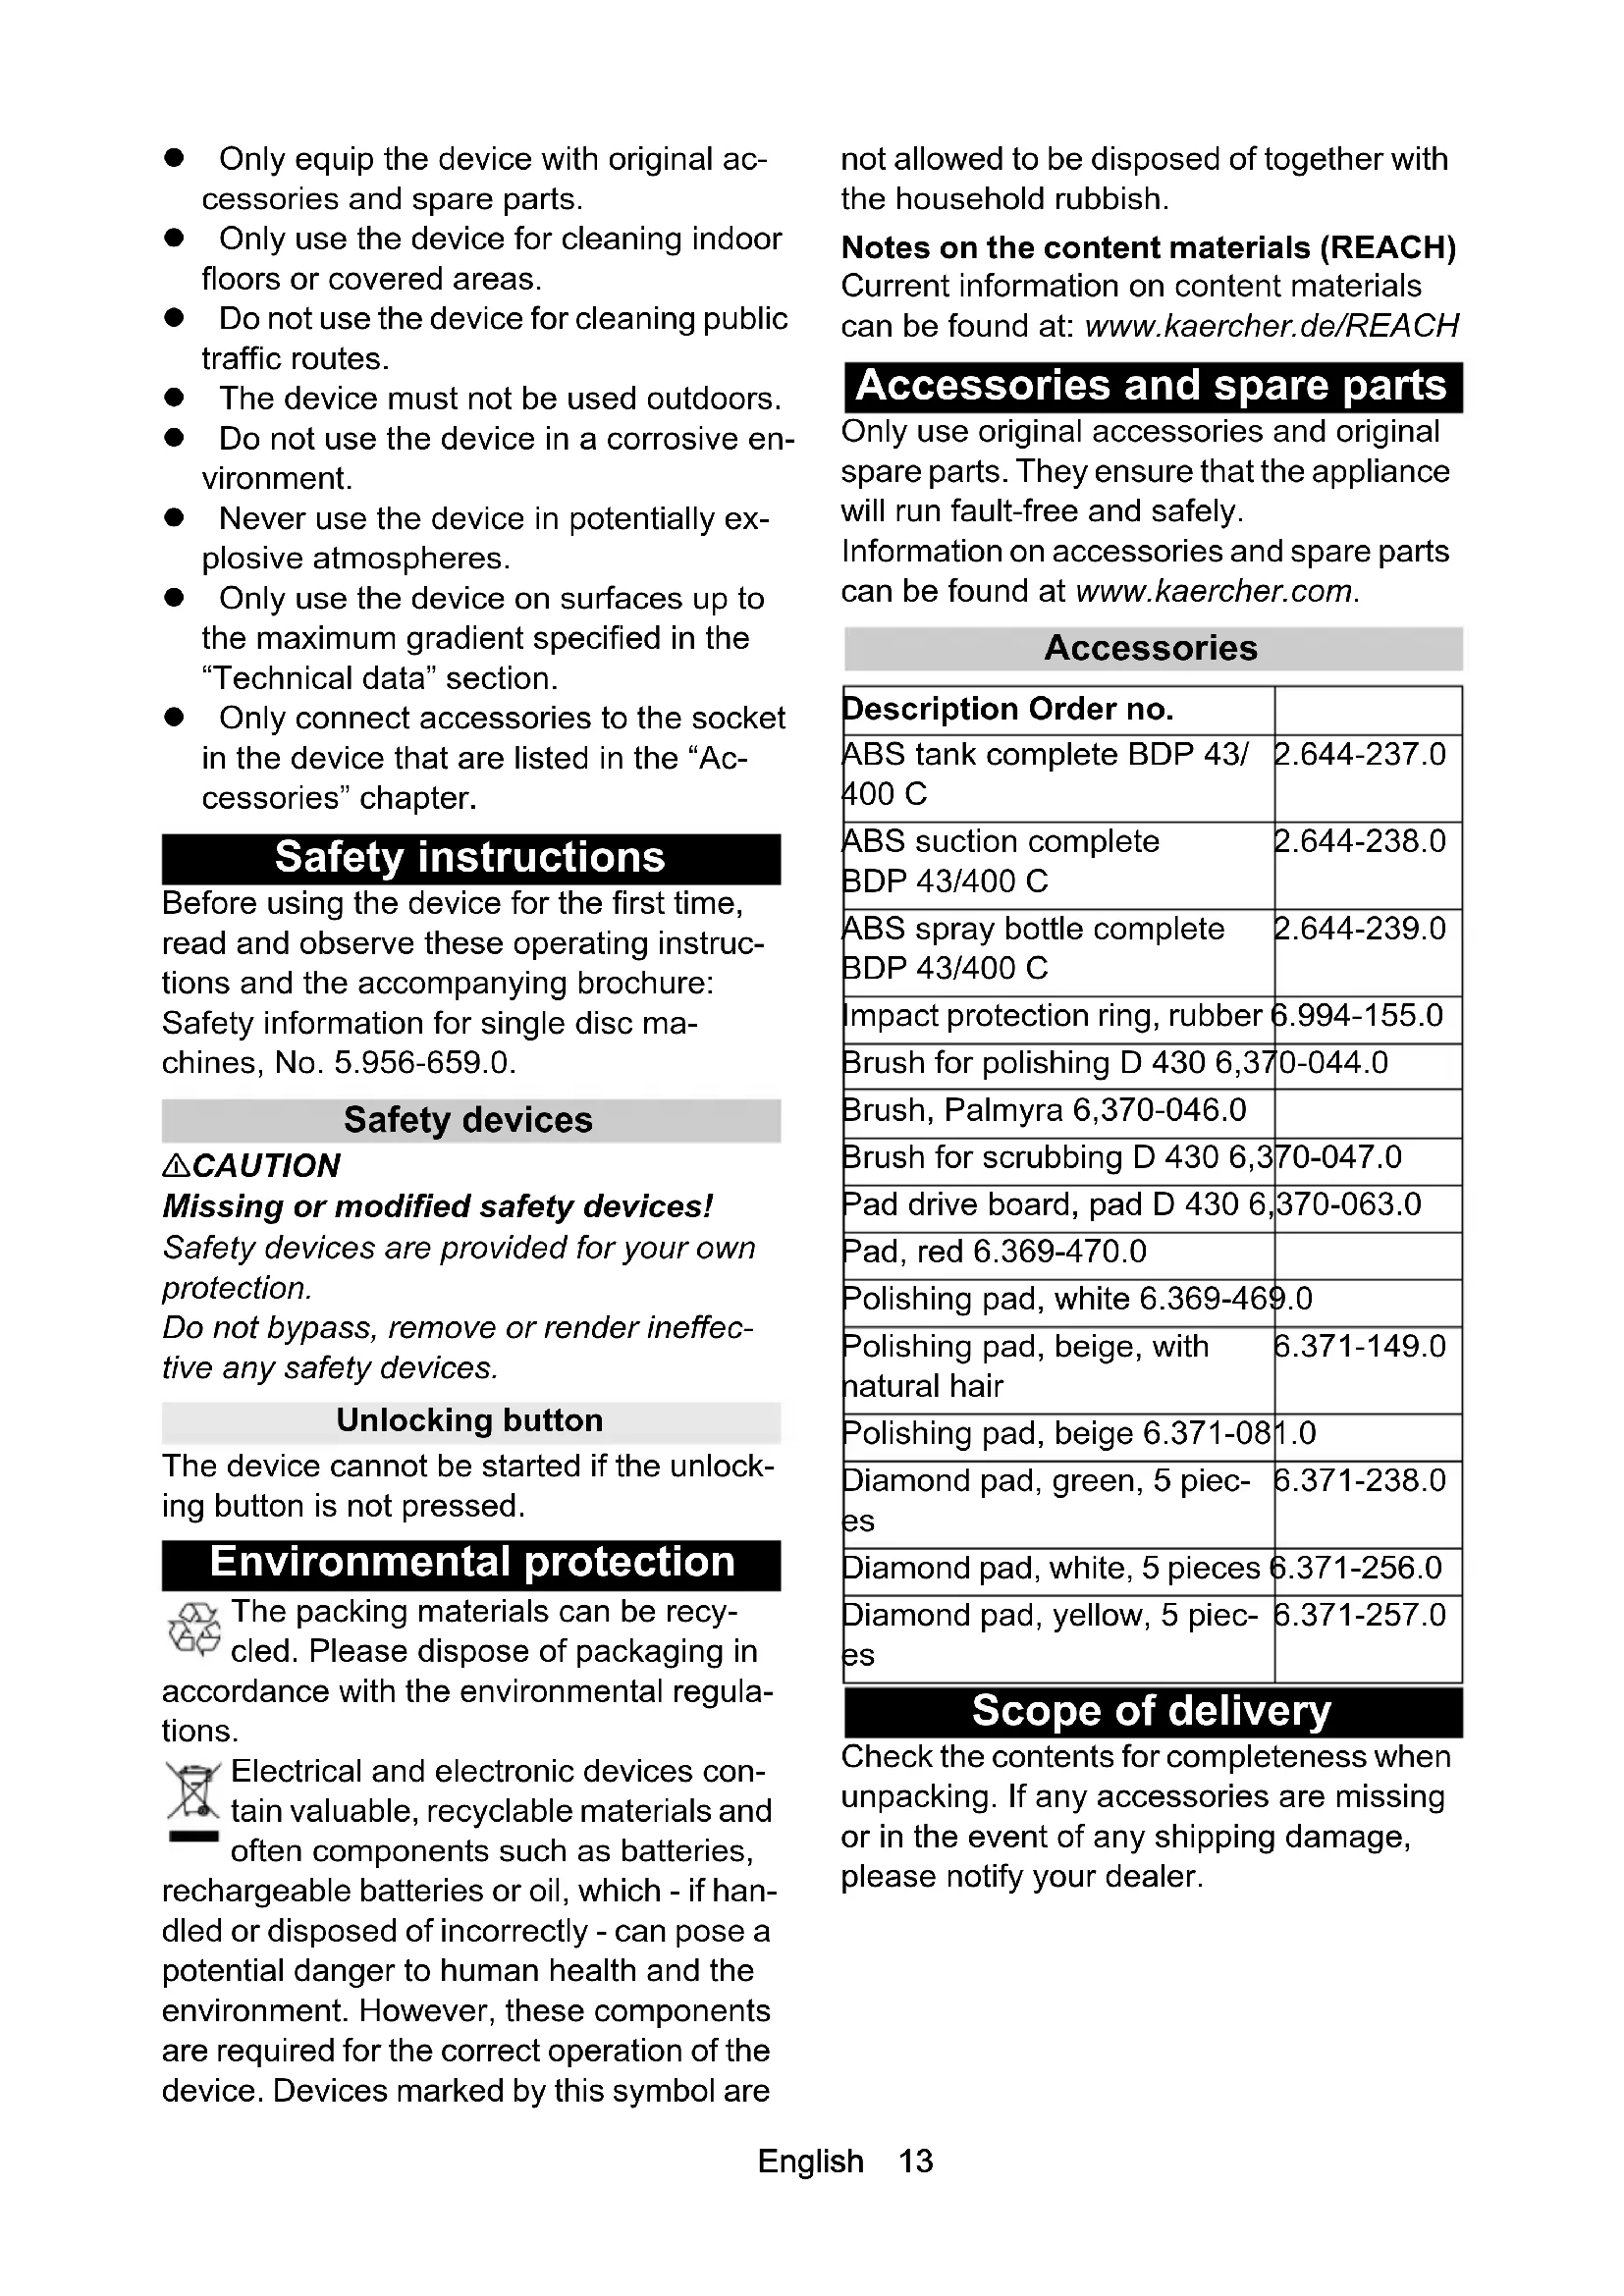
- Declaration of Conformity English 13 Only equip the device with original ac- cessories and spare parts. Only use the device for cleaning indoor floors or covered areas. Do not use the device for cleaning public traffic routes. The device must not be used outdoors. Do not use the device in a corrosive en- vironment. Never use the device in potentially ex- plosive atmospheres. Only use the device on surfaces up to the maximum gradient specified in the “Technical data” section. Only connect accessories to the socket in the device that are listed in the “Ac- cessories” chapter. Safety instructions Before using the device for the first time, read and observe these operating instruc- tions and the accompanying brochure: Safety information for single disc ma- chines, No. 5.956-659.0. Safety devices 몇 CAUTION Missing or modified safety devices! Safety devices are provided for your own protection. Do not bypass, remove or render ineffec- tive any safety devices. Unlocking button The device cannot be started if the unlock- ing button is not pressed. Environmental protection The packing materials can be recy- cled. Please dispose of packaging in accordance with the environmental regula- tions. Electrical and electronic devices con- tain valuable, recyclable materials and often components such as batteries, rechargeable batteries or oil, which - if han- dled or disposed of incorrectly - can pose a potential danger to human health and the environment. However, these components are required for the correct operation of the device. Devices marked by this symbol are not allowed to be disposed of together with the household rubbish. Notes on the content materials (REACH) Current information on content materials can be found at: www.kaercher.de/REACH Accessories and spare parts Only use original accessories and original spare parts. They ensure that the appliance will run fault-free and safely. Information on accessories and spare parts can be found at www.kaercher.com. Accessories Scope of delivery Check the contents for completeness when unpacking. If any accessories are missing or in the event of any shipping damage, please notify your dealer. Description Order no. ABS tank complete BDP 43/ 400 C 2.644-237.0 ABS suction complete BDP 43/400 C 2.644-238.0 ABS spray bottle complete BDP 43/400 C 2.644-239.0 Impact protection ring, rubber 6.994-155.0 Brush for polishing D 430 6,370-044.0 Brush, Palmyra 6,370-046.0 Brush for scrubbing D 430 6,370-047.0 Pad drive board, pad D 430 6,370-063.0 Pad, red 6.369-470.0 Polishing pad, white 6.369-469.0 Polishing pad, beige, with natural hair 6.371-149.0 Polishing pad, beige 6.371-081.0 Diamond pad, green, 5 piec- p. 19
6.371-238.0 Diamond pad, white, 5 pieces 6.371-256.0 Diamond pad, yellow, 5 piec-
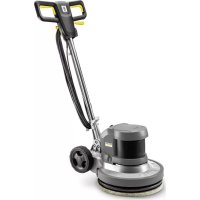
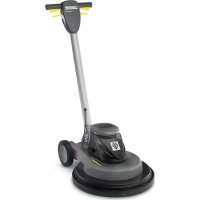
6.371-257.014 English Control elements Illustration A 1 BDP 43/400 C 2 BDP 43/400 C with tank attachment kit (ABS) 3 BDP 43/400 C with ABS spray bottle 4 BDP 43/400 C with ABS suction 5 Cleaning head 6 Type plate 7 Mains connection cable with mains plug 8 Cable hook, rotating 9 Strain relief 10 Thrust rod 11 Pull rod* 12 Tank* 13 Hose for cleaning solution* 14 Pump rod** 15 Spray lever** 16 Spray bottle** 17 Brush or pad drive board / pad 18 Spray nozzle** 19 Indicator light for mains voltage 20 Handle 21 Suction switch ON / OFF*** 22 Suction warning light*** 23 Suction mains plug*** 24 Lever for cleaning solution 25 ON/OFF lever 26 Unlocking button 27 Tilt adjustment lever 28 Suction skirt*** 29 Suction hose*** 30 Exhaust filter*** 31 Dust bag*** 32 Suction unit*** 33 Suction power regulation slider***
- only with ABS tank ** only with ABS spray bottle *** only with ABS suction Installation Mounting the push rod
1. Align the holes in the push rod with the
holes on the cleaning head. Illustration B
2. Insert the screws with washers, and tight-
en using stop nuts with washers (tighten- ing torque: 25 Nm). Note Do not overtighten the stop nuts. The push rod must not jam in the mount, and must be til- table without effort after unlocking.
3. Insert the plug into the socket on the clean-
4. Install the bar cover and tighten using
screws with washers.
5. Attach the mains cable to the strain relief
from below as shown. Illustration D
Strain relief Initial startup Attaching the brush or the pad drive board with pad
1. Select the brush suitable for the cleaning
task or the corresponding pad with the pad drive board.
2. Make sure that the mains plug is un-
3. Tilt the device backwards and place it
carefully on the handle. Illustration E
4. Place the brush or the pad drive board on
the device and turn it 45° anticlockwise. Illustration F
5. After installing a pad drive board: Centre
and press the pad onto the pad drive board.
6. Erect the device.English 15
Pour in the detergent (devices with ABS tank or spray bottle)
WARNING Unsuitable detergents Health risk, damage to the device Use only recommended detergents. The op- erator carries all increased risks relating to operational safety and increased risk of acci- dents if using other detergents. Use only detergents free of solvents, salt and hydrofluoric acid. Adhere to the safety instructions stated on the detergent packaging. ATTENTION Risk of damage A cleaning solution with a temperature above 50°C can damage the device. Only pour the cleaning solution into the deter- gent tank or the spray bottle at a maximum temperature of 50°C.
1. Pour in the cleaning solution.
a Devices with ABS tank: Fill up to the MAX mark in the tank. b Devices with ABS spray bottle: Unscrew the spray bottle container, fill up to the MAX mark and screw it back on. Oper- ate the pump rod several times to build up pressure in the spray bottle. Illustration G
Container Operation Adjusting the inclination of the push rod 몇 WARNING Danger of accident The device can move uncontrollably if the push rod is adjusted while the motor is run- ning. Only adjust the push rod when the device is switched off.
1. Pull the tilt adjustment lever and hold it in
2. Bring the push rod into a comfortable po-
sition (about waist height).
3. Release the tilt adjustment lever.
4. Move the push rod up and down slightly
until it latches into place. Switching on the device 몇 WARNING Risk of injury In the absence of ground friction, the brush or pad can reach very high speeds. They can be hurled away and cause injury. Do not switch on the device when the cleaning head is swung up. The maximum permissible mains grid impedance at the electrical connection point (see Technical data) must not be exceeded. Contact your electricity supplier in the case of any uncertainties regarding the mains grid impedance at your electrical connec- tion point. ATTENTION Risk of damage The floor covering can be damaged if the device is operated on the same spot for a long time. Always move the device when it is switched on.
1. Turn the cable hook upwards, and un-
wind the mains cable completely.
2. Insert the mains plug into a mains sock-
et. The "Mains voltage" indicator light lights up.
3. Hold the handles firmly with both hands.
4. Press and hold the left or right unlocking
button. The unlocking buttons can only be pressed when the push rod is not verti- cal.
5. Pull the ON / OFF lever on the same side
- the device starts.
6. Release the unlocking button.
7. Release the ON / OFF lever to interrupt
operation.16 English Cleaning
1. Switch the device on.
2. Devices with ABS tank: Hook the pull
rod into the inner or outer catch on the cleaning solution lever. a Inner catch: When operating the cleaning solution lever, a reduced amount of cleaning solution is added. b Outer catch: When operating the cleaning solution lever, the maximum amount of cleaning solution is added. Note Release the cleaning solution lever 30 sec- onds before switching off the machine, as a certain amount of cleaning solution runs on. Illustration H 1 Inner catch 2 Outer catch 3 Lever for cleaning solution 4 Pull rod
3. Devices with ABS spray bottle: If nec-
essary, add cleaning solution by pulling the cleaning solution lever.
4. Push or pull the device over the surface
to be cleaned. For lateral control, pull the handles slightly upwards - the device moves to the right. Push the handles slightly down - the de- vice moves to the left. Illustration I
5. If the area is very dirty, run over it several
6. Then remove the waste water with a wet
vacuum cleaner, or wipe it up with a cloth. Suction (only devices with ABS suction) ATTENTION Risk of damage when vacuuming up liq- uids and damp dirt The suction unit will be damaged if liquids and damp dirt are sucked up. Only vacuum dry dirt, never liquids or damp dirt.
1. Press the suction ON / OFF switch to the
2. Switch on the device and move it over
the surface to be vacuumed.
3. To change the suction power, move the
suction power regulation slider side- ways. Illustration J 1 Suction OFF / ON switch 2 Suction power regulation slider Shutting down
1. Pull the mains plug out of the socket.
2. Pull the tilt adjustment lever and hold it in
3. Bring the push rod into a vertical posi-
4. Release the tilt adjustment lever.
5. Slightly move the push rod back and
forth until it clicks into place.
6. Devices with ABS tank or ABS spray
bottle: Remove the remaining cleaning solution from the tank or spray bottle.
7. Devices with ABS tank: Rinse and
empty the tank with clear water.
8. Devices with ABS spray bottle: Rinse
and empty the spray system with clear water.
9. Turn the cable hook down, and wrap the
mains cable around the handle and ca- ble hook. 10.Remove the brush or the pad drive board with pad. 11.Clean the device with a moist cloth. Transport 몇 CAUTION Failure to observe the weight Risk of injury and damage Be aware of the weight of the device during transportation.
1. Pull the tilt adjustment lever and position
the handle vertically.
2. Release the tilt adjustment lever.
3. Tilt the device back and transport to the
4. When transporting in vehicles, secure
the device against rolling away, slipping and tipping according to the respectively applicable guidelines.English 17 Storage
DANGER Danger of electric shock, danger of frost Water entering the device can cause electric shock. Water in the device can freeze and cause damage. Only store the device indoors.
CAUTION Failure to observe the weight Risk of injury and damage Be aware of the weight of the device during transport and storage.
1. Store the device indoors only.
2. Remove brush or pad / pad drive board.
ATTENTION When the work is interrupted, do not place the device on the brush or the pad / pad drive board for longer than 1 hour, otherwise the brush or the pad / pad drive board will be damaged. Illustration K Care and service
WARNING Risk of injury The device may start up unexpectedly. Be sure to pull the mains plug out of the sock- et before you start working on the device.
1. Wash dirty pads at a maximum of 60 °C.
2. Clean the casing of the device with a damp
cloth and then rub dry.
3. Check the mains cable and mains plug for
damage, have damaged parts replaced by an electrician. Replacing the filter bag or exhaust filter (devices with ABS suction)
1. Make sure that the mains plug is un-
2. Unlock the lid and remove.
the filter bag downwards.
At the latest, after changing the filter bag 5 times: Pull out the exhaust filter holder and open it.
5. Replace the exhaust filter.
6. Install the exhaust filter and filter bag in the
reverse order. Troubleshooting guide 몇 WARNING Risk of injury The device may start up unexpectedly. Be sure to pull the mains plug out of the socket before you start working on the de- vice. In the event of malfunctions that cannot be remedied using the following information, please contact customer service. Unsatisfactory cleaning results Replace a dirty brush or pad. Replace a worn brush or pad. Check the suitability of the detergent used for the application. Check the suitability of the brush or pad used for the application. The device vibrates strongly Check the brush or pad for damage, re- place if necessary. Check the central position of the pad on the pad drive board, if necessary attach the pad centred. Check attachment of the pad, replace pad or pad drive board if necessary. The brush or the pad do not turn Check whether foreign objects block the brush or the pad drive board, remove foreign objects if necessary. Plug the mains plug into the socket. The overload protection has triggered, let the device cool down for 30 minutes. Devices with tank attachment kit Discharge of cleaning solution too low Fill the tank with cleaning solution. Attach the pull rod to the cleaning solu- tion lever. Check the hose of the cleaning solution for kinks, eliminate kinks if necessary. Devices with ABS spray bottle Spray system does not spray or does not spray enough Pour cleaning solution into the spray bottle. Operate the pump rod several times to build up enough pressure. Clean the spray nozzle. Flush the spray system with clean water.18 English Devices with ABS suction Suction does not work or suction power is too low Plug the mains plug into the socket. Insert the mains plug for suction on the device. Close the suction power regulation slid- er. Check the suction hose for correct seat- ing on the suction unit and the suction skirt, attach it correctly if necessary. If the suction warning light lights up red: a Check the suction hose for blockage, remove blockage if necessary b Check the filter bag and the exhaust filter for contamination/blockage, re- place if necessary. Check that the suction skirt is correctly seated on the cleaning head, attach cor- rectly if necessary. Check the suction skirt for wear and damage, and replace if necessary. Warranty The warranty conditions issued by our sales company responsible apply in all countries. We shall remedy possible mal- functions on your device within the warran- ty period free of cost, provided that a material or manufacturing defect is the cause. In a warranty case, please contact your dealer (with the purchase receipt) or the next authorised customer service site. (See overleaf for the address) Technical data Subject to technical modifications. BDP 43/400
Phase ~ 1 Frequency Hz 50 Maximum permissible mains grid impedance Ω 0.401 Power rating W 1300 Suction connection output max. W 1500 Fresh water tank capacity l 12 Max. working area slope % 2 Surface performance m
dB(A) 86,9 BDP 43/400 CEnglish 19 Declaration of Conformity We hereby declare that the machine described below complies with the relevant basic safety and health requirements in the EU Directives, both in its basic design and construction as well as in the version placed in circulation by us. This declaration is invalidated by any changes made to the machine that are not approved by us. Product: Floor cleaner Type: 1.291-xxx Currently applicable EU Directives 2006/42/EC (+2009/127/EC) 2014/30/EU 2011/65/EU Commission Regulation(s) (EU) 2019/1781 Harmonised standards used EN 60335-1 EN 60335-2-67 EN 55014-1: 2006+A1: 2009+A2: 2011 EN 55014-2: 1997+A1: 2001+A2: 2008 EN 61000-3-2: 2014 EN 61000-3-3: 2013 EN 62233: 2008 EN IEC 63000: 2018 EN 61000-3-11: 2000 Conformity evaluation procedure used 2000/14/EC National standards used
The signatories act on behalf of and with the au- thority of the company management. Documentation supervisor: S. Reiser Alfred Kärcher SE & Co. KG Alfred-Kärcher-Str. 28 - 40 71364 Winnenden (Germany) Ph.: +49 7195 14-0 Fax: +49 7195 14-2212 Winnenden, /09/01 We hereby declare that the product described below complies with the relevant provisions of the following UK Regulations, both in its basic design and construction as well as in the ver- sion put into circulation by us. This declara- tion shall cease to be valid if the product is modified without our prior approval. Product: Floor cleaner Type: 1.291-xxx Currently applicable UK Regulations S.I. 2008/1597 (as amended) S.I. 2016/1091 (as amended) S.I. 2012/3032 (as amended) Commission Regulation(s) (EU) 2019/1781 Designated standards used EN 60335-1 EN 60335-2-67 EN 55014-1: 2006+A1: 2009+A2: 2011 EN 55014-2: 1997+A1: 2001+A2: 2008 EN 61000-3-2: 2014 EN 61000-3-3: 2013 EN 62233: 2008 EN IEC 63000: 2018 EN 61000-3-11: 2000 Applied conformity assessment proce- dure S.I. 2001/1701 (as amended) National standards used
3. Agarre os punhos com as ambas as
www.kaercher.com/REACH