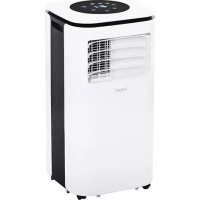
GL 7923 - Air Conditioning Gerlach - Free user manual and instructions
Find the device manual for free GL 7923 Gerlach in PDF.



| Product type | Portable monoblock air conditioner |
| Cooling capacity | 9000 BTU/h (2640 W) |
| Power consumption (cooling) | 1010 W |
| Airflow | 350 m³/h |
| Energy class | A |
| Dehumidification capacity | 24 L/24 h |
| Refrigerant | R290 (210 g) |
| Power supply | 220-240 V ~ 50 Hz, grounded plug |
| Main functions | Cooling, ventilation, dehumidification |
| Sleep mode | Yes, with gradual temperature increase |
| Timer | 1 to 24 hours (delayed start or stop) |
| Air oscillation | Horizontal, ±30° |
| Remote control | Yes, included (batteries not included) |
| Filter cleaning | Every 2 weeks, wash with lukewarm water (40°C) and dry in the shade |
| Housing cleaning | Soft damp cloth, no chemicals |
| Safety | Compressor protection (3 min), overflow protection, anti-freeze protection |
| Water drainage | Via lower drain plug (internal tank); condensation automatically evaporated |
| Storage | Drain, run 2 h in fan mode, clean filters, remove remote batteries, store in a dry place |
| Minimum distance from walls | 50 cm |
Frequently Asked Questions - GL 7923 Gerlach
User questions about GL 7923 Gerlach
0 question about this device. Answer the ones you know or ask your own.
Ask a new question about this device
Download the instructions for your Air Conditioning in PDF format for free! Find your manual GL 7923 - Gerlach and take your electronic device back in hand. On this page are published all the documents necessary for the use of your device. GL 7923 by Gerlach.
USER MANUAL GL 7923 Gerlach
natural_image
Exterior view of a modern white industrial air conditioner unit (no visible text or symbols on the device body)GL 7923
PICTURE D
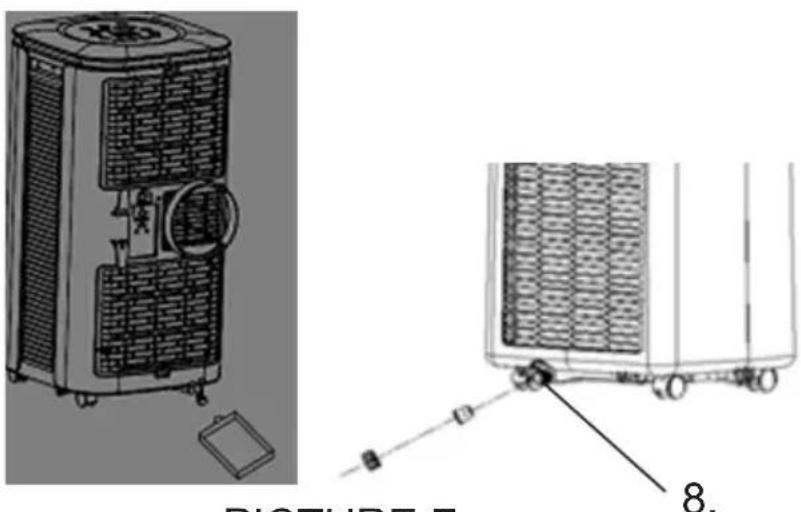
PICTURE E
PICTURE G
natural_image
Technical line drawing of a heat exchanger unit with internal fan and mounting bracket (no text or symbols)ENGLISH
SAFETY CONDITIONS. IMPORTANT INSTRUCTIONS ON SAFETY OF USE PLEASE READ CAREFULLY AND KEEP FOR FUTURE REFERENCE
- Before using the device, read the operating manual and follow the instructions contained in it. The manufacturer is not liable for damages caused by using the device contrary to its intended purpose or improper operation.
- The device is for home use only. Do not use for other purposes that are not for its intended purpose.
- The device should only be connected to an AC outlet with a grounded 220-240V \~ 50Hz. To increase operational safety, multiple electrical devices should not be connected to one current circuit at the same time.
- Use extreme caution when using the device when children are nearby. Do not allow children to play with the device, do not allow children or people unfamiliar with the device to use it.
- WARNING: This equipment may be used by children over 8 years of age and people with limited physical, sensory or mental ability, or people who have no experience or knowledge of the equipment, if this is done under the supervision of a person responsible for their safety or have been granted them information on the safe use of the device and are aware of the dangers of using it. Children should not play with the equipment. Cleaning and maintenance of the device should not be performed by children, unless they are over 8 years old and these activities are carried out under supervision.
- Always disconnect the power plug by holding the socket with your hand after use. DO NOT pull on the power cord.
- Do not immerse the cable, plug and the whole device in water or any other liquid. Do not expose the device to atmospheric conditions (rain, sun, etc.) or use in conditions of high humidity (bathrooms, damp mobile homes).
- Periodically check the condition of the power cord. If the power cord is damaged, it should be replaced by a specialist repair shop to avoid danger.
- Do not use the appliance with a damaged power cord or if it has been dropped or damaged in any other way or if it is not working properly. Do not repair the device yourself, as there is a risk of electric shock. Take the damaged device to an appropriate service center for checking or repair. All repairs may only be carried out by authorized service points. Incorrectly performed repairs can cause serious danger for the user.
- Place the device on a cool, stable surface, away from hot kitchen appliances such as: electric stove, gas burner, etc.
- Make sure that nothing is blocking the air inlet and outlet of the device
- Use the device only on a level surface to prevent the condensation from spilling out
-
To provide additional protection, it is advisable to install a residual current device (RCD) in the electric circuit with a rated residual current not exceeding 30mA. Ask an electrician for this.
-
Clean the air filter regularly. The frequency of cleaning depends on the cleanliness of the air.
- After turning off the machine, wait at least 5 minutes before turning it back on.
- Do not use the device in sunny places. When the device overheats, the overheat protection will switch on the device.
- To ensure effective cooling, a distance of at least 50 cm should be kept between the side walls of the device and the wall or furniture or curtains.
- Due to the limited performance of the device, if the difference between the target temperature and the ambient temperature is too great, the target temperature may not be reached.
- To reduce the risk of fire, electric shock or injury when using the air conditioner, observe the following basic precautions:
a) Connect to a grounded outlet with 3 pins.
b) Do not remove the grounding prong.
c) Do not use the adapter.
d) Do not use an extension cord.
e) Disconnect the air conditioner before servicing.
f) Use two or more people to move and install the air conditioner.
-
Do not use agents accelerating the defrosting or cleaning process other than those recommended by the manufacturer.
-
The device should be stored in a room without constantly operating sources of ignition, for example: open fire, gas appliances or electric heaters.
BEFORE FIRST USE
When moving the device make sure that it is in an upright position. Before using the air conditioner keep it upright for 2 hours at least.
Device Description - LOCAL AIR CONDITIONER GL7923 - Picture A
- Control panel 2. Cold air outlet
- Remote controller (picture E) 4. Handle
- Air inlets 6. Air exhaust pipe
- Exhaust connector 8. Drain hole with rubber cap (picture F)
- Window exhaust adapter 10. Connector of air exhaust pipe
- Filter's frame 12. Nylon filter
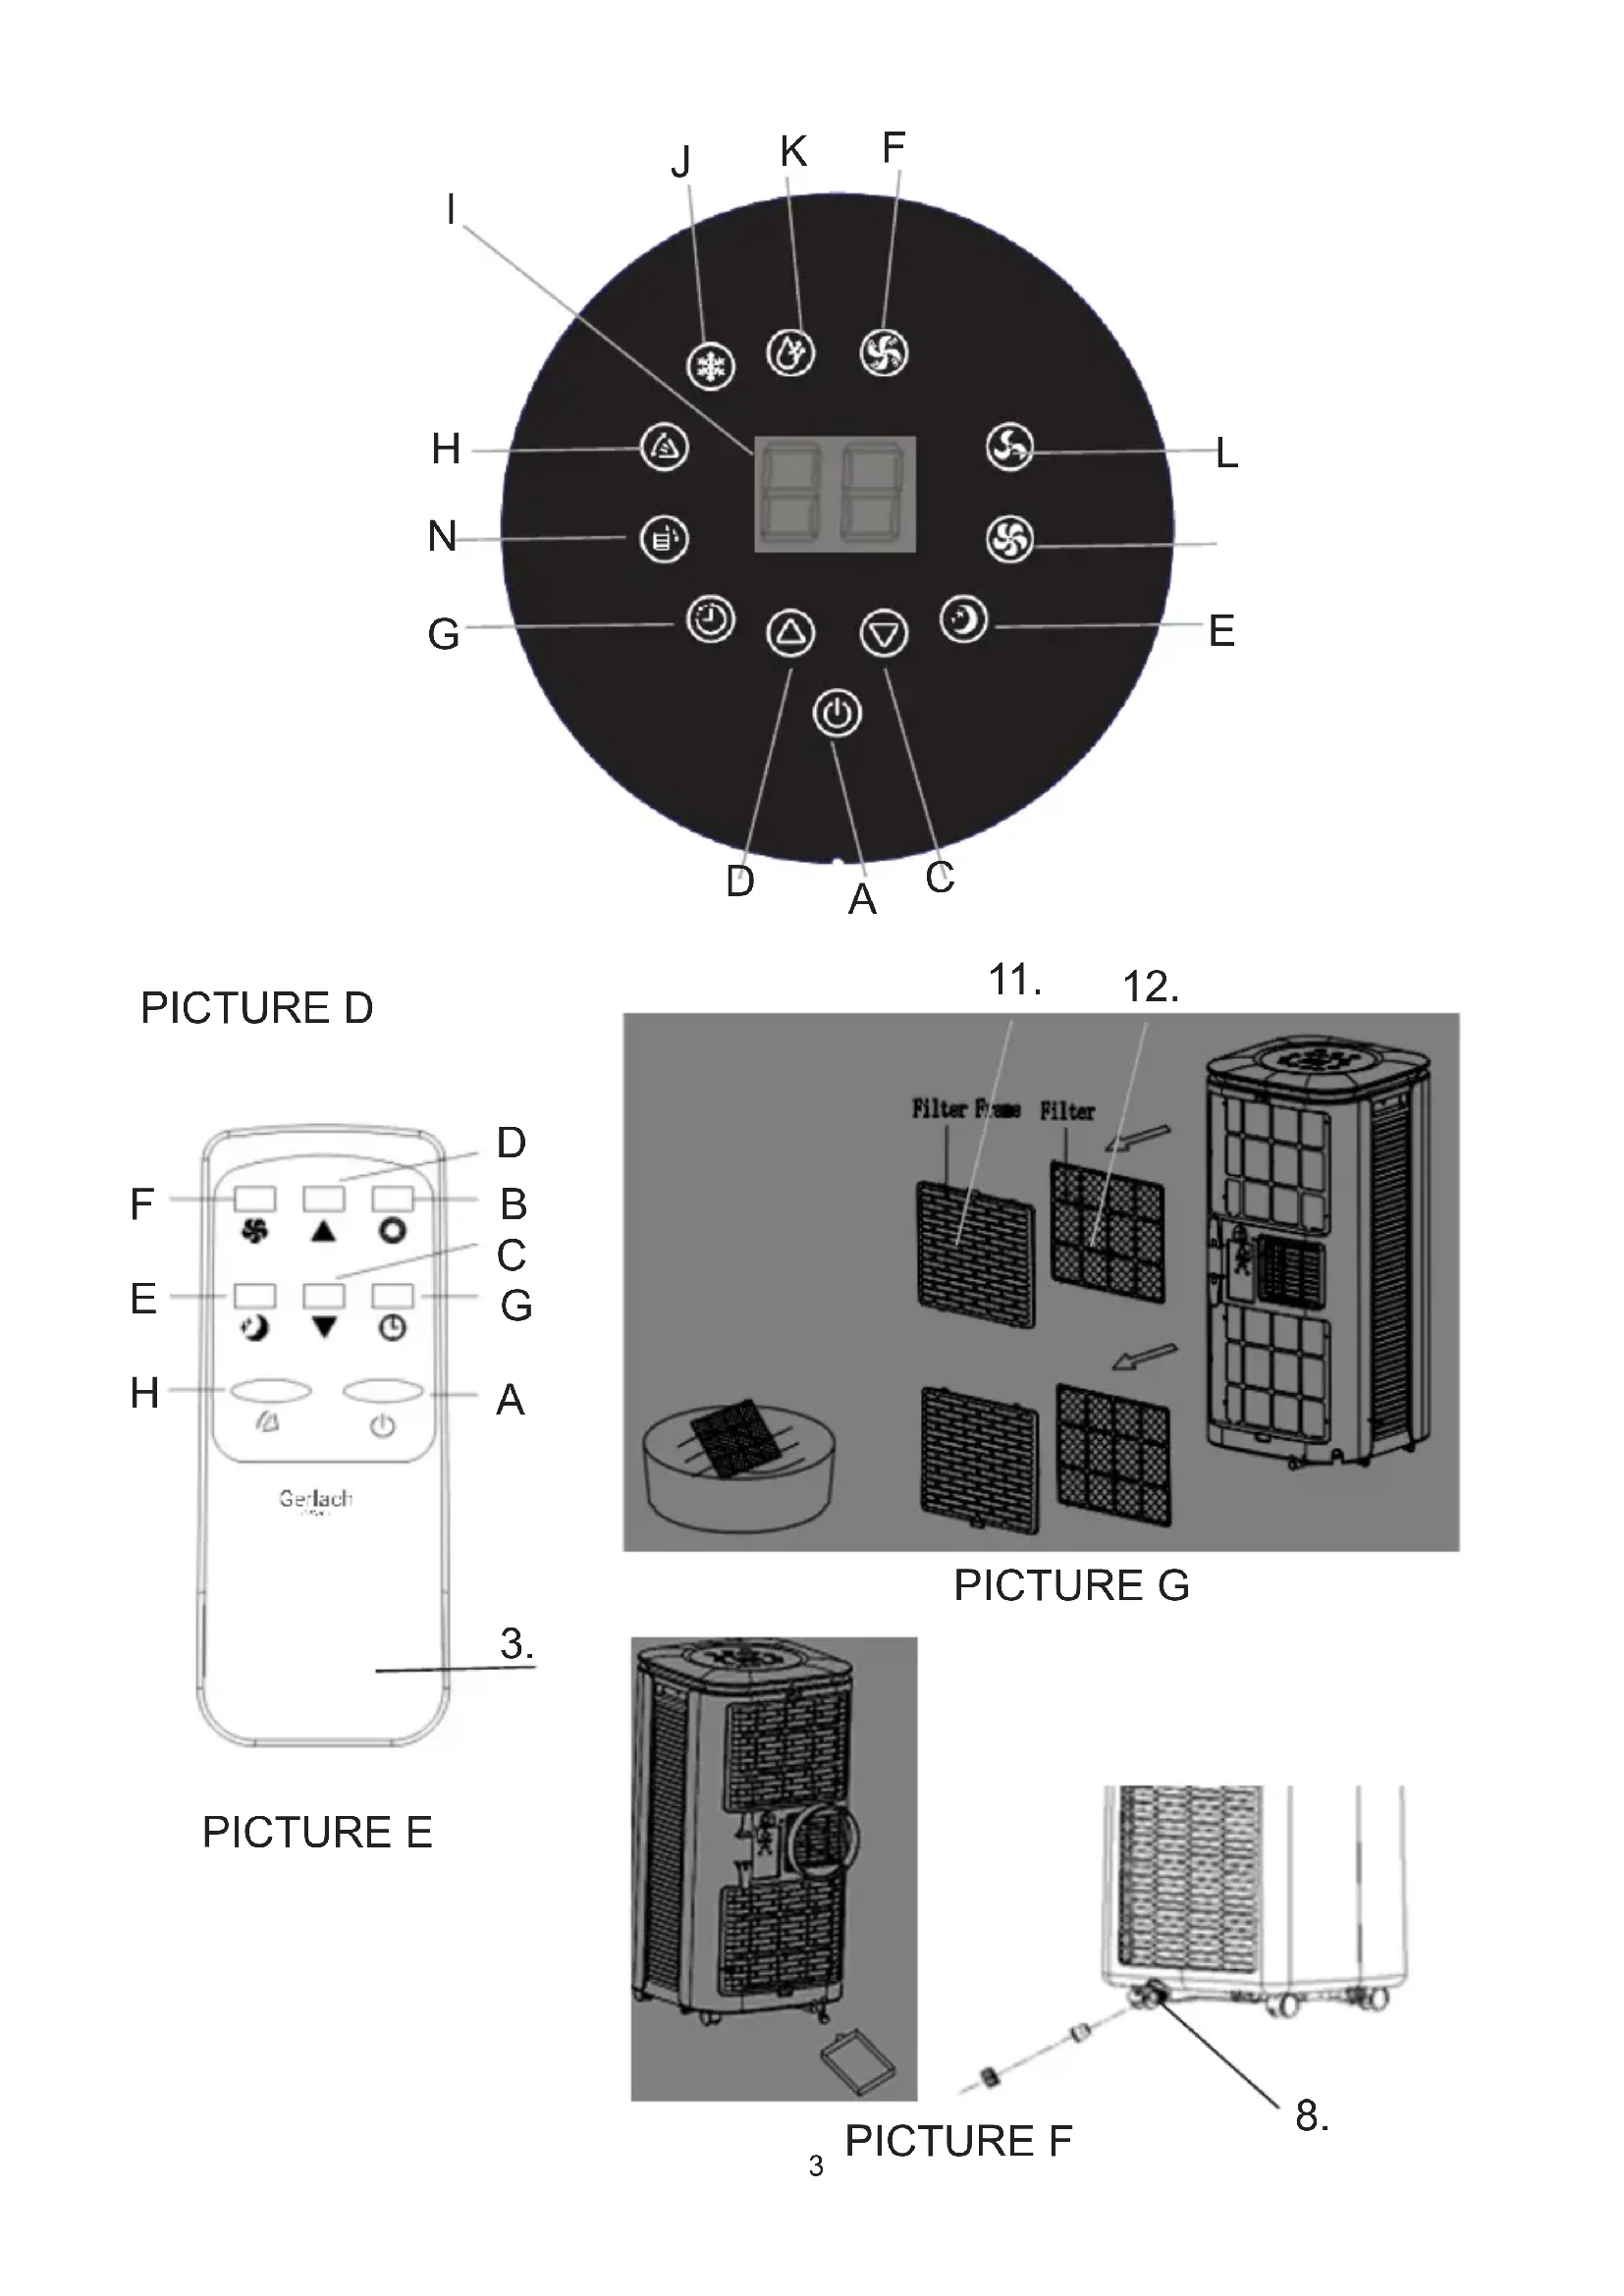
Control Panel Description - Picture D.
A. Power button
C. Temperature down / timer down button in cooling mode
D. Temperature up / timer up button in cooling mode
E. Sleep model button
F. Fan mode button
G. Timer button
H. Automatic air oscillation button
I. LED screen
J. Cool mode button
K. Dehumidifying button
L. Slow fan speed button
M. Fast fan speed button
N. Water full indicator light
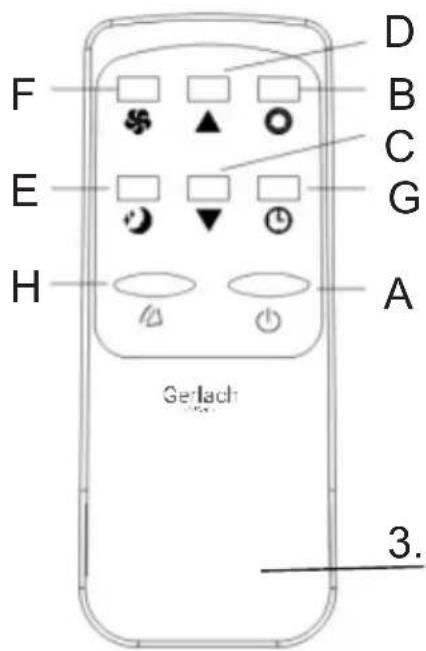
Remote controller – Picture E
A. Power button
B. Mode selection button
C. Temperature / timer down button
D. Temperature / timer up button
E. Sleep mode button
F. Fan speed selection button
G. Timer button
H. Air oscillation button
CONTROL PANEL manual operation – picture D
When the is powered on for the first time, the buzzer will shout, and then the device will get into standby status.
Press button "A" to turn on and turn off the device, the buzzer will play signal once.
MODE SELECTION on manual operation of control panel –
When the device is power on, choose mode you need between cooling mode or fan mode or dehumidifying mode as below:
Cooling mode -
- Press button "J" to select cooling mode, next press the button "L" to get slow fan speed button or press the button "M" to get fast fan speed button. Next press button "C" or "D" to adjust required temperature from 16°C to 31°C, buttons are not available in fan or dehumidifying mode.
Fan mode -
- Press button "F" to select fan mode, the LCD screen will show "FA", next press the button "L" to get slow fan speed button or press the button "M" to get fast fan speed button. During fan mode operation the temperature and sleeping functions cannot be setup.
Dehumidifying mode –
- Press button "K" to select dehumidifying mode, the LCD screen will show "dh". Under dehumidifying mode, sleep mode cannot be setup, and fan speed is fixed on slow fan speed automatically and cannot be changed. In order to switch off the dehumidifying mode select other operation mode: cooling or fan mode.
Timer set up -
- When the device is not working, press button "G", the LCD screen flashes, press the button "C" or "D" to set up the quantity of hours after the device will start to operate. The LCD screen stops flashing and timer icon will be illuminated.
- When the device is working, press button "G", the LCD screen flashes, press the button "C" or "D" to set up the quantity of hours need to pass before the device will shut off automatically. The LCD screen stops flashing, the timer icon will be illuminated, LCD screen shows required to achieve temperature. This is a delayed start function.
Timer operation range can be fixed by each one hour from 1 to 24 hours.
Sleep mode –
- At first Press button "J" to cooling mode, next press button "E" to turn on the sleep mode, then the device will work on Energy-Saving and quiet type.
- Next press button "C" or "D" to adjust required temperature from 16°C to 31°C.
- The sleep mode is automatically programmed. After the first hour of operation, the temperature will increase by 1 °C, after the second hour of operation, the temperature will increase by another 1 °C, and then remain at the same level.
- Press button "E" again to cancel sleep mode.
NOTE: Sleep mode is not available in dehumidify and fan modes.
Water full -
The water full indicator lamp "N" will be illuminated and the buzzer will alarm for several second, then the compressor will stop to work when the inner device water tank will be full.
Automatic air oscillation function –
Press an air oscillation button (H), after the device turns on, automatic air oscillation function turns on, the louver will swing continuously the left and the right; by pressing the button again the movement will stop and the louver remain in that position. The radius of horizontal air oscillation is 30 degrees left and 30 degrees right direction from the middle vertical.
REMOTE CONTROLLER operation – picture E
The remote controller transmits signals to the system.
Button "A" - the device will be started when it is energized or will be stopped, if you press this button again.
Button "B" - press it to select operation mode: cool mode → dry mode → fan mode.
Button "C" / "D" - press to set up the operation time from 1 to 24 hours or required room temperature from 15 to 31°C when cooling mode is switched on.
Button "E" - press it to set up or cancel sleep mode.
Button "F" - press it to select fan speed in sequence: slow / fast wind speed.
Button "G" - press it to set up or cancel timer.
Button "H" - press to set up or cancel automatic air oscillation function.
PROTECTION DEVICES
- Compressor protection: Three minutes later after power on / restart, compressor starts to run.
- Overflow protection function: when the water full indicator lamp "N" will be illuminated and the buzzer will alarm for several second, the device turn off automatically. In this case, you need to drainage the water (details see Drainage Instructions at the end of this chapter). After the water is emptied, the device will get into standby status.
- Frost Protection Function: In cooling mode, if the temperature of the EVA pipe sensor is too low, the device will automatically enter protection status. When the temperature of the EVA pipe sensor rises to a certain temperature, it can automatically revert to normal operation.
DRAINAGE INSTRUCTIONS:
This device is equipped in auto-water-evaporating system. Condensed water cycle will cool down the condenser, which will not only improve cooling efficiency, but also save energy.
- If inner water tank is full, the water full indicator lamp "N" will be illuminated, the device enter into standby mode, buzzer shouts, compressor stops and all buttons is invalid till the device recovers to be normal, after water drainage.
- Power off the device.
- Prepare flat container (not included to set) to drain the water. Locate it under the drain hole (8)
- Remove the rubber cap from the drain hole (8) - picture F.
- During drainage, the body can be tilted slightly backwards.
- After water stops to pouring out, close the rubber cap (8).
- Restart the device, the device will runs normally.
CLEANING & MAINTENANCE
Cleaning: before cleaning and maintenance, turn off the device and unplug the plug.
a) Housing cleaning
Clean with surface of device with a wet soft cloth. Don't use chemicals, such as benzene, alcohol, gasoline, otherwise, the surface of the device will be damaged or even the whole device will be damaged.
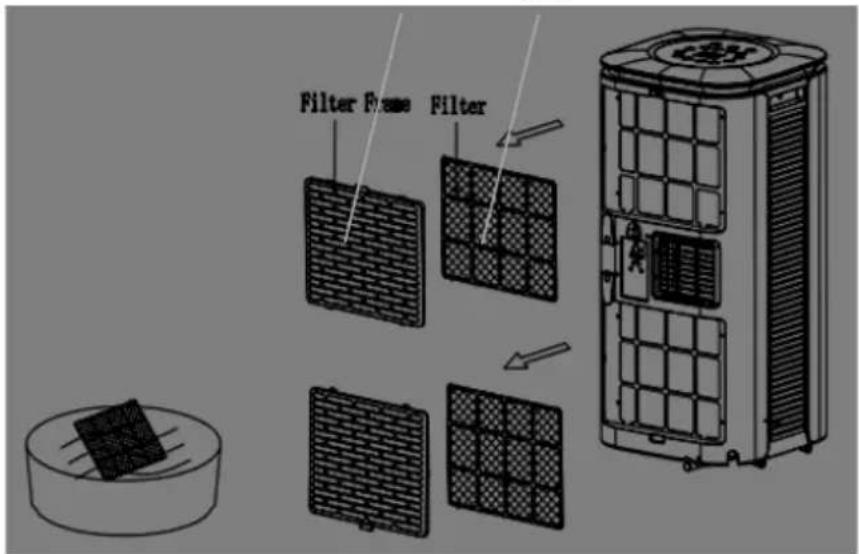
b) Net nylon filters cleaning
If nylon filter (12) is clogged with dust, then the effectiveness of the device is reduced, be sure to clean the filter once every two weeks.
- Force down from the outside the latch of filter frame (11) with hands and pull out to yourself to remove the filter frame(11).
- Clean the upper and down filters frame (11) after remove both nylon filters (12) from the filter frame(11). – picture G.
- Put nylon filter (11) into warm water with neutral detergent (about 40^ C / 104^ F) and dry it in the shade after rinsing clean.
STORAGE
If the device will be unused for a long time, please do as following :
- Pull out drainage plug (8) to flow out water.
- Let the device runs under fan mode for 2 hours to dry out the device's internal.
- Turn off the device and pull out plug.
- Clean and dry filters, then reinstall them.
- Pull out exhaust pipe for safe keeping.
- Put the device into plastic bag, and place it on a dry place.
- Remove batteries of the remote control and keep them properly.
Storage the device and all device components in dry place.
TROUBLESHOOTING
Problem I.: The air conditioning does not work.
Reason 1: There is no electricity. So, turn it on after connecting it to a socket with electricity.
Reason 2: The water full indicator light "N" is illuminated. So, discharge the water.
Problem II.: The device auto-restarts frequently.
Reason1: Direct sunlight. So, drawn the curtains.
Reason 2: Door and windows are open, many heat sources in the room. So, close the door and windows, move out heat sources.
Reason 3: Filters are too dirty. So, clean or replace filters.
Reason 4: Air-inlet or air out-let is blocked. So, remove blockage.
Problem III.: Big Noise
Reason: The device is not placed on a flat surface. So, put the device on a flat and hard place to reduce noise.
Problem IV.: Compressor does not work.
Reason: Compressor time-delay protection turn on. So, wait for 3 minutes until the temperature is lowered, and then restart the device.
Note: when abnormal situations are occurred, turn off device and pull out plug, then contact with professional service for help .
Do not repair the device yourself. Not qualified repair will void the warranty.
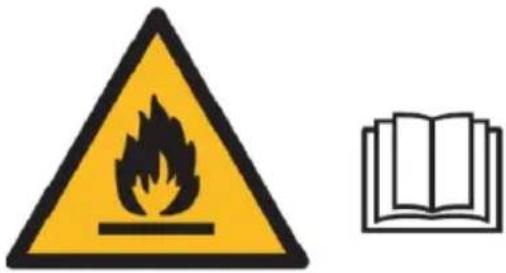
Caution, risk of fire.
Do NOT pierce or burn.
Be aware that the refrigerant may not contain an odour.
To protect your environment: please separate carton boxes and plastic bags and dispose them in corresponding waste bins. Used appliance should be delivered to the dedicated collecting points due to hazarsous components, which may effect the environment. Do not dispose this appliance in the common waste bin.
DEUTSCH
INSTRUCTIONS DE DRAINAGE:



INSTRUCTIUNI DE DRAINAGE:
Oprez, opasnost od požara
NE bušite i ne palite.
Imajte na umu da rashladno sredstvo ne sadrži miris.
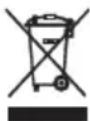
Brinući za okoliš. Molimo Vas da kartonska pakovanja odnesete u otkup otpadnog papira. Polietilenske džakove (PE) bacajte u kontejner za plastiku. Iskorišćen uređaj treba odneti na odgovarajuću deponiju, jer opasni sastojci koji se u njemu nalaze, mogu biti opasni za okoliš. Električni uređaj treba odneti na način, koji ograničava njegovu ponovnu upotrebu i korištenje. Ako se u uređaju nalaze baterije, treba ih izvaditi i odvojeno predati na deponiju. Uređaj se ne smije bacati u kontejner za komunalni otpad!!
MAGYAR
ÁLTALÁNOS BIZTONSÁGI FELTÉTELEK
FONTOS BIZTONSÁGI UTASÍTÁSOK FIGYELMESEN OLVASSA EL ÉS TÖRVÉNYE JÖVÖBEN
E. Lepotilan painike
РУССКИЙ


Oprez, opasnost od požara


Director: The [bacteri] and Tajik [art. nolive, 3d et. mthipalini v.cbi] -ac by (1) or 24 -mica.
Режим на спинење -
natural_image
Symbol of a trash bin crossed with a diagonal line, no text or labels present
natural_image
White watermelon-shaped kettle with blue liquid inside, no visible text or symbols on the device itself.Electric Kettle AD 02
natural_image
Exterior view of a modern coffee machine with orange and black casing (no visible text or symbols)Espresso Machine AD 4404
Standing Fan
AD 7305
natural_image
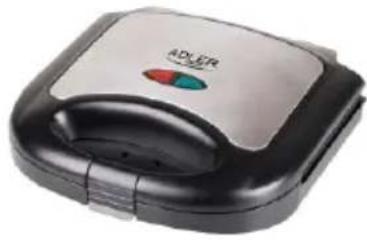
Exterior view of a black and silver plate with a red and green button (no text or symbols visible)Sandwitch maker AD 3015
natural_image
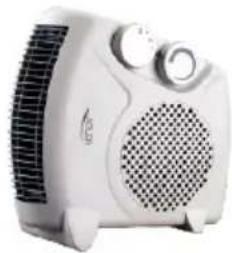
White portable electric heater with black ventilation grille and control buttons (no visible text or symbols)Diet Kitech Scale AD 3133
natural_image
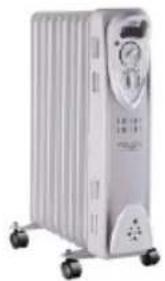
White industrial air conditioner unit with cooling fan and wheels (no visible text or symbols)Oil Heater AD 7808
Hair Clipper
AD 2823
Hair Clipper
AD 2825
natural_image
Exterior view of a modern glass coffee maker with a black lid (no visible text or symbols)Dripp Coffee Maker AD 4407
natural_image
Glass kettle with water droplets inside, no visible text or symbolsKettle AD 1286
natural_image
White handheld hairdryer with visible brand logo (no text or symbols on body)Hair Dryer AD 2252
natural_image
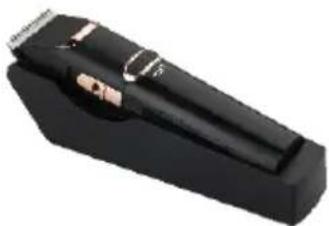
Black hairbrush tool with a silver clip and black handle (no visible text or symbols)Hair Clipper AD 2832
natural_image
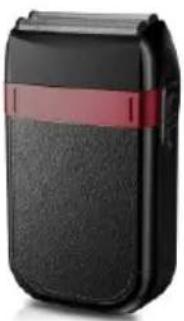
Black and red compact mobile phone case with strap (no visible text or symbols)Hair Shaver AD 2932
natural_image
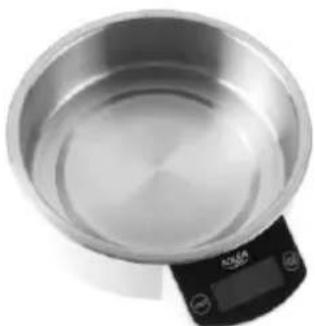
Top-down view of a stainless steel kitchen pan with digital scale (no text or symbols visible)Kitchen Scale AD 8121
natural_image
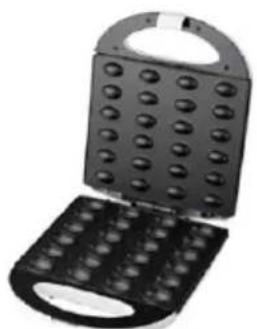
Black and white photo of a mobile phone keyboard with a grid of circular buttons (no visible text or symbols)Nut Cookie Maker AD 3039
natural_image
A modern blender with a pink liquid mixture being filled, mounted on a black stand (no visible text or symbols)Blender AD 4076
ADLER
EUROPE
natural_image
Glass water heater with blue liquid inside, labeled 'ADLER' on the side (no other text or symbols visible)Electric Kettle AD 1225
natural_image
A textured gray fabric device with a white mouse on top, shown with a loop handle (no text or symbols visible)Electric heating pad AD 7415
natural_image
White electric fan with a perforated grille and a small base (no visible text or symbols)Desktop fan AD 7303
natural_image
Black square waffle with control buttons (red and green) on the side, no visible text or symbols.Waffle Maker AD 3036
natural_image
Blue and white portable washing machine with blue filter cover (no visible text or symbols)Mini washing machine with spinning function AD 8051
natural_image
White electric fan with 'ADLER' branding, next to a small mechanical component (no visible text or symbols on fan or background)Desk fan 15 cm with clip AD 7317
natural_image
White portable solar heating unit with visible heat sinks and control buttons (no text or symbols)Quartz Heater AD 7709
natural_image
White portable food heater with colorful fruit arranged in a tiered container (no visible text or symbols)Food dryer AD 6654
natural_image
3D rendered image of a cylindrical object with purple textured surface and gray handle (no text or symbols)Bluetooth Speaker
AD 1169
natural_image
White ceramic kettle with blue water splashing inside, labeled 'ACLED' at bottom (no other text or symbols visible)Water Kettle 1,0L AD 1283
natural_image
Electric iron with control panel and brand logo (no readable text or symbols)Steam Iron AD 5032

natural_image
Black countertop oven with two top ovens and a front-mounted dish inside (no visible text or symbols)Electric Oven With HOB AD 6020
Bending steam mop
AD 7038
Tower Fan
AD 7319
natural_image
White portable electric heater with a circular grille and control knobs (no visible text or symbols)Fan Heater AD 7717
natural_image
White industrial air purifier with 'ADLOR' branding and control panel (no visible text or symbols on device body)Air Conditioner AD 7916
ADLER
EUROPE
natural_image
White portable water heater with a small lid and three buttons (no visible text or symbols)Electric Kettle AD 08
natural_image
White and green electric mixer with handle, no visible text or symbolsMixer AD 4205
natural_image
Exterior view of a modern office building (no signage)Food Slicer AD 4701
natural_image
Glass water heater with blue liquid inside, no visible text or symbols on the bodyWater Kettle AD 1247 NEW
natural_image
Red hair dryer with white head and black handle (no visible text or symbols)Hair Dryer AD 2220
natural_image
Exterior view of a handheld vacuum cleaner with black handle and yellow component (no text or symbols visible)Bagless Vacuum AD 7036
Coffee Grinder
AD 443
Nose Trimmer
AD 2911
Precision scale AD 3162
Beard Trimmer
AD 2922
natural_image
Close-up of a black and white hairbrush with a black clip, no visible text or symbolsPet Hair Clipper AD 2828
natural_image
Close-up of a pair of hair curlers with black and orange bands (no text or symbols visible)Hair Straightener AD 2318
natural_image
White portable air conditioner unit with ventilation grilles and control panel (no visible text or labels)Air Cooler AD 7913
natural_image
White blender with clear glass and black control knob (no visible text or symbols)Blender AD 4067
natural_image
Black hair dryer with 'ADYER' branding and stylus (no additional text or symbols visible)Hair Dryer AD 2251
natural_image
Circular metallic object with a ring and a small protruding rod (no text or symbols visible)Led Bathroom Mirror AD 2168

- GL 7923
- ENGLISH
- SAFETY CONDITIONS. IMPORTANT INSTRUCTIONS ON SAFETY OF USE PLEASE READ CAREFULLY AND KEEP FOR FUTURE REFERENCE
- BEFORE FIRST USE
- Cooling mode -
- Fan mode -
- Dehumidifying mode –
- Timer set up -
- Sleep mode –
- Water full -
- Automatic air oscillation function –
- REMOTE CONTROLLER operation – picture E
- PROTECTION DEVICES
- DRAINAGE INSTRUCTIONS:
- CLEANING & MAINTENANCE
- STORAGE
- TROUBLESHOOTING
- DEUTSCH
- INSTRUCTIONS DE DRAINAGE:
- INSTRUCTIUNI DE DRAINAGE:
- MAGYAR
- ÁLTALÁNOS BIZTONSÁGI FELTÉTELEK
- FONTOS BIZTONSÁGI UTASÍTÁSOK FIGYELMESEN OLVASSA EL ÉS TÖRVÉNYE JÖVÖBEN
- РУССКИЙ
- ADLER
- EUROPE
Brand : Gerlach
Model : GL 7923
Category : Air Conditioning