VEO - Stroller Kindercraft - Free user manual and instructions
Find the device manual for free VEO Kindercraft in PDF.
| Brand | Kindercraft |
| Model | VEO |
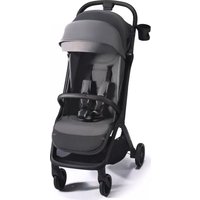
| Product Type | 2-in-1 stroller (pram + seat) |
| Recommended Age | 0 to 4 years (up to 15 kg) |
| Maximum Child Weight | 15 kg (in seat position), 9 kg (in pram mode) |
| Maximum Basket Load | 2 kg |
| Maximum Handle Load | 1 kg |
| Stroller Weight | Approximately 10 kg |
| Unfolded Dimensions | Approximately 90 x 60 x 100 cm |
| Folded Dimensions | Approximately 70 x 60 x 30 cm |
| Front Wheels | Swivel with lock for straight line |
| Brake | Pedal parking brake on rear axle |
| Shock Absorbers | Adjustable in 2 positions (uneven/flat terrain) |
| Handle | Telescopic, height-adjustable |
| Seat Backrest | 4 positions (reclined, 2x semi-reclined, upright) |
| Footrest | Adjustable (for pram mode) |
| Safety Harness | 5-point (shoulders, hips, crotch) |
| Canopy | Extendable with zipper |
| Compatible with car seat | Kinderkraft MINK, Maxi-Cosi, Cybex (with adapters) |
| Care | Wash at 30°C, no bleach, no tumble drying, rinse with fresh water |
| Warranty | 24 months (extendable to 120 months online) |
Frequently Asked Questions - VEO Kindercraft
User questions about VEO Kindercraft
0 question about this device. Answer the ones you know or ask your own.
Ask a new question about this device
Download the instructions for your Stroller in PDF format for free! Find your manual VEO - Kindercraft and take your electronic device back in hand. On this page are published all the documents necessary for the use of your device. VEO by Kindercraft.
USER MANUAL VEO Kindercraft
15 0 j0j0j0j0j0j0j0j0j0j0j0j0j0j0j0j0j0j0j0j0j0j0j0j0j0j0j0j0j0j0j0j0j0j0j0j0j0
1 2 5
aaiiiaaiiaaiiaaiiaaiiaaiiaaiiaaiiaaiiaaiiaaiiaaiiaaiiaaiiaaiiaaiiaaiiaaiiaaiiaaiiaaiiaaiiaaiiaaiiaaiiaaiiaaiiaaiiaaiiaaiiaaiiaaiiaaiiaaiiaaiiaaiiaaiiaaiiaaiiaaiiaaiiaaiiaaiiaaiiaaiiaaiiaaiiaaiiaaiiaaiiaaiia
1 1
i 1
1gao 121 gaiy jaiy jaiy jaiy jaiy jaiy jaiy jaiy jaiy jaiy jaiy jaiy jaiy jaiy jaiy jaiy jaiy jaiy jaiy jaiy jaiy jaiy jaiy jaiy jaiy jaiy jaiy
1 1
y
aaiiaaae 2
小小 S_ OBC = 12 · CO · BC = 12 × CD × 5
1 1
9:Jbll 11 j0g. 11 11 11 11 11 11 11 11 11
y j 1 1 1 1 1 1 1 1 1 1 1 1 1 1 1 1 1 1 1 1
y
a
1
6 jn nn Jb y 120 ally
15j6nJbU J
Kinder Kraft
jlll jll lllllllllllllllllllllllllllllllll
100
y
gao gao laa aababawu jy blyiaeaag ygall lalai)
J 6K
Ji i jie 6K 10
aiee eee eae ee e e e e e e e e e e e e e e e e e e e e
1
.7Jl(11111111111111111
J 1
Jalal
(38g38.138.138.138.138.138.138.138.138.138.138.138.138.138.138.138.138.138.138.138.138.138.138.138.138.138.
aaiyaiyaiyaiyaiyaiyaiyaiyaiyaiyaiyaiyaiyaiyaiyaiyaiyaiyaiyaiyaiyaiyaiyaiyaiyaiyaiyaiyaiyaiyaiyaiyaiyaiyaiyaiyaiyaiyaiyaiyaiyaiyaiyaiyaiyaiyaiyaiyaiyaiyai
ailllll llae iiei ie e 15s g aiaai gall jaiieell gaiiaai llg s jil n c Jgswal g y jiu wll
Jluu ne lyjy Jkay aay aay aay aay aay aay aay aay aay aay aay aay aay aay aay aay aay aay aay aay aay aay aay aay aay aay aay aay aay aay aay aay aay aay aay aay aay aay aay aay aay aay aay aay aay aay aay aay aay aay
g 1 g 1 g 1 g 1 g 1 g 1 g 1 g 1 g 1 g 1
y
a
J 1 J 1 J 1 J 1 J 1 J 1 J 1 J 1 J 1 J 1 J 1 J 1 J 1 J 1 J 1 J 1 J 1 J 1 J 1 J 1 J 1 J 1 J 1 J 1 J 1 J 1 J 1 J 1 J 1 J 1 J 1 J 1 J 1 J 1 J
y
Joo 1
Thank you for purchasing a Kinderkraft product. Our products have been designed for your child's safety and comfort. The buggy is an ideal solution for those who value quality, modernity and functionality. Please read the manual carefully and follow its recommendations.
Important – Read carefully and keep for future reference
A. Safety and care notesWARNING!
- Never leave the child unattended
- Ensure that all the locking devices are engaged before use
- To avoid injury ensure that the child is kept away when unfolding and folding this product
- Do not let the child play with this product
- Check that the pram body or seat unit or car seat attachment devices are correctly engaged before use
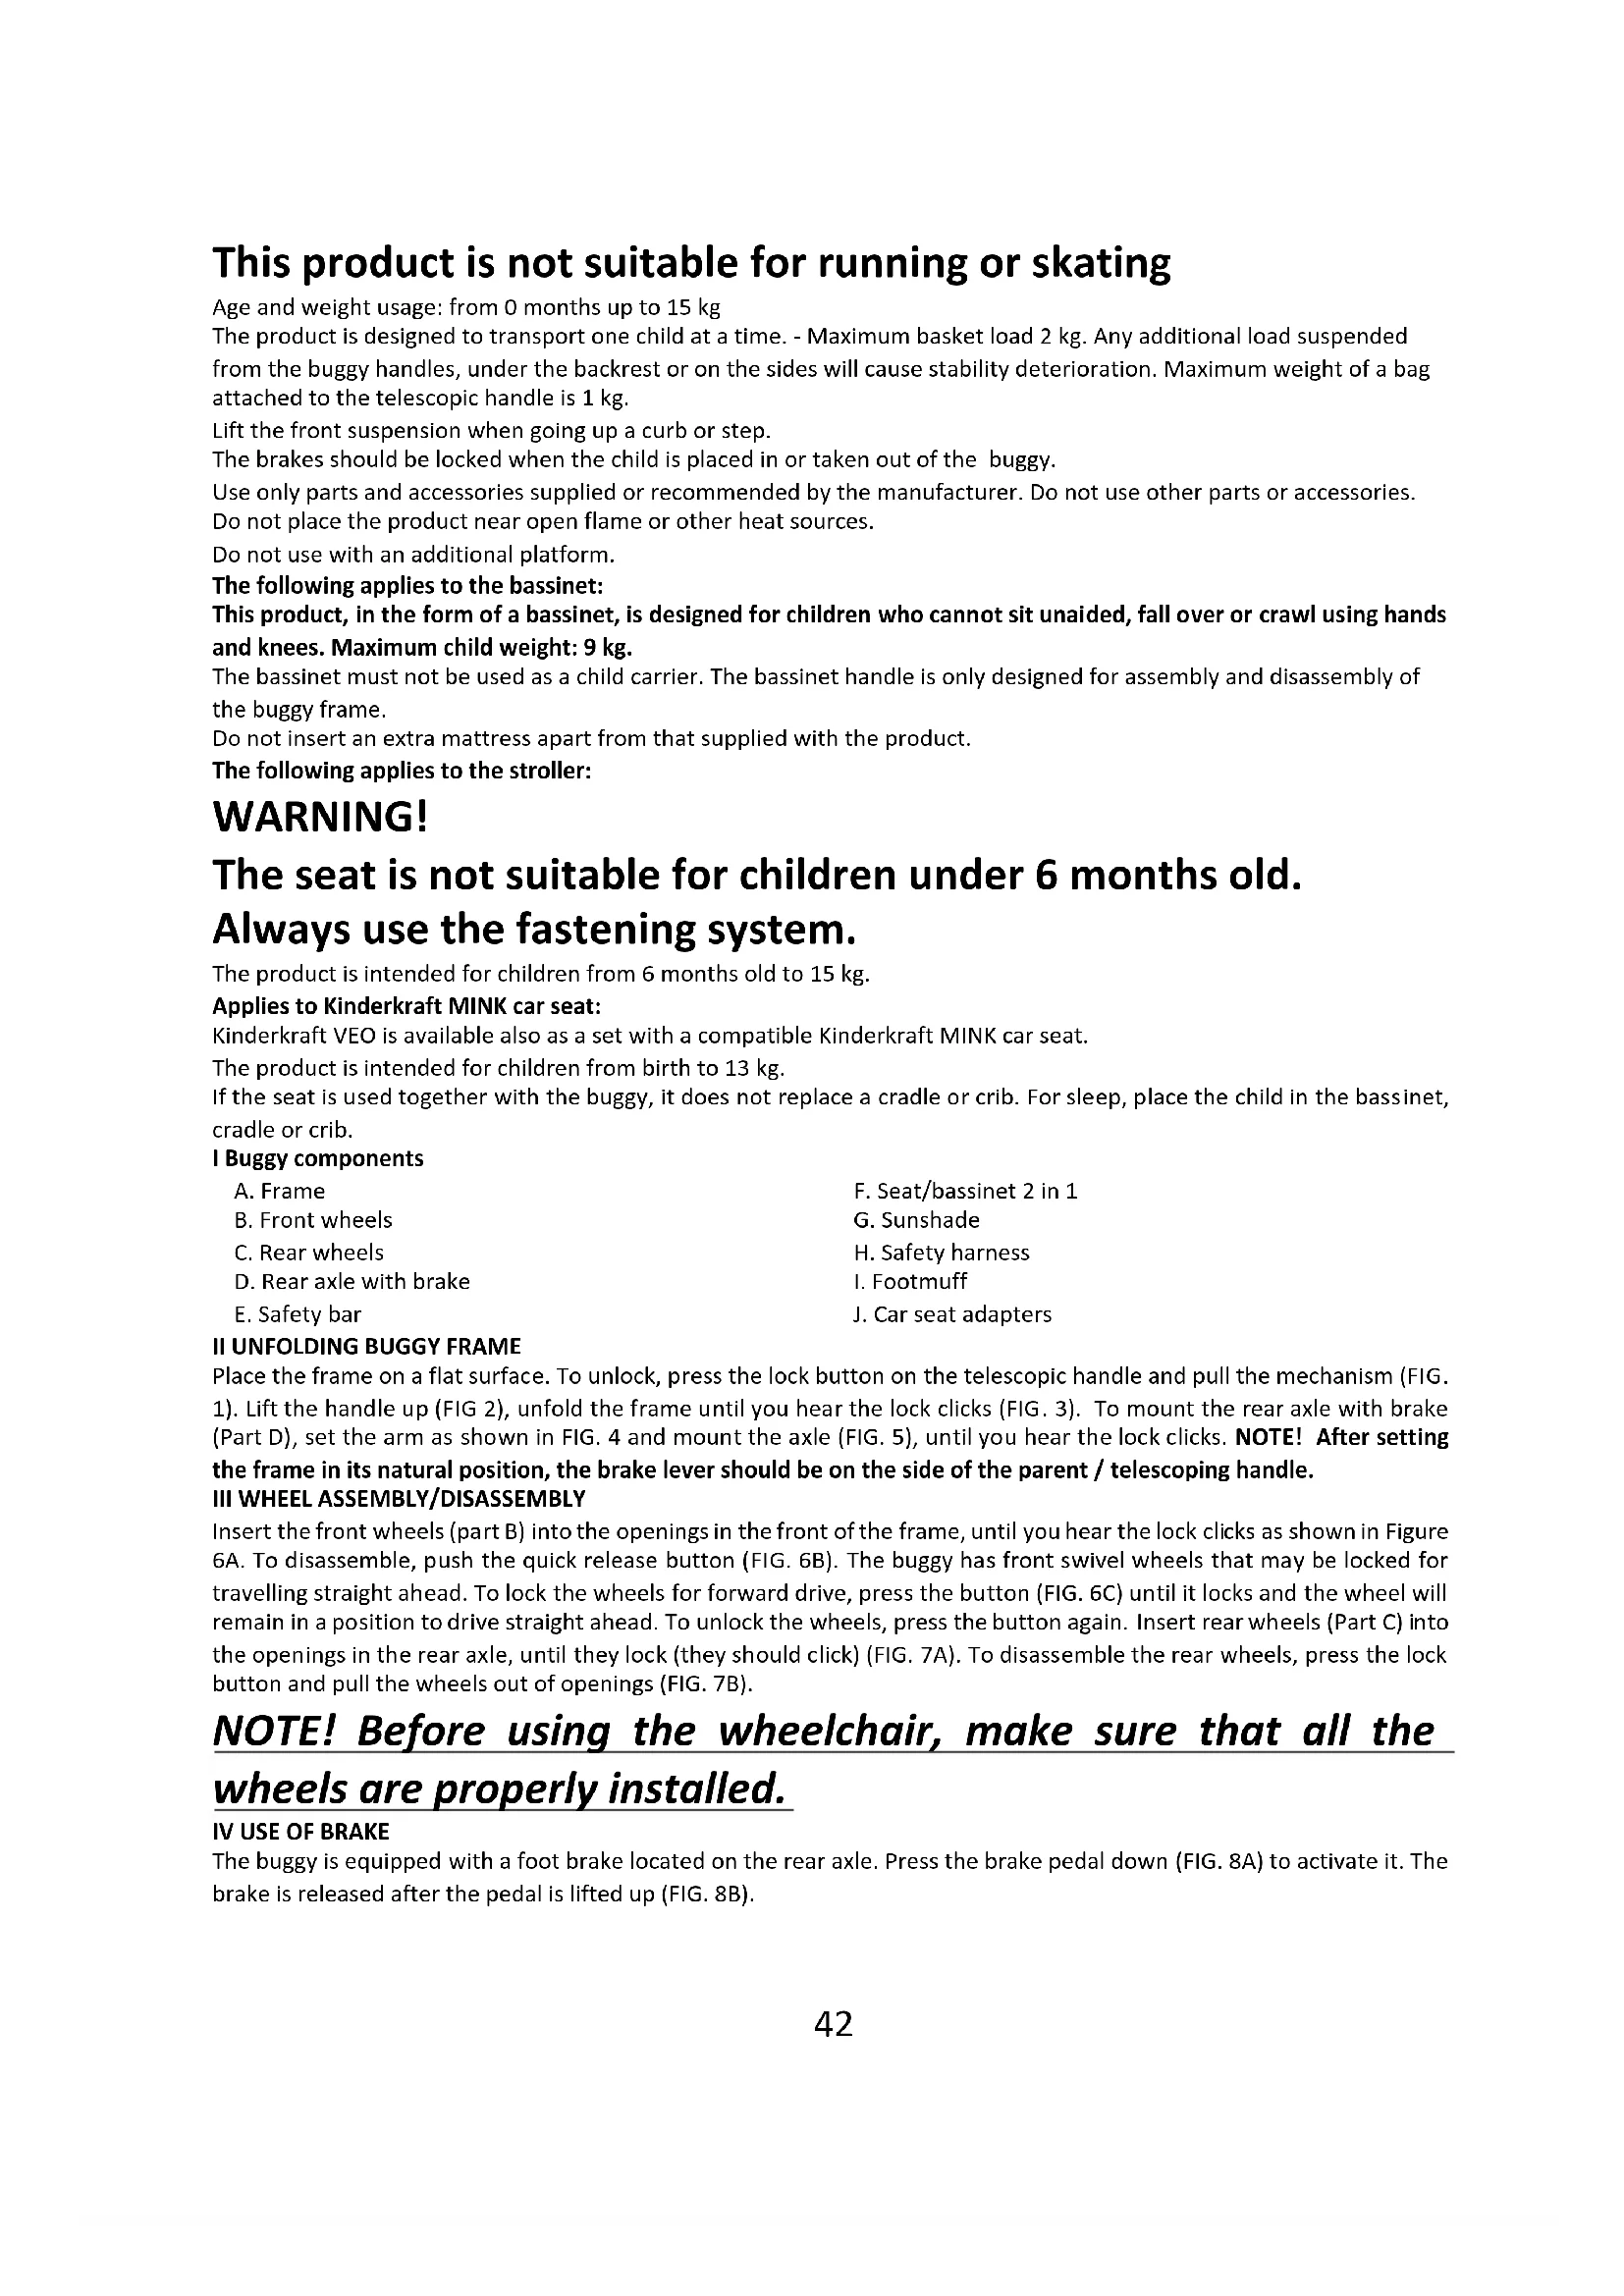
This product is not suitable for running or skating
Age and weight usage: from 0 months up to 15kg
The product is designed to transport one child at a time. - Maximum basket load 2 kg. Any additional load suspended from the buggy handles, under the backrest or on the sides will cause stability deterioration. Maximum weight of a bag attached to the telescopic handle is 1 kg.
Lift the front suspension when going up a curb or step.
The brakes should be locked when the child is placed in or taken out of the buggy.
Use only parts and accessories supplied or recommended by the manufacturer. Do not use other parts or accessories. Do not place the product near open flame or other heat sources.
Do not use with an additional platform.
The following applies to the bassinet:
This product, in the form of a bassinet, is designed for children who cannot sit unaided, fall over or crawl using hands and knees. Maximum child weight: 9 kg.
The bassinet must not be used as a child carrier. The bassinet handle is only designed for assembly and disassembly of the buggy frame.
Do not insert an extra mattress apart from that supplied with the product.
The following applies to the stroller:
WARNING!
The seat is not suitable for children under 6 months old. Always use the fastening system.
The product is intended for children from 6 months old to 15kg
Applies to Kinderkraft MINK car seat:
Kinderkraft VEO is available also as a set with a compatible Kinderkraft MINK car seat.
The product is intended for children from birth to 13kg
If the seat is used together with the buggy, it does not replace a cradle or crib. For sleep, place the child in the bassinet, cradle or crib.
I Buggy components
A. Frame
B. Front wheels
C. Rear wheels
D. Rear axle with brake
E. Safety bar
F. Seat/bassinet 2 in 1
G. Sunshade
H. Safety harness
I. Footmuff
J. Car seat adapters
II UNFOLDING BUGGY FRAME
Place the frame on a flat surface. To unlock, press the lock button on the telescopic handle and pull the mechanism (FIG. 1). Lift the handle up (FIG 2), unfold the frame until you hear the lock clicks (FIG. 3). To mount the rear axle with brake (Part D), set the arm as shown in FIG. 4 and mount the axle (FIG. 5), until you hear the lock clicks. NOTE! After setting the frame in its natural position, the brake lever should be on the side of the parent / telescoping handle.
III WHEEL ASSEMBLY/DISASSEMBLY
Insert the front wheels (part B) into the openings in the front of the frame, until you hear the lock clicks as shown in Figure 6A. To disassemble, push the quick release button (FIG. 6B). The buggy has front swivel wheels that may be locked for travelling straight ahead. To lock the wheels for forward drive, press the button (FIG. 6C) until it locks and the wheel will remain in a position to drive straight ahead. To unlock the wheels, press the button again. Insert rear wheels (Part C) into the openings in the rear axle, until they lock (they should click) (FIG. 7A). To disassemble the rear wheels, press the lock button and pull the wheels out of openings (FIG. 7B).
NOTE! Before using the wheelchair, make sure that all the wheels are properly installed.
IV USE OF BRAKE
The buggy is equipped with a foot brake located on the rear axle. Press the brake pedal down (FIG. 8A) to activate it. The brake is released after the pedal is lifted up (FIG. 8B).
V ASSEMBLY/DISASSEMBLY OF BASSINET AND SAFETY BAR
Place the bassinet on a flat surface. Press buttons for footrest adjustment to unfold the bassinet (FIG. 9). The footrest may be adjusted using these buttons. Before mounting the bassinet onto the frame, attach the Velcro fasteners to the metal bar underneath the bassinet (FIG. 10) i and leave it unfolded (FIG. 11). When installing the bassinet on the buggy frame, place it onto the openings (FIG. 12) designed for this purpose on each side of the buggy until you hear clicking sound.
NOTE! THE BASSINET CAN ONLY BE MOUNTED FACING
BACKWARDS (the child faces the person pushing the buggy).
The safety bar should be inserted into the special openings in the frame on each side of the buggy, until you hear the clicking sound (FIG. 13).
VI ATTACHING THE FOOTMUFF AND SUNSHADE
Attach the footmuff (part I) using the zipper located on the inner side of the seat / bassinet. Fasten the zipper (FIG. 14) and secure the Velcro fastener of the footmuff onto the safety bar. Fasten the zipper of the sunshade around the inner side of the seat / bassinet (FIG. 16). Close the clamps on the frame to insert the pins into the openings (FIG. 15). The sunshade may be extended to cover a larger part of the bassinet and seat. For this purpose, open the zipper located on the outer side of the sunshade lining (FIG. 17) and unfold the sunshade. NOTE! Correctly unfolded buggy with attached bassinet is shown in FIG. 18.
VII CONVERTING THE BASSINET INTO THE SEAT
In order to convert the bassinet function into the stroller, remove the bassinet part from the frame. Then fasten together the two clamps under the seat (FIG. 19 and FIG. 20) and mount the seat again on the frame. Next, adjust the backrest to the seating position, using the strap behind the backrest (FIG. 21). The seat has 4 positions: lying, 2 × reclining and sitting - they are adjusted by a lever that is located in the seat frame (FIG. 22) and a strap behind the backrest.
VIII SAFETY HARNESS
Press the button to open the clamp (FIG. 23A). To secure the child, connect the fasteners of hip and shoulder straps and then insert them into the middle clamp (FIG. 23B) until it engages. Adjust the safety harness each time you fasten (FIG. 23C), to properly secure the child. If your child cannot independently sit up, roll over or push itself up on its hands and knees inside the bassinet, you don't have to use the harness. Lock all harness straps into the buckle and cover the harness with mattress. Removing the harness (for cleaning): Remove shoulder and hip straps out of openings (FIG. 24A) by pushing plastic tabs inside. The assembly is performed in reverse order (FIG. 24B). After completing the assembly, make sure that the plastic tabs firmly secure the straps.
IX ADJUSTING SHOCK-ABSORBING FUNCTION and TELESCOPIC HANDLE
The buggy has a two-stage adjustable shock-absorbing function. The adjustment levers are located on the bottom side of the rear axle with brake, next to the basket (FIG. 25). For driving on uneven surfaces firmly, pull firmly the lever toward the rear axle, until it locks (FIG. 26). In this position, the shock absorbers will cushion all inequalities. For driving on flat surfaces firmly pull the button in the opposite direction until it engages (FIG. 27). In this position the shock absorbers will provide greater stability. To adjust the length of the telescopic handle, push the button in its centre and pull it out or push it in (FIG. 33).
X ASSEMBLING THE CAR SEAT ON THE BUGGY FRAME
The supplied adapters are compatible with the following car seats: Kinderkraft, Maxi Cosi®, Cybex® and are suitable for the following models: Kinderkraft MINK, Cybex Aton, Aton 2, Aton Q i Maxi Cosi Mico, Mico AP, Mico NXT, Mico Max 30, Citi, Cabrio, and CabrioFix. Place adapters in the openings on both sides of the seat until you hear the lock clicks (FIG. 28). When installing the car seat on the buggy frame, push it into the openings on each side of the frame, until you hear clicking sound of engaged lock (FIG. 29). To remove the seat from the frame, pull the lever of the adapters on both sides of the buggy (FIG 30) and remove the seat. NOTE! The seat must be always installed on the frame with child's back to the direction of travel (the child should face the person pushing the buggy) (FIG 31). To remove the adapters push the buttons on both sides of the seat (FIG. 32).
XI DISASSEMBLING THE BUGGY
Adjust the handle to the lowest position and remove the seat / bassinet from the frame (FIG. 33).
Press the lock button, pull on both sides (FIG. 34) and fold the handle (FIG. 35). Hold the central belt for carrying the frame and lift the frame upward (FIG. 36). The frame should fold automatically (FIG. 37). NOTE! Do not disassemble the buggy without removing the bassinet/seat/car seat first (FIG. 38A and 38B).
XII CARE AND MAINTENANCE
The buyer is responsible for proper installation of all functional elements as well as for carrying out all required maintenance and adjustments in order to keep the buggy in good technical condition. The buggy must be periodically
checked for potential problems. Significant measures to be applied to ensure the child's safety and prevent shortening of the product life have been presented below:
- Check the strength and safety of all rivets and connections.
- Check all wheel locking equipment and tyres. If necessary, replace or repair.
- Check if all safety devices work properly, particularly the main and additional fasteners that should move freely at any time.
Please, stop using the buggy if there are doubts as to its proper use or a suspicion of any danger. If the wheels squeak, apply a thin layer of silicone. Do not use oil or grease based products as they attract dirt, which makes buggy movement difficult.
XIII CLEANING
If the elements of the buggy chassis have been exposed to saltwater, rinse with tap water as soon as possible.
| 30 | Wash at max. 30°C, gentle process. | Do not wash. Clean the product gently with a damp cloth and a mild detergent. | |
| Do not bleach | Do not iron | ||
| Do not dry in a tumble dryer | Do not dry clean |
Do not fold or store the product when it is wet and never store it in wet conditions, as it can lead to mould growth.
Warranty
- All Kinderkraft products are covered by a 24-month warranty. The warranty period starts from the date the product is handed over to the Buyer.
- The warranty is only valid in the member states of the European Union, excluding overseas territories (as currently defined, including in particular: Azores, Madeira, Canary Islands, French Overseas Departments, Åland Islands, Athos, Ceuta, Melilla, Helgoland, Busingen am Hochrhein, Campione d'Italia and Livigno) and the territory of the United Kingdom of Great Britain and Northern Ireland excluding the British Overseas Territories (e.g. Bermuda, Cayman Islands, Falkland Islands).
- The manufacturer's warranty does not apply to countries not listed above. The conditions of the additional warranty may be determined by the Seller.
- In some countries, it is possible to extend the warranty to a limited period of 120 months (10 years). The complete terms and conditions and the warranty extension registration form are available at www.KINDERKRAFT.COM
- The warranty is valid only in the territory indicated in paragraph 2.
- Claims must be made by completing the form available at WWW.RMA.KINDERKRAFT.COM
- The warranty does not cover:
A. Cosmetic damage, including but not limited to: scratches, dents and cracks in plastic, unless the failure is due to a material or manufacturing defect;
B. Damage resulting from misuse or poor maintenance - including but not limited to: mechanical damage to products caused by misuse or poor maintenance;
Refer to the instructions for use and installation of the product contained in the user manual;
C. Damage caused by improper assembly, installation or disassembly of products and/or accessories;
o Refer to the instructions for use and installation of the product contained in the user manual;
D. Damage caused by corrosion, mould or rust, resulting from improper maintenance, care and storage;
E. Damage caused by normal wear and tear or otherwise resulting from the normal passage of time;
o This includes: tears or punctures in inner tubes; tyre damage; tyre tread damage; fading of fabrics resulting from mechanical use (e.g. on joints and covering of moving parts);
F. Damage or erosion caused by sun, perspiration, detergents, storage conditions or frequent washing, etc;
G. Damage caused by accident, abuse, misuse, fire, contact with liquid, earthquake or other external causes;
H. Products that have been modified to change functionality without 4Kraft's written consent;
I. Products from which the serial number or lot number has been removed or tampered with in any way;
J. Damage caused by the use of third party components or products - including but not limited to: cup holders, umbrellas, reflectors, bells;
K. Damage caused by transport or by ground handling service providers. -
The warranty period for accessories included with the product is 6 months from the date of sale, excluding the faults described above.
-
These warranty conditions are complementary to the Customer's statutory rights with respect to 4KRAFT sp. z o.o. The warranty does not exclude, limit or suspend the Customer's rights under warranty for defects in goods sold.
- The full text of the Terms and Conditions of the Warranty is available on the website WWW.KINDERKRAFT.COM
All rights to the present document belong entirely to 4Kraft Sp. z o.o. Any unauthorized use of them against their purpose, including in particular: using, copying, reproducing, making available - in whole or in part, without the consent of 4Kraft Sp. z o.o. may result in legal consequences.
ES
Estimados clients,
G. Le pare-soileil/auvent
He BCTABJIte DoONHHTeBbI MaTpac, KpOMe TOrO, KOtOpbI NOCTaBJIeH BMeCTe C PPOdyKTOM.
KacatbHo nporyouhIX KOJcOK:
PPEyPExKdEHNIE!
3TO cndeHbe He nOxDxOaNT dIy dTeB B Bo3paCTe do 6 MecaeB Xn3Hn.
Bcerda nCnoIb3yIte KpeIeKHbIe CnCTembl.
PpOdyK TnpEHa3HaueH dIaTeeT O 6 Mecaueb Do 15Kr.
KacatbHO aBtOKpeca Kinderkraft MINK:
Kolnka Kinderkraft VEO moke 6bIb npednoheBa KOMnleKeTe C cOBMeCTMmbIM dTeckn ABTOKpecenom Kinderkraft MINK. PpOyKT npedHa3NaueH nIeTe O T poXdEHHa 13Kr. EcIn ABTOKpeCNo NcNoB3yeTc B coHeTAHn C KOJIACKo, OHO He 3aMeHReT HN IIOBKn, HN KPOBaTKn. EcIn BaWeMy pe6eHky HxKeH coH, erO cJeDyET nepHeecTN B IIOBky, Kolbl6bI hnn KPOBaTKy.
13JeMeHTbI KOJIaCKn
A. Pama
F.CnDHeBhe/IIHbKa2B1
B.передни Кoleca
G. Ko3bipek
C. 3aДнге кoleca
H.PeMHn 6e3oNaCHOCTN
D. 3aɪnərə oc b c TOpMo3oM
I.Чеколна HOЖКИ
IX PEGYUNPOBKA AMOPTN3ALUN IN TEJECKONINHECKO PYKIN
KoIaCKa OcHaUeHa DByXCTyHeHuaToP erynIpOBKO aOpTn3aun. PeryIpyUOJIpe bIaHn HaxoJrTa Ha HxKeuactn 3aHneoc n CTOPMo3OM co cToPOhbl KOp3HbI (PNC. 25).Dna e3DbI no HepoBbIM NOBepxHOCTM, CInbHO NotAHHTe pbHAR B CTOpOHy 3aHneoc n Do fHKcaUN (PNC. 26).B 3tOM NoIOXeHNn aOpTn3aTopbI cmYarat BCE HePOBHOCTN. DnE e3DbI no POBHO NOBEPXHOCTn CInbHO NotAHHTe KHONKY B o6paTHOM HAnpABLeHHn DO fHKcaUN (PNC. 27).B 3tOM NoIOXeHNn aOpTn3aTopbI 6yDyT daBaTb 60JIbWyo CTabNBHOCTb. Dna peryInpOBKn dINHbI TeJeckOnuecko pyKn HAKMNTe KONKY B ee CEHTpaJIbHO uACTn, NotAHHTe Nn HaDaBITE (PNC. 33).
X YCTAHOBKA ABTOKPECJIJA SOMOCHODOWEGO HA UACCNI KOJIARCKN
BkIouHebl aadantepbl, coBMeCTMbIe c abTomobnlbHIMn Kpeclamn: Kinderkraft, Maxi Cosi®, Cybex® n noXoJAT dIy moJeIe: Kinderkraft MINK, Cybex Aton, Aton 2, Aton Q, Maxi Cosi Mico, Mico AP, Mico NXT, Mico Max 30, Citi, Cabrio n CabrioFix. BcTabte aadantepbl B OTBepTna no o6e CTopoHbI OT KpeCna, noka He ycblwnte 3ByK 6loKnOpBkn (PNC. 28). Pn yctaHOBKe ABTOKpeCna Ha waccn KoJIaCKn, cIeDyET npudepKNaBaTbcraero B npedHa3NaueHbE dIy 3ToR O TBePCTN, C KaJdoI CTopoHbI KOJIaCKn, Do xapaTePHoro 3Byka 6loKnOpBkn (PNC. 29). YTo6bl ChrTaB abTKpeCno c pAmbl, cIeDyet NOTAHyt pbUarN b adanTepax ObeNX CTopoH KoJIaCKn (PNC. 30) n ChrTaB cnDeHbe. BHIMAHHE! ABTOKpeCNo ha pame Bcerda DOnxHb 6bITb NOMeSeHo CnHIO HnapabLeHHO DmHXeHn (pe6eHok Lioom K conpOBoXdAoUeMy, UnpabLHOseMy TeleXkoI) (PNC. 31). IJa demoHTaKa aadantepOB, Heo6xoImo HaJatb Ha KHONK C o6eNx CTopoH KpeCna (PNC. 32).
XI DEMOHTAX KOJRACKN
Otperynpyte pyky B HxHHee noLoKeHne (PNC. 33) n BbHbTe cnJeHbe/ lIOIbky c paMbI. HaKmTe KhoNky 6loKnOpBkn, notaHnTe c oBeEx CTopOH (PNC. 34) n CnoKnTe pyky (PNC. 35). Bo3bMTe cpeHN peMeHb dI nepeHoocKn cToiN i NDoHMnTe cTOnKy BBepx (PNC. 36). Kapkac doJokhen CLOXHTbcA BtOMaTHueckn (PNC. 37). BHUMAHNE! 3anpeaetc pa36npaTb KoJcKy 6e3 ChrToI IIOIbKn, cnDeHbI IIN ABTOKpeCna (PNC. 38A n 38b).
XII YXOD IN TEXHNUECKOE OBCJYKINBAHNE
OTBeCTBHeHocTb NOKyNaTeIaKIIouaeTcB OBeCneHenn IpabInbHoYcTaHOBKn BExe FyHKnOHaIbHbIX KOMNoHrTOB, a TaKKe B NaJIeKaAeM ObcJyKINBaHN npeYIpOBKe Ira NODepKaHn KOLsKn B XopOWe m pa6oWe m coCToHnn. KoIaCKy cIeDyET nepIoNDueckn npOBepaTb Ha HAIuNne NoTeHuaNbHbIX np6IeM. Hxke npBVeDeHbI BaxHbI e WAr, KOToPbI Heo6XoDMo npEiPnHraTb Ira ObcCneHenn 6eONacHocTn BaWero pe6eHka n PpeDoTbpaUeHn CokpaUeHn Cpoka clyk6bl npOdykTa:
- PpOBePbTe npOuHocTb 6e3oNaChocTb BcEx 3aKlenok u CoeInHeHn.
- IpoBepbTe Bce 06e3dNHNBAIOUne ycTpoNCTBa, KOleca N INX WINHbI N npn Heo6xoDnMoCTn 3aMeHIne Nnn OTpeMOHTnpyIte INX.
- y6eHntecb, yTO BCE npeOxpaHnTeNbHbIe yCTpoNCTBa pa6oTahOT npaBnHbO, C yHTOM OCHOBhIX IdoONHnTeNbHbIX KpeneKhbIX, KOtOpBIE DOJXHbCBO6OHO nepemueaTbcra B IIO6oe Bpemr.
NoKaIyIcTa, npeKpaTne IcNoIb3OBaHHe KOJIaCKn B Clyuae COMHeHr OTHocNTeBHO npABNlBHO rO cNoIb3OBaHn IIN IOdo3peHnO kAKoI-JIn60 OAnchocTn. Ecln KOLeCa cKnPT, HANO cMa3aTb OCN TOHKM cNoE m CInNKoHa. He NcNoIb3yIte npOdykTbHa OCHOBE MaCna IIN cMa3Kn, TAK KAK OHn PpNBLeKaOT rP83b, KOTOPA 3aTpYdHReT DBNKeHne.
XIII YNCTKA
Ecn KOMnOHeHTb Iaacc TeIeKKn NOpBeprIncB Bo3deNCTBIO COJeHO BODbl, peKoMeHdyETcKaK MoJHo cKeopee npomblb nx npeCHO BDOH (n3 KpaHa).
(EN) In the interests of our Clients - we are at your disposal! If you have a problem with the product you received, contact us in the most convenient way for you!