AD 1916 - Alarm clock radio ADLER - Free user manual and instructions
Find the device manual for free AD 1916 ADLER in PDF.

| Product Type | Clock Radio |
| Brand | Adler |
| Model | AD 1916 |
| Main Power Supply | 220-240 V~ 50/60 Hz via mains adapter |
| USB Power | 5 V DC 1 A |
| Backup Battery | 1x CR2032 (for memory backup, not for operation) |
| FM Radio | 87.5 - 108 MHz |
| Main Functions | FM radio, alarm with sunrise simulation, snooze function (5 min), sunset simulation, brightness adjustment (4 levels) and light color, 12/24 h display |
| Cleaning | Wipe with a dry cloth only |
| Safety | Do not immerse in water, do not use with a damaged cable, do not place near hot surfaces, keep out of reach of unsupervised children |
| Spare parts and service | Contact the dealer for purchasing parts or complaints |
| Repairability | Repairs by an authorized service center only |
| General information | Complies with directive 2014/53/EU. Declaration of conformity available at www.adler.com.pl. Do not dispose of with household waste. |
Frequently Asked Questions - AD 1916 ADLER
User questions about AD 1916 ADLER
0 question about this device. Answer the ones you know or ask your own.
Ask a new question about this device
Download the instructions for your Alarm clock radio in PDF format for free! Find your manual AD 1916 - ADLER and take your electronic device back in hand. On this page are published all the documents necessary for the use of your device. AD 1916 by ADLER.
USER MANUAL AD 1916 ADLER
natural_image
Digital clock with glowing blue and red lights, showing 12:00 (no text or symbols beyond clock display)| AD 1916 | |||||
| EN | User Manual | 4 | PL | Instrukcja obsługi | 65 |
| DE | Bedienungsanleitung | 7 | IT | Manuale d'uso | 69 |
| FR | Mode d'emploi | 11 | SV | Bruksanvisning | 73 |
| ES | Manual de usuario | 15 | BG | Ръководство за употреба | 77 |
| PT | Manual de Instruções | 19 | DA | Brugsanvisning | 81 |
| LT | Naudojimo instrukcija | 23 | SK | Používatel'ská príručka | 84 |
| LV | Lietošanas instrukcija | 27 | BS | Korisnički priručnik | 88 |
| ET | Kasutusjuhend | 30 | MK | Упатство за употреба | 92 |
| HU | Használati útmutató | 34 | HR | Korisnički priručnik | 96 |
| RO | Manual de utilizare | 38 | UK | Керівництво користувача | 100 |
| CS | Návod k použití | 42 | SR | Упутство за употребу | 104 |
| RU | Руководство пользователя | 45 | AR | دليل المستخدم | 107 |
| EL | Еүхειρίδιο хрήσης | 49 | AZ | İstifadəçi tõlimatı | 110 |
| NL | Gebruikershandleiding | 54 | SQ | Manuali i përdorimit | 113 |
| SL | Navodila za uporabo | 58 | KA | Общегزطلاوي | 117 |
| FI | Käyttöohje | 61 | |||

User Manual (EN)
SAFETY CONDITIONS IMPORTANT SAFETY INSTRUCTIONS USE PLEASE READ CAREFULLY AND KEEP FOR FUTURE REFERENCE
Warranty conditions differ if the device is used for commercial purposes.
- Please read carefully and always follow the following instructions before using the product. The manufacturer is not responsible for any damage caused by improper use.
- The product is intended for indoor use only. Do not use the product for purposes incompatible with its intended use.
- Use only the power adapter supplied with the device to power the device, use 220-240V\~50/60 Hz for the power adapter. The device can also be powered by rechargeable batteries which are not included.
- Be careful when using near children. Do not allow children to play with the product. Do not allow children or anyone unfamiliar with the device to use it without supervision.
5 WARNING: This appliance may be used by children over 8 years of age and persons with limited physical, sensory or mental abilities, or persons without experience or knowledge of the appliance, only under the supervision of a person responsible for their safety, or if they have been instructed to use the appliance safely and are aware of the hazards associated with its operation. Children should not play with the device. Cleaning and maintenance of the device should not be carried out by children unless they are at least 8 years old and these activities are carried out under supervision. - Never put the USB power cable, plug or the entire device in water.
- Never use the product with a damaged power cable if it has been cut, fallen, damaged in any way, or is not working properly. Do not attempt to repair a damaged product yourself, as this may result in electric shock. Always take a damaged device to a professional service center for repair. Only authorized service personnel may perform any repairs. Improper repair may cause dangerous situations for the user.
- Never place the product on or near hot or warm surfaces or appliances, such as an electric oven or gas burner.
- Never use the product near flammable materials.
- Do not let the USB power cord touch hot surfaces.
- Never leave the device connected to a power source unattended. Even if
use of the product is interrupted for a short time, disconnect the power supply.
- Avoid getting the device wet.
- Wipe the device only with a dry cloth. Do not use water or cleaning fluids.
- Store the device in a dry room.
Device Description:
| 1. FM function | 2. Selecting the stand up sound | 3. Volume reduction | 4. Sleep / snooze button |
| 5. Increasing the volume | 6. Display brightness adjustment | 7. Adjusting the lighting | 8. AM marking |
| 9. FM designation | 10. Marking of alarm clock | 11. Sunset simulation indication | 12. Display of the current time |
| 13. Subtract value | 14. Set alarm clock | 15. Add value | 16. Sunset simulation control |
| 17. Clock setting | 18. Back-up battery flap | 19. Speaker | 20. USB power port |
| 21. FM antenna | 22. Power supply |
Before first use:
- Remove all packing materials.
- Using a slightly damp cloth, wipe the device.
- Remove the plastic pin from under the flap of the backup battery (18).
- Check the power supply and power cord for damage.
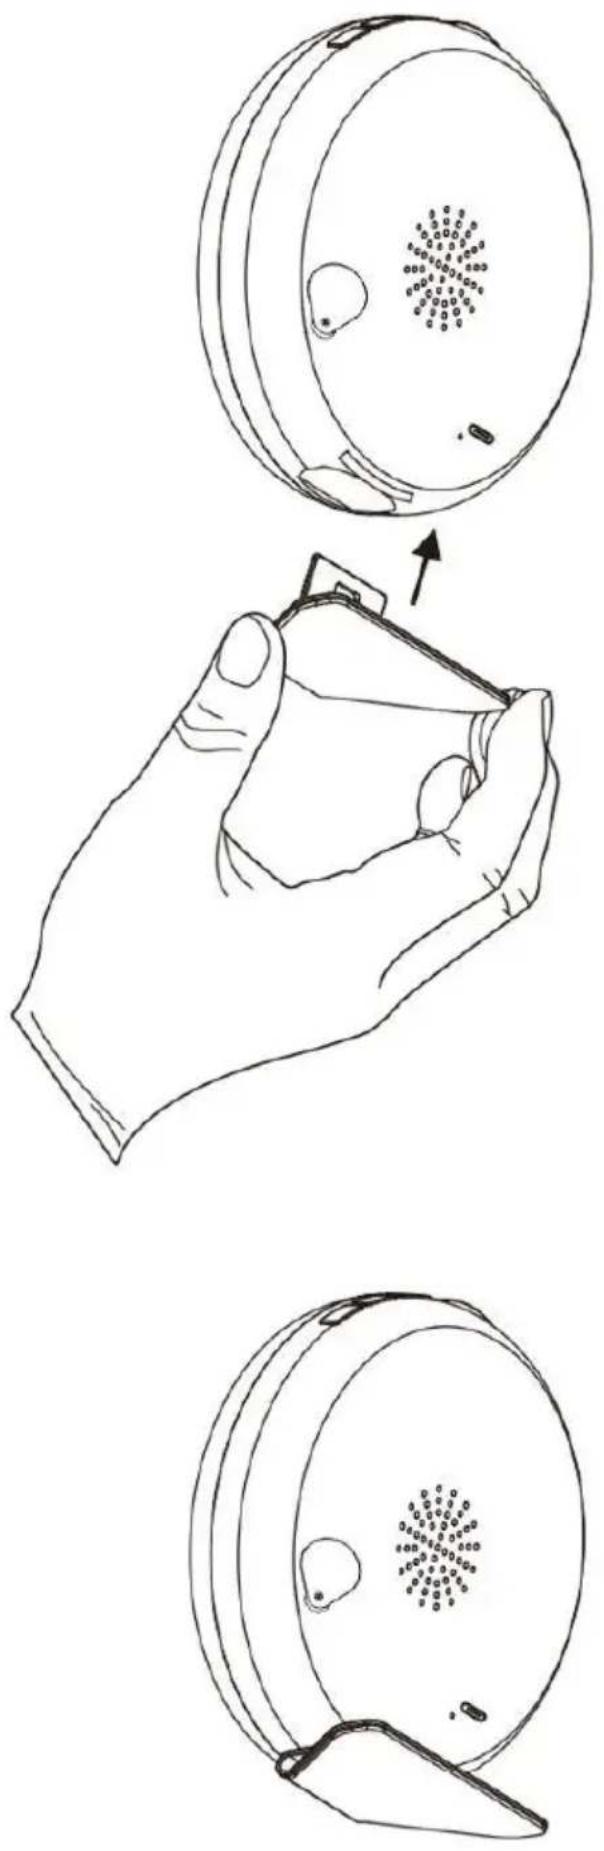
Battery replacement:
Using a screwdriver, unscrew the flap of the backup battery (18). Remove the used battery. Insert the new battery paying attention to the polarity (+ / - ) marked on the battery. After replacement, put the flap in place and screw it back on.
Installation of the device:
On the bottom of the device there is a hole for the stand. A stand is included in the set. Following the illustration on page 3, install the cradle into the unit.
Operating the device:
First startup:
- Assemble the device
- Connect the power adapter to the USB power port (20).
- Plug the power adapter into a wall outlet.
- If the device starts to display the time (00:00) means that the device is working properly. You now need to set the time.
Setting the time:
- Using the value addition and subtraction buttons (13, 15), first set the current time and confirm the selection with the clock setting button (17).
- Then similarly set the minutes.
If you want to change the current time at a later time, press and hold the clock setting button (17) for 3 seconds until the time on the display starts flashing. Proceed analogously as in the sections "Setting the time"
The alarm clock will exit the time setting function after 10 seconds if it does not detect any user activity.
After setting the time, pressing the clock setting button (17) once will toggle the display between 12-hour and 24-hour modes.
Clock brightness setting:
Using the backlight adjustment button (6), you can set between 4 display brightness settings. 1- Off, 2- Low, 3-Medium, 4-High. When changing any settings, the display will return to the high setting to return to the set settings after 5 seconds of inactivity on the part of the user.
Illumination:
Use the illumination adjustment button (7) to change the color and intensity of the illumination.
- Press the lighting adjustment button (7).
- With the addition and subtraction value buttons (13, 15) you can change the setting from 1 to 10.
- Press the lighting adjustment button once more to set the backlight color.
- Using the addition and subtraction value buttons (13, 15), you can change the backlight color
- Press the lighting adjustment button (7) a third time to turn off the backlight.
Alarm clock setting:
- Press the alarm clock setting button (14) to turn the alarm clock on or off. The alarm clock icon (10) will either appear or turn off depending on the setting. The alarm clock setting time will appear on the display for 2 seconds.
- Press and hold the alarm clock setting button (14) for 3 seconds to enter the alarm clock time setting mode.
- Using the add and subtract value buttons (13, 15) you can change the hour and after confirming with the alarm clock setting button (14) you can set the minutes.
After 5 seconds of inactivity on the user's part, it will exit the setting mode.
Setting the alarm clock sound:
- Press the alarm clock sound selection button (3).
- Using the add and subtract value buttons (13, 15), you can change the signal to be played. The last setting is an FM station.
- The selected signal will play for 1 minute.
- To confirm the alarm clock signal, press the alarm clock sound selection button (3).
- After confirming the signal using the add and subtract value buttons (13, 15), you can change the volume of the previously selected signal.
Sunrise simulation:
30 minutes before the pre-set alarm clock time, the light will turn on simulating the morning until the lighting is fully bright. The alarm clock will turn on at the pre-set time. The sound or alarm clock will play for 5 minutes.
As the alarm clock plays you can do the following:
- Press or tap any button except the sleep/snooze button (4) to turn off the sound and backlight.
- Press the sleep / snooze button (4) to enable the snooze function for 5 minutes. The device will then stop playing the alarm clock light will turn off. After 5 minutes, the alarm clock and light will turn on again.
- Press and hold the light adjustment button (7) for 3 seconds to turn off the light.
If the FM radio is currently playing then the sound will be replaced by the alarm clock, after turning off the alarm clock the radio will turn on again.
Sunset simulation setting:
To enable sunset simulation, press the sunset simulation button (16). The screen will display 15. This means that the simulation will last for 15 minutes. Pressing the button repeatedly will select between 15 / 30 / 60 / OFF. The numbers represent the time in minutes in which the lighting will decrease in intensity. After selecting the desired value, do not touch any buttons for 5 seconds. This will set the simulation for the selected time period.
During simulation, the sunset simulation icon (11) will blink. To turn off the simulation, press the sunset simulation button (16) to end the simulation and keep the current lighting setting. Press the light adjustment button (7) for 3 seconds to turn off the light.
If the FM radio was playing during the simulation it too will be turned off along with the simulation.
FM radio:
Press the FM radio button (1) to turn on the radio.
Press and hold the FM button (1) for the device to automatically start searching for available radio stations.
Use the addition and subtraction buttons (13, 15) to choose between the found stations.
With the volume up and down buttons (3, 5) you can change the playback volume. (00-15)
Technical specifications:
FM radio: 87.5 - 108 MHz
Device input voltage: 5V DC 1A
Input voltage of power supply: 220-240V\~50/60Hz
Battery: 1x CR2032
Final Information:
The battery is for internal memory backup only not for playback and use of the alarm clock radio. Adler Sp. z o.o., Ordona 2a, 01-237 Warsaw, Poland hereby declares that the AD 1916 is in compliance with Directive 2014/53/EU.
The full text of the EU Declaration of Conformity is available at the following internet address:
Caring for the environment. Cardboard packaging and polyethylene (PE) bags should be disposed of in the appropriate containers for separate collection of municipal waste according to their description. If there are batteries in the device, remove them and separately return them to the collection and storage facility. Return the used device to a suitable collection and storage facility, as the hazardous substances in it may pose a threat to health and the environment. The marking on the product indicates that the device should not be disposed of in the container with municipal waste. Waste electrical equipment, is waste that contains substances harmful to humans, animals and the environment. These substances can lead to contamination of the soil, water or air, and through this they can get into the human body and lead to numerous health ailments, such as: vision, hearing, speech disorders, they can also lead to kidney, liver and heart damage, and cause skin diseases. Harmful substances can also have adverse effects on the respiratory and reproductive systems and lead to cancerous changes. Consumption of plants growing on the complained of soils, and products made from them may risk the above-mentioned health effects. Do not dispose of the device in the municipal waste container!!!
Service If you wish to purchase spare parts or report any complaints, please contact directly with the seller who issued the receipt.
Radio FM: 87.5 - 108 MHz
sqrt (3) dpitting men yat the tibbese, siyim tshgil in sipoghe kalam. Siyim tshgil in the wqct the mcdde. Siyim tshgil in the wqct the mcdde. Siyim tshgil in the wqct the mcdde.
FM 65qom: 87.5 - 108 MHz
2: 220-240V
3: 50/60Hz
4: = 5.0V
5:1.0A
6:5.0V
7: 75,28%
8: N/A
9:0.05W
DE
1:Model identifier
2:Input voltage
3:Input AC frequency
4:Output voltage
5:Output current
6:Output power
7:Average active efficiency
8:Efficiency at low load (10 %)
9:No-load power consumption
ES
natural_image
Exterior view of a modern silver kettle with blue liquid, no visible text or symbolsElectric Kettle AD 1282

natural_image
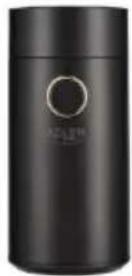
Close-up of a black and white graser mixer with powder spilling out (no text or symbols visible)Burr Coffee Grinder AD 4450
Milk Frother
AD 4491
natural_image
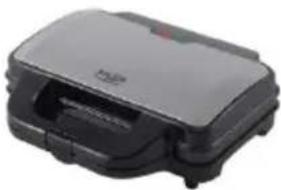
Black rectangular electronic device with a handle and ventilation slots (no visible text or symbols)Sandwich Maker AD 3055
natural_image
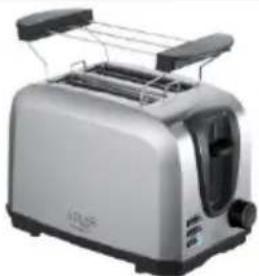
Silver standard 200 square toaster with two handles and a side grater (no visible text or symbols)TOASTER 2 SLICE AD 3222
natural_image
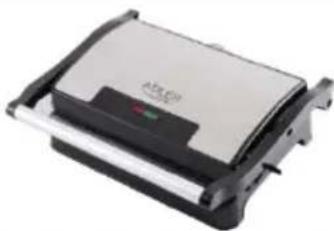
Exterior view of a modern sandwich grater with black and silver casing (no visible text or symbols)ELECTRIC GRILL AD 3052

natural_image
White ADJER juice shaver with orange liquid and a white spoon (no text or symbols visible)CITRUS JUICER AD 4009

natural_image
Product photo of a modern blender with three black blisters and fruit slices (no visible text or labels)PERSONAL BLENDER AD 4081
natural_image
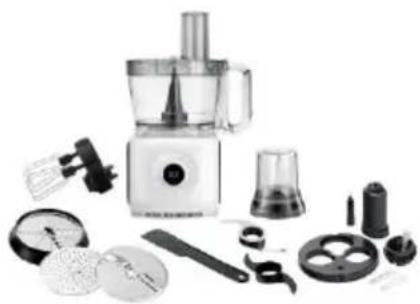
Assorted kitchen utensils including a blender, spatula, and kitchen tools (no text or labels visible)FOOD PROCESSOR AD 4224

natural_image
Electric hand mixer with two wavy lines above it (no text or symbols visible)MIXER AD 4225
natural_image
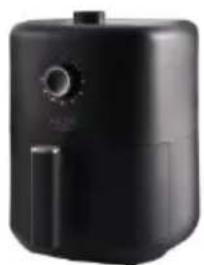
Black air fryer with control knob and side handle (no visible text or symbols)AIR FRYER AD 6310

natural_image
Exterior view of a modern stainless steel coffee maker with black lid and control knob (no visible text or symbols)PASTEURIZATION POT AD 4496
natural_image
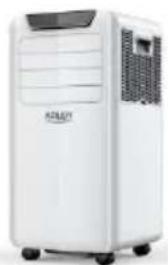
White portable air conditioner unit with control panel and wheels (no visible text or symbols)AIR CONDITIONER AD 7916

natural_image
Black and white photo of a modern cylindrical device with a lid and '54" label (no readable text or symbols beyond branding)AIR HUMIDIFIER AD 7966
natural_image
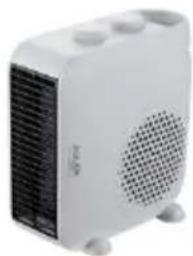
White portable heater with ventilation grille and mounting feet (no visible text or symbols)FAN HEATER AD 7725

natural_image
Top-down view of a stainless steel kitchen scale with digital display (no text or symbols visible)KITCHEN SCALE AD 3166
ADLER
EUROPE
COFFEE GRINDER
AD 4446
natural_image
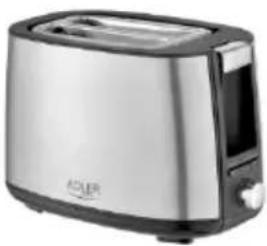
Exterior view of a modern stainless steel toaster with a digital display (no visible text or symbols)TOASTER 2 SLICE AD 3214
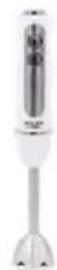
HAND BLENDER
Ad4625

natural_image
Modern stainless steel kitchen appliance with a control knob (no visible text or symbols)MIXER WITH BOWL AD 4222
natural_image
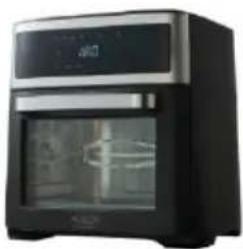
Exterior view of a modern kitchen appliance with digital display (no visible text or symbols)AIR FRYER OVEN AD 6309

natural_image
White microwave oven with control knobs and a visible brand logo (no text or symbols on the appliance body)MICROWAVE OVEN AD 6205

natural_image
Black rectangular electronic device with ports and lid (no visible text or symbols)WAFFLE MAKER AD 3049
natural_image
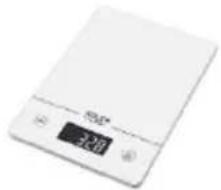
White digital kitchen scale with LCD display and control buttons (no visible text or symbols)KITCHEN SCALE AD 3170

natural_image
Glass water heater with blue splashes, no visible text or symbolsELECTRIC KETTLE AD 1286
natural_image
Black rectangular electronic device with a handle and control panel (no visible text or symbols)SANDWICH MAKER
AD 3043
natural_image
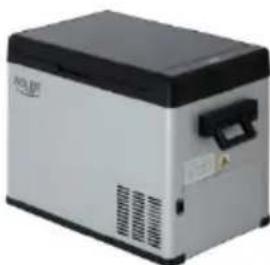
Exterior view of a silver and black industrial device (no visible text or symbols)PORTABLE FRIDGE AD 8077
natural_image
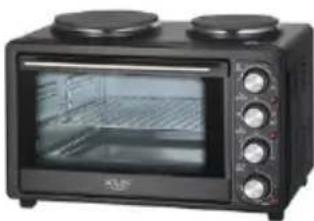
Black countertop oven with two top ovens and control knobs (no visible text or labels)Electric Oven With HOB AD 6020
natural_image
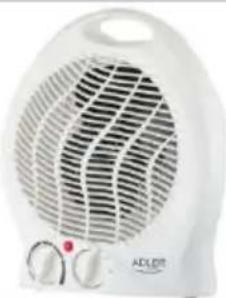
White electric heater with hatched ventilation grille and control knobs (no visible text or symbols)FAN HEATER AD 7728
natural_image
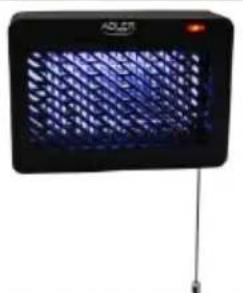
Exterior view of a black industrial heater with blue mesh grille and antenna (no text or symbols visible)MOSQUITO LAMP AD 7938
natural_image
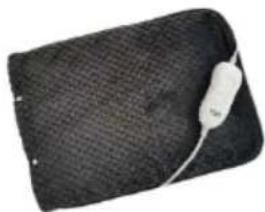
Black textured fabric with a white circular button on the side (no text or symbols visible)HEATED PAD AD 7433
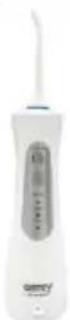
ORAL IRRIGATOR
AD 2176