HG01829 - Electric sprayer PARKSIDE - Free user manual and instructions
Find the device manual for free HG01829 PARKSIDE in PDF.
| Product Type | Manual Pressure Sprayer 5 L |
| Brand | Parkside |
| Model | HG01829 |
| Tank Capacity | 5 L |
| Maximum Operating Pressure | 2.5 bars |
| Dimensions (diameter × height) | approx. 185 × 495 mm |
| Empty weight | approx. 1.5 kg |
| Lance length | approx. 500 mm |
| Operating temperature | 0 °C to 40 °C |
| Approved use | Water, mild pH-neutral cleaner |
| Non-approved use | Pesticides, herbicides, disinfectants, solvents, oils, flammable or corrosive liquids |
| Adjustable nozzle | Full jet, mist, shower, rain |
| Included equipment | Sprayer, hose, lance, nozzle, carrying strap, user manual |
| Safety | Safety valve, pressure gauge, frost protection |
| Cleaning | After each use, rinse with clear water, clean nozzle with a needle |
| Maintenance | Grease pump seals, check connections |
| Storage | Dry place, protected from dust and frost, empty the tank |
| After-sales service France | Tel.: 0800904879, Email: owim@lidl.fr |
| After-sales service Belgium | Tel.: 080071011, Email: owim@lidl.be |
| Warranty | Not specified, contact after-sales service |
Frequently Asked Questions - HG01829 PARKSIDE
User questions about HG01829 PARKSIDE
0 question about this device. Answer the ones you know or ask your own.
Ask a new question about this device
Download the instructions for your Electric sprayer in PDF format for free! Find your manual HG01829 - PARKSIDE and take your electronic device back in hand. On this page are published all the documents necessary for the use of your device. HG01829 by PARKSIDE.
USER MANUAL HG01829 PARKSIDE
Operation and safety notes
NL BE
PREMIUM-DRUKSPROEIERSL
GB/IEOperation and safety notesPage 13
Description of parts and features.. Page 14
Technical data.. Page 14
Included items . Page 15
Safety advice
General safety advice.. Page 15
Before use.. Page 16
Bringing into use
Attaching the spray tube.. Page 16
Filling the pressure sprayer container.. Page 16
Building up the operating pressure.. Page 17
Spraying . Page 17
Transport of the pressure sprayer
Cleaning and care.. Page 18
Clean the pressure sprayer . Page 18
Cleaning the hose and pump.. Page 18
Cleaning the filter.. Page 18
Store the pressure sprayer.. Page 19
Troubleshooting
Disposal
Service
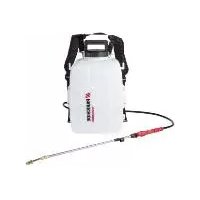
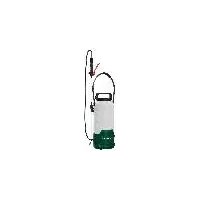
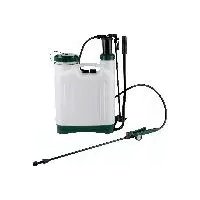
Premium 5L garden pressure sprayer
Introduction
We congratulate you on the purchase of your new product. You have chosen a high quality product. Familiarise yourself with the product before using it for the first time. In addition, please carefully refer to the operating instructions and the safety advice below. Only use the product as instructed and only for the indicated field of application. Keep these instructions in a safe place. If you pass the product on to anyone else, please ensure that you also pass on all the documentation with it.
- Proper use
The product is used for spraying liquids in the home, garden and greenhouses. The spraying of solvents or solvent-containing liquids or oil is a particular example of improper use of the product. This product is intended for private use only.
The pressure spraying device is used only for spraying the following fluids in the house, garden or in greenhouses.
Water,
- Mild, PH-neutral cleaning agents
The sprayed agent may only be sprayed in the concentration specified by the manufacturer of the agent. If in doubt, consult the manufacturer of the agent. The pressure spraying device is designed for private use only.
Incorrect use includes, in particular, the spraying of the following:
- Pesticides
- Weed sprays
- Disinfectants
- Fertilisers
- Solvents or liquids containing solvents
-Oil - Easily flammable fluids
- Corrosive fluids such as acids or lye.
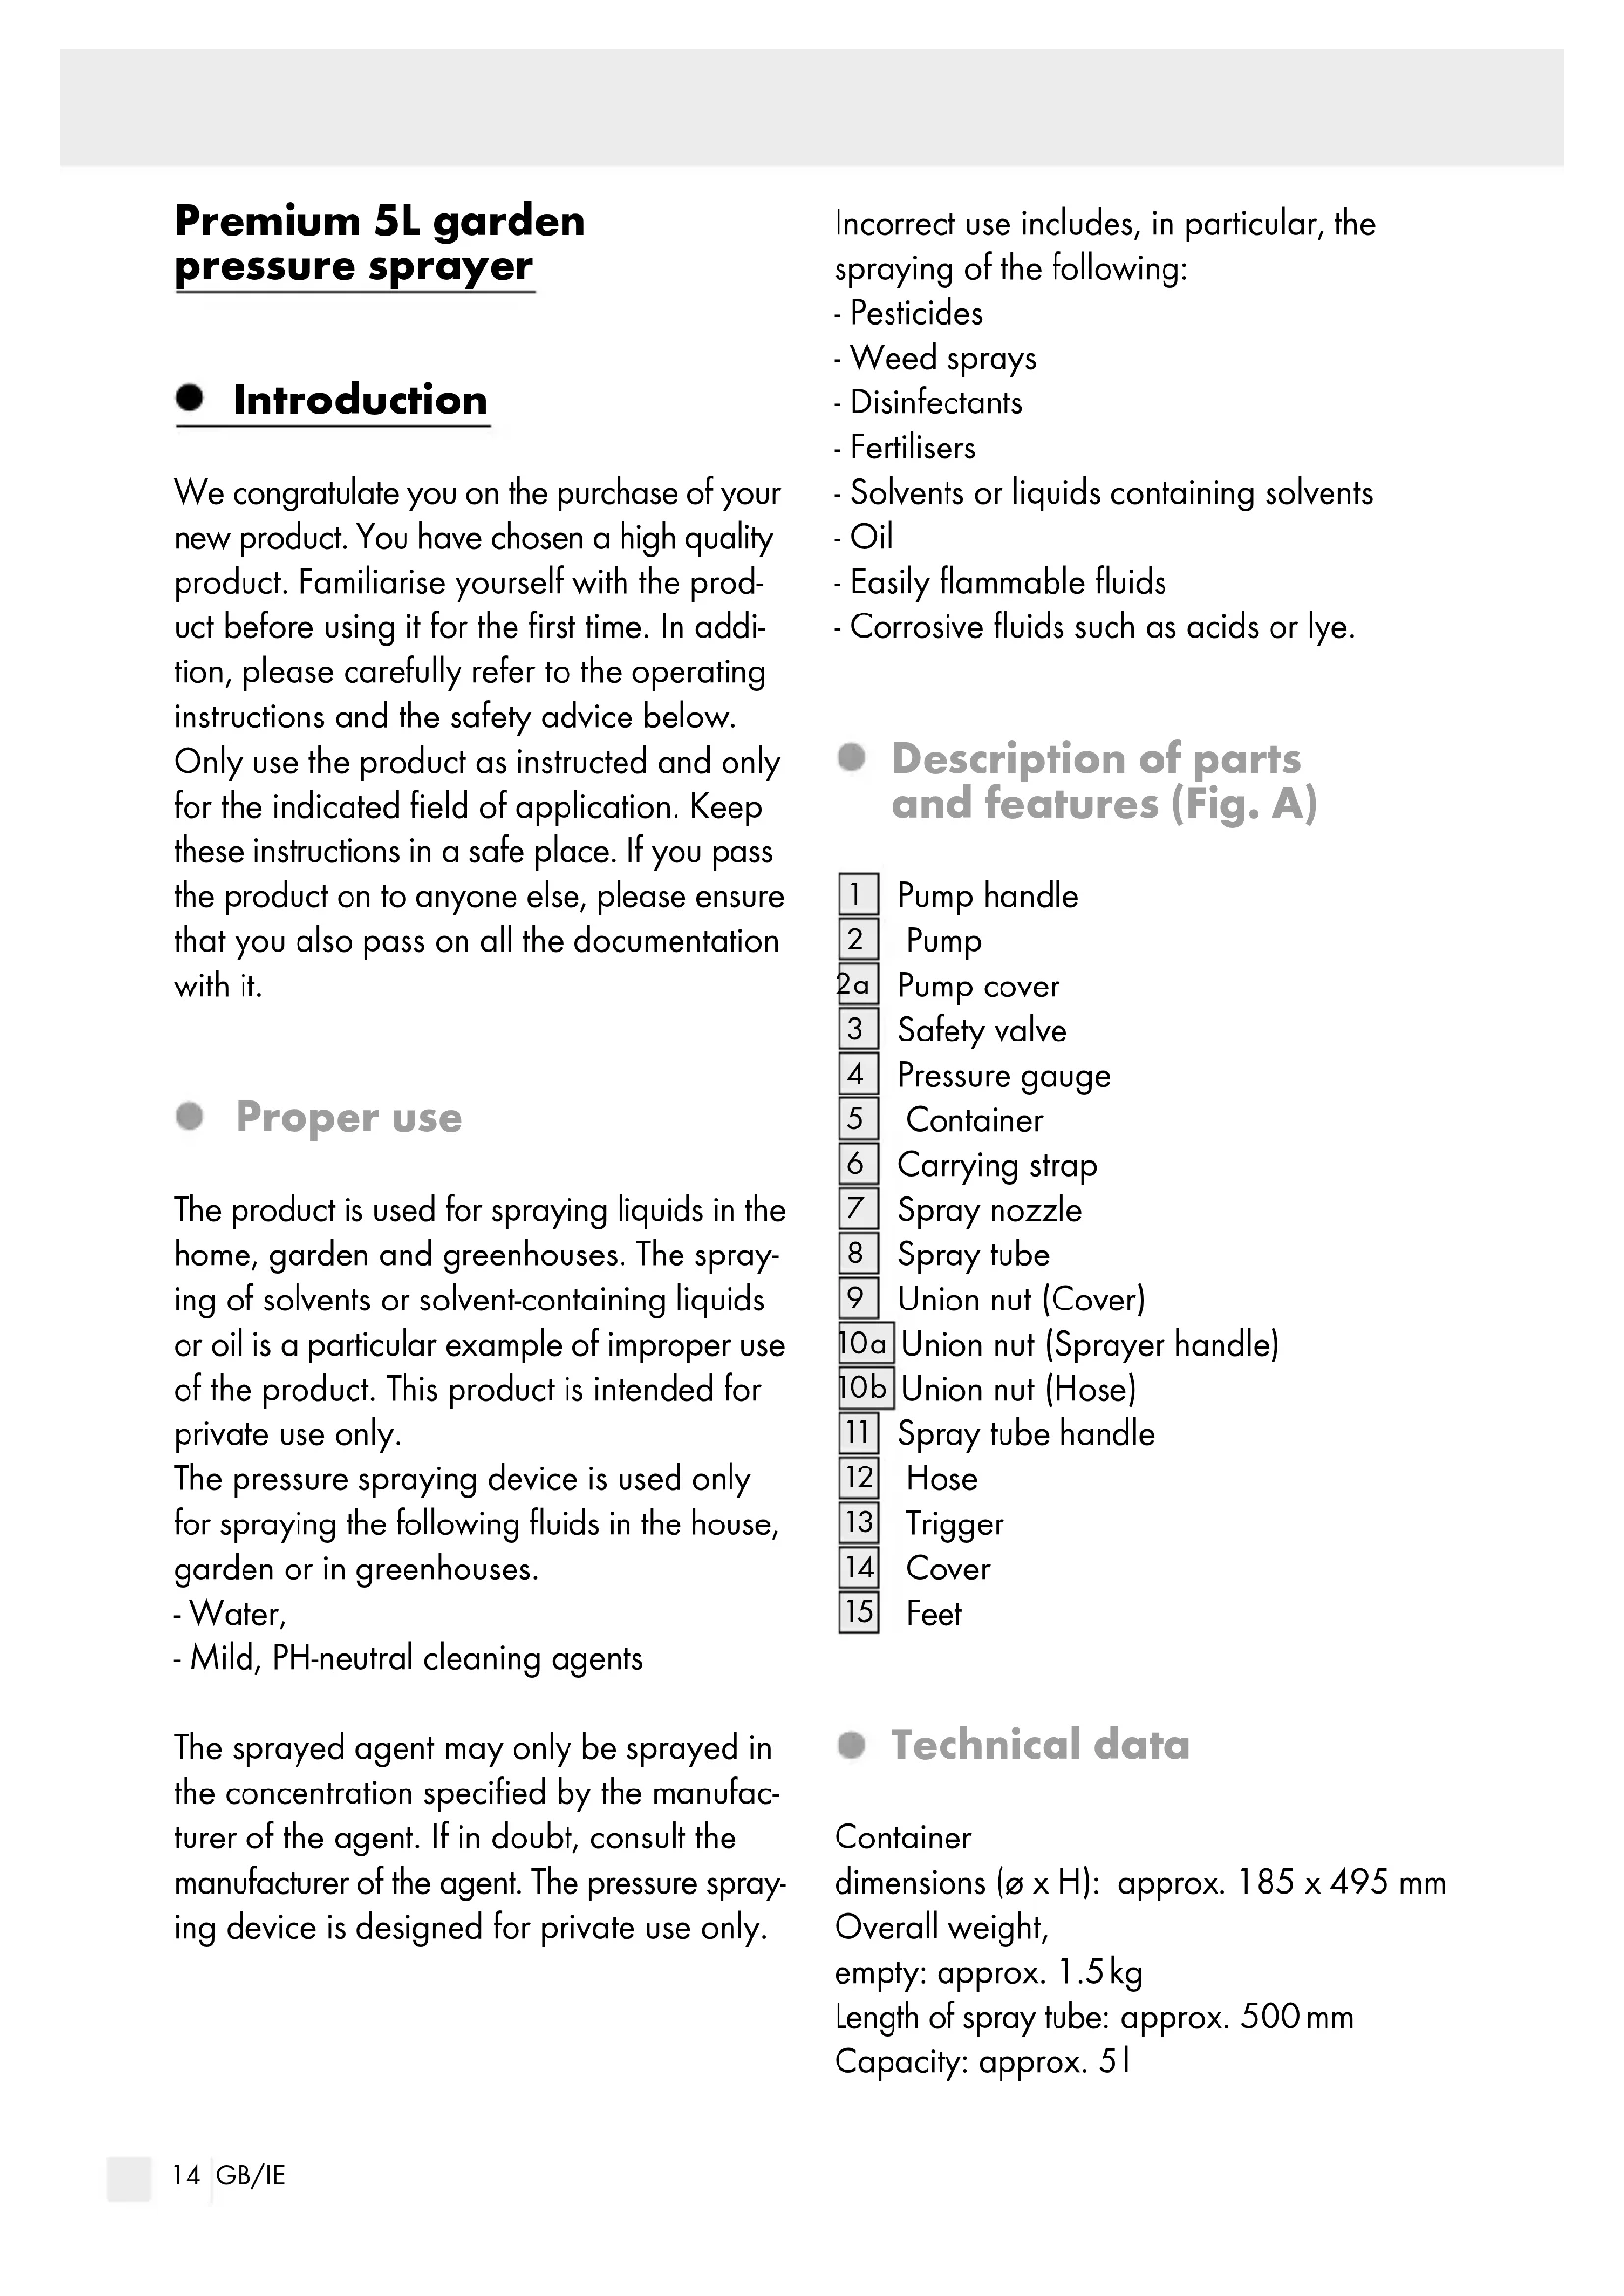
Description of parts and features (Fig. A)
1 Pump handle
2 Pump
Pump cover
3 Safety valve
Pressure gauge
5 Container
6 Carrying strap
Spray nozzle
Spray tube
9 Union nut (Cover)
10a Union nut (Sprayer handle)
10b Union nut (Hose)
Spray tube handle
12 Hose
13 Trigger
14 Cover
15 Feet
Technical data
Container
dimensions ( × H) : approx. 185 × 495 ~mm Overall weight,
empty: approx. 1.5 ~kg Length of spray tube: approx. 500 ~mm Capacity: approx. 5 l
Max. permissible
operating pressure: approx. 2.5 bar
Operating
temperature: 0 - 40^ Carrying method: At the operator's side, using the carrying strap
- Included items
1 Garden pressure 1 Hose sprayer 1 Spray nozzle 1 Spray tube 1Operating 1 Carrying strap instructions

Safety advice
- General safety advice
KEEP ALL THE SAFETY ADVICE AND INSTRUCTIONS IN A SAFE PLACE FOR FUTURE REFERENCE!
Children or persons who lack the knowledge or experience to use the device or whose physical, sensory or intellectual capacities are limited must never be allowed to use the device without supervision or instruction by a person responsible for their safety. Children must never be allowed to play with the device.
A WARNING! RISK OF INJURY!
There is a risk of injury to the skin resulting from contact with the spray product. Always wear suitable protective clothing, gloves and breathing protection when spraying.
WARNING! Do not carry out any repairs or modifications to the pressure sprayer. Do not change or repair any components.
- Wash your hands and face after each spraying session.
CAUTION! RISK OF

EXPLOSION! Do not place the device (empty or full) in light!
Always read and observe the information provided by the chemical manufacturer when working with or mixing spray solutions.
Release the residual pressure in the container by pulling the safety valve to the side before you open the container (Fig. E).
Never spray into wind, water, or drinking water source.
Release the residual pressure after each use.
Do not unscrew or remove the safety valve.
The sprayer may not be used if the operator is tired or ill or under influence of alcohol, drugs or medication.
Explanation of the symbols used:
5-1 pressure sprayer
Permissible operating pressure: Max. approx. 2.5 bar
Not for use with corrosive substances!
Do not spray on electrical devices, electrical cables or wires.
Do not spray on people!
Do not spray on animals!
Spray on plants only!
Do not use the product for drinks!

Do not leave the pressurized spraying device standing in the sun. There is a risk of explosion!
Keep away from naked flames and heat sources. Seal containers securely. Store in a fireproof way! Do not use easily flammable fluids!

Protect from frost and store away from frost.
Store at 0^ - 40^ in a dry, dust-free location.

When pumping, always watch the manometer to check the operating pressure.

Wear suitable protective coating, glove or mask.
Before using for the first time, pls read the instruction carefully.
Before use
CAUTION! Check that the device is functioning properly! Check the pressure sprayer before each use to ensure that it is free of visible damage and is functioning safely. To do this, carry out the following tests and inspections:
Check the container 5 the hose 12 and the carry strap 6 for visible damage.
Check that the hose connections are fitted tightly.
Check that the tube connections are fitted tightly.
Pump the empty pressure sprayer to approx. 1 bar. The pressure must not fall more than approx. 0.5 bar in a space of 30 minutes.
Pump the pressure sprayer to approx. 2 bar.
Pull the safety valve 3 to the side. You must be able to hear the pressure escaping.
Bringing into use
- Attaching the spray tube (Fig. B-D)
□ Attach the nozzle 7 to the spray tube 8
Loosen the union nut (sprayer handle) 10a in a clockwise direction and mount to the spray tube 8 Then insert the spray tube 8 into the handle 11
Tighten the union nut (Sprayer handle)
10a in a anti-clockwise direction.
Connect the hose 12 to the spray tube handle 11. Tighten the union nut (hose) 10b in a clockwise direction. Connect the hose 12 by fastening the union nut (Cover) 9 on the container 5
- Filling the pressure sprayer container (Fig. F)
Note: Before using the product, check to see that it is in good condition and free of defects.
Press the pump handle 1 downwards and turn it anticlockwise.
Note:Before you open the container 5 pull the safety valve 3 to the side to release any residual pressure still present in the container 5.
Note: You can unfold the at bottom of the bottle to have extra stability.
Draw the pump 2 out of the container 5.
Now fill the container 5. Note: Fill the container 5 with only the amount of liquid that you actually need for that particular spraying session (not more than 5 l).
Lock the pump handle 1 to the pump cover 2a. Place the pump 2 back into the container 5 and turn the pump handle 1 clockwise as far as it will go.
Building up the operating pressure
Turn the pump handle 1 anti-clockwise to unlock it before pumping.
Move the pump handle 1 up and down until the pressure sprayer has been pumped up to a pressure not exceeding the maximum permissible operating pressure of 2.5 bar. To ensure this value is not exceeded, monitor the pressure gauge 4 during the pumping process.
Note: If the pressure of the air in the container 5 exceeds 2.5 bar, the pressure is automatically released through the safety valve 3.
Press the pump handle 1 downwards into the recesses and turn it clockwise to lock.
Now take the spray tube out of the holder.
Note: Unfold the f and stand on the step surface for better stability when pumping on the ground.
Fold up the feet 15 by pressing the "PUSH" button if you are pumping when carrying the product on your shoulder.
Spraying
Hang the pressure sprayer over your shoulder by the carrying strap 6
Note: Ensure that the pressure sprayer is always kept upright. Only when held in this orientation will the sprayer work properly.
Hold the spray tube firmly by the handle 11 and direct the adjustable spray nozzle 7 e.g. at a plant.
Note: You can rotate the spray head to change to different spray function: Straight line (Fig. B1), Mist (Fig. B2), Shower (Fig. B3), Rainfall (Fig. B4). There are three movable section connected to the spray head, so that you can adjust to an appropriate angle for spraying (Fig. B).
Press the trigger 13 to start the spraying process.
Release the trigger 13 to stop the spraying process.
Note: When the pressure in the container 5 is no longer sufficient to spray, pump the container 5 to increase the pressure again up to but not exceeding the maximum permissible operating pressure of 2.5 bar. You can check the operating pressure using the pressure gauge 4 (see "Building up the operating pressure").
Pull the safety valve 3 to the side as far as it will go to release the residual pressure in the container 5 (Fig. E).
Transport of the pressure sprayer
Transport the pressure sprayer as follows:
Transport during use
Hang the pressure sprayer with the carrying strap over your shoulder.
Note: Make sure that the pressure sprayer is always in an upright position. Only then can the pressure sprayer function properly.
Transport after use
Press the pump handle 1 down and turn it clockwise.
Pull the safety valve 3 to the side as far as it will release the residual pressure in the container 5.
Carry the pressure sprayer by the pump handle 1 or using the carrying strap 6. Note: To avoid damage to the container 5 during transport, always lift the pressure sprayer and do not drag it across the ground.
- Cleaning and care
If the nozzle seems to be blocked, do not try to blow it free with your mouth.
Note: Clean the pressure sprayer after each use! Empty the bottle after each use.
Clean the pressure sprayer
Unscrew the spray nozzle 7
Clean the spray nozzle 7 under running water.
If the spray nozzle 7 is clogged, clean the nozzle 7 by pushing a needle through it.
Flush through the pressure sprayer, hoses and tubes with water.
Clean the surfaces of the product with a moist cloth.
- Cleaning the hose and pump
To clean the parts, follow these steps:
Loosen the union nut (Hose) 10b on the hose 12 on the handle 11 and on the hose connection on the cover 14
Turn the pump handle 1 counterclockwise. Loosen the pump 2 and pull it out from the cover [14].
Clean the hose 12 and the pump 2 under running water.
After cleaning, reinsert the pump 2 into the opening provided for this purpose on the cover 14 and screw this back onto the container 5.
Fasten the hose 12 onto the hose connection on the cover 14 and the handle 11 of the spray tube 8 once more.
Tighten the union nut (Cover) securely.
- Cleaning the filter
Loosen the union nut (Cover) from the cover 14
Unfold the 2 feet [15] and stand on the step surface to fix the container [5]. Turn the cover [14] counterclockwise to unscrew.
Take the cover 14 with suction tube out from container 5
Clean the suction tube and filter (at the end of tube) under running water. Clean with brush if necessary.
□ After cleaning, reinstall all the parts back and Fold up the feet 15 by pressing the "PUSH" button.
Store the pressure sprayer in a dry, dustfree place away from frost.
- Store the pressure sprayer
- Release any residual pressure still present in the container after use. To do this, pull the safety valve button to the side until you can no longer hear the hiss of escaping air.
Thoroughly clean the device and allow it to dry before you put it away for the winter. This will avoid frost damage. - Fold the foot step by pressing the "PUSH" button before transport the product.
Clean the pressure sprayer before storing it away.
Remove any leftover spray product from the container 5 and the tube.
Store the pressure sprayer in a dry, dust-free place away from frost.
Troubleshooting
If the measures listed below are not successful, contact the manufacturer.
- = Fault
= Potential causes
O = Remedies
No pressure is established in the container.
The pump is not firmly screwed into place.
Screw the pump firmly into place.
The sealing ring of the pump 2 has not been greased.
Loosen the pump cover 2a from the pump 2 Check the sealing ring or gasket of the pump 2 grease the sealing ring of the pump.
Spray nozzle does not spray.
No pressure present.
O Generate pressure using the pump.
The spray nozzle is blocked.
Clean the spray nozzle.
No spray in the container 5
Fill with spray.
The spray head is set between 2 spray functions.
O Set the spray head right.
Disposal
The packaging is made entirely of recyclable materials, which you may dispose of at local recycling facilities.
Contact your local refuse disposal authority for more details of how to dispose of your worn-out product.
Service
GB Service Great Britain
Tel.: 08000569216
E-Mail: owim@lidl.co.uk
IE Service Ireland
Tel.:1800200736
E-Mail: owim@lidl.ie
Introduction
Description des pieces (ill. A)
WAARSCHUWING! GEVAAR
Transport under drug
Haeng baereremma oftryksprjten hen over skulderen.
Transport after drug
Pooblascnis serviser:
OWIM GmbH & Co. KG
Stiftsbergstraße 1
74167 Neckarsulm
NEMCIJA
Servisna telefonska stevilk: 080082034