
Silver Breadmaker Easy 151938 - Bread maker PRINCESS - Free user manual and instructions
Find the device manual for free Silver Breadmaker Easy 151938 PRINCESS in PDF.
| Product type | Automatic bread machine |
| Brand | Princess |
| Model | Silver Breadmaker Easy 151938 |
| Dimensions (approx.) | 30 x 25 x 35 cm (estimate) |
| Weight | ~4 kg (estimate) |
| Power supply | 230 V ~ 50 Hz |
| Power | 600 W (estimate) |
| Bread capacity | Up to 450 g flour (loaf approx. 700 g) |
| Baking programs | 3: Basic, French, Whole Wheat |
| Keep warm | Yes, up to 60 minutes after baking |
| Dough only function | Not specified (likely no) |
| Delayed timer | Not specified (likely no) |
| Viewing window | Yes, small window in lid |
| Non-stick coating | Yes, in the pan |
| Kneading blade | Removable, with non-stick coating |
| Included accessories | Pan, kneading blade, measuring cup, measuring spoon |
| Maintenance and cleaning | Clean interior and exterior with a damp cloth; do not immerse; wash pan and blade in warm soapy water |
| Safety | Do not use near children without supervision; do not immerse in water; use on a stable, non-flammable surface |
| Spare parts and repairability | Parts recommended by manufacturer; repair by an authorized repairer in case of malfunction |
| General information | 1 year warranty on manufacturing defects; read instruction manual before use |
Frequently Asked Questions - Silver Breadmaker Easy 151938 PRINCESS
User questions about Silver Breadmaker Easy 151938 PRINCESS
0 question about this device. Answer the ones you know or ask your own.
Ask a new question about this device
Download the instructions for your Bread maker in PDF format for free! Find your manual Silver Breadmaker Easy 151938 - PRINCESS and take your electronic device back in hand. On this page are published all the documents necessary for the use of your device. Silver Breadmaker Easy 151938 by PRINCESS.
USER MANUAL Silver Breadmaker Easy 151938 PRINCESS
natural_image
Symbolic icon of a crown with a vertical line above it, enclosed in an oval frame (no text or numbers present)PRINCESS®
Gebruiksaanwijzing
Instructions for use
Mode d'emploi
Anleitung
natural_image
Symbolic icon of a boot with a vertical line and three leaf-like shapes inside an oval frame (no text or numbers)NL Gebruiksaanwijzing 4
UK Instructions for use 8
F Mode d'emploi....13
D Anleitung....18
E Instrucciones de Uso 23
I Istruzioni d'uso 27
S Bruksanvisning 32
DK Brugsanvisning 37
N Bruksanvisning 42
SF Käyttöohje 46
P Instruções de utilização ....51
GARANTIEKAART/GUARANTEE CARD/CARTE DE GARANTIE/ GARANTIEKARTE CERTIFICADO DI GARANTÍA/CARTOLINA DI GARANZIA/GARANTIKORT/ GARANTIBEVIS/GARANTIKORT/TAKUUTODISTUS 57-58
PRINCESS SILVER/ ROYAL BREADMAKER EASY ART. 1938/ 1939
natural_image
Symbolic icon of a leaf with a stem, enclosed in an oval frame (no text or numbers)natural_image
Symbolic icon of a leaf with a stem inside an oval frame (no text or numbers)Gemengd brood
Tarwemeel 400 gram
Waldkornmeel
natural_image
Symbolic emblem of a carrot with three seeds inside an oval frame (no text or numbers)natural_image
Symbolic emblem of a crown with a vertical line above it, enclosed in an oval frame (no text or numbers present)Bake delicious bread, quickly and easily. It's all possible with the Princess Breadmaker Easy. This fully automatic bread maker mixes and kneads the dough, bakes the bread and then switches to the stay-warm function to keep the bread appetisingly fresh and crispy. That way you can have fresh bread anytime, just the way you like it.
You'll soon see that baking bread with this machine is not only convenient and excellent value for money – it's also fun, too. Our recipes will help you to create your very first bread rolls, but soon you will be enjoying amazing experiments with a variety of different types of flour and other ingredients. We wish you lots of success and baking fun!
PLEASE READ THOROUGHLY BEFORE USE
Read these instructions thoroughly first and keep them for future reference. Check that your domestic electricity supply matches that of the appliance. Only connect this appliance to an earthed socket.
INSTRUCTIONS FOR USE
- Only use the machine for the purposes described in the instruction manual and only use parts recommended by the manufacturer.
- Connect the bread maker to a 230 volt alternating current
- Be extra careful if you use the bread maker when children are around.
- The bread maker gets hot while in use. Wear oven gloves when removing the hot baking mould from the machine.

natural_image
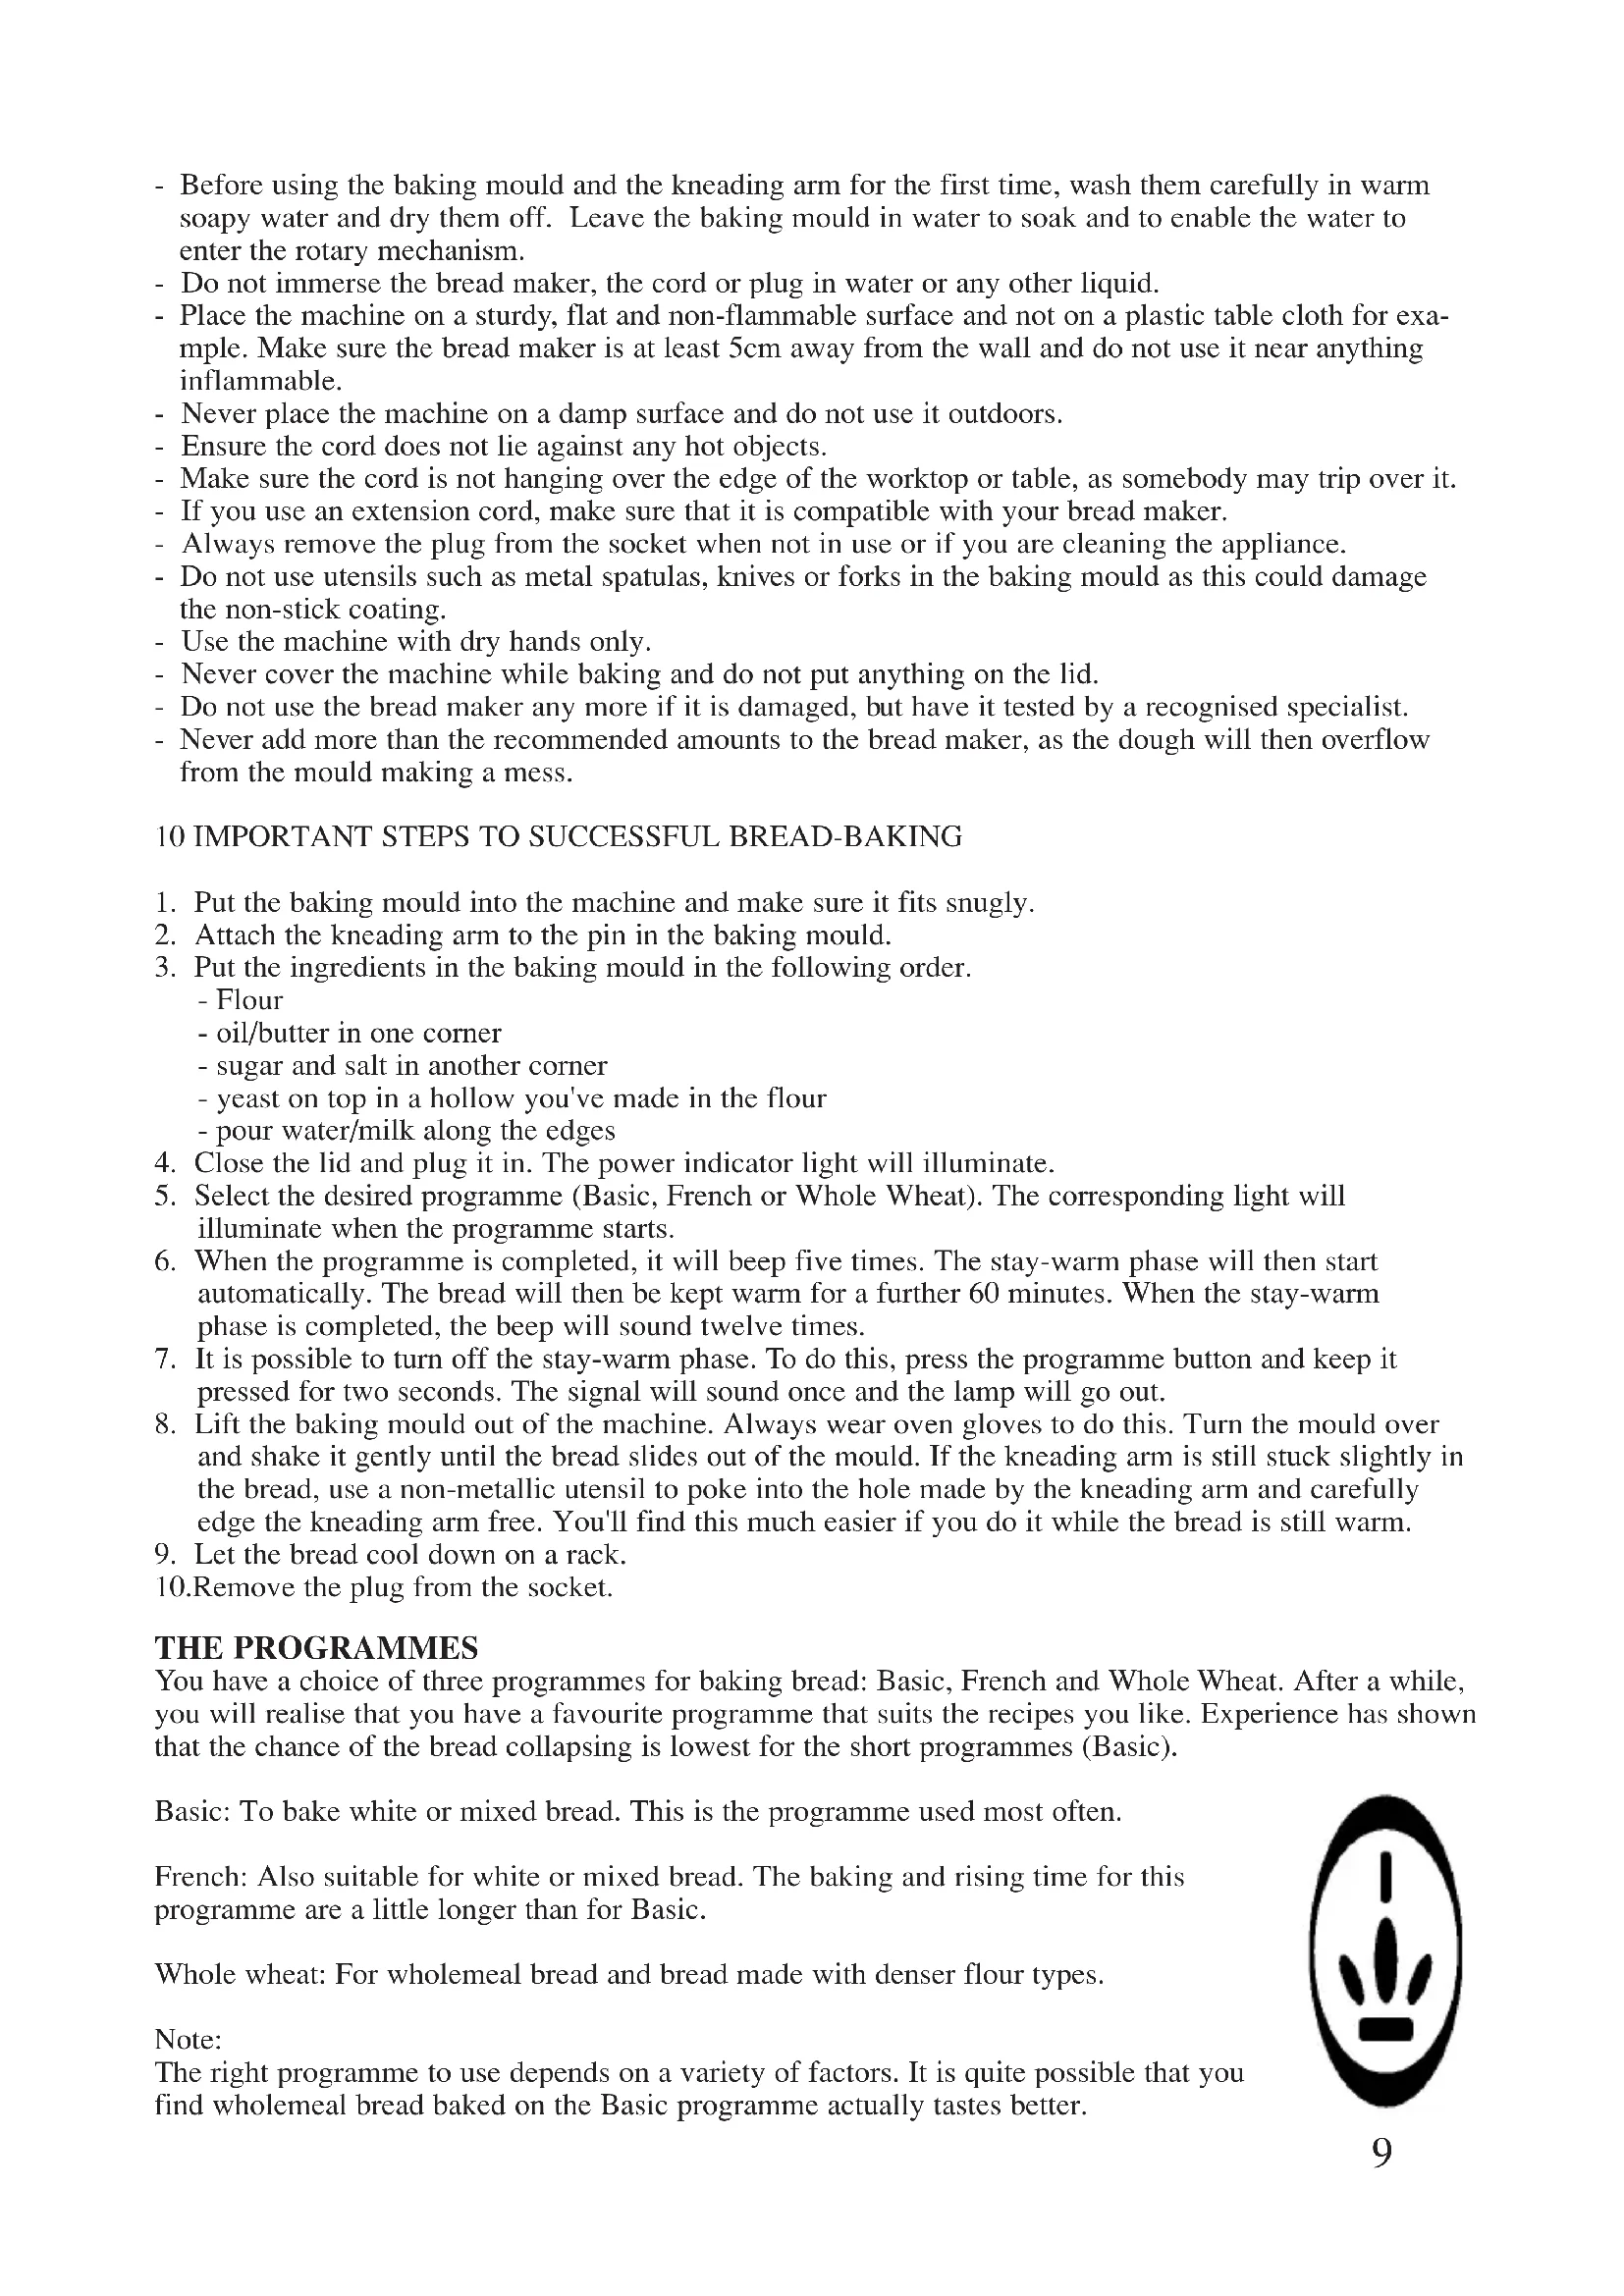
Symbolic emblem of a leaf with a vertical line inside an oval frame (no text or numbers)- Before using the baking mould and the kneading arm for the first time, wash them carefully in warm soapy water and dry them off. Leave the baking mould in water to soak and to enable the water to enter the rotary mechanism.
- Do not immerse the bread maker, the cord or plug in water or any other liquid.
- Place the machine on a sturdy, flat and non-flammable surface and not on a plastic table cloth for example. Make sure the bread maker is at least 5cm away from the wall and do not use it near anything inflammable.
- Never place the machine on a damp surface and do not use it outdoors.
- Ensure the cord does not lie against any hot objects.
- Make sure the cord is not hanging over the edge of the worktop or table, as somebody may trip over it.
- If you use an extension cord, make sure that it is compatible with your bread maker.
- Always remove the plug from the socket when not in use or if you are cleaning the appliance.
- Do not use utensils such as metal spatulas, knives or forks in the baking mould as this could damage the non-stick coating.
- Use the machine with dry hands only.
- Never cover the machine while baking and do not put anything on the lid.
- Do not use the bread maker any more if it is damaged, but have it tested by a recognised specialist.
- Never add more than the recommended amounts to the bread maker, as the dough will then overflow from the mould making a mess.
10 IMPORTANT STEPS TO SUCCESSFUL BREAD-BAKING
- Put the baking mould into the machine and make sure it fits snugly.
- Attach the kneading arm to the pin in the baking mould.
-
Put the ingredients in the baking mould in the following order.
-
Flour
- oil/butter in one corner
- sugar and salt in another corner
- yeast on top in a hollow you've made in the flour
-
pour water/milk along the edges
-
Close the lid and plug it in. The power indicator light will illuminate.
- Select the desired programme (Basic, French or Whole Wheat). The corresponding light will illuminate when the programme starts.
- When the programme is completed, it will beep five times. The stay-warm phase will then start automatically. The bread will then be kept warm for a further 60 minutes. When the stay-warm phase is completed, the beep will sound twelve times.
- It is possible to turn off the stay-warm phase. To do this, press the programme button and keep it pressed for two seconds. The signal will sound once and the lamp will go out.
- Lift the baking mould out of the machine. Always wear oven gloves to do this. Turn the mould over and shake it gently until the bread slides out of the mould. If the kneading arm is still stuck slightly in the bread, use a non-metallic utensil to poke into the hole made by the kneading arm and carefully edge the kneading arm free. You'll find this much easier if you do it while the bread is still warm.
-
Let the bread cool down on a rack.
-
Remove the plug from the socket.
THE PROGRAMMES
You have a choice of three programmes for baking bread: Basic, French and Whole Wheat. After a while, you will realise that you have a favourite programme that suits the recipes you like. Experience has shown that the chance of the bread collapsing is lowest for the short programmes (Basic).
Basic: To bake white or mixed bread. This is the programme used most often.
French: Also suitable for white or mixed bread. The baking and rising time for this programme are a little longer than for Basic.
Whole wheat: For wholemeal bread and bread made with denser flour types.
Note:
The right programme to use depends on a variety of factors. It is quite possible that you find wholemeal bread baked on the Basic programme actually tastes better.

natural_image
Symbolic emblem of a crown with a vertical line above it, enclosed in an oval frame (no text or numbers present)BAKING TIMES
Programme: Basic: French Whole wheat (minutes) (minutes) (minutes)
Kneading 15 15 20
Rising 20 25 35
Baking 40 50 45
Total programme time 75 90 100
Stay-warm phase 60 60 60
A FEW RECIPES FOR BREAD
The quantities have been calculated according the measuring cup and measuring scoop provided (the latter has a teaspoon and tablespoon measure on the ends).
White bread
Wheat flour or standard flour 450 grams
Yeast(dry) 4 teaspoons
Oil3 tablespoons
Milk 2 to 3 tablespoons
Salt 1 heaped teaspoon
Sugar 1 1/2 tablespoons
Water 250 ml.
Whole meal bread
Wholemeal flour 450 grams
Yeast(dry) 4 teaspoons
Oil3 tablespoons
Milk 2 tablespoons
Salt 1 heaped teaspoon
Sugar 1 1/2 tablespoons
Water 260 ml.
Mixed bread
Wheat flour 400 grams
Waldkorn flour (or other flour type) 50 grams
Yeast 4 teaspoons
Oil3 tablespoons
Milk 2 tablespoons of milk
Yoghurt 1 tablespoon
Salt 1 heaped teaspoon
Sugar 1 1/2 tablespoons
Water 250 ml.
BE ADVENTUROUS
Of course you are now equipped to bake some bread using one of these recipes. But if you get the urge it is also fun to experiment a little with a range of different ingredients. In order to do that properly, it helps if you have a good knowledge of the various bread baking ingredients there are. The following information should certainly prove useful for your baking.
FLOUR
The main ingredient of bread is flour. There are a great many types of flour and flour mixes and the type of grain used for the flour makes a lot of difference to the bread. Wheat flour, for instance, contains so much gluten that it rises better than other denser flour and therefore needs less yeast. Glutens are protein complexes which are present in grains such as wheat, oats, rye and barley. When bread rises this gluten forms a network which prevents the carbon dioxide gas bubbles from escaping so that they remain inside the dough and the bread will rise.

natural_image
Symbolic emblem of a leaf with a vertical line inside an oval frame (no text or numbers)Plain or household flour
Most white flour is called plain or household flour and this contains almost no bran or wheat germ but does contain a lot of gluten. This flour is used to thicken soups and sauces but perfectly good bread can be baked using it.
Wheat flour
Wheat flour is white flour formed from grains of wheat and it is slightly grey in colour because it contains a small quantity of bran and wheat germ as well as a lot of gluten.
Wholemeal flour
Wholemeal flour is ground from the complete, untreated grains of wheat so that all the bran and wheatgerm are still in it.
Just like wheat flour it is rich in gluten but denser because of the bran and wheat germ particles. If only wholemeal flour is used the bread is more compact so that most home bakers also add some wheat flour.
In addition to these varieties of flour there are lots more for you to experiment with including oatmeal, barley flour, buckwheat, spelt, cornflour and rye flour.
Mixing flour types
Most flour types can be mixed together easily. Common combinations are buckwheat/oats/wheat and barley/wheat. Various mixes are available in the shops, such as waldkorn, six, nine or ten-grain multi-flour. These mixes often already contain bread improver as well as the flour.
All-in mixes
These are mixes which contain all the necessary ingredients except water. They are easy and quick to use but are also more expensive.
YEAST
Yeast is necessary if bread is to rise. Yeast is available either as fresh yeast (blocks) or dried yeast (granules). There are various types of dried yeast which work slightly differently from each other so that once more it is a question of personal preference.
Roughly speaking you will need about half as much dry yeast (also known as instant) as you would fresh. Yeast may not work properly if it comes into contact with salt or fats. Salt can kill the yeast while fats enclose the yeast cells preventing them from rising. Therefore, it is important that the yeast, salt and butter are not too close to each other in the breadmaker.
SALT
Naturally salt adds to the taste of the bread but it is also important for making a crisp crust and for the rising process (although salt can stop this if it comes into contact with the yeast). Salt strengthens the gluten structure which gives the bread its form and also helps to prevent the bread from rising out of the pan or collapsing before it is properly baked. It is quite possible to bake low-salt or even salt-free bread but then the ingredients will need to be varied.
LIQUIDS
The commonest liquid used in baking bread is water but you can also try using fresh milk or buttermilk. If you do this it will also affect the amount of rising and the structure of the bread.
Because of the amount of fat present full fat milk keeps the bread fresher for longer and the milk sugars present (lactose) improve the rising. Buttermilk gives a lighter loaf that stays fresh longer.
SUGAR
Sugar plays only a minor role in the rising process but it does affect the flavour. Honey, syrup or treacle can be used instead of sugar. It is preferable not to use any hard-grained sugar types or candy sugar in the breadmaker because this can damage the non-stick coating. Do not use synthetic sweeteners when baking as most of these decompose in the heat.
FATS
A fat is really a bread improver, it is not essential but the bread is better if it is used. Fat makes the dough more supple so that it can rise more easily and it also surrounds the gluten structure so that the carbon dioxide gas being produced cannot escape. This makes the bread softer and it stays fresh for longer. Various sorts of fat are suitable.

natural_image
Symbolic icon of a crown with a vertical line above it, enclosed in an oval frame (no text or numbers present)Vegetable oils (sunflower or olive oil) and fresh butter or margarine all give good results. Oils make the crust a little softer while margarine gives a crispier crust and also helps the rising process. Using an oil with an added taste, such as walnut, garlic or basil oil, can help to make very tasty herb bread.
TEMPERATURE
It is best if the ingredients are at room temperature before adding them to the baking tin. Never use hot liquids as these can prevent the yeast from working properly or at all
USEFUL AIDS AND TIPS
Cool on a rack
After baking let the loaf cool down on a grid so that the heat can escape from all sides.
Cut after cooling
Home baked bread cuts best when it is cool. If the bread is still hot it can only be cut with a good quality electric knife such as the Princess 2952 Silver Electric Knife.
Keeping bread
Once cool home baked bread is best kept wrapped in a clean teacloth. This keeps the crust crispy. Special paper bags for bread are also suitable. The crust goes soft if the bread is kept in a plastic bag or in a refrigerator
Freezing bread
Home baked bread can be frozen well provided this is not done until it has completely cooled down. It is easiest to do this in daily sized portions.
Thawing out is best done at room temperature, because a microwave will dry the bread out. Although freezing is possible there will always be some loss of quality.
Darker bread
A tablespoon of cocoa can be added to the flour to make the bread darker. It has hardly any effect on the taste.
Crispier crust
A crisper crust can be obtained by leaving the bread in the breadmaker for 10 to 15 minutes after the baking has been completed.
If the bread rises too much
The rising process can be checked through the viewing glass. It is normally not advisable to open the lid while rising is going on because the bread is then likely to collapse, but if the dough rises up so much that it sticks to the viewing glass (this can also occur during baking) open the lid for a few seconds. The dough will then drop back a little.
A dense, small loaf
Too much liquid results in a small, flat loaf. The dough cannot rise because it is too wet.
It could also be that the yeast is too old
Bread is too dry
If there is too little liquid the bread will be too dry. Try using (a little) more water or milk. If the bread is fine after baking but then dries out too quickly use a little more oil or fat.
Bread collapses
If your bread rises properly but then collapses while baking try the shortest programme (Basic). It is generally true that there is more chance of the bread collapsing while it is being baked when a longer programme is being used.
CLEANING AND MAINTENANCE
- Let the appliance cool down and remove the plug from the socket before cleaning or storing the machine.
- Never use aggressive detergents such as chemical cleaners, oven cleaner etc.
- Never immerse the bread maker in water and never fill the appliance with water.
- Clean the housing on the inside and outside with a damp cloth. Do this after every time you use it. The kneading arm should also be cleaned after each use.
- If the kneading arm remains attached to the baking mould after baking, fill the mould with warm water, leave it to soak in for five minutes and then remove the kneading arm. Before storing the appliance away, ensure that it is has completely cooled down and is clean and dry. Always close the lid of the appliance when storing.
IN CONCLUSION
Armed with all this information you have, in theory, everything you need to develop your own favourite recipe but in practice this may, at first, be rather disappointing because baking bread is a craft and you will take some time to master it. The quest for perfect bread is often a matter of trial and error.

natural_image
Symbolic icon of a boot with a vertical line and three leaves inside an oval frame (no text or numbers)Do not be downhearted if your first efforts are not completely successful. Ask other home bakers for their advice. Read further, there is also information available on the internet, and whatever you do keep on experimenting, because the possibilities are endless and because home baked bread is always more delicious than bread bought in the shops.
U.K. WIRING INSTRUCTIONS
The wires in the mains lead are coloured in accordance with the following code:
$$ \mathrm{BLUE} = \text { neutral }, \mathrm{BROWN} = \text { LIVE }, \mathrm{GREEN-YELLOW} = \text { EARTH } $$
As the colours of the wire in the mains lead of this appliance may not correspond with the colour markings identifying the terminals on your plug, proceed as follows:
The wire which is coloured BLUE must be connected to the terminal which is marked with the letter N or coloured black.
The wire which is coloured BROWN must be connected to the terminal which is marked with the letter L or coloured red.
The wire which is coloured GREEN-YELLOW must be connected to the earth terminal which is marked with the letter E or ± or coloured green and yellow.
With this appliance, if a 13 amp plug is used a 13 amp fuse should be fitted. If any other type of plug is used a 15 amp fuse must be fitted either in the plug or at the distribution board.
PRINCESS SILVER/ ROYAL BREADMAKER EASY ART. 1938/ 1939
natural_image
Symbolic emblem of a crown with a vertical line above it, enclosed in an oval frame (no text or numbers present)Programme Basic French Whole Wheat
(minutes) (minutes) (minutes)
Pétrir 15 15 20
Lever
20
25
Cuire 40 50 45
natural_image
Symbolic emblem of a leaf with a vertical line inside an oval frame (no text or numbers)35
QUELQUES RECETTES DE PAIN
natural_image
Symbolic emblem of a crown with a vertical line above it, enclosed in an oval frame (no text or numbers present)natural_image
Symbolic emblem of a crocodile with a tail, enclosed in an oval frame (no text or numbers)natural_image
Symbolic emblem of a crown with a vertical line above it, enclosed in an oval frame (no text or numbers present)natural_image
Symbolic emblem of a boot with a vertical line and three leaf-like elements inside an oval frame (no text or numbers)10 WICHTIGE SCHRITTE FÜR ERFOLGREICHES BROTBACKEN
Programm Basic French Whole Wheat
(Minuten) (Minuten) (Minuten)
Kneten 15 15 20
Aufgehen 20 25 35
Backen 40 50 45
natural_image
Symbolic icon of a leaf with a stem inside an oval frame (no text or numbers)Weißbrot
natural_image
Symbolic emblem of a leaf with a vertical line inside an oval frame (no text or numbers)natural_image
Symbolic icon of a leaf with a stem inside an oval frame (no text or numbers)TEMPERATUR
natural_image
Symbolic icon of a boot with a vertical line and three leaves inside an oval frame (no text or numbers)ZUM SCHLUSS
natural_image
Symbolic emblem of a leaf with a vertical line inside an oval frame (no text or numbers)natural_image
Symbolic icon of a boot with a vertical line and three leaves inside an oval frame (no text or numbers)Pan integral
natural_image
Symbolic emblem of a crown with a vertical line above it, enclosed in an oval frame (no text or numbers present)natural_image
Symbolic emblem of a leaf with a vertical line inside an oval frame (no text or numbers)natural_image
Symbolic emblem of a carrot with a vertical line inside an oval frame (no text or numbers)natural_image
Symbolic icon of a boot with a vertical line and three leaves inside an oval frame (no text or numbers)natural_image
Symbolic emblem of a crown with a vertical line above it, enclosed in an oval frame (no text or numbers present)Pane misto
natural_image
Symbolic emblem of a leaf with a vertical line inside an oval frame (no text or numbers)LIEVITO
natural_image
Symbolic emblem of a crown with a vertical line above it, enclosed in an oval frame (no text or numbers present)Congelamento del pane
natural_image
Symbolic emblem of a leaf with a diagonal line inside an oval (no text or numbers)natural_image
Symbolic emblem of a carrot with a vertical line inside an oval frame (no text or numbers)PROGRAMMEN
Program: Basic French: Whole wheat:
(minuter) (minuter) (minuter)
Knådning 15 15 20
Jäsning 20 25 35
Gräddning 40 50 45
Total programtid 75 90 100
natural_image
Symbolic icon of a boot with a vertical line and three leaves inside an oval frame (no text or numbers)PRÖVA DIG FRAM
natural_image
Symbolic emblem of a crown with a vertical line above it, enclosed in an oval frame (no text or numbers present)VÄTSKOR
natural_image
Symbolic emblem of a leaf with a vertical line inside an oval (no text or numbers)RENGÖRING OCH UNDERHÅLL
natural_image
Symbolic emblem of a leaf with a vertical line inside an oval frame (no text or numbers)Program Basic French Whole Wheat
(minutter) (minuter) (minutter)
Æltning 15 15 20
Hævning 20 25 35
Bagning 40 50 45
Total programtid 75 90 100
Varmholdefase
60 60 60
ET PAR BR∅DOPSKRIFTER
natural_image
Symbolic icon of a boot with a vertical line and three leaves inside an oval frame (no text or numbers)Franskbrød
natural_image
Symbolic emblem of a crown with a vertical line above it, enclosed in an oval frame (no text or numbers present)natural_image
Symbolic icon of a boot with a vertical line and three leaves inside an oval frame (no text or numbers)TIPS OG HJÆLPEMIDLER
Afkøling på rist
natural_image
Symbolic icon of a leaf with a stem inside an oval frame (no text or numbers)PRINCESS SILVER/ ROYAL BREADMAKER EASY ART. 1938/ 1939
natural_image
Symbolic emblem of a leaf with a vertical line inside an oval frame (no text or numbers)(minutter) (minutter) (minutter)
Elting 15 15 20
Heving 20 25 35
Steking 40 50 45
Total programtid 75 90 100
Opprettholdende varmefase 60 60 60
NOEN BR∅DOPPSKRIFTER
natural_image
Symbolic emblem of a crown with a vertical line above it, enclosed in an oval frame (no text or numbers present)natural_image
Symbolic icon of a boot with a vertical line and three leaves inside an oval frame (no text or numbers)SALT
natural_image
Symbolic icon of a leaf with a stem inside an oval frame (no text or numbers)Brødet er for tørt
natural_image
Symbolic emblem of a paw print inside an oval frame (no text or numbers)Ohjelma Basic French Whole Wheat
natural_image
Symbolic icon of a leaf with a stem, enclosed in an oval frame (no text or numbers)MUUTAMIA LEIVONTAOHJEITA
natural_image
Symbolic emblem of a leaf with a vertical line inside an oval frame (no text or numbers)natural_image
Symbolic emblem of a crown with a vertical line above it, enclosed in an oval frame (no text or numbers present)LÄMPÖTILA
natural_image
Symbolic emblem of a leaf with a vertical line inside an oval (no text or numbers)natural_image
Symbolic emblem of a crown with a vertical line above it, enclosed in an oval frame (no text or numbers present)natural_image
Symbolic icon of a boot with a vertical line and three leaves inside an oval frame (no text or numbers)Pão Integral
Farinha integral 450 gramas
natural_image
Symbolic emblem of a crown with a vertical line above it, enclosed in an oval frame (no text or numbers present)Misturas completas
natural_image
Symbolic emblem of a leaf with a vertical line inside an oval (no text or numbers)Conservar o pão
natural_image
Symbolic icon of a leaf with a vertical line inside an oval (no text or numbers)GARANTIEKAART GUARANTEE CARD CARTE DE GARANTIE GARANTIEKARTE GARANTIE CERTIFICADO DE GARANTÍA TARJA DE GARANTIA CARTOLINA DI GARANZIA GARANTIKORT GARANTIBEVIS GARANTIKORT TAKUUTODISTUS GARANCIJSKI LIST ÁBYGADARSKÍRTEINI ZÁRU/NÍ LIST Κάρτα εγγύησης

PRINCESS®
Datum van aankoop
Date of Purchase
Date d'achat
Kaufdatum
Fecha de compra
Data de compra
Data di acquisto
Inköpsdatum
Købs-dato
Innkjøpsdato
Ostopäivä
Datum nakupa
Hvenær keypt
Datum nákupu
Ημερομηνια αγο ρας
Dealer Revendeur Händler Haendler/commercant Vendedor Comprador Rivenditore Återförsäljare Forhandler Jälleenmyyjä Zastopnik Söluadili Προμηθευτής

TYPE

Koper
Buyer
Acheteur
Käufer
Kaeufer
Comprador
Comerç
Acquirente
Köpare
Køber
Kjøper
Ostaja
Kupec
Kaupandi
Kupujçi
Αγοραστης
NEDERLANDS: GARANTIEVOORWAARDEN
For 1 year in respect of defects found to be due to faulty workmanship or material. The guarantee is only valid with a complete filled in guarantee card. There is no guarantee on appliances found to be defective due to wrongful use, disassembling or accidental breakage.
FRANÇAIS: CONDITIONS DE LA GARANTIE


- PRINCESS®
- PRINCESS SILVER/ ROYAL BREADMAKER EASY ART. 1938/ 1939
- Gemengd brood
- PLEASE READ THOROUGHLY BEFORE USE
- INSTRUCTIONS FOR USE
- IMPORTANT STEPS TO SUCCESSFUL BREAD-BAKING
- THE PROGRAMMES
- BAKING TIMES
- A FEW RECIPES FOR BREAD
- White bread
- Whole meal bread
- Mixed bread
- BE ADVENTUROUS
- FLOUR
- YEAST
- SALT
- LIQUIDS
- SUGAR
- FATS
- TEMPERATURE
- USEFUL AIDS AND TIPS
- Cool on a rack
- Cut after cooling
- Keeping bread
- Freezing bread
- Darker bread
- Crispier crust
- If the bread rises too much
- A dense, small loaf
- Bread is too dry
- CLEANING AND MAINTENANCE
- IN CONCLUSION
- U.K. WIRING INSTRUCTIONS
- QUELQUES RECETTES DE PAIN
- WICHTIGE SCHRITTE FÜR ERFOLGREICHES BROTBACKEN
- Weißbrot
- TEMPERATUR
- ZUM SCHLUSS
- Pan integral
- Pane misto
- LIEVITO
- Congelamento del pane
- PROGRAMMEN
- PRÖVA DIG FRAM
- VÄTSKOR
- RENGÖRING OCH UNDERHÅLL
- ET PAR BR∅DOPSKRIFTER
- Franskbrød
- TIPS OG HJÆLPEMIDLER
- Afkøling på rist
- NOEN BR∅DOPPSKRIFTER
- Brødet er for tørt
- MUUTAMIA LEIVONTAOHJEITA
- LÄMPÖTILA
- Pão Integral
- Conservar o pão
- NEDERLANDS: GARANTIEVOORWAARDEN
- FRANÇAIS: CONDITIONS DE LA GARANTIE
Brand : PRINCESS
Model : Silver Breadmaker Easy 151938
Category : Bread maker