
Cones - Docking station HAMA - Free user manual and instructions
Find the device manual for free Cones HAMA in PDF.
| Product type | Bluetooth® stereo speakers |
| Brand | Hama |
| Model | Cones |
| Wireless technology | Bluetooth® v4.1 |
| Bluetooth® profiles | A2DP v1.2, AVRCP v1.4 |
| Operating frequency | 2.402 GHz – 2.480 GHz |
| Output power | 2 x 5 W |
| Impedance | 4 Ω |
| Distortion (THD) | ≤ 1% |
| Dimensions (L x W x H) | 107 x 107 x 60 mm |
| Weight | 497 g |
| Battery type | Li-polymer 3.7 V, 500 mAh |
| Charging time | Approx. 2.5 hours |
| Battery life (Bluetooth®) | Approx. 6 hours |
| Battery life (AUX) | Approx. 7 hours |
| Audio inputs | 3.5 mm jack (AUX-IN), micro USB port (charging only) |
| Hands-free function | Yes (on the master speaker) |
| Stereo configuration | True Wireless Stereo (TWS) |
| Package contents | 2 speakers, Y-shaped micro USB charging cable, Y-shaped 3.5 mm audio cable, user manual |
| Care and cleaning | Slightly damp lint-free cloth, without harsh detergent |
| Safety instructions | Keep out of reach of children, avoid heat and humidity, do not open the product |
| Recycling | Compliant with WEEE and battery directives, do not dispose of with household waste |
Frequently Asked Questions - Cones HAMA
User questions about Cones HAMA
0 question about this device. Answer the ones you know or ask your own.
Ask a new question about this device
Download the instructions for your Docking station in PDF format for free! Find your manual Cones - HAMA and take your electronic device back in hand. On this page are published all the documents necessary for the use of your device. Cones by HAMA.
USER MANUAL Cones HAMA
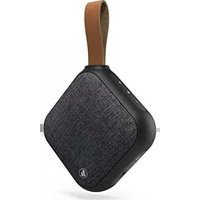
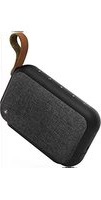
Mobile Bluetooth Speaker
CONES
Operating Instructions
Bedienungsanleitung
Mode d'emploi
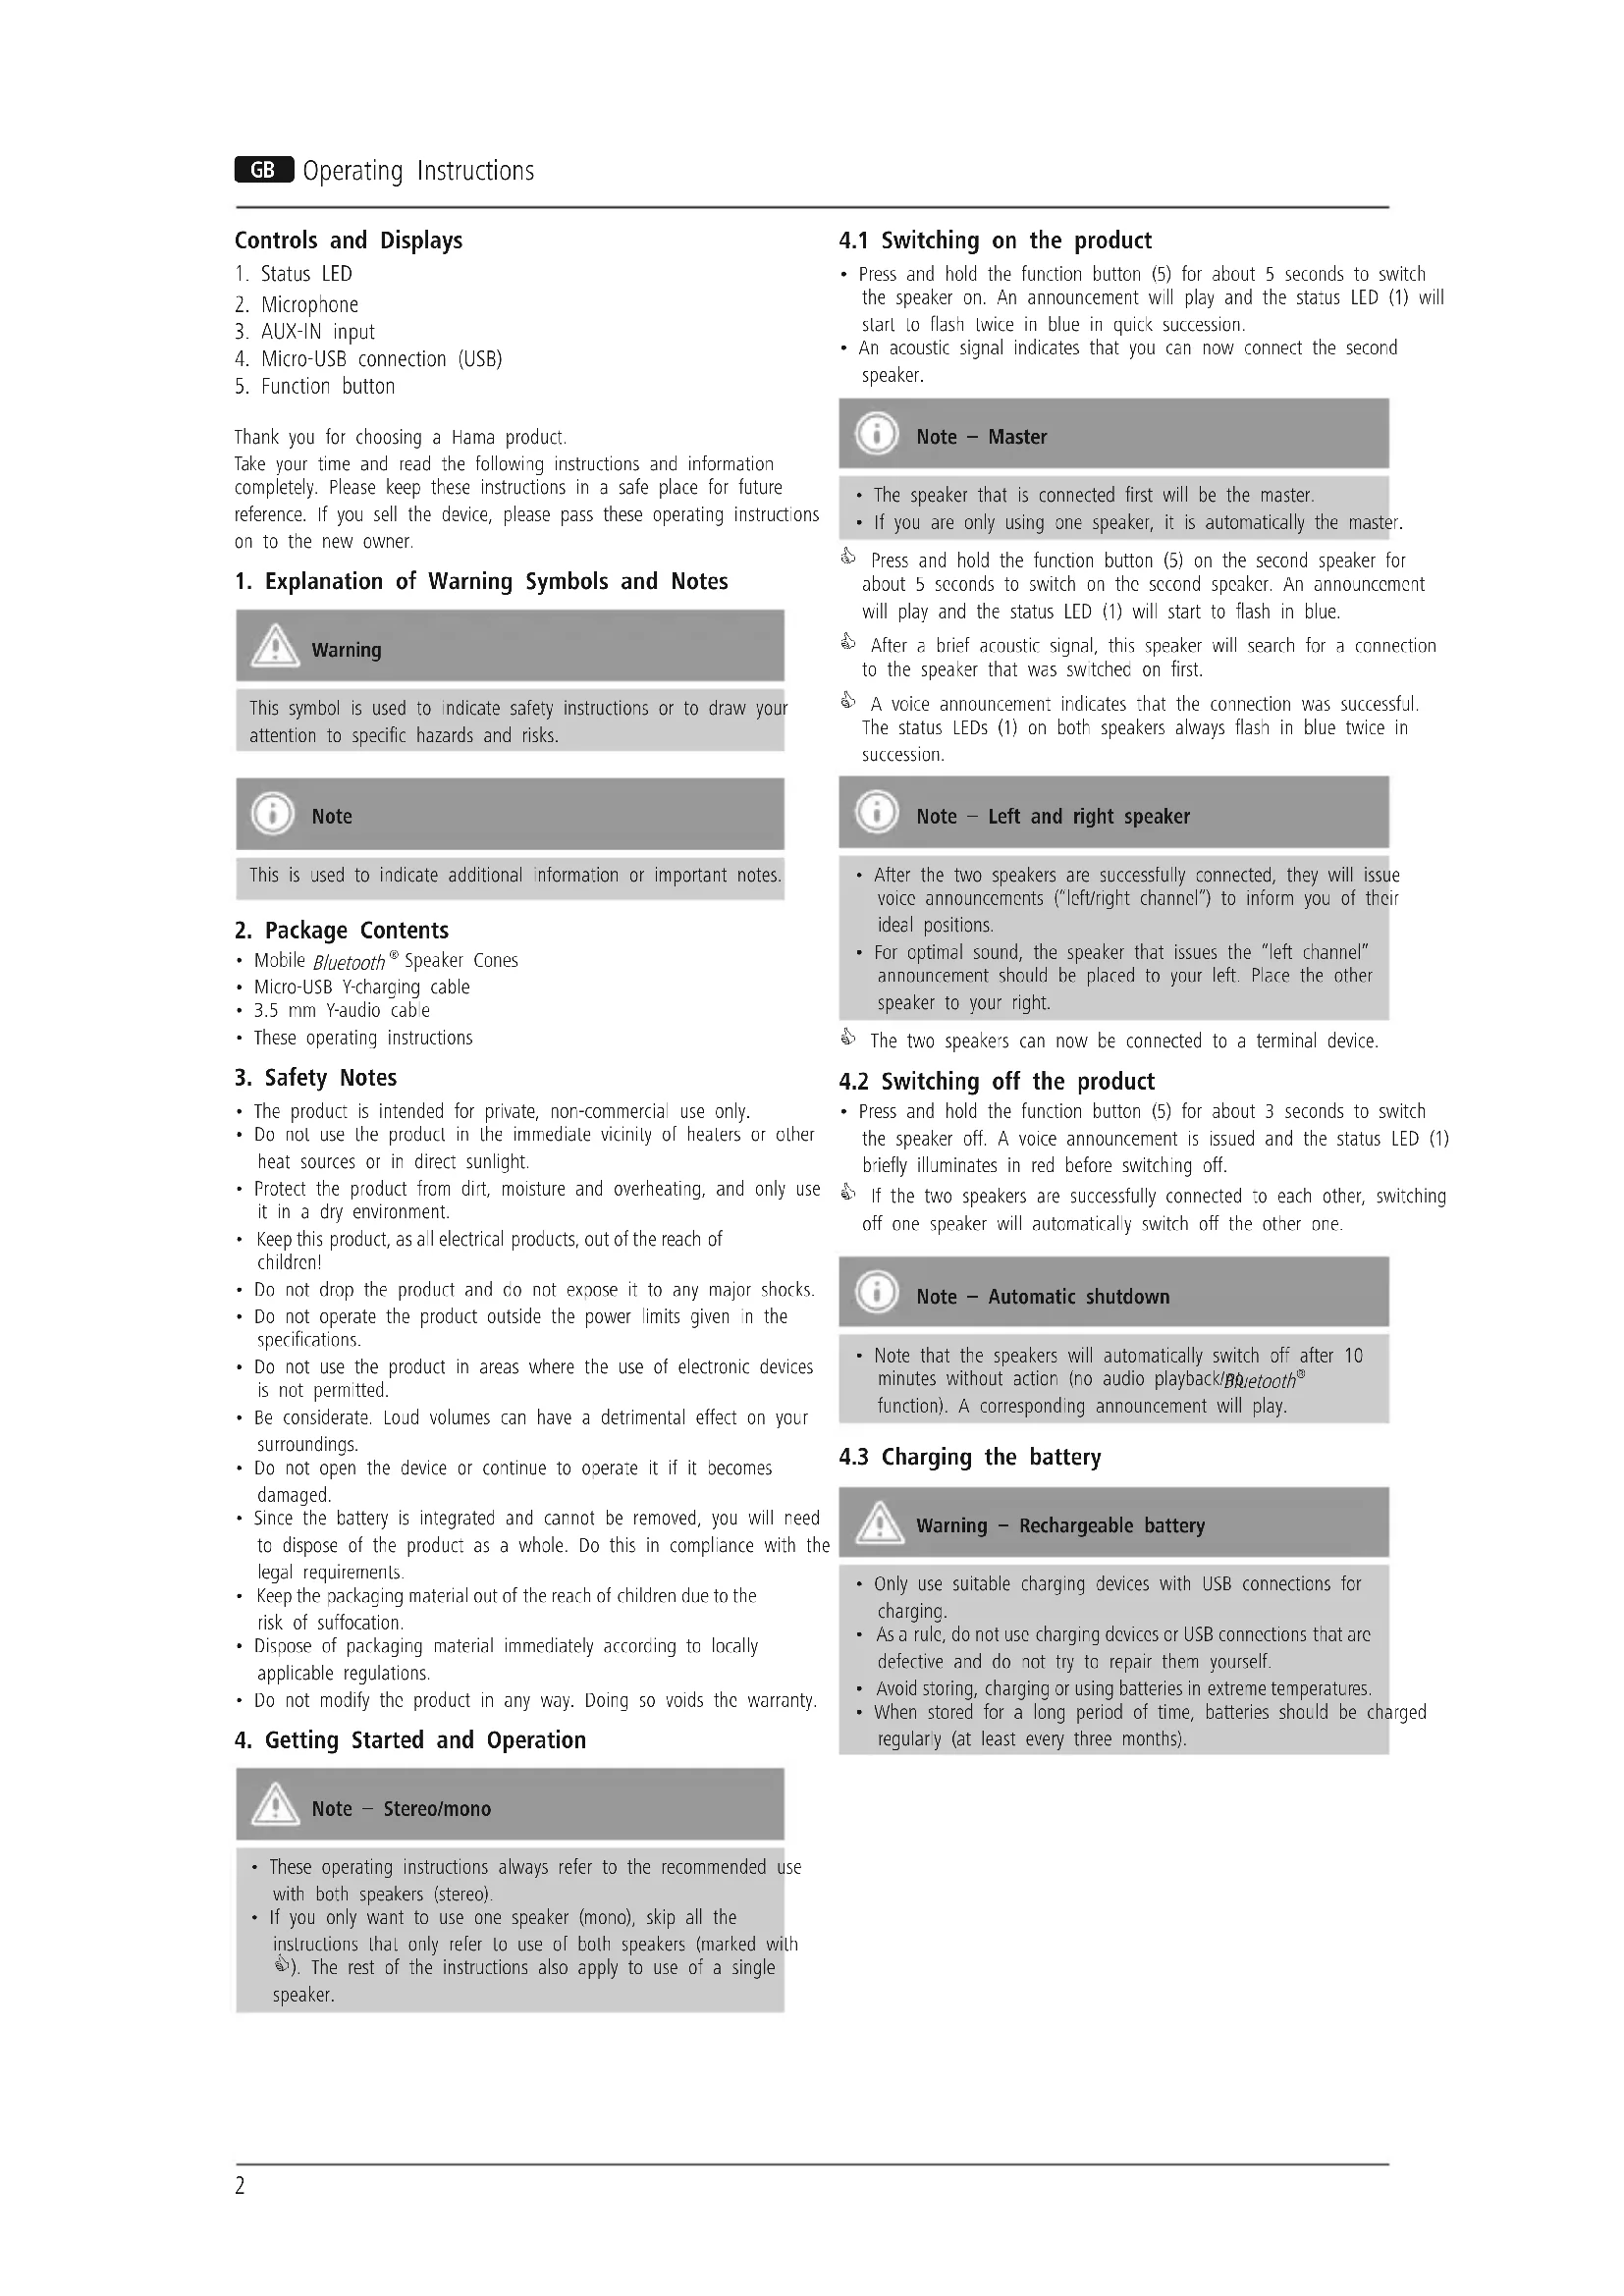
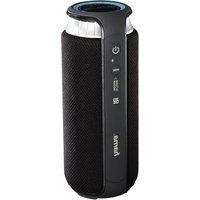
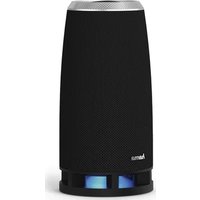
Controls and Displays
1.StatusLED
2. Microphone
3. AUX-IN input
4. Micro-USB connection (USB)
5. Function button
Thank you for choosing a Hama product.
Take your time and read the following instructions and information completely. Please keep these instructions in a safe place for future reference. If you sell the device, please pass these operating instructions on to the new owner.
1. Explanation of Warning Symbols and Notes

Warning
This symbol is used to indicate safety instructions or to draw your attention to specific hazards and risks.

Note
This is used to indicate additional information or important notes.
2. Package Contents
Mobile Bluetooth Speaker Cones
- Micro-USB Y-charging cable
3.5 mm Y-audio cable
These operating instructions
3. Safety Notes
The product is intended for private, non-commercial use only.
- Do not use the product in the immediate vicinity of heaters or other heat sources or in direct sunlight.
- Protect the product from dirt, moisture and overheating, and only use it in a dry environment.
- Keep this product, as all electrical products, out of the reach of children!
- Do not drop the product and do not expose it to any major shocks.
- Do not operate the product outside the power limits given in the specifications.
- Do not use the product in areas where the use of electronic devices is not permitted.
- Be considerate. Loud volumes can have a detrimental effect on surroundings.
- Do not open the device or continue to operate it if it becomes damaged.
- Since the battery is integrated and cannot be removed, you will need to dispose of the product as a whole. Do this in compliance with the legal requirements.
- Keep the packaging material out of the reach of children due to the risk of suffocation.
- Dispose of packaging material immediately according to locally applicable regulations.
- Do not modify the product in any way. Doing so voids the warranty.
4. Getting Started and Operation

Note - Stereo/mono
- These operating instructions always refer to the recommended use with both speakers (stereo).
- If you only want to use one speaker (mono), skip all the instructions that only refer to use of both speakers (marked with 品 ). The rest of the instructions also apply to use of a single speaker.
4.1 Switching on the product
- Press and hold the function button (5) for about 5 seconds to switch the speaker on. An announcement will play and the status LED (1) will start to flash twice in blue in quick succession.
- An acoustic signal indicates that you can now connect the second speaker.

Note - Master
The speaker that is connected first will be the master.
If you are only using one speaker, it is automatically the master.
Press and hold the function button (5) on the second speaker for about 5 seconds to switch on the second speaker. An announcement will play and the status LED (1) will start to flash in blue.
After a brief acoustic signal, this speaker will search for a connection to the speaker that was switched on first.
A voice announcement indicates that the connection was successful. The status LEDs (1) on both speakers always flash in blue twice in succession.

Note - Left and right speaker
After the two speakers are successfully connected, they will issue voice announcements ("left/right channel") to inform you of their ideal positions.
For optimal sound, the speaker that issues the "left channel" announcement should be placed to your left. Place the other speaker to your right.
The two speakers can now be connected to a terminal device.
4.2 Switching off the product
- Press and hold the function button (5) for about 3 seconds to switch the speaker off. A voice announcement is issued and the status LED (1) briefly illuminates in red before switching off.
If the two speakers are successfully connected to each other, switching off one speaker will automatically switch off the other one.

Note - Automatic shutdown
Note that the speakers will automatically switch off after 10 minutes without action (no audio playback/Buetooth function). A corresponding announcement will play.
4.3 Charging the battery

Warning - Rechargeable battery
Only use suitable charging devices with USB connections for charging.
- As a rule, do not use charging devices or USB connections that are defective and do not try to repair them yourself.
- Avoid storing, charging or using batteries in extreme temperatures.
- When stored for a long period of time, batteries should be charged regularly (at least every three months).
- Charge the speakers fully before using them for the first time.
- Connect the included Micro-USB Y-charging cable to the speakers' Micro-USB ports (4).
- Connect the unused connector on the Micro-USB Y-charging cable to a suitable USB charger. Please refer to the operating instructions for the USB charger used.
The status LEDs (2) light up constantly in red during the charging process. - Once the batteries are fully charged, the status LEDs (2) go out.

Note - Charging/ Battery level
It takes approx. 5-6 hours to completely charge the product.
The speaker's battery can be charged whether the speaker is on or off.
If the battery level is less than 10% , an announcement will play. You will only receive this information if the speaker is on.
- Depending on the terminal device connected to tooth, the speakers' battery level will appear on the device.
- The actual battery life varies depending on use of the device, the settings and the ambient conditions (rechargeable batteries have a limited service life).
4.4 Audio playback via the included audio cable (3.5 mm jack)
- Ensure that the speakers are switched off.
- Connect the 3.5 mm Y-audio cable to your terminal device (MP3 player, smartphone, computer, etc.) using the main connector (somewhat thicker).
- Plug the two other connectors into the AUX-IN inputs (3) on the speakers.
- Set the volume on your terminal device to a low level.
- Switch on the speakers as described
- Switching on/off the product The status LEDs (2) will flash steadily in blue.
- Start and control audio playback on the connected terminal device accordingly.

Note
Please note that you cannot establish Bluetooth connection described under 4.5 and 4.6 if an audio cable is connected.
4.5 Bluetooth® pairing

Note
- Check whether your mobile device (MP3 player, mobile phone, etc.) is Bluetooth capable.
- If not, you can only use the speakers for playback using the included audio cable.
Note that the maximum range fBluetooth®is 10 metres without obstacles such as walls, people, etc.
Make sure that you Bluetooth®-capable terminal device is on and Bluetooth® is activated.
- Make sure that the speakers are located within Bluetooth® range of max. 10 metres.
- Switch on the speakers as described Am. Switching on the product
The speakers will search for a connection.
Alternatively you can press and hold the function buttons (5) on both speakers at the same time until the status LEDs (1) alternate red and blue flashes.
- Press and hold the function button (5) on the individual speaker until the status LED (1) alternates red and blue flashes.
- Open the Bluetooth® settings on your terminal device and wait until Cones appears in the list Bluetooth® devices found.
- Select Cones and wait until the speakers are listed as connected in the Bluetooth® settings on your terminal device. An announcement confirms that connection was successful.
The status LEDs (1) on both speakers will flash once in blue at regular intervals.
The status LED (1) on the individual speaker flashes once at regular intervals.

Note - No connection possible
- If the speakers do not appear in the list of available devices, quickly press the function button (5) twice in succession.
- A voice announcement plays and the speakers will search for a connection to the terminal device.

Note -Bluetooth® password
Some terminal devices require a password in order to connect to another Bluetooth device.
- If your terminal device requests a password for connection to the speakers, enter 0000.

Note
- The speakers always store the last eight terminal devices paired.
The speakers will automatically connect to the last terminal device paired when it is switched on the next time. - The speakers will exit pairing mode if Btooth connection is established within two minutes. To activate pairing mode again, see the section Note - No connection possible.
4.6 Automatic Bluetooth® connection (after successful pairing)
Make sure that you Bluetooth®-capable terminal device is on and Bluetooth® is activated.
Make sure that the speakers are located within Bluetooth® range of max. 10 metres.
- Switch on the speakers as described in section Bautooth® pairing.
An announcement confirms that connection was successful.
The status LEDs (1) on both speakers flash once in blue at regular intervals.
The status LED (1) on the individual speaker flashes once at regular intervals.

Note - Connection impaired
After the speaker and terminal device have been paired, a connection is established automatically. If Bleetooth connection is not established automatically, check the following:
- Check the Bluetooth® settings of your terminal device to see whether Cones is connected. If not, repeat the steps listed under Bluetooth® pairing.
- Check whether your terminal device and the speaker are less than 10 metres apart. If not, move them closer together.
- Check whether obstacles are impairing the range. If so, move the devices closer together.
- Check whether the audio cable is connected to the speaker. If so, disconnect it.
4.7 Audio playback (viBluetooth®)
- Start and control audio playback on the connected terminal device.
- Alternatively you can press the function button (5) to start or stop audio playback.
4.8 Hands-free function
You can use the speakers as a hands-free set for your mobile phone. For this function, the mobile phone must be connected to the speakers via Bluetooth®.
You can only control the hands-free function on the master.
- Press the function button (5) on the master to answer an incoming call.
During a call, press the function button (5) on the master once to end the call. - If you receive another incoming call during the call, press the function button (5) on the master once to accept the incoming call and end the current call.

Note - Call quality
To increase the call quality, make sure that you are near the speaker with your mobile phone during the call.
5. Care and Maintenance
- O nly clean this product with a slightly damp, lint-free cloth and do use aggressive cleaning agents.
- Make sure that water does not get into the product.
6. Warranty Disclaimer
Hama GmbH & Co KG assumes no liability and provides no warranty for damage resulting from improper installation/mounting, improper use of the product or from failure to observe the operating instructions and/or safety notes.
7. Service and Support
Please contact Hama Product Consulting if you have any questions about this product.
Hotline: +49 9091 502-115 (German/English)
Further support information can be found here: www.hama.com
8. Technical Data
Cones Bluetooth® stereo speaker
Bluetooth technology Bluetooth v4.1
Supported profiles A2DP V1.2, AVRCP V1.4
Frequency for 2.402 GHz 2.480 GHz
Bluetooth® transfer power Max. -6 ~ +4dBm
Range < 10m
Maximum number of paired devices
Output 2 × 5 W
Charging voltage Max. 5V
Sound system Mono / True
Impedance 4 Ω
Distortion (THD) ≤ 1%
Dimensions 107 x 107 x 60 mm
Weight 497 g
Connections
3.5 mm stereo plug
AUX input, USB for 5 V/500 mA charging function
Battery
Type 3.7 V lithium polymer: 500 mA
Charging time \~ 2.5 h
Via Bluetooth®: ~ 6 h
Operating time Via AUX: 7 h
operating time (depending on volume and audio content)
9. Recycling Information
Note on environmental protection:
After the implementation of the European Directive 2012/19/EU and 2006/66/EU in the national legal system, the following applies: Electric and electronic devices as well as batteries must not be disposed of with household waste.
Consumers are obliged by law to return electrical and
electronic devices as well as batteries at the end of their service lives to the public collecting points set up for this purpose or point of sale. Details to this are defined by the national law of the respective country. This symbol on the product, the instruction manual or the package indicates that a product is subject to these regulations. By recycling, reusing the materials or other forms of utilising old devices/batteries, you are making an important contribution to protecting our environment.
12. Declaration of Conformity
Hereby, Hama GmbH & Co KG declares that the radio equipment type [00173165, 00173166] is in compliance
with Directive 2014/53/EU. The full text of the EU declaration
of conformity is available at the following internet address:
www.hama.com/00173165/Downloads,
www.hama.com/00173166/Downloads.
Frequency band(s)
Maximum radio-frequency power transmitted
180 Hz - 20 kHz
5mW EIRP
4.7 Lecture audio (vißlueðtooth®)
transmissions Bluetooth
Puisssance de Transmission Bluetooth®
-6\~+4dBm maxi
Portee < 10m

m = 311 ;
www.hama.com/00173166/Downloads.
www.hama.com/00173166/Downloads.
Profill support A2DP V1.2
AVRCP V1.4
True wireless Stereo
Sound System 4Ω
Impedenza ≤ 1%
Distorsione THD 107 x 107
60 mm
Dimensioni 497g
Jack stereo 3,5 mm
www.hama.com/00173166/Downloads.
www.hama.com/00173166/Downloads.
Avertizare - accumulator
www.hama.com/00173166/Downloads.
Banda (benzile) de frecunte 180 Hz - 20 kHz
Puterea maxima
5mW EIRP
hama®
Hama GmbH & Co KG 86652 Monheim/ Germany www.hama.com
The Bluetooth® word mark and logos are registered trademarks owned by Bluetooth SIG, Inc. and any use of such marks by Hama GmbH & Co KG is under license. Other trademarks and trade names are those of their respective owners.
All listed brands are trademarks of the corresponding companies. Errors and omissions excepted, and subject to technical changes. Our general terms of delivery and payment are applied.
- Controls and Displays
- Explanation of Warning Symbols and Notes
- Warning
- Note
- Package Contents
- Safety Notes
- Getting Started and Operation
- Note - Stereo/mono
- Switching on the product
- Note - Master
- Note - Left and right speaker
- Switching off the product
- Note - Automatic shutdown
- Charging the battery
- Warning - Rechargeable battery
- Note - Charging/ Battery level
- Audio playback via the included audio cable (3.5 mm jack)
- Bluetooth® pairing
- Note - No connection possible
- Note -Bluetooth® password
- Automatic Bluetooth® connection (after successful pairing)
- Note - Connection impaired
- Audio playback (viBluetooth®)
- Hands-free function
- Note - Call quality
- Care and Maintenance
- Warranty Disclaimer
- Service and Support
- Technical Data
- Cones Bluetooth® stereo speaker
- Battery
- Recycling Information
- Note on environmental protection:
- Declaration of Conformity
- Lecture audio (vißlueðtooth®)
- Avertizare - accumulator
- hama®
Brand : HAMA
Model : Cones
Category : Docking station