FA703IP - Surveillance Camera SMARTWARES - Free user manual and instructions
Find the device manual for free FA703IP SMARTWARES in PDF.
| Product Type | IP Surveillance Camera |
| Resolution | 640 x 480 pixels (300,000 pixels) |
| Viewing Angle | 60 degrees |
| Sensor | 1/4" Color CMOS |
| Power Supply | Adapter 230 V AC / 5 V DC / 2 A |
| Power Consumption | 2.5 W (max) |
| Operating Temperature | -5 °C to 55 °C |
| Network Connectivity | Ethernet RJ45, Wi-Fi 2.4 GHz |
| Audio | Built-in microphone and speaker |
| Motion Detection | Yes |
| Mounting | On flat surface or screwed to wall/ceiling (screws and plugs included) |
| Compatible Mobile App | iOS (Plug2View), Android (p2pcamviewer) |
| PC Software | SYSM Monitor (Windows 98/ME/2000/XP/Vista/7/8) |
| Minimum PC Configuration | 2 GHz processor, 256 MB RAM, 64 MB graphics card |
| Warranty | 2-year limited |
| Maintenance and Cleaning | Unplug before cleaning; use a soft dry cloth; do not use abrasive or corrosive products |
| Safety | Do not open the product; do not expose to moisture, extreme heat or direct sunlight |
| Spare Parts and Repairability | Not user-repairable; contact Smartwares after-sales service |
Frequently Asked Questions - FA703IP SMARTWARES
User questions about FA703IP SMARTWARES
0 question about this device. Answer the ones you know or ask your own.
Ask a new question about this device
Download the instructions for your Surveillance Camera in PDF format for free! Find your manual FA703IP - SMARTWARES and take your electronic device back in hand. On this page are published all the documents necessary for the use of your device. FA703IP by SMARTWARES.
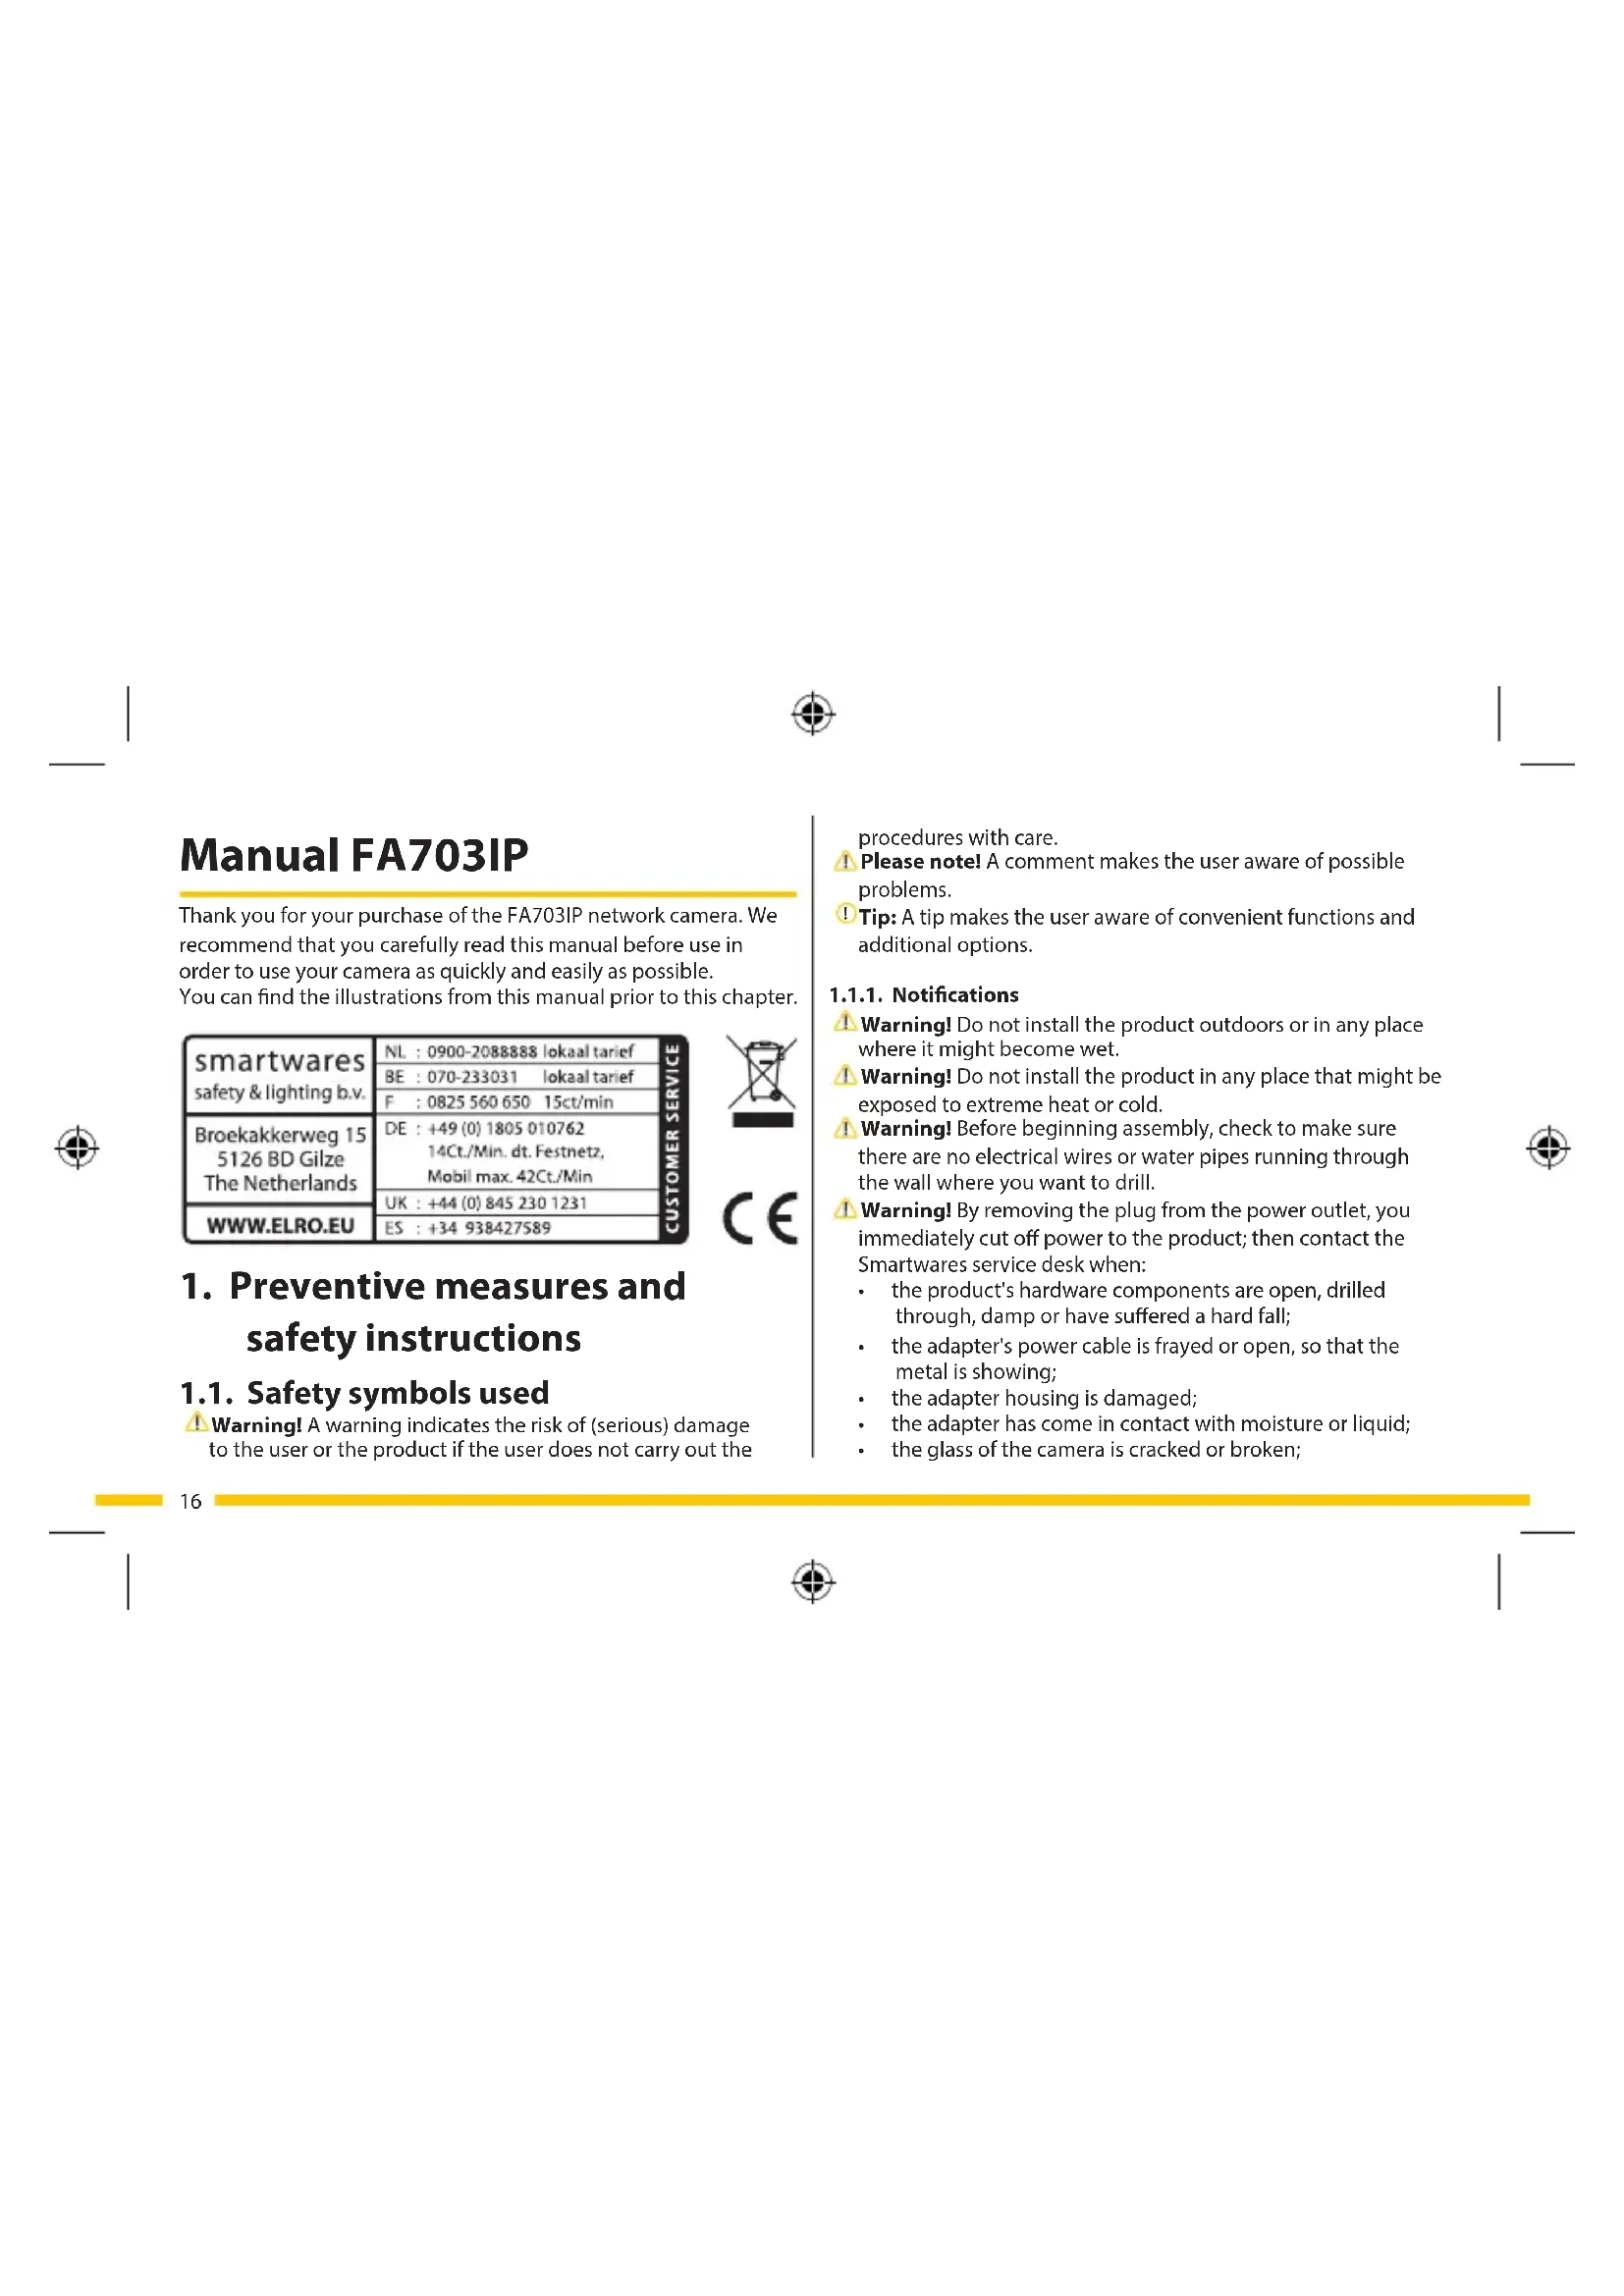
USER MANUAL FA703IP SMARTWARES
Thank you for your purchase of the FA703IP network camera. We recommend that you carefully read this manual before use in order to use your camera as quickly and easily as possible. You can find the illustrations from this manual prior to this chapter.
| smartwares safety & lighting b.v. | NL: 0900-208888 lokaal tarief |
| BE: 070-233031 lokaal tarief | |
| F: 0825 560 650 15ct/min | |
| Broekakkerweg 15 5126 BD Gilze The Netherlands | DE: +49 (0) 1805 010762 14Ct./Min. dt. Festnetz, Mobil max. 42Ct./Min |
| UK: +44 (0) 845 230 1231 | |
| WWW.ELRO.EU | ES: +34 938427589 |

1. Preventive measures and safety instructions
1.1. Safety symbols used
Warning! A warning indicates the risk of (serious) damage to the user or the product if the user does not carry out the
procedures with care.
Please note! A comment makes the user aware of possible problems.
Tip: A tip makes the user aware of convenient functions and additional options.
1.1.1. Notifications
Warning! Do not install the product outdoors or in any place where it might become wet.
Warning! Do not install the product in any place that might be exposed to extreme heat or cold.
Warning! Before beginning assembly, check to make sure there are no electrical wires or water pipes running through the wall where you want to drill.
Warning! By removing the plug from the power outlet, you immediately cut off power to the product; then contact the Smartwares service desk when:
- the product's hardware components are open, drilled through, damp or have suffered a hard fall;
the adapter's power cable is frayed or open, so that the metal is showing;
the adapter housing is damaged;
the adapter has come in contact with moisture or liquid;
the glass of the camera is cracked or broken;
Warning! It is not permitted to open the product yourself or to have it opened, neither is it permitted to repair the product yourself or to have it repaired. This will void the warranties. Please let any maintenance be carried out by certified maintenance personnel.
! Warning! Only use original accessories from the manufacturer.
1 Warning! Keep the product out of reach of children.
Warning! Disconnect the device from all power sources before cleaning it.
Warning! Use a clean, dry cloth to clean the product.
! Warning! Do not use any abrasive agents, corrosive cleaning products or any substances that contain bleach or solvents to clean the product.
! Warning! Remove the adapter from the power outlet during storms, lightning and whenever the product will not be used for a longer period of time.
Please note! Install the product as indicated in this manual. If in doubt, consult a recognised technician and always take account of local installation codes and regulations.
Please note! The camera should be kept out of direct sunlight.
! Please note! Do not point the camera at bushes, tree branches or other moving objects.
Please note! The product must not be discarded as unsorted municipal waste, it must be disposed of separately.
Please note! Find out about the options in your region for disposing of the product after use. Do not throw away electrical appliances or components, but see whether the product (components) can be turned in, recycled or reused.
Please note! Wireless systems can be affected by interference from wireless telephones, microwave ovens and other wireless devices that operate in the 2.4 GHz range. Keep the product at least 3 metres away from any possible sources of interference during installation and operation.
Please note! The camera is not able to view through glass at night. Keep this in mind when positioning it.
2. Intended use
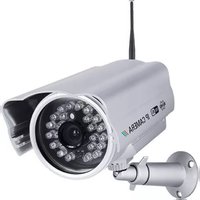
The FA703IP is a security camera that makes it possible to view surveillance images via a local network, an Internet connection or the Flamingo "Plug2View(iOS) & p2pcamviewer(Android)" App on your smartphone. The FA703IP can be connected either through an Ethernet cable or a Wi-Fi connection.
The camera can make video and audio recordings.
The camera is also outfitted with motion detection and can switch on and off via an I/O port.
3. Technical specifications
3.1. General product specifications
Sensor: 1/4" Colour CMOS Sensor
Resolution: 640 x 480 pixels (300k pixels)
Viewing angle: 60 degrees
Minimal brightness: 0.5Lux @ F2.0
Video compression: MJPEG
Images per second: 25fps(VGA), 30fps(QVGA)
Power source: 230VAC/5VDC/2A Adapter
Energy consumption: 2,5W (Max.)
Temperature: -5^ 55^ (23°F~131°F)
Minimal system requirements:
CPU: 2.0 GHZ or higher
Memory: 256 MB or higher
Video card: 64 MB or higher
Supported OS: Windows 98/ME/2000/XP/Vista/7/8
Supported browsers: IE6.0-10.0, Firefox, Safari, Google
Chrome
Supported mobile OS: iOS 4.3 and higher / Android 2.1 and
higher
Certification: CE, FCC, RoHS, R&TTE
Warranty: Limited 3-year warranty
3.2. Main component parts ①
- FA703IP camera with base
- 4 assembly screws and plugs
- Ethernet cable
- DC supply
- Software CD-ROM
- User's manual
3.3. Connections ②
- Ethernet port
- DC connection
- Reset opening
4. Camera installation
4.1. Connecting the camera
- Connect the adapter cable to the DC connection of the camera
- Then insert the adapter plug into the power outlet.
- Connect the included ethernet cable to the network port of the camera ④ Connect the other end of the ethernet cable to your router. The green LED on the ethernet port will light up when the camera is connected to the network. The LED on the
front of the camera will also begin flashing.
You can now operate your IP Camera using your smartphone or PC. Go to section 4.2 for use with smartphone and go to section 4.3 for installation on your PC.
4.2. Settings for smartphone use
Attention! To use the Flamingo "Plug2View(iOS) & p2pcamviewer(Android)" App, you need a smartphone with internet access.
Attention! To scan a QR code, you need an APP that can scan barcodes.
To set up your camera using Android, go to section 4.2.1. To set up your camera using iOS, go to section 4.2.2.
4.2.1. Android
Download the App:"p2pcamviewer" via Google Play and install it.
Start the App.
The "Login" screen of the App shows A Here you can log in to the App, you can register an account and you can download a QR code scanner.
Registering an account
-
Click on "Register", the screen "Register" shows (B).
-
Enter your username at "User name".
- Enter your password at "Password".
- Enter your password once again at "confirm password".
Enter your email address at "e-Mail". - Click on "OK". When the registration is successful, a message "Register success" is displayed.
- Click on "Cancel" to return to the "Login" screen.
Downloading the QR code scanner
- Click on "QRCode", the screen "Tips" shows
- Click on "OK" and carry out the associated following steps.
Login to the App
- Input the camera code at "Enter Device ID" and the camera password at "Enter Access Password". You can find both codes on the back of the camera.
If you want the App to remember your password, click on the box next to "Password". - Click on the "Login" button. The screen "Device list" shows ① . Here you can see if the camera is connected (ONLINE) or if it is not connected (OFFLINE).
Your camera has been added to your phone and will appear on the start screen of your App.
4.2.2. iOS
- Download the App: "Plug2View" from the App Store and install it.
Start the App.
The "Login" screen of the App shows E Here you can log in to the App, you can register an account and you can download a QR code scanner.
Registering an account
- Click on "Register", the screen "Register Account" shows (F).
- Enter your username at "Username".
- Enter your password at "Password".
- Enter your password once again at "Please enter again".
- Enter your email address at "Email".
- Click on "Done". When the registration is successful, a message "Register success" is displayed.
- Click on "OK" and then "Login" to return to the "Login" screen. Scanning QR Code
- Click on "Scan QR Code" and then scan a QR code. This must entirely fit within the white square.
Press "Cancel" to go back again without scanning.
Login to the App
- Input the camera code at "Username" and the camera
password at "Password". You can find both codes on the back of the camera.
- If you want the App to remember your password, move the box behind "Remember Password" to the right so that "I" is visible.
-
Click on the "Login" button. The screen "Remote Device" shows Here you can see if the camera is connected (ONLINE) or if it is not connected (OFFLINE).
-
Your camera has been added to your phone and will appear on the start screen of your App.
4.2.3. General
- For instructions on placing your camera go to section 4.7.
- For instructions on using your camera with the App go to chapter 5.
4.3. Install your camera on your PC
- Insert the included CD-ROM into your computer.
- Launch "SYSM Monitor.exe" from the CD-ROM.
To run through the installation, click on "Next" three times. - Complete the installation by clicking on "Restart computer".
The IP camera tool is now installed on your computer. You will find the shortcut on your desktop.
! Please note! Do not remove this shortcut! You will have to re-install the IP camera tool if you do.
4.4. Linking to your camera
- Start the IP Camera Tool via the "SYSM Monitor" shortcut on your desktop. The IP camera tool automatically searches for the IP camera(s) connected to your network.
Attention! All your IP cameras are displayed in the LAN window. If no cameras are visible, perform the following operation:
Right mouse click in the LAN window.
- Left mouse click on "Refresh" to refresh the list.
- Double-click the camera which you want to use. The main window displays the camera image. You can manage your camera and camera settings via this screen and control panel at the bottom right (see chapter 6).
4.5. Connecting you camera from a remote computer
- Start the IP Camera Tool via the "SYSM Monitor" shortcut on your desktop. The IP camera tool automatically searches for the
IP camera(s) connected to your network.
If you want to watch your camera from a remote computer that is not connected to the camera via LAN, perform the following steps:
- Input the camera code at "User name" and the camera password at "Password". You can find both codes on the back of the camera.
If you want the App to remember your password, click on the box next to "Save Password".
Press the "Login" button. Your camera is shown in the WAN window ①. - Double-click the camera which you want to use. The main window displays the camera image. You can manage your camera and camera settings via this screen and control panel at the bottom right (see chapter 6).
4.6. Linking to your camera wirelessly
4 Please note! In order to set up a wireless connection, your camera must be linked to your network via the included ethernet cable during set-up.
Please note! You need a wireless router in order to establish a wireless connection with your camera.
1 Please note! If your router is password protected, you will need to know the password.
- Start the IP Camera Tool via the "SYSM Monitor" shortcut on your desktop. The IP camera tool automatically searches for the IP camera(s) connected to your network.
Attention! All your IP cameras are displayed in the LAN window. If no cameras are visible, perform the following operation:
Right mouse click in the LAN window. - Left mouse click on "Refresh" to refresh the list.
- Right mouse click on the desired camera and choose "Set Wi-Fi Connection". The screen displays the Wi-Fi settings.
Press "Scan" to search for the correct Wi-Fi network. - Enter the details that apply to your Wi-Fi network and press OK. The camera will now restart.
- Disconnect the network cable from the camera during the restart. The wireless connection to the camera is now established.
- Double-click the camera which you want to use. The main window displays the camera image. You can manage your camera and camera settings via this screen and control panel at the bottom right (see chapter 6).
4.7. Camera installation
Please note! Make sure that the camera functions properly in the chosen location before starting installation.
You can choose to place the camera on a flat surface, or to attach the camera to the location of your choice with screws.
To mount the camera using screws, perform the following steps:
- Unscrew the camera from the base, so it does not get in the way during installation (5).
- Open the screw holes in the base of the camera 6
Measure the distance between the centre points of the holes in the base of the camera. Mark this distance on the desired surface ⑦. - Screw the screws into the desired surface and slide the base of the camera on the screws
Please note! If the surface is too hard for the screws (stone/ concrete), you will need to drill holes and use the screw plugs which are included.
- Screw the camera back onto the base.
4.8. Adjusting the camera angle
- Rotate the casing at the ball joint loose 9
- Then adjust the camera angle and tighten the casing at the ball joint back on% 1%.
5. Managing your camera using your smartphone
Make sure your camera(s) is/are connected to your smartphone via the Flamingo "Plug to view" App (see section 4.1 and 4.2).
5.1. Viewing your camera image on your Android smartphone
The home screen of the App consists of the following tabs (D): WAN(D): here you can see all the available cameras.
LAN2: here you can see all the available cameras that are connected via a Wi-Fi connection.
File03: all "screens captures" / photos and videos are saved here.
Event 4: here you can see when your camera has been online and offline and here you can find alarm reports when movement has been detected.
More here you can share files with friends, update the app, learn more about the app, motion detection and / or switch the Offline Push on or off, and view information about the storage space on your smartphone.
On the WAN tab click on the camera you want to manage. The camera image appears on your smartphone
Attention! If you do not have a picture it is possible that your wireless connection is not fast enough. In that case change the resolution of your camera image (see section 5.1.1)
The camera screen provides a number of options:
- Click the listen / speak① button, in the camera image headphones and a microphone appear.
- Click on the headphones to listen to the sound that the camera is recording.
- Click on the microphone to speak using the speaker of the camera.
- Click on the headphones or microphone again to switch off the aforementioned function(s).
- Click on the Snapshot button to take a picture of your camera image
- Press the Video button to start recording a video, press the video button again to end the video recording.
- Click on the PTZ button to use the control panel. Here you can mirror the image, you can zoom in and out and refresh the camera image.
5.1.1. Changing the settings of your camera on your Android smartphone
- On the WAN tab, click on the arrow button next to the camera that you want to manage. The "Setting" screen appears (N).
- Click on "Video setting", the Video Setting screen appears (O).
- Click "Quality" on the grey triangle and then press the desired setting. LOW is low quality, EXCELLENT is very high image quality. With CUSTOM you can enter values for the camera yourself.
5.2. Viewing your camera image on your iPhone
The home screen of the App consists of the following tabs:
Remote: here you can see all the available cameras.
Local: here you can see all the available cameras that are connected via a WiFi connection.
File: here all "screens captures" / photos and videos are saved. Here, the saved files can be sent via email and / or can be removed. To do so, click on the "Edit" button.
About: here you can view more information about the App.
- On the Remote Device page tab, click on camera you want to manage. The camera picture appears on your smartphone P
Attention! If you do not have a picture it is possible that your wireless connection is not fast enough. In that case change the resolution of your camera image (see section 5.1.1)
The camera screen provides a number of options:
- Click the listen / speak button, in the camera image headphones and a microphone appear.
- Click on the headphones to listen to the sound that the camera is recording.
- Click on the microphone to speak using the speaker of the camera.
- Click on the headphones or microphone again to switch off the aforementioned function(s).
- Click on the Snapshot button to take a picture of your camera image
- Press the Video button to start recording a video, press the video button again to end the video recording.
- Click on the PTZ button to use the control panel. Here you can mirror the image, you can zoom in and out and refresh the camera image.
5.2.1. Changing the settings of your camera on your iPhone
- On the Remote Device page tab, click on the "Options" button 55. The "Setting the device" screen appears
- Click on "Video parameter setting", the Video Setting
parameter screen appears 0
- Click "Quality" on the grey triangle and then press the desired setting. LOW is low quality, EXCELLENT is very high image quality. With CUSTOM you can enter values for the camera yourself.
6. Managing your camera using your PC
- Start the IP Camera Tool via the "SYSM Monitor" shortcut on your desktop. The IP camera tool automatically searches for the IP camera(s) connected to your network.
- Double-click the camera you want to use. In the main window the camera image appears and the control panel is found on bottom right.
6.1. Watching your camera images via the PC
When you have camera image in the main window, you can change and set up the aforementioned using the control panel. The control panel contains the following buttons: "Refresh": by pressing this button the camera image is refreshed.
"Zoom in": by pressing this button the camera zooms in.
"Zoom out": by pressing this button the camera zooms out.
"Capture": by pressing this button, you can take a picture of the camera image.
"Record": Press this button to start recording a video, press the button again to stop the video recording.
"Listen": by pressing this button you can listen to the sound that the camera is recording.
"Talk": by pressing this button you can talk through the speaker of the camera.
"Vertical flip": by pressing this button, you can flip the image horizontally.
"Mirror": by pressing this button, you can flip the image vertically.
"Settings": by pressing this button, you can control the settings of the camera.
6.2. Managing your camera's settings
- Press the "Settings" button, the "Device Properties" screen appears. Here you can set the settings for the colours and the resolution.
- When you have set the desired settings, click "Apply" to save the settings and then click on "Close" to return to the start window.

7. Cleaning and maintenance
Warning! Disconnect the device from all power sources before cleaning it.
The devices are maintenance-free, so do not open them. Opening the device will void the warranty. Only clean the outside of the devices with a soft, dry cloth or brush
8. Environment and disposal
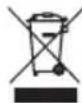
The symbol on the material, accessories or packaging indicates that this product may not be discarded as household waste. Dispose of the equipment through a recycling centre that handles electronics and electrical appliances within the EU and in other European
countries which use separate collection systems for used electronics and electrical appliances. By disposing of the equipment in the proper way, you will be helping to prevent possible risks to the environment and public health, which might otherwise be caused by improper handling of the discarded equipment. Recycling of materials contributes to the conservation of natural resources. Therefore, please do not dispose of your old electronics and electrical appliances via household waste.
9. Warranty
A limited 2 year warranty applies to this device. To view the warranty terms please go to: www.elro.eu.
QRcode scanner downloaden
Luminosite minimale: 0.5Lux @ F2.0
Compression video: MJPEG
Images par seconde: 25ips(VGA), 30ips(QVGA)
Certifications: CE, FCC, RoHS, R&TTE
3.3. Raccordements ②
- Port Ethernet
- Connexion DC
- Fente Reset
4. Installation de laamera
4.1. Connecter laamera
Certificare: CE, FCC, RoHS, R&TTE
Descarcare scanner cod QR
- Apasati pe "QRCode", se afiseaza ecranul "Tips"
- Apasati pe "OK" si urmati paqii aferenti.
4. Camera installation
6.1. Ver as imagens da-camera atraves do PC
EC DECLARATION OF CONFORMITY
Scan this code with your smartphone for more information