CMS30300 - Surveillance Camera SMARTWARES - Free user manual and instructions
Find the device manual for free CMS30300 SMARTWARES in PDF.
User questions about CMS30300 SMARTWARES
0 question about this device. Answer the ones you know or ask your own.
Ask a new question about this device
Download the instructions for your Surveillance Camera in PDF format for free! Find your manual CMS30300 - SMARTWARES and take your electronic device back in hand. On this page are published all the documents necessary for the use of your device. CMS30300 by SMARTWARES.
USER MANUAL CMS30300 SMARTWARES
12V DC adapter (for NVR)
Small 12V DC adapter (for cameras)(4x)
Mouse
1 meter UTP cable for NVR
Quick start guide
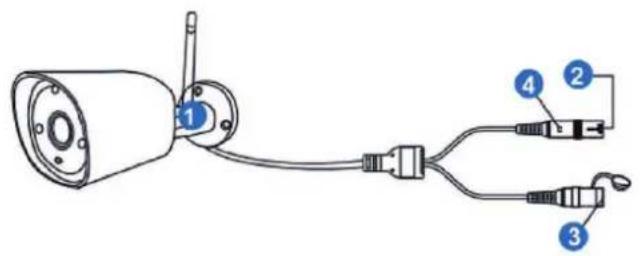
Parts description - Camera
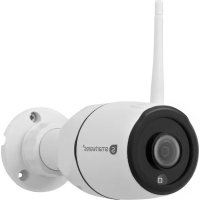
Illustration 1: Parts description camera
Camera (4X)
- Antenna
- DC port (12V 1A)
- Reset button
- LED indicator
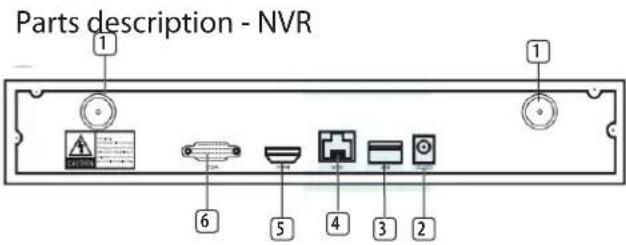
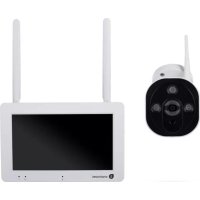
Illustration 2: Parts description NVR
NVR
1.Antenna (2x)
2. AC adapter input
3. USB port
4. LAN port
5.HDMI port
6.VGA port
Frequency: 2.4GHz
Maximum transmission power: 17.63dBm
2 Installation
a) Connect the UTP cable to the NVR.
NOTE: for installation the NVR needs to be connected with a cable, Wi-Fi does not work for installation.
b) Connect the NVR to a monitor. You can use any monitor with a HDMI cable or VGA cable connection.
c) Connect the mouse to the NVR by using the USB port to operate the system.
d) Connect the NVR to the power supply by inserting AC adapter.
NOTE: Do not mount the camera to the wall yet. First pair the camera to the monitor.
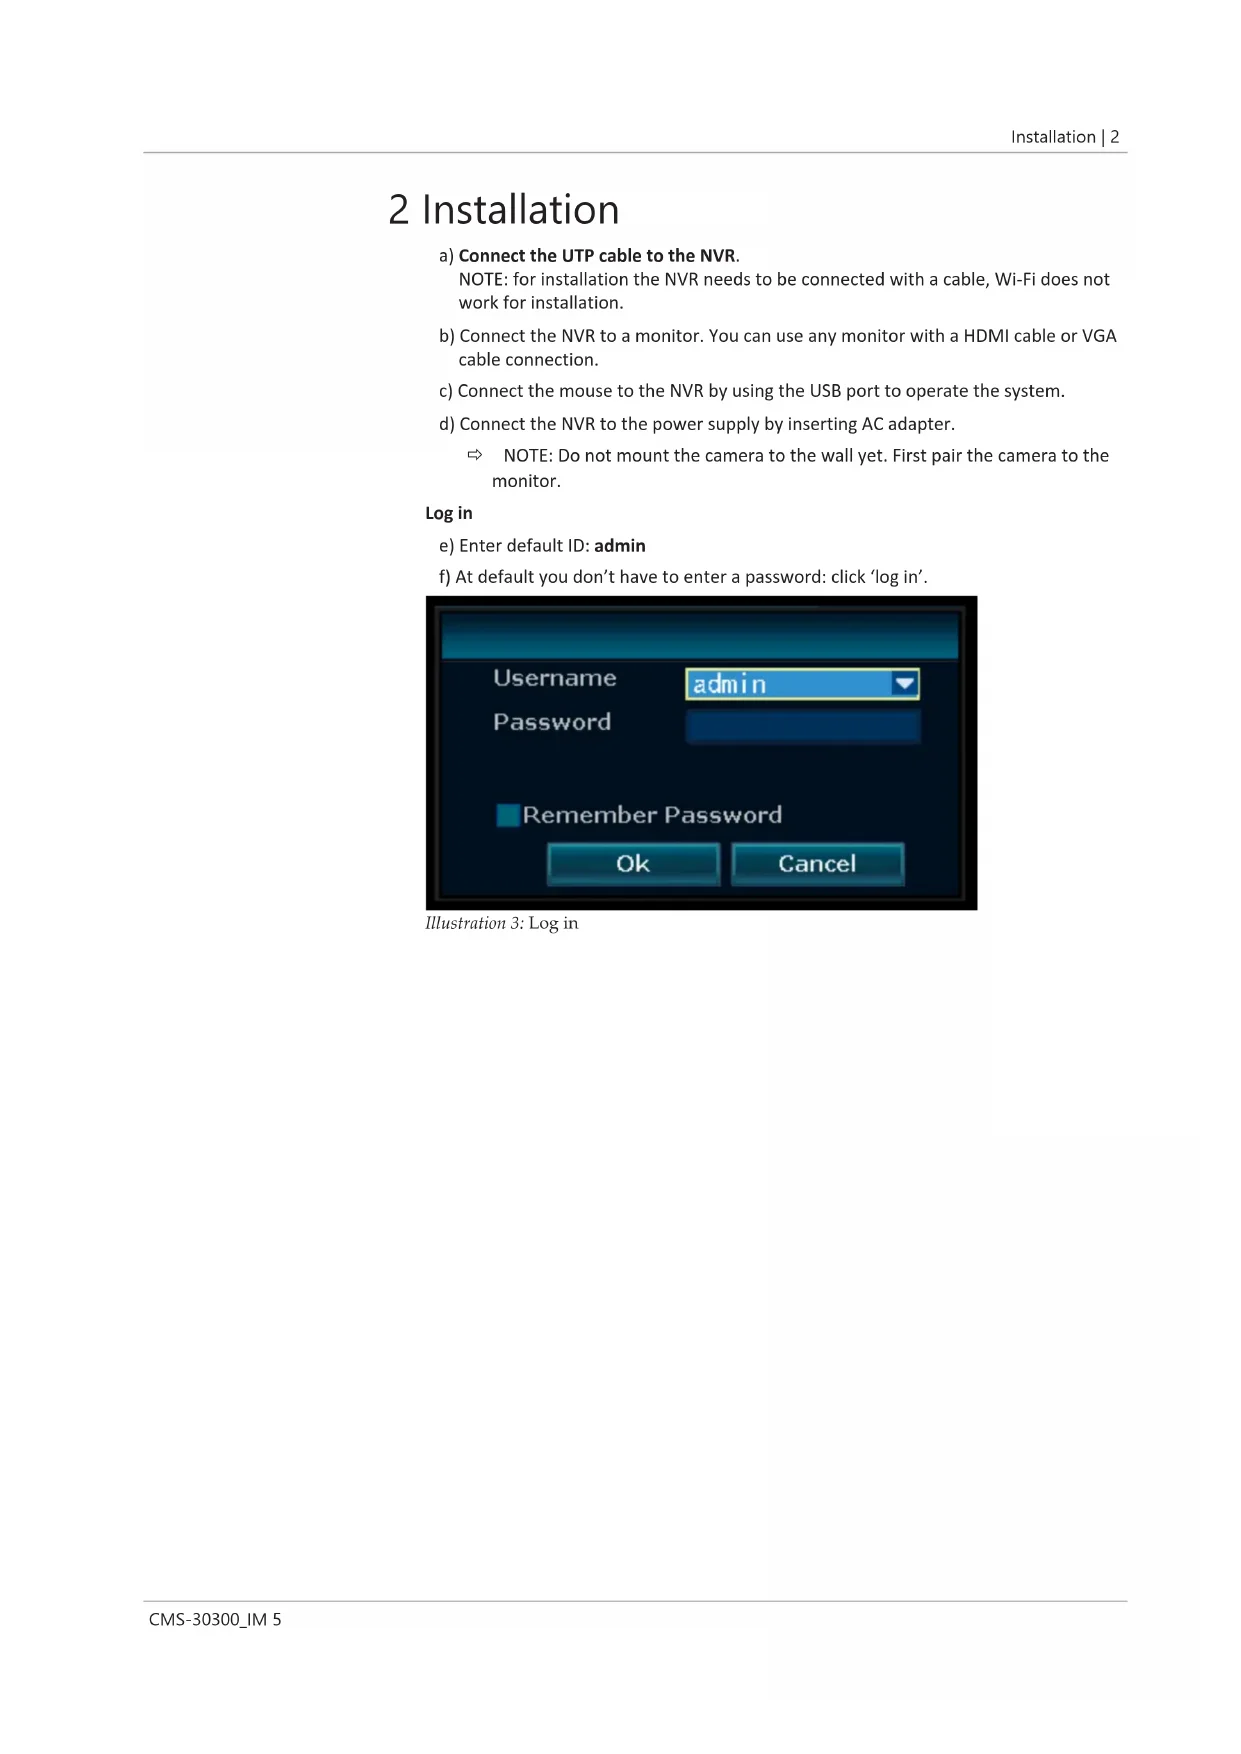
Log in
e) Enter default ID: admin
f) At default you don't have to enter a password: click 'log in'.
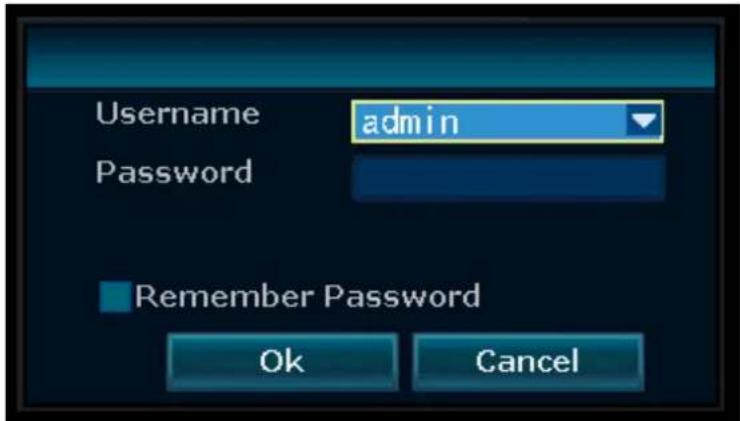
Illustration 3: Log in
3 Setting up your device
The recorder can pair up to 4 cameras.
To pair the camera with the recorder, make sure it is within a 1m range.
a) Install the antennas onto the four cameras.
b) Connect the camera to the AC adapter.
c) Right click the mouse.
d) Press 'Wireless add'; the NVR will now search the camera automatically.
e) Press the reset button on the camera for 5 seconds, it will match with the NVR automatically.
f) After matching click 'exit' on the screen, matching is now complete.
NOTE: default valid time is within 10 minutes after the camera starts. If matching exceeds this time, it will exit matching mode automatically. Press the reset button on the camera for 10 seconds and go back to step A.
Repeat above steps for all four cameras.
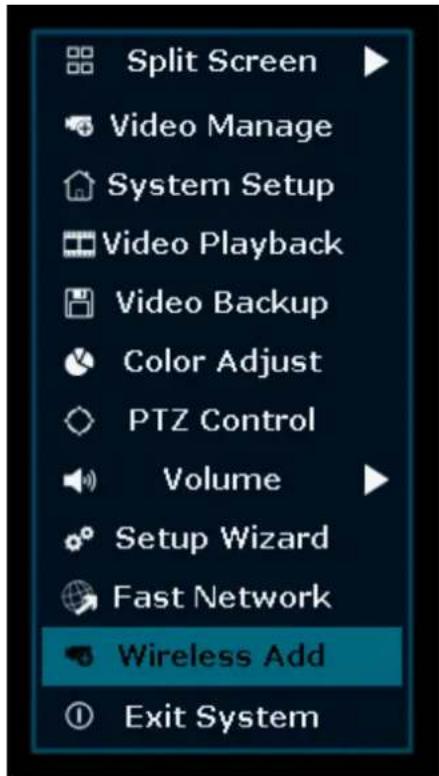
Illustration 4: Menu overview- Wireless add
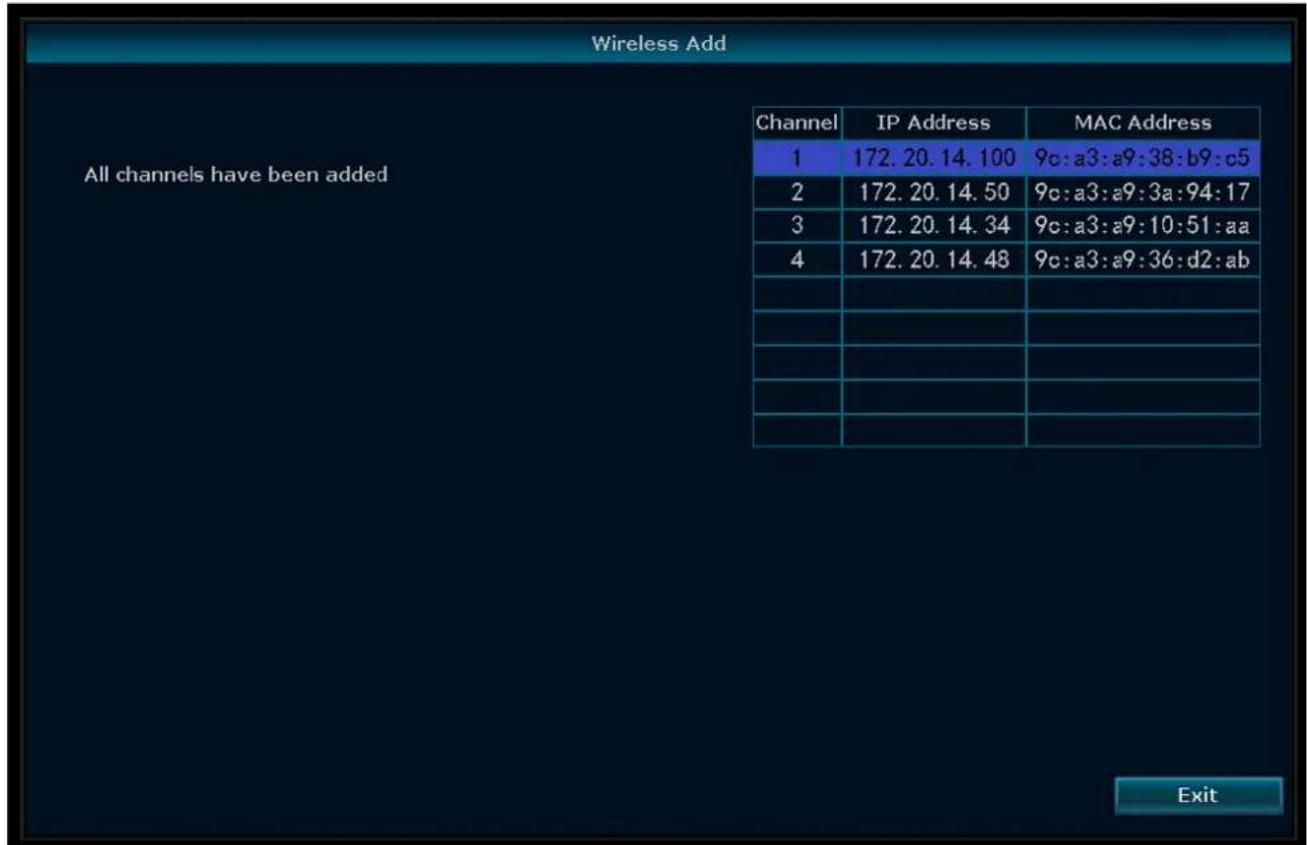
Illustration 5: Menu - Wireless Add
3.1 Wireless Internet
Follow the procedure below to enable the wireless internet connection.
Make sure that you have an internet connected WIFI router, your password and router name (SSID) available.
a) Right click the mouse and select "System Setup".
b) Select "Wireless Internet access" in the lower left corner.
c) Select your wireless network.
d) Fill in your password.
e) Click the 'Apply" button
You can now use the mobile app for remote monitoring.
f) Download the "SW360" app.
g} Open the app, register as a new user and follow the instructions given in the app.
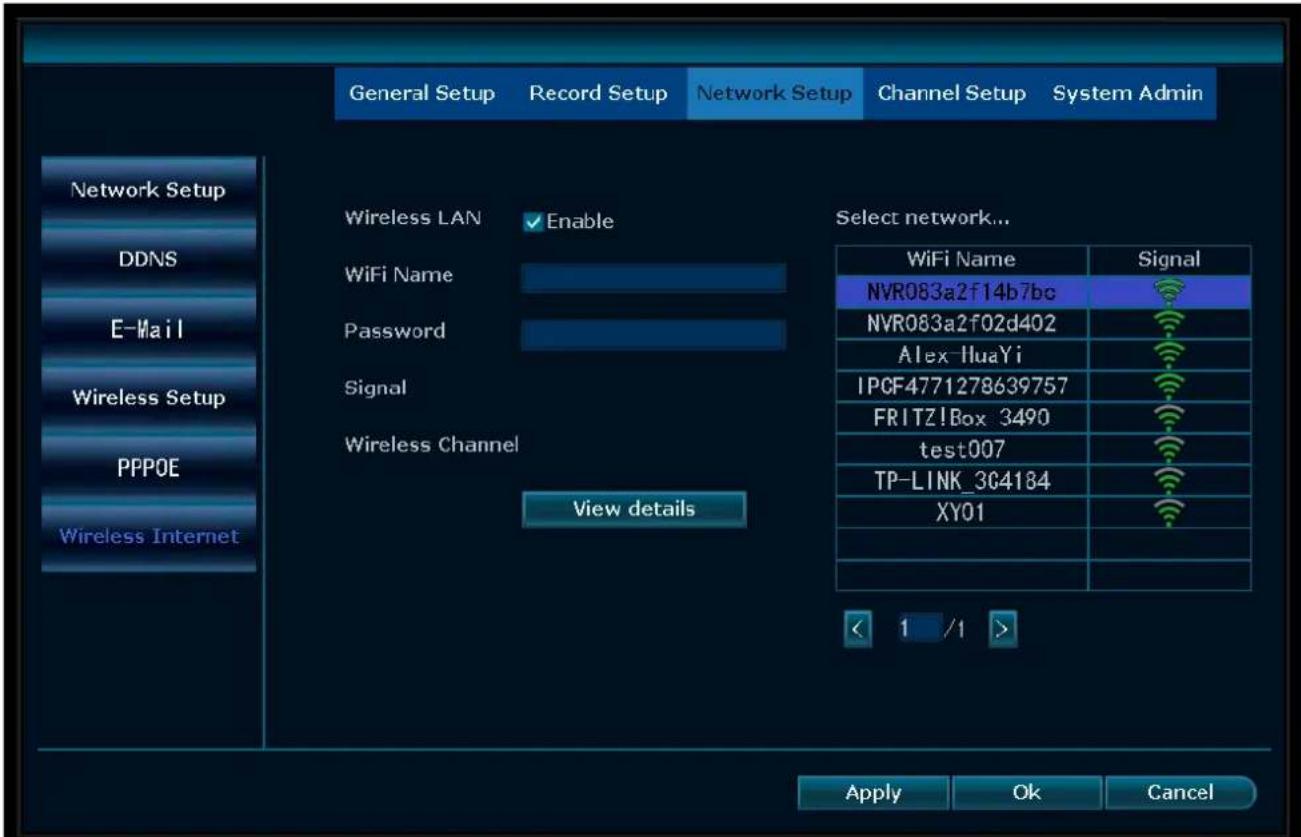
Illustration 6: Menu - Network setup Wireless internet
To add the NVR to the SW360 app:
h) In the SW360 app press ^ + ^ in the upper right corner.
i) Press 'scan'
j) On the monitor, right click and select 'Fast Network'. A QR code appears.
k) Scan the QR code with your phone in the SW360 app.
1) Your mobile device is now paired to the NVR.

Illustration 7: Menu - Set up Wizard - Fast Network
4 Setting up the mobile app
The system supports the mobile app "SW360". The app can be used as an additional monitor on your mobile device. To set up the mobile app, do the procedure below.
a) Connect the monitor to a wifi network. (See section "Wireless Internet".)
b) Connect your mobile device to the same network.
c) Download the "SW360" app.
d) Open the app, register as a new user and follow the instructions given in the app.
e) Log in to the app.
f) Select the (+) icon to add a new device.
g) Select the monitor in the device list.
h) Select the device that appears in the list (normally a 10 digit number).
Note: Your device should now be added. To learn more about SW360, see the app manual.
5 Menu options
- To enter the menu right click your mouse.
- The following screen appears:
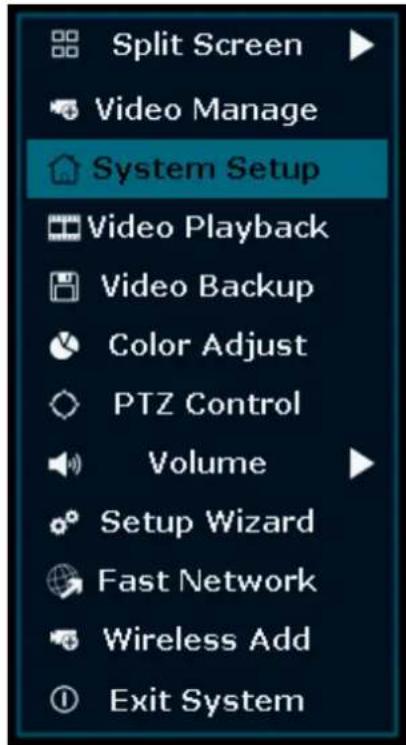
Illustration 8: Menu overview
- Right click the mouse again to exit the menu.
5.1 Split screen
- Enter this menu to see a view of all 4 cameras at once.
- Press on the view of one of the cameras to enlarge the image.
- Right click your mouse to navigate to another menu.
5.2 Video Manage
- In this menu you can manage your IP cameras and the NVR channels.
5.3 System Setup
-In this menu you can find all system settings.
General setup
In this menu you can change:
Language
- Time
- Set auto switch time between camera views
-Displayresolution
- Enable / disable automatic logout : when enabled, if you do not use the NVR for 3 minutes the screen will automatically go out for 10 minutes and you will have to log in again.
key buzzer - Keyboard type: set which keyboard type you use, default setting is English.
QWERTY keyboard.
Record setup
- This menu enables you to set a record plan for each channel video detection.
- See 'How to record' for more information
Network Setup
In this menu you can find all network related settings:
Network status
E-mail
- Wireless setup
- Enable 'Wireless LAN' to see all Wi-Fi signals around the NVR
- QR code for connecting your phone to the SW360 app
Channel setup
In this menu you can manage all channels and cameras:
- Set motion detection
- Set alarm duration
- Set sensitivity level
- Always press 'apply' to save changes
Systemadmin
In this menu you can find:
- System version
- System maintenance, including system upgrade
-User and password management
-Restore to default settings - System log
5.4 How to record
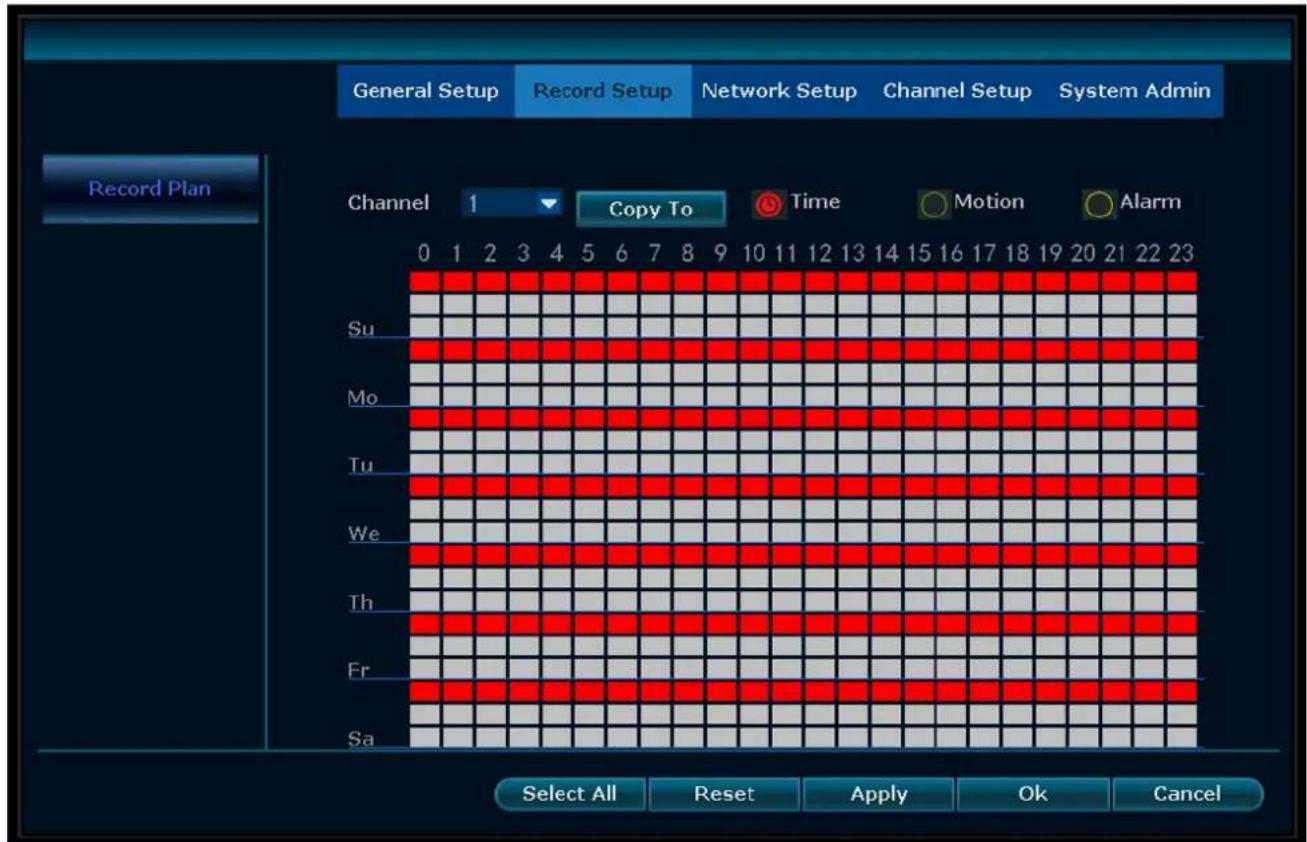
Illustration 9: Set record plan
Time recording
Setup a period of time of recording on the NVR on various channel
- Select the channel of which you wish to record.
-Select 'time' - In the table, choose the day and starting time. Drag the mouse to the time you wish to record.
- The part you have selected will turn red.
- Press 'apply' to save your settings.
- During this time period the NVR will record everything on your cameras. Repeat these steps for other channels.
Motion recording
You can also choose that the NVR will record when the cameras detect motion.
- Select the channel of which you wish to record.
- Select 'motion'
- In the table, choose the day and starting time. Drag the mouse to the time you wish to record when motion is detected.
- The part you have selected will turn green.
- Press 'apply' to save your settings.
- During this time period the NVR will record everything on your cameras. Repeat these steps for other channels.
5.5 Video Playback
In this menu you can playback recorded videos.
- In the upper right corner, select the day and channels of which you want to view recordings.
- In the lower right corner a list of recordings shows.
- Select one of the recordings.
- Press play to view the recordings
- Press >> to fast forward
5.6 Video Backup
When you connect a U: disk to the NVR you can make backups of your recordings.
- Plug a U:disk into the USB port of the NVR.
- Right click your mouse and go to 'Video backup'
- Choose a backup channel
- Choose video mode
- Setup a searching time
-Search the recording you wish to store - Choose recording file on the list
- A backup is made. The NVR supports a 32G U flash disk at max. Recording files are packed one hour per time.
5.7 Color Adjust
Here you can adjust the color of each camera.
5.8 PTZ Control
Control or set up a camera (for Pan Tilt Zoom cameras only)
5.9 Volume
Adjust the volume of your camera
(only supports camera with audio)
5.10 Setup Wizard
Step by step guide of first time general settings.:
Time zone
- Date - Time - after adjusting the date and time, press apply to save
- Enable to synchronize time to your time zone automatically
- Date format
Language
- Keypad type - choose which type of keyboard you use
- Enable to boot the wizard - when enabled, the setup wizard automatically pop-sUp when you start the system
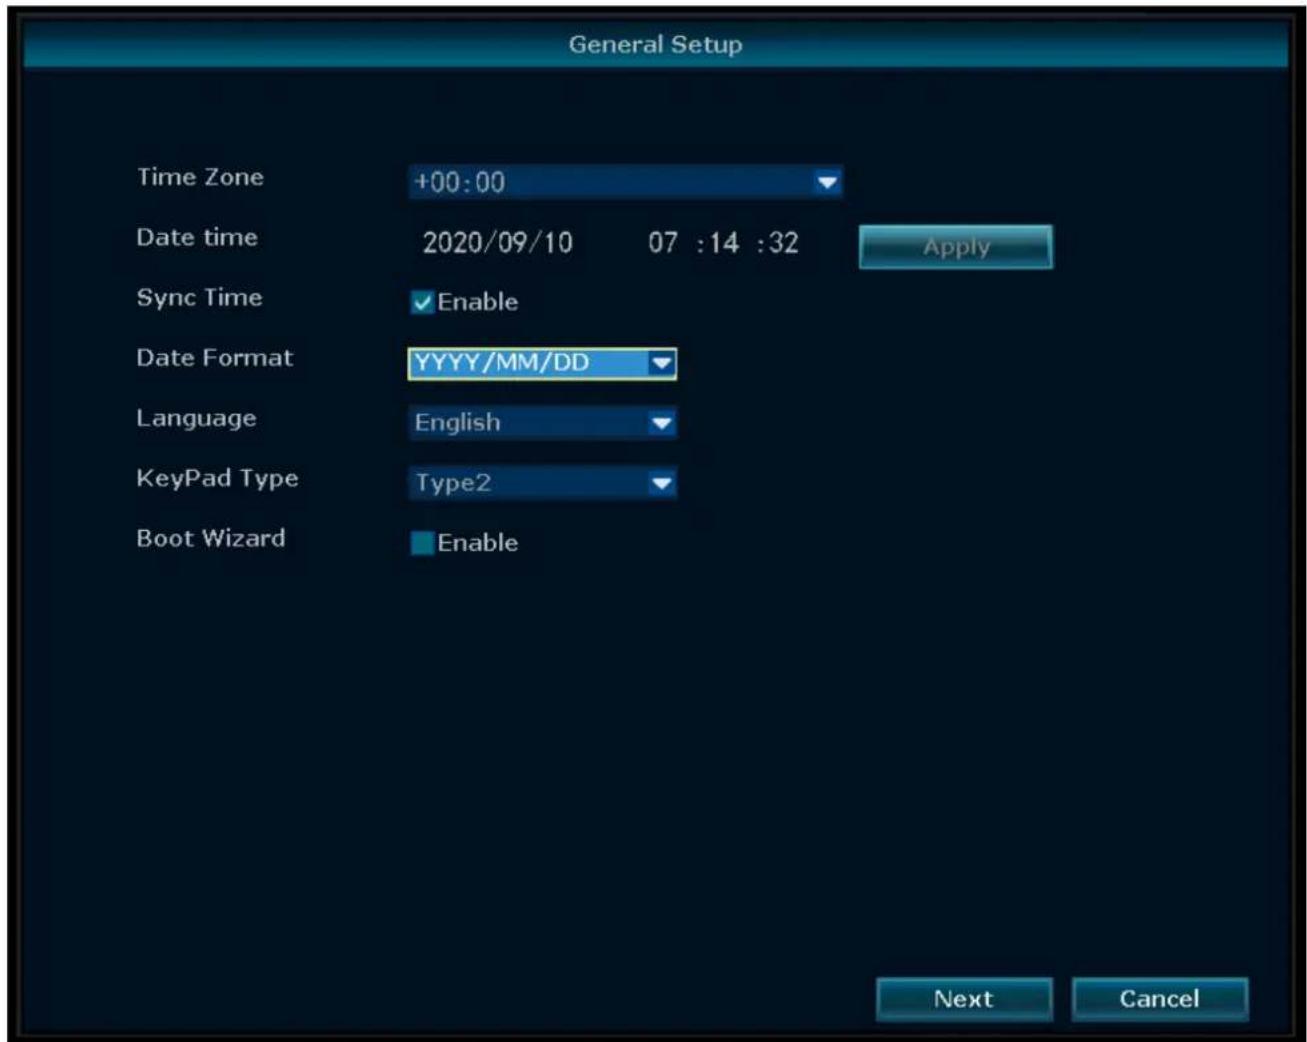
Illustration 10: Menu - General setup
5.11 Fast Network
Short cut to network settings.
5.12 Wireless Add
Add IP cameras to the NVR wirelessly.
5.13 Exit System
In this menu you can:
- Log out
- Reboot the system
- Close screen output
- Shutdown the system completely
6 SW360 App
6.1 My Device tab
-
In the "My device" tab, you can see and manage all the cameras that are linked to your account. If you tap the three dots next to your camera name, you have the following options:
-
Move Device to the top
-Edit
Cloud ID
Device name
Delete
Live view
-
On the "my device" tab, press the play button to open the live view of your camera.
-
From this screen, you can use the buttons on the bottom to:
-
Turn the sound on or off.
- Take a snapshot.
- Talk through the camera by tapping and holding the microphone icon.
-
Record footage directly to your mobile device.
-
Rotate your mobile device to view the video full-screen in landscape.
-
Tap or pinch to zoom in and out.
Share
- You can share your cameras with other accounts by tapping on the share icon.
Info
Here you can find all the recorded footage.
- Press "Filter" to view past recordings.
Settings
- From the setup screen you can find:
Device information.
Device ID
Device type
Device version
Help:
- Learn video
- Device adding help
Preview and playback help
-FAQ
General settings
Enable audio recording
Voice assistant language setup
Enable recording
Choose Motion detection recording or Continuous recording
Firmware update
Device storage
- Micro-SD card status
Available capability / Total volume
- Formatting your MicroSD card
-Time settings
Time synchronization
Choose time zone
Enable Daylight Saving Time
- Advanced Settings
Video quality settings
- Image quality
-Mode
Image acquisition rate (50/60Hz)
6.2 Personal Center tab
- In the "Personal Center" tab you can find and change your account information.
- From the setup screen you can find:
Account information
Basic info
Change password
- Settings
Enable push notifications
Mobile data statistics
Upload crash file
-Share list
-Help
Privacy Policy
-App version
7 Declaration of Conformity
Hereby, Smartwares Europe declares that the radio equipment type CMS-30100 is in compliance with Directive 2014/53/EU
The full text of the EU declaration of conformity is available at the following internet address: www.smartwares.eu/doc
Crash-bestand uploaden
Lijst delen
In this menu, find the following: