
SRC 4321 - Radio AEG - Free user manual and instructions
Find the device manual for free SRC 4321 AEG in PDF.
| Product type | Clock radio with iPod dock |
| Brand | AEG |
| Model | SRC 4321 |
| Power supply | External AC 230V~50Hz adapter, DC 15V / 1.5A output |
| Backup batteries | 2 x 1.5V, type R03 AAA |
| Output power | 30 Watts PMPO |
| FM frequency range | 87.5 – 108 MHz |
| AM frequency range | 522 – 1620 kHz |
| Connectivity | iPod dock, Line-in input (3.5mm jack), headphone jack (3.5mm jack) |
| Alarm function | Dual alarm (AL1 and AL2) with choice of radio, buzzer or iPod |
| Snooze function | Temporary alarm stop for about 10 minutes |
| Sleep timer | From 15 to 90 minutes in 15-minute steps |
| BBS function (bass) | Bass boost or reduction |
| Mute function | Immediate volume cut |
| Clock display | 12h or 24h selectable |
| Screen brightness adjustment | DIMMER L/H switching (low/high) |
| Daylight saving time switch | DST 0 (winter) / +1 (summer) |
| Protection class | II |
| Cleaning | Soft, damp cloth, without detergent |
| Safety instructions | Do not expose to moisture, unplug before cleaning, do not open the casing |
| Safety symbols | Lightning bolt (high voltage), exclamation mark (important instructions) |
Frequently Asked Questions - SRC 4321 AEG
User questions about SRC 4321 AEG
0 question about this device. Answer the ones you know or ask your own.
Ask a new question about this device
Download the instructions for your Radio in PDF format for free! Find your manual SRC 4321 - AEG and take your electronic device back in hand. On this page are published all the documents necessary for the use of your device. SRC 4321 by AEG.
USER MANUAL SRC 4321 AEG
Location of Controls.. page 3
User manual.. page 51
Technical Specifications.. page 56
Język polski
Spis tresci
Location of Controls
FM (MHz) = UKW, AM (KHz) = Mittelwelle.
Sovetimer (SNOOZE/SLEEP knapp (8/26))
General Safety Guidelines
Before using this device, carefully read this user manual and keep it together with the Warranty Certifi cate, cashier receipt and if possible, the original package inclusive its interior packing. If you hand on the device to any third person, include the user manual as well.
- To avoid the risk of fire or electric shock, you should not expose the device to rain or humidity. Do not use the device near water (e.g. bathroom, swimming pool, humid cellars)
- Use the device only for the proposed purpose.
- Plug the device only into a properly installed socket. Be sure the device voltage corresponds to the grid voltage.
- When using external grid adaptors, pay attention to the correct polarity and voltage. Insert batteries correctly.
- Avoid covering the device's vent openings.
- Never open the device's case. Improper repairs can cause severe danger to the user. If the device or particularly the power cord is damaged, don't use the device any further and have it repaired by a qualified specialist. Check the power cord regularly for damages.
- To avoid any danger, a damaged power cord must be replaced only by the producer, its customer service or a similarly qualified person with an equal cord.
- If the device won't be used over an extended period of time, disconnect the power cord and remove the batteries.
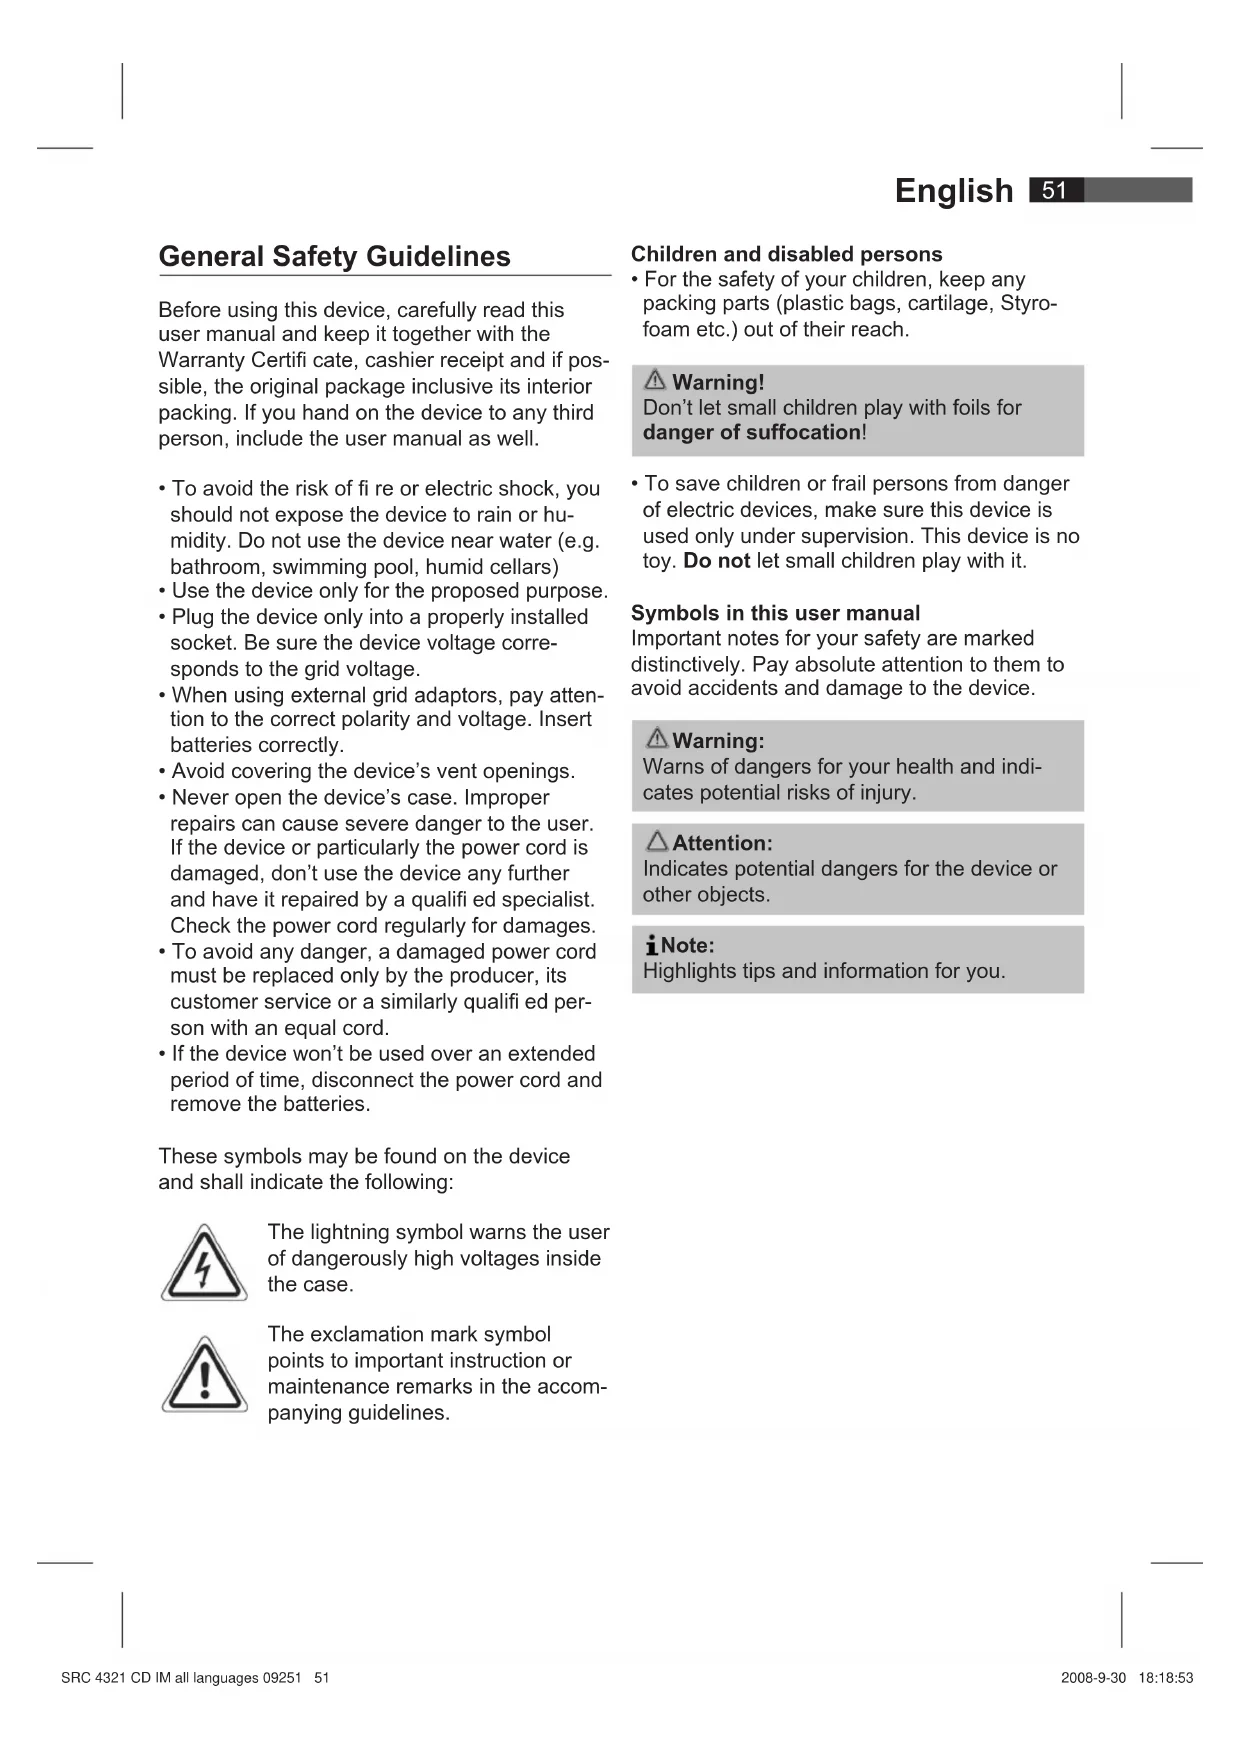
These symbols may be found on the device and shall indicate the following:

The lightning symbol warns the user of dangerously high voltages inside the case.

The exclamation mark symbol points to important instruction or maintenance remarks in the accompanying guidelines.
Children and disabled persons
- For the safety of your children, keep any packing parts (plastic bags, cartilage, Styrofoam etc.) out of their reach.
Warning!
Don't let small children play with foils for danger of suffocation!
- To save children or frail persons from danger of electric devices, make sure this device is used only under supervision. This device is no toy. Do not let small children play with it.
Symbols in this user manual
Important notes for your safety are marked distinctively. Pay absolute attention to them to avoid accidents and damage to the device.
Warning:
Warns of dangers for your health and indicates potential risks of injury.
Attention:
Indicates potential dangers for the device or other objects.
iNote:
Highlights tips and information for you.
52 English
Location of Controls
1 iPod connection
2 TUNING+/TUNING- buttons
3 SET AL1 button (set alarm)
4 AL2 (2nd alarm time) button
5 SET AL2 button (set 2nd alarm time)
6 MIN button (minutes)
7 HR button (hours)
8 Alarm Interval/button for delayed switch-off (SNOOZE/SLEEP)
9 TIME SET button
10 BBS button
11 FUNCTION Operation selection button
12 AL1 (alarm 1) button
13 STANDBY button
14 VOL+/VOL- volume control buttons
Back Side
15 DIMMER L/H switch
16 DC 15V connection
17 LINE IN jack
18 PHONE jack
19 DST 0 / + 1 switch (winter/summer time)
Remote Control
20 FUNCTION operation selection button
21 / buttons (search fwd/bwd)
22 II (Play/Pause) button
23 BBS button
24 VOL+/VOL- volume control buttons
25 MUTE button
26 Delayed switch-off button (SLEEP)
27 POWER button
28 12/24 button (clock time mode)
First Use of the Device/ Introduction
Before the first use of the device, read the user manual carefully.
- Select a proper place for the device such as a dry, and even non slip area where you can easily operate the device.
- Make sure the device is vented sufficiently.
- If still in place, remove the protection foil from the display.
Power supply
- Insert the grid plug into a properly installed three prong socket with 230V, 50Hz. Connect the device with the plug connector by inserting its plug into the DC 15V jack (16) of the device.
- Make sure the grid voltage corresponds to the fi gures on the rating plate.
Attention:
- The plug connector included must only be used with this device. Don't use for other devices.
- Only use a power adapter with 15V ( - -) , a different adapter may damage the device.
i Note:
If the device is not used for an extended period of time, the power adapter must be removed from the socket.
Inserting the batteries
(Batteries are not included with the device)
In case of a power cut or if the device is unplugged, with batteries inserted, the settings will be kept.
- Open the battery case on the bottom of the device.
- Insert 2 R03 "AAA" batteries 1.5V. Mind the correct polarity (indicated on the bottom of the battery case).
- Close the battery case.
- If the device is not used for an extended period of time, remove the batteries from the device to avoid any leaking of battery acid.
i Note:
If battery power is low or without batteries inserted, the symbol "□" appears on the display.
Attention:
- Never use different battery types or new and used batteries together.
- Batteries must not be disposed of in the garbage. Please bring used batteries to competent collection centers or back to the dealer.
Warning:
Never expose batteries to high temperatures or direct sunlight or throw batteries into fire for danger of explosion!
Headphone jack (18)
For headphone operation, use a headphone with a 3.5mm stereo jack plug, connecting it to the PHONE jack. The speakers will be muted.
General Operation
i Note:
Some buttons you can find as well on the device as on the remote control. Identical buttons effect the same function.
Switch device on/off (13/27)
By pressing the STANDBY (POWER) button, you can put the device into standby mode. Pressing the button again will switch the device on.
Display brightness
By the DIMMER L/H switch (15), you can set the brightness of your display.
Volume
By pressing the VOL+/VOL- (14/24) buttons you can adjust the desired volume.
Infrared Remote Control
For wireless control within a distance of 5m . If the distance decreases you should change the batteries. For proper operation mind a clear view between the remote control and the sensor on the device.
BBS (10/23)
Amplifi es or reduces basses. To activate or deactivate the feature respectively, press the BBS button.
MUTE (25 on the RC)
For immediate muting of the volume. For disabling the feature, press the MUTE button again.
12/24 Hour Toggling (28 on the RC)
By pressing the 12/24 button, you can toggle between the 12hour and 24hour display modes.
i Note:
In the 12hour display, PM = afternoon.
Winter/Summer Time Switch (19)
The DST 0 / + 1 switch toggles between winter and summer time.
According to the season, move the DST 0 / + 1 switch in the corresponding position before setting the time.
0 = winter time (normal time), +1 = summer time
Setting the time
- Press the TIME SET button (9) and the time display will flash.
- Press the HR button (7) to set the hours. Press and hold till the desired hour is reached.
- To set the minutes, press the MIN button (6). Press and hold the button till the desired minutes setting is reached.
- Press the TIME SET button again to save the clock time.
i Note:
After about 8 seconds, the digits will stop flashing and the time displayed at the moment will be saved automatically.
Radio Tuning
- Press the STANDBY (POWER) button (13/27) to switch the device on.
- Press the FUNCTION button (11/20) repeatedly till FM or AM is shown on the display.
FM (MHz) = Very High Frequency, AM (KHz) = Medium Wave
- Tune the program by pressing the TUNING+/TUNING- buttons (2). The display will show the radio frequency and, to the left, the radio band.
- The stereo control lamp (in the display) is illuminated only when the selected program is received in stereo quality. If the signal is too poor and noise in the received program, it will flicker. Try to improve reception by turning and unrolling or rolling the antenna up.
- For receiving AM programs, an antenna is included in the device. The device can be oriented to the signal by turning it. In this frequency band, programs are broadcast only in mono mode.
Alarm Function
Set Alarm
You can set two alarm times; proceed as follows:
- Press the SET AL1 button (3). The set alarm time flashes on the display.
- Now press and hold the HR and MIN buttons (7/6) to set the desired alarm time.
i Note:
The digits stop flashing after approx. 8 seconds and the currently displayed time is saved.
- Press the AL1 button (12); the display shows ALARM1 and briefly the set alarm time. The first alarm is activated.
Set Second Alarm:
-
Press the SET AL2 button (5). The set alarm time flashes on the display.
-
Now press and hold the HR and MIN buttons (7/6) to set the desired alarm time.
i Note:
The digits stop flashing after approx. 8 seconds and the currently displayed time is saved.
- Press the AL2 button (4); the display shows ALARM2 and briefly the set alarm time. The second alarm is activated.
Press the STANDBY (POWER) button to turn off the alarm until the next day.
Deactivate Alarm
- To deactivate the first alarm repeatedly press the AL1 button (12) until ALARM1 turns off on the display.
- To deactivate the second alarm repeatedly press the AL2 button (4) until ALARM2 turns off on the display.
Wake Up to Radio
- Press the STANDBY (POWER) button to turn the device off after setting the alarm.
- Repeatedly press the AL1 or AL2 button until RADIO is displayed. The current frequency is displayed. Press TUNING+/TUNING-(2) to tune into a different radio station.
i Note:
You have 8 seconds to tune into a new radio station; the displayed frequency is saved.
- The radio automatically turns on at the set alarm time and the tuned-in radio station is played. The volume increases slowly.
Wake Up to Buzzer
- Press the STANDBY (POWER) button to turn the device off after setting the alarm.
- Repeatedly press the AL1 or AL2 button until BUZZER is displayed.
- The radio automatically turns on with the buzzer instead of a radio station at the set alarm time. The volume increases slowly.
Wake Up to iPod
- Connect the iPod to the iPod dock (1).
i Note:
Use a different docking adapter to ensure proper connection of your iPod.
- Repeatedly press the AL1 or AL2 button until "iPod" is displayed. Ensure that the iPod is properly connected.
- Playback from your iPod starts in the set mode at the set alarm time. The volume increases slowly.
i Note:
- Follow your iPod manual to select the desired mode.
- If no iPod is connected the device wakes you in BUZZER mode.
Snoopze Function
Press the SNOOZE/SLEEP button (8) to deactivate the alarm for approx. 10 minutes.
Turn Off Alarm
Press the STANDBY (POWER) button to turn off the alarm until the next day.
Sleep Timer (SNOOZE/SLEEP button (8/26))
During ON mode you can set the automatic sleep timer in 15-minute steps between 90 and 15 minutes; after this period of time the device turns into standby mode. Repeatedly press this button until the desired time is displayed. SLEEP is displayed if the function is activated. After the set time the device automatically turns off.
After setting the sleep timer press SNOOZE/ SLEEP to change the setting.
Press the STANDBY (POWER) button to cancel the function.
MusicPlayback from iPod
(iPod not supplied)
-
Connect your iPod to the iPod dock (1).
-
Press the STANDBY (POWER) button (13/27) to turn the device on. Repeatedly press the FUNCTION button (11/20) in case the iPod mode is not selected automatically.
- Press the button (22) to start music playback.
- Follow your iPod manual for further use of the controls.

Attention:
Return to radio mode before disconnecting your iPod from this device to avoid damages to your iPod.
Description of iPod Controls
II(22)
You can pause and continue music playback. Press again to continue playback.
(21)
Press 1x = Restart of the song from the beginning.
Press 2x = Skip to the previous song.
Press 3x = Skip to the song before the previous song, etc. Press and hold during playback to search in reverse through the song.
(21)
Press to skip to the next song and the following songs. Press and hold during playback to search forward through the song.
iPod Charging
After connecting your iPod to the iPod dock the iPod battery is charged. The device must be connected to mains power supply and must be in standby mode.
iNote:
- Use a different docking adapter to ensure proper connection of your iPod.
- Not all iPod generations support the charge mode.
LINE IN Socket (17)
Connect any analog playback source like MP3 player, CD player, etc. Playback takes place via the speakers of this device.
- Connect the external device via 3.5mm stereo jack to the LINE IN socket. The device automatically changes to AUX mode.
- Set the volume level with the VOL+/VOLbuttons (14/24) and lisen to music playback from the external device via the speakers of this device.
- You will find further instructions in the manual of your external sound source.
iNote:
Set the volume of the external device to a reasonable level.
Cleaning
- Before cleaning disconnect from mains power supply.
- Clean the device with a soft damp cloth without detergents.
- Do not submerge the device in water.
Technical Specifications
Model: SRC 4321
Power Supply: External Power Adaptor
Input: AC 230V~50Hz
Output: DC 15V / 1.5 A
Polarity:
Back-up Battery: 2 x 1.5V, R03, AAA
Power Output: 30 Watts PMPO
Protection Class:
Radio:
Frequency Range: FM 87.5 ~ 108MHz
AM522\~1620kHz
Technical modifi cations reserved!
This device complies with all current CE directives, such as electromagnetic compatibility and low voltage directive and is manufactured according to the latest safety regulations.
Subject to change without prior notice!

Meaning of the "Wheelie Bin" Symbol
Take care of our environment, do not dispose of electrical applicancies via the household waste.
Dispose of obsolete or defective electrical appliances via municipal collection points.
Please help to avoid potential environmental and health impacts through improper waste disposal.
You contribute to recycling and other forms of utilization of old electric and electronic appliances.
Your municipality provides you with information about collecting points.
He no3B0JrTe MaJIeHbKIM DeTAM nIrpTaB c nnEHKoN. OnaChocTb ydyu7b!
ДязauNTbI DeTeH INHbaNIOB OT ONaCHOCTe, CBaHHbIX C NOJIb3OBaHHe MJIeKTPoPn6OpamN, yCTpoiCTBO DOJXHO NcNoJIb3OBaTbcr NCKJIuHTeJIbHO IOd HAn3OpOM. YCTpoiCTBO He JABnEtcnIpyuKoH. He no3BoJaTe MaJeHbKm DETAM INPaTb C HIM.
CnMBOJIbB DaHHOM pyKOBoCTBe NOJb3OBaTeJIa
Baxhble yka3aHn, kacaUcneBaWei 6e3oNaChocTn,OTMeueHbI Oco6o.Bo n36exKaHne HeCuaCTbIX CnyaEB n IOBpeKdEHHy ycTpoiCTBa ObpaauTe Ha HNX Oco6oe BHNMaHne.
BHHMaHHe:
IpeDynpexJeHne 6 onachocTn dJa 3OpOBbY, yKa3bIBaET Ha BO3MOxHOCTb NOBpeXDeHn.
06paTne BHHMaHHe:
IontuHaBnaOnaChOCTb IyctpoiCTBa nn npymnx npedMeTOB.
I PnpmeuHn:
CobetbI INHOpMaUg IINBAC.
PacnoJoxKeHne 3JIeMeHTOB
1 Tne3do iPod
2 Khoonkun TUNING+/TUNING-
3 KhoNka SET AL1 (ycTaHOBka 6yDnBHNka)
4 KhoNka AL2 (2e BpeM 6yDnBnKa)
5 KhoIka SET AL2 (ycTaHOBka 2ro BpeMeHn 6yDnIbHnKa)
6 KhoNka MIN (MHyTbI)
7 KhoNka HR (yacbl)
8 INTEpBaJI 6yDnJIbHnKa/KhONKa 3aepKKn BIKNUOeHnA (SNOOZE/SLEEP)
9 Khoika TIME SET
10 Khonka BBS
11 Khonka Bb6opa DeicTBnA FUNCTION
12 KhoNka AL1 (6yDnIbHnK 1)
13 KhoNka STANDBY
14 KhoNk ynpaBneHn rpoMkoCTbO VOL+ VOL-
3aHnA CTOpHa
15 BbIKnOuTeJIb DIMMER L/H
16 Pa3beM DC 15 B
17 Pa3bem LINE IN
18 Pa3bem PHONE
19 PeneKnHouaTeIb DST 0/+1 (3mMHee/JneTHee Bpem)
IyIbT dNCTaHcNoHHOrO ynpaBHeHnA
20 KhoNka BbIbopa DeicTBnA FUNCTION
21 KhoKn / (nonck BnepeHa3aD)
22 KhoNka II (Bocnpoun3BeJeHne/ PnOCTaHOBka)
23 Khonka BBS
24 KhoNkyn npabneHn rpoMkoctbvo VOL+ VOL-
25 Khoonka MUTE
26 KhoNka 3aepKKn BbIKIoueHn (SLEEP)
27 Khonka POWER
28 Khonka 12/24 (ΦopMaT BpemeH YuacOB)
Ipeed nepBbIM nCnoJb3OBA-Hnem yctpoiCTBa/BVeJeHne
-ПередпервичньIMИСПОЛБ3OBaHNeM yCTpoIcTBa BHMMaTeNbHO ПpoTITe ДaHHoe pyKOBoDcTBo.
-Дя установки пибopa ВьберпесоOTВБETCTBYUОоe MecTo.ПOBepхнocтбДОнЖна bItb cyxOи,poBHOИ HeCKOLb3Яш经,Takke Heo6xOДМОобecпeунTB Xopoши дocTyк yctpoiCTBy.
- Y6eIntecb, yTO BeHTnJIaCnI npIbopa He 3aTpUdHeHa.
CHIMTEc DCNPEAaHTHyo 06OIOUky, ecn OHa IMeTc.
3NeKtponntaHne
BCTaBbTe ceTeBOI uTeKepeHbI pa3bEm B npAunlbHbIM 6pa3OM yCTaHOBeHHyU OPO3eTKy C 3a3eMnEHNEM, paccHTaHHyU Ha HapJxKeHne 230 B,50 Tc. CoeINHtE yCTpoNCTBO C 6nOKOM nITAHNIA, dIy Yero BCTaBbTe uTeKeep B pa3bEm DC 15 B (16)Ha KOpnyce ycTpoNCTBa.
- Y6eINTEcB, yTO HAnpJxKeHne B Cetn COOTBETCTByET DaHHbIM, pNBeDeHHbIM B Ta6JIuYKe C TexHnueCKmN daHHbIMN.
O6paTHTe BHMaHHe:
BxOJaIuN B KOMnJIeK T CeTeBOaIaTep MoKeT IcNoIb3OBaTbcra ToIbKO C DaHHbIM yCTpoiCTBOM. He IcNoIb3yIte ero c dpyrIMu yCTpoiCTBaMn.
Pa3pe7aetcnaCnoB3OBAbToIbko aanTep Ha 15 B ( --+), pyroJ aanTep MoKet NOBpeDnT yCTpoNCTBO.
IpimmuHne:
EcnycTpoIcTBo He nCnOJIb3yETcB TeueHne IINITeINbHO nepNoJa BpeMeHN, Heo6XoIMo OTcoEINHTb CeTeBOJ aanTep ot po3eTKN.
YcTaHOBka 3JemeHToB NHTaHnA
(3JemeHTbI NITaHnHe BxOaT B KOMNJIeKT)
Blaorapy yctahOBHeHHbIM 3nemEmTaM nHTaHnI pN BbIKIOUeHn 3NeKTPoNTaHn IIN OTKnIOUeHn np6opa OT cETn He npocXOHTc6poc HacTpoEk.
- OtkpoTe 6aTapeHbI OTCek Ha HIXHe CTOpOHe npnbopa.
- BCTaBbTe Dba 3nEmHa NtAHHa Tnna R03 "AAA" Ha 1,5 B. Co6nIouaIte nOJrPHocTb (yKa3aHa Ha dHe 6atapeHoro OTcKa).
- 3akpoTe 6aTapeeHbI OtceK.
- Ecnn yctpoiCTBO He nCnOJIb3yETcB TceHne dIITeJIbHOrO nepNoJa BpeMeHN, N3BNeKaIte 3JeMeHTbl NITaHry N3 np6opa, YTo6bl PpeoTbpaTtB yTeKv 3JNEKTPOlNTa.
i PnpmeuHne:
BOCPpon3BedeHn,HTo6bl NCKaTb ONpeDeHnHbI
OuHCTka
- PeneOOnCTKoN OTCoeHNHTe yCTpOInCTBO OT cETn.
Ouetae yctpoiCTBO C NOMOsbMO MRKOyBnaXHeHHo TKaHn, He NCNoJb3ynte MOUcne cpeDCTBa. - He norgykaaTe ycTpoiCTBO B BOy.
TexHnueckne xapaKTepeNCTnKN
MoeIb: SRC 4321
3neKtpoNTaHHe:BHeuHn6NoK NTaHn
Bxod: AC 230 B~50
BbIXoI: DC 15V/1.5A
PonpaHocTB: 0-
Pe3epBbIe 3JIeMeHbI IITaHnIy: .2x1,5B,R03,AAA
BbIXoHaMoHocTb: 30BT PMPO
Klacc 3aunTbI:
Papno
UactoTHbI dnaHaoH:FM 87.5\~108 MfU AM 522 1620 K
CoxpaHareTc npaBO Ha BHeceHne TEXHNueCKNX 3MeHeHn
DaHHoe yCTpOcTB COOTBcTcByeT BCEM TEkyuIM DnpeKtNBam CE, TaKIM KaK 3JIeKTPOMaHHTHaR COBMecTmOCt b Hn3KOE HaPRAxHeH; OHO pOn3BeDeHO B COOTBcTcBUN C HOBeuIMN PpaBnAmI TEXHNK 6e3oNaChOCTn.
I3MeHeHnMOryT BHOCTbC6e3 npedBapnteHoro yBeDomneHnra!
GARANTIE-KARTE
Garantiebewijs · Carte de garantie Certificato di garanzia · Tarjeta de garantia Cartao de garantia · Guarantee card Garantikort · Karta gwarancjna · Zaručni list Garancia lap · ΓapaHTmHaJnKaKapToUka
SRC 4321
24 Monate Garantie gemäß Garantie-Erklärung · 24 maanden gar- tantie overeenkomstig schriftelijkke garantie · 24 mois de garantie conformément à la déclaration de garantie · 24 meses de garantie segun la déclaration de garantia · 24 meses de garantia, conforme a declaração de garantia · 24 mesi di garanzia a seconda della spi-gazione della garanzia · 24 months guarantee according to guaran- tee declaration 24 maneders garanti i henhold til garantierklaring 24 miesiacgwarancjinapodstawiekartygwarancjnej Zaruka 24 mésicu podle prohlasei o zaruce · A garanciat lásd a hasznalati utasitasban TapaHTnHbIe O6ra3aTeJIbCTBa - cmOTpn pykoBODCTBO nOlb3OBaTeJ
Kaufdatum, Handlerstempel, Unterschrift • Koopdatum, Stempel van de leverancier, Handtekening • Date d'achat, cachet du revendeur, signature • Fecha de compra, Sello del vendedor, Firma • Data de compra, Carimbo do vendedor, Assinatura • Data dell'aquisto, timbro del commerciante, firoma • Purchase date, Dealer stamp, Signature • Kjøpsdato, stempel fra forhandler, underskrift • Data kupna, Pieczatka sklepu, Podpis • Datum koupé, Razitko prodejce, Podpis • Avasarlasi datum, a vasarlasi hely belyegzõje, alairas Da tata nokynn, neuatab toprobua, nodnncb
ETV


- Język polski
- Spis tresci
- Sovetimer (SNOOZE/SLEEP knapp (8/26))
- General Safety Guidelines
- Children and disabled persons
- Warning!
- Symbols in this user manual
- Warning:
- Attention:
- iNote:
- English
- Location of Controls
- Back Side
- Remote Control
- First Use of the Device/ Introduction
- Power supply
- i Note:
- Inserting the batteries
- Headphone jack (18)
- General Operation
- Switch device on/off (13/27)
- Display brightness
- Volume
- Infrared Remote Control
- BBS (10/23)
- MUTE (25 on the RC)
- 12/24 Hour Toggling (28 on the RC)
- Winter/Summer Time Switch (19)
- Setting the time
- Radio Tuning
- Alarm Function
- Set Alarm
- Set Second Alarm:
- Deactivate Alarm
- Wake Up to Radio
- Wake Up to Buzzer
- Wake Up to iPod
- Snoopze Function
- Turn Off Alarm
- Sleep Timer (SNOOZE/SLEEP button (8/26))
- MusicPlayback from iPod
- Description of iPod Controls
- II(22)
- (21)
- iPod Charging
- LINE IN Socket (17)
- Cleaning
- Technical Specifications
- Meaning of the "Wheelie Bin" Symbol
- CnMBOJIbB DaHHOM pyKOBoCTBe NOJb3OBaTeJIa
- BHHMaHHe:
- 06paTne BHHMaHHe:
- I PnpmeuHn:
- PacnoJoxKeHne 3JIeMeHTOB
- 3aHnA CTOpHa
- IyIbT dNCTaHcNoHHOrO ynpaBHeHnA
- Ipeed nepBbIM nCnoJb3OBA-Hnem yctpoiCTBa/BVeJeHne
- 3NeKtponntaHne
- O6paTHTe BHMaHHe:
- IpimmuHne:
- YcTaHOBka 3JemeHToB NHTaHnA
- i PnpmeuHne:
- OuHCTka
- TexHnueckne xapaKTepeNCTnKN
- GARANTIE-KARTE
- SRC 4321
Brand : AEG
Model : SRC 4321
Category : Radio