
BCB 19 - Air Conditioning Master - Free user manual and instructions
Find the device manual for free BCB 19 Master in PDF.
| Brand | Master |
| Model | BCB 19 |
| Product type | Evaporative air cooler (air conditioning) |
| Power supply | Electrical grid, voltage and frequency according to rating plate |
| Power consumption | Not specified in the manual |
| Water tank | With max level float, drain by plug |
| Water connection | By threaded connection (continuous water supply possible) |
| Recommended water quality | Tap water, hardness below 15 °f, disinfected if necessary |
| Operating temperature | Air: 18 °C to 45 °C; Water: <45 °C |
| Main functions | Cool (cooling), Vent (ventilation only), Auto (automatic), Reverse (fan direction reversal), Timer (delayed start/stop), Speed adjustment |
| Control panel | LED screen, buttons ON/OFF, AUTO, COOL, VENT, REVERSE, ▲/▼, CLOCK, TIMING, SET |
| Remote control | Included (similar functions to panel) |
| Deflector oscillation | Manual by cord on the air outlet opening |
| Status indicator light | Green LED (on), orange (low water), red (standby/low water), flashing (communication problem) |
| Safety distance | 0.5 m minimum from walls and objects |
| Cleaning and maintenance | Periodic draining and sanitizing of the tank; cleaning of the cooling pad panels; use of biocidal products compliant with EU 582/2012 |
| Safety | Disconnect before maintenance; do not use with wet hands; protect power cord; repair by authorized service center |
| Weight | Not specified in the manual |
| Dimensions | Not specified in the manual |
| Included accessories | Air duct kit, wheels, mounting hardware |
Frequently Asked Questions - BCB 19 Master
User questions about BCB 19 Master
0 question about this device. Answer the ones you know or ask your own.
Ask a new question about this device
Download the instructions for your Air Conditioning in PDF format for free! Find your manual BCB 19 - Master and take your electronic device back in hand. On this page are published all the documents necessary for the use of your device. BCB 19 by Master.
USER MANUAL BCB 19 Master
natural_image
Icon of an open book with an exclamation mark, enclosed in a diamond shape with a yellow diagonal stripe (no text or symbols)USER AND MAINTENANCE MANUAL
BCB 19
| en | it | de | es | fr | nl | pt | da | pl | ru | cs | hu | tr | lt |
| lv | et | ro | sk | bg | el |
NOTE:
TECHNICAL DATA - DATI TECNICI - TECHNISCHE DATEN - DATOS TÉCNICOS - DONNÉES TECHNIQUES - TECHNISCHE GEGEVENS - DADOS TÉCNICOS - TEKNISKE DATA - TEKNISET TIEDOT - TEKNISKE DATA - TEKNISKA DATA - DANE TECHNICZNE - TEXНИЧЕСКИЕ ДАННЫЕ - TECHNICKÉ ÚDAJE - MŰSZAKI ADATOK - TEHNIČNI PODATKI - TEKNÍK VERİLER - TEHNIČKI PODACI - TECHNINIAI DUO-MENYS - TEHNISKIE DATI - TEHNILISED ANDMED - DATE TEHNICE - TECHNICKÉ ÚDAJE - TEXНИЧЕСКИ ДАННИ - TEXNICHÍ ДАНІ - TEHNIČKI PODACI - TEXNIKA DEĐOMENA - 技术参数 - TEXНИКАЛЫК КОРСЕТКІШТЕР
| MODEL BCB 19 | |
 | 19.000 m^3/h - m^3/ч |
 | 280 Pa-Па |
 | ~220-240 V-B 50 Hz-Гц7,2 A1.100 W-Вт |
 | 75 kg-кг |
| IP55 | |
NOTE:
FIGURES - FIGURE - ABBILDUNGEN - FIGURAS - FIGURES - FIGUREN - FIGURAS - FIGURER - KUVAT - FIGURER - FIGURER - ILUSTRACJE - ИЛЛЮСТРАЦИИ - OBRÁZKY - ÁBRÁK - SLIKE - ŞEKİLLER - SLIKE - ILIUSTRACIJOS - ATTĚLI - JOONISED - IMAGINI - OBRÁZKY - CXEMI - ДАHI - EIKONEΣ - 图示 - СУРЕТТЕМЕЛЕР

natural_image
Exterior view of a large industrial air conditioning unit with ventilation grilles and wheels (no text or symbols visible)
FIGURES - FIGURE - ABBILDUNGEN - FIGURAS - FIGURES - FIGUREN - FIGURAS - FIGURER - KUVAT - FIGURER - FIGURER - ILUSTRACJE - ИЛЛЮСТРАЦИИ - OBRÁZKY - ÁBRÁK - SLIKE - ŞEKİLLER - SLIKE - ILIUSTRACIJOS - ATTĚLI - JOONISED - IMAGINI - OBRÁZKY - CXEMI - ДАHI - EIKONEΣ - 图示 - СУРЕТТЕМЕЛЕР

FIGURES - FIGURE - ABBILDUNGEN - FIGURAS - FIGURES - FIGUREN - FIGURAS - FIGURER - KUVAT - FIGURER - FIGURER - ILUSTRACJE - ИЛЛЮСТРАЦИИ - OBRÁZKY - ÁBRÁK - SLIKE - ŞEKİLLER - SLIKE - ILIUSTRACIJOS - ATTĚLI - JOONISED - IMAGINI - OBRÁZKY - CXEMI - ДАHI - EIKONEΣ - 图示 - СУРЕТТЕМЕЛЕР

natural_image
Close-up of a mechanical component with a coiled cable and attached pipe, showing a magnified inset of a pipe connection detail (no text or symbols visible)
natural_image
Close-up of a hand inserting a plug into a wall-mounted electrical outlet (no visible text or symbols)FIGURES - FIGURE - ABBILDUNGEN - FIGURAS - FIGURES - FIGUREN - FIGURAS - FIGURER - KUVAT - FIGURER - FIGURER - ILUSTRACJE - ИЛЛЮСТРАЦИИ - OBRÁZKY - ÁBRÁK - SLIKE - ŞEKİLLER - SLIKE - ILIUSTRACIJOS - ATTĚLI - JOONISED - IMAGINI - OBRÁZKY - CXEMI - ДАHI - EIKONEΣ - 图示 - СУРЕТТЕМЕЛЕР

natural_image
White remote control panel with buttons and a digital display, placed on a textured surface (no visible text or symbols)
natural_image
Close-up of a hand pressing a small electronic device with a magnified circular detail (no visible text or symbols)
natural_image
Black-and-white photo of a water drain pouring through a pipe into a white container, placed on a tiled floor (no text or symbols visible)▶▶1. INFORMATION ON SAFETY
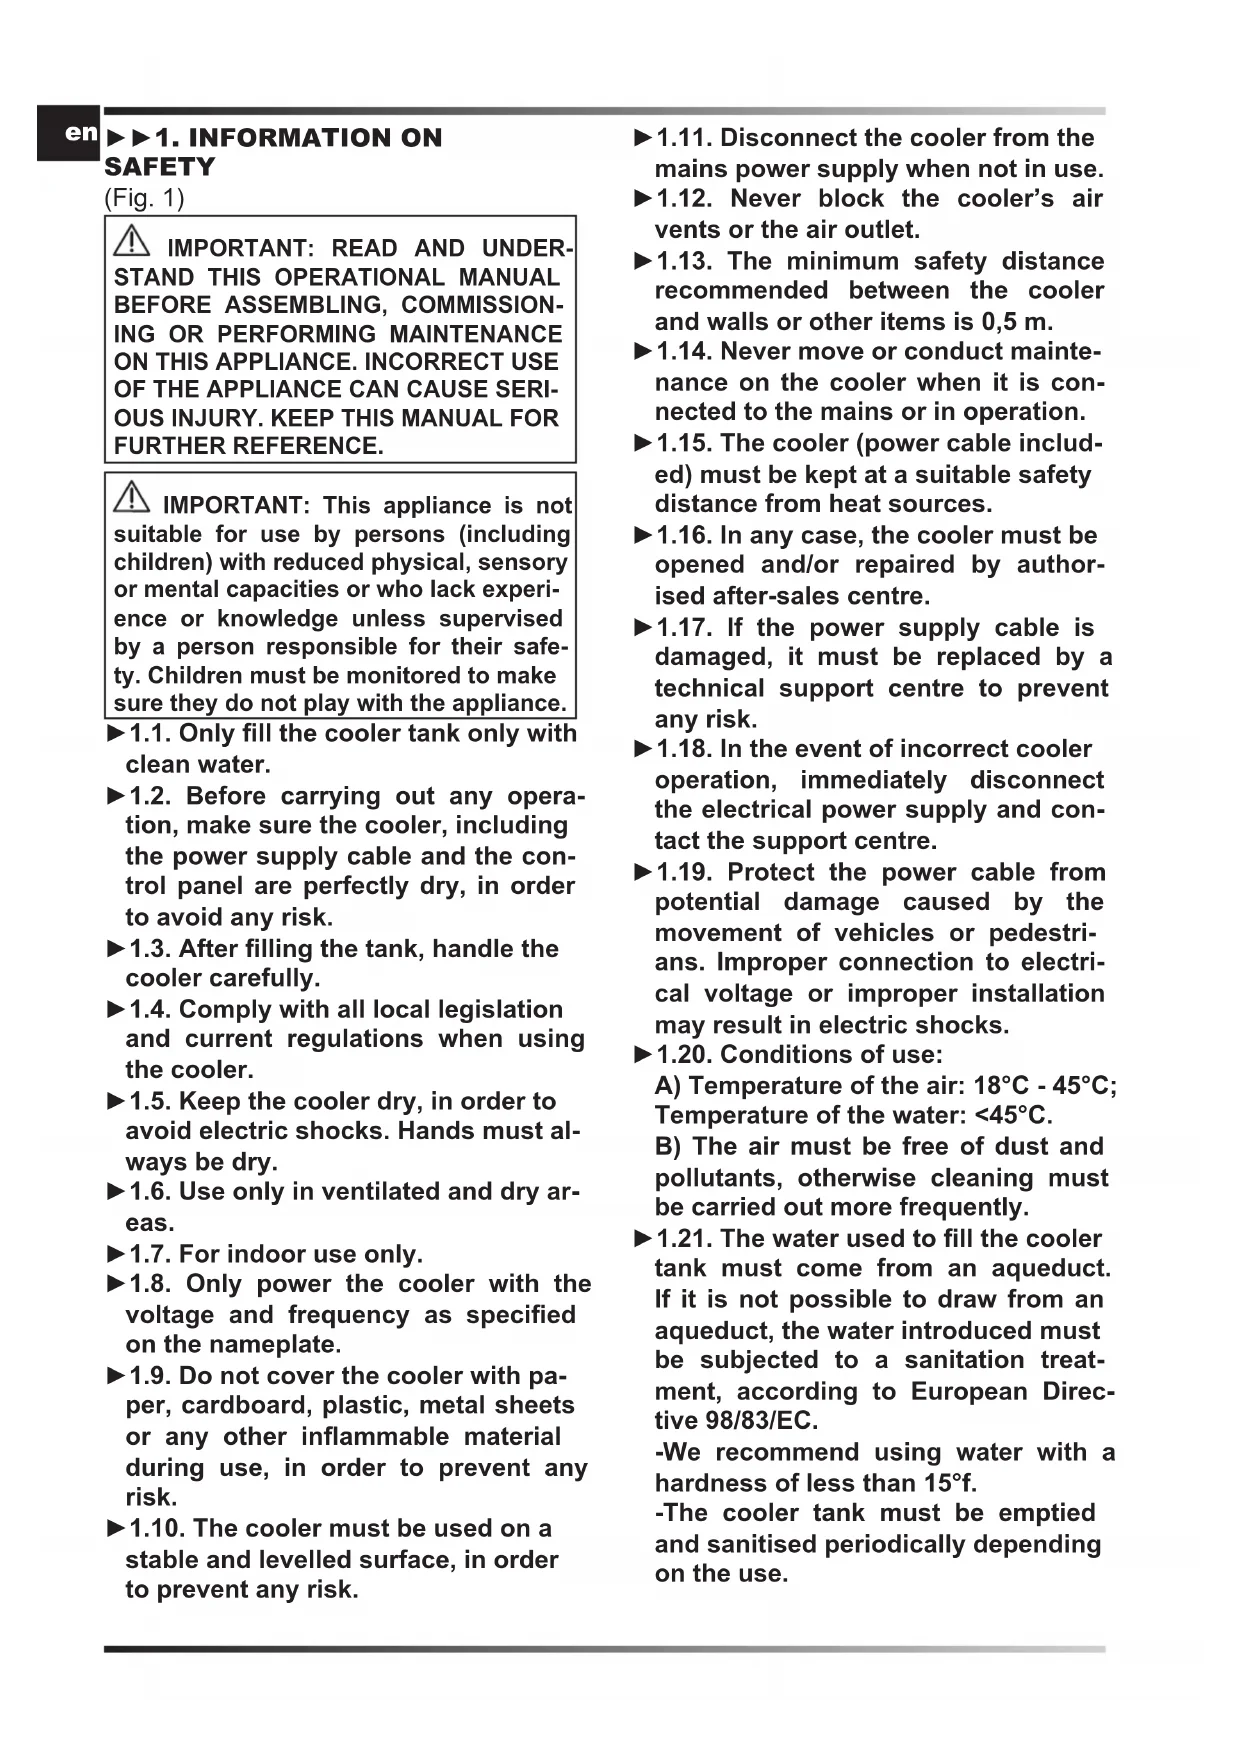
(Fig. 1)
IMPORTANT: READ AND UNDERSTAND THIS OPERATIONAL MANUAL BEFORE ASSEMBLING, COMMISSIONING OR PERFORMING MAINTENANCE ON THIS APPLIANCE. INCORRECT USE OF THE APPLIANCE CAN CAUSE SERIOUS INJURY. KEEP THIS MANUAL FOR FURTHER REFERENCE.
IMPORTANT: This appliance is not suitable for use by persons (including children) with reduced physical, sensory or mental capacities or who lack experience or knowledge unless supervised by a person responsible for their safety. Children must be monitored to make sure they do not play with the appliance.
▶1.1. Only fill the cooler tank only with clean water.
▶1.2. Before carrying out any operation, make sure the cooler, including the power supply cable and the control panel are perfectly dry, in order to avoid any risk.
▶1.3. After filling the tank, handle the cooler carefully.
▶1.4. Comply with all local legislation and current regulations when using the cooler.
▶1.5. Keep the cooler dry, in order to avoid electric shocks. Hands must always be dry.
▶1.6. Use only in ventilated and dry areas.
▶1.7. For indoor use only.
▶1.8. Only power the cooler with the voltage and frequency as specified on the nameplate.
▶1.9. Do not cover the cooler with paper, cardboard, plastic, metal sheets or any other inflammable material during use, in order to prevent any risk.
▶1.10. The cooler must be used on a stable and levelled surface, in order to prevent any risk.
▶1.11. Disconnect the cooler from the mains power supply when not in use.
▶1.12. Never block the cooler's air vents or the air outlet.
▶1.13. The minimum safety distance recommended between the cooler and walls or other items is 0,5 m.
▶1.14. Never move or conduct maintenance on the cooler when it is connected to the mains or in operation.
▶1.15. The cooler (power cable included) must be kept at a suitable safety distance from heat sources.
▶1.16. In any case, the cooler must be opened and/or repaired by authorised after-sales centre.
▶1.17. If the power supply cable is damaged, it must be replaced by a technical support centre to prevent any risk.
▶1.18. In the event of incorrect cooler operation, immediately disconnect the electrical power supply and contact the support centre.
▶1.19. Protect the power cable from potential damage caused by the movement of vehicles or pedestrians. Improper connection to electrical voltage or improper installation may result in electric shocks.
▶1.20. Conditions of use:
A) Temperature of the air: 18^ C - 45^ C; Temperature of the water: <45^ C.
B) The air must be free of dust and pollutants, otherwise cleaning must be carried out more frequently.
▶1.21. The water used to fill the cooler tank must come from an aqueduct. If it is not possible to draw from an aqueduct, the water introduced must be subjected to a sanitation treatment, according to European Directive 98/83/EC.
-We recommend using water with a hardness of less than 15^ f.
-The cooler tank must be emptied and sanitised periodically depending on the use.
-The cooling pad surfaces must be periodically inspected and sanitised depending on the use.
-For sanitation operations, biocidal products that comply with European regulation no. 582/2012 must be used.
WARNING: Verify if your electronic system is earthed correctly. Connection to the mains must be made in compliance with the National Standards in force. Only power the cooler with the voltage and frequency as specified on the name-plate.
▶▶2. UNPACKING
▶2.1. Remove all packaging material used to pack and deliver the cooler and dispose of it in compliance with current standards.
▶2.2. Remove all items from the packaging.
▶2.3. Check for any damage incurred during transport. If the cooler appears damaged, immediately inform the dealer from whom it was purchased.
▶▶3. ASSEMBLY
The cooler is equipped with an air ducting kit and wheels to facilitate handling. Depending on the model, all the components can be found already installed or to be installed. Components equipped with relative nuts and bolts are found inside the packaging (Fig. 2).
▶▶4. OPERATION
WARNING: Carefully read the “SAFETY INFORMATION” before switching on the cooler.
WARNING: Only use clean water to prevent failures or other anomalies.
▶▶4.1. SWITCH-ON:
▶4.1.1. Connect the cooler to the water mains using the threaded fitting (Fig. 3).
▶4.1.2. Refilling the water tank. When the tank reaches the maximum level, a float automatically stops the flow of water.
CAUTION: You can operate the cooler while connected to and continuously fed by the water supply.
▶4.1.3. Check that there are no leaks during refuelling.
▶4.1.4. Connect the supply plug to the power mains (Fig. 4).
▶4.1.5. Press ON/OFF / POWER to turn on the cooler (Fig. 6).
▶▶4.2.1. FUNCTIONS OF THE CONTROL PANEL AND REMOTE CONTROL (Fig. 5):
▶ ON/OFF: Used to turn the cooler on or off.
▶ AUTO: Activates the automatic cooling and cleaning function.
▶COOL: Activates or disables the cooling mode (ventilation does not start immediately).
▶VENT: Activates or disables the ventilation mode.
▶ CLEAN: Mode not available.
▶ REVERSE: Reverses the direction of rotation of the fan, to introduce or remove air from the room.
▶ SWING: Mode not available.
NOTE: Enables or disables the automatic swing of the baffles to direct the air flow by pulling the rope on the air outlet opening.
▶▲ \ ▼: Adjust the ventilation speed and the display clock.
▶ CLOCK: Is used to set the display clock.
▶TIMING: Enables to activate or deactivate the delayed switch-on or switch-off mode.
-Delayed switch-on: With the cooler switched on, press the "TIMING" button to set the delayed start (act on the ▲ \ ▼ buttons).
-Delayed switch-off: With the cooler switched on, press the "TIMING" button to set the delayed stop (act on the ▲ \ ▼ buttons).
▶ SET: Sets some specific settings (press the "SET" button several times and use the ▲ \ ▼ buttons):
-P1: Mode not available.
-P2: Room temperature setting from 10^ C to 40^ C.
-P3: Mode not available.
-P4: Electric frequency setting from 40Hz to 60Hz.
-P5: Mode not available.
NOTE: When the display shows a red LED and emits an acoustic beep, it means that the tank is empty and must be filled again (“COOL” function). To deactivate the acoustic beep, deactivate the “COOL” function.
During operation, a status LED lights up on the display:
-GREEN LED (on): Cooler in operation. -ORANGE LED (on): Cooler switching on with low water level.
-GREEN LED (flashing): Communication problems between the display and cooler.
-RED LED (on): Cooler switching off or in stand-by with low water level.
▶▶4.3. SWITCH-OFF:
▶4.3.1. Press ON/OFF / POWER to turn off the cooler (Fig. 6).
▶4.3.2. Drain the tank through the specific drain plug (Fig. 7).
▶▶5. CLEANING AND MAINTENANCE
WARNING: BEFORE PERFORMING ANY MAINTENANCE OR REPAIR, DISCONNECT THE POWER CABLE FROM THE MAINS.
DEPENDING ON THE ENVIRONMENT WHERE THE COOLER IS USED, DUST, DIRT OR WATER QUALITY CAN AFFECT THE PERFORMANCE OF THE UNIT. THEREFORE, CLEANING THE FOLLOWING COMPONENTS MAY BE REQUIRED:
▶▶5.1. TANK:
IT IS RECOMMENDED TO READ THE SAFETY WARNINGS CAREFULLY AND TO CHANGE THE WATER FREQUENTLY.
▶5.1.1. Turn off the cooler and disconnect the plug from the power mains.
▶5.1.2. Drain the tank through the specific drain plug.
▶▶5.2. WATER CIRCUIT:
▶5.2.1. To ensure proper operation of the cooler, turn off the “COOL” mode a few minutes before completely switching off the cooler, in order to avoid stagnant water.
▶5.2.2. We recommend periodically performing a complete cycle using clean water and appropriate disinfection products, running the cooler outdoors.
IMPORTANT:
-The cooler tank must be emptied and sanitised periodically depending on the use.
-The cooling pad surfaces must be periodically inspected and sanitised depending on the use.
-For sanitation operations, biocidal products that comply with European regulation no. 582/2012 must be used.
-If present, have the UV lamp checked and cleaned once a year by the service center.
▶▶6. CONTROL PANEL ERROR DIAGNOSTICS
| ERROR | CAUSE SOLUTION | |
| E1 | 1. Electronic equipment over-heating2. Defective electronic equipment3. Blocked or faulty motor | 1. Disconnect the cooler from the electricity mains for a few minutes2. Contact the support centre3. Contact the support centre |
| E2 | 1. Inadequate voltage (over-voltage)2. Faulty electrical connec-tions | 1a. Check your system is powered correctly1b. Contact the support centre2. Contact the support centre |
| E3 | 1. Inadequate voltage (under-voltage)2. Faulty electrical connec-tions | 1a. Check your system is powered correctly1b. Contact the support centre2. Contact the support centre |
| E4 | 1. Faulty electrical motor con-nections | 1a. Check your system is powered correctly1b. Contact the support centre |
| E7 | 1. Cooler blocked 1a. Turn the | cooler off and on again1b. Contact the support centre |
| F4 | 1. Communication problems 1. | Contact the support centre |
| F6 | 1. Communication problems 1. | Contact the support centre |
▶▶7. TROUBLESHOOTING
| FAULT CAUSE SOLUTION | ||
| The display does not work | 1. No power supply2. Defective equipment | 1a. Make sure that the device is connected to the power supply1b. Contact a support centre2. Contact a support centre |
| There is no air flow or it is very low | 1. Air vent clogged2. Defective equipment | 1a. Keep the cooler away from walls that may obstruct the airflow1b. Remove any objects from the air vent1c. Contact a support centre2. Contact a support centre |
| The device does not respond to the commands | 1. Defective equipment 1. Contact a support centre | |
| The device leaks water | 1. The drainage plug is loose2. The drain is dirty and the drainage plug does not fully close3. The tank leaks4. The panel is dripping | 1. Close the plug2. Clean the drain and close the plug3. Contact a support centre4. Contact a support centre |
▶▶4.1. INBETRIEBNAHME:
natural_image
Abstract blue line drawing with curved strokes (no text or symbols)▶ en - DISPOSAL OF THE PRODUCT
-This product has been designed and manufactured with top-quality materials and components, which can be re-cycled and re-used. -When a crossed-wheely bin symbol is attached to the product, it means that the product is protected by the, 2012/19/UE European Directive.
-Please obtain information regarding the local differentiated collection system for electrical and electronic products.
-Respect local Standards in force and do not dispose of old products as normal domestic waste. Correct disposal of the product helps to prevent possible negative consequences for health, the environment and mankind.
▶pl - UTYLIZACJA PRODUKTU
▶ Iv - PRODUKTA IZNĪCINĀŠANA
natural_image
Abstract geometric composition with yellow and black blocks (no text or symbols)Dantherm S.p.A.
Via Gardesana 11
37010 Pastrengo (VR)
Italy
t.: +39 045 6770533
e.: info.it@danthermgroup.com

DOWNLOAD CATALOGUE

SEND US YOUR FEEDBACK

REGISTER FOR 3-YEAR WARRANTEE


- USER AND MAINTENANCE MANUAL
- NOTE:
- ▶▶1. INFORMATION ON SAFETY
- ▶▶2. UNPACKING
- ▶▶3. ASSEMBLY
- ▶▶4. OPERATION
- ▶▶4.1. SWITCH-ON:
- ▶▶4.2.1. FUNCTIONS OF THE CONTROL PANEL AND REMOTE CONTROL (Fig. 5):
- ▶▶4.3. SWITCH-OFF:
- ▶▶5. CLEANING AND MAINTENANCE
- ▶▶5.1. TANK:
- ▶▶5.2. WATER CIRCUIT:
- IMPORTANT:
- ▶▶4.1. INBETRIEBNAHME:
- ▶ en - DISPOSAL OF THE PRODUCT
- ▶pl - UTYLIZACJA PRODUKTU
- ▶ Iv - PRODUKTA IZNĪCINĀŠANA
Brand : Master
Model : BCB 19
Category : Air Conditioning