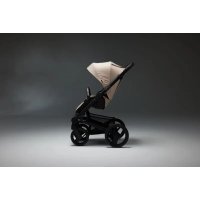
Icon - Stroller Mutsy - Free user manual and instructions
Find the device manual for free Icon Mutsy in PDF.
Document temporarily unavailable
The manual is currently being transferred to our new server. It will be accessible again in a few hours. Thank you for your patience.
| Product type | Stroller |
| Brand | Mutsy |
| Model | Icon |
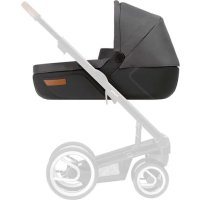
| Recommended age | From birth to 15 kg (seat), birth to 9 kg (carrycot) |
| Maximum allowed weight | Seat: 15 kg, carrycot: 9 kg, basket: 5 kg |
| Safety standards | EN 1888-1:2018 |
| Materials | Metal frame, polyester fabrics, foam |
| Adjustments | Handlebar: 4 height positions, backrest: 4 recline positions, adjustable leg rest, swivel wheels |
| Brake | Foot brake, parking lock |
| Harness | 5-point safety harness, height adjustable |
| Canopy | Extendable with zipper, adjustable |
| Compatible accessories | Adapters for Maxi-Cosi and Cybex car seats, rain cover, footmuff |
| Fabric care | Machine wash 30°C wool program, no bleach, no tumble dry, no ironing |
| Frame care | Clean with soft cloth, Teflon spray for mechanisms |
| Warranty | 2 years from purchase date |
| Spare parts | Available from Mutsy: original accessories, adapters, wheels |
Frequently Asked Questions - Icon Mutsy
User questions about Icon Mutsy
0 question about this device. Answer the ones you know or ask your own.
Ask a new question about this device
Download the instructions for your Stroller in PDF format for free! Find your manual Icon - Mutsy and take your electronic device back in hand. On this page are published all the documents necessary for the use of your device. Icon by Mutsy.