IVM 100363 Oss - Vacuum Cleaner Kärcher - Free user manual and instructions
Find the device manual for free IVM 100363 Oss Kärcher in PDF.
Download the instructions for your Vacuum Cleaner in PDF format for free! Find your manual IVM 100363 Oss - Kärcher and take your electronic device back in hand. On this page are published all the documents necessary for the use of your device. IVM 100363 Oss by Kärcher.
USER MANUAL IVM 100363 Oss Kärcher
Be sure to read the safety instructions no. 5.956-249.0 prior to the initial startup. ● If the operating instructions and safety instructions are not observed, the device can be damaged and dangers could arise for users and other persons. ● Notify the dealer immediately in the case of shipping damage. Safety information Hazard levels DANGER ● Indication of an imminent threat of danger that will lead to severe injuries or even death. 몇 WARNING ● Indication of a potentially dangerous situ- ation that may lead to severe injuries or even death. 몇 CAUTION ● Indication of a potentially dangerous situ- ation that may lead to minor injuries. ATTENTION
- Indication of a potentially dangerous situa- tion that may lead to damage to property. General instructions p. 11
- Safety information p. 11
- Intended use p. 12
- Environmental protection p. 12
- Accessories and spare parts p. 12
- Description of the unit p. 12
- Initial startup p. 13
- Operation p. 13
- Transport p. 15
- Storage p. 15
- Care and maintenance p. 15
- Troubleshooting guide p. 16
- Disposal p. 16
- Warranty p. 16
- Technical dat a p. 16
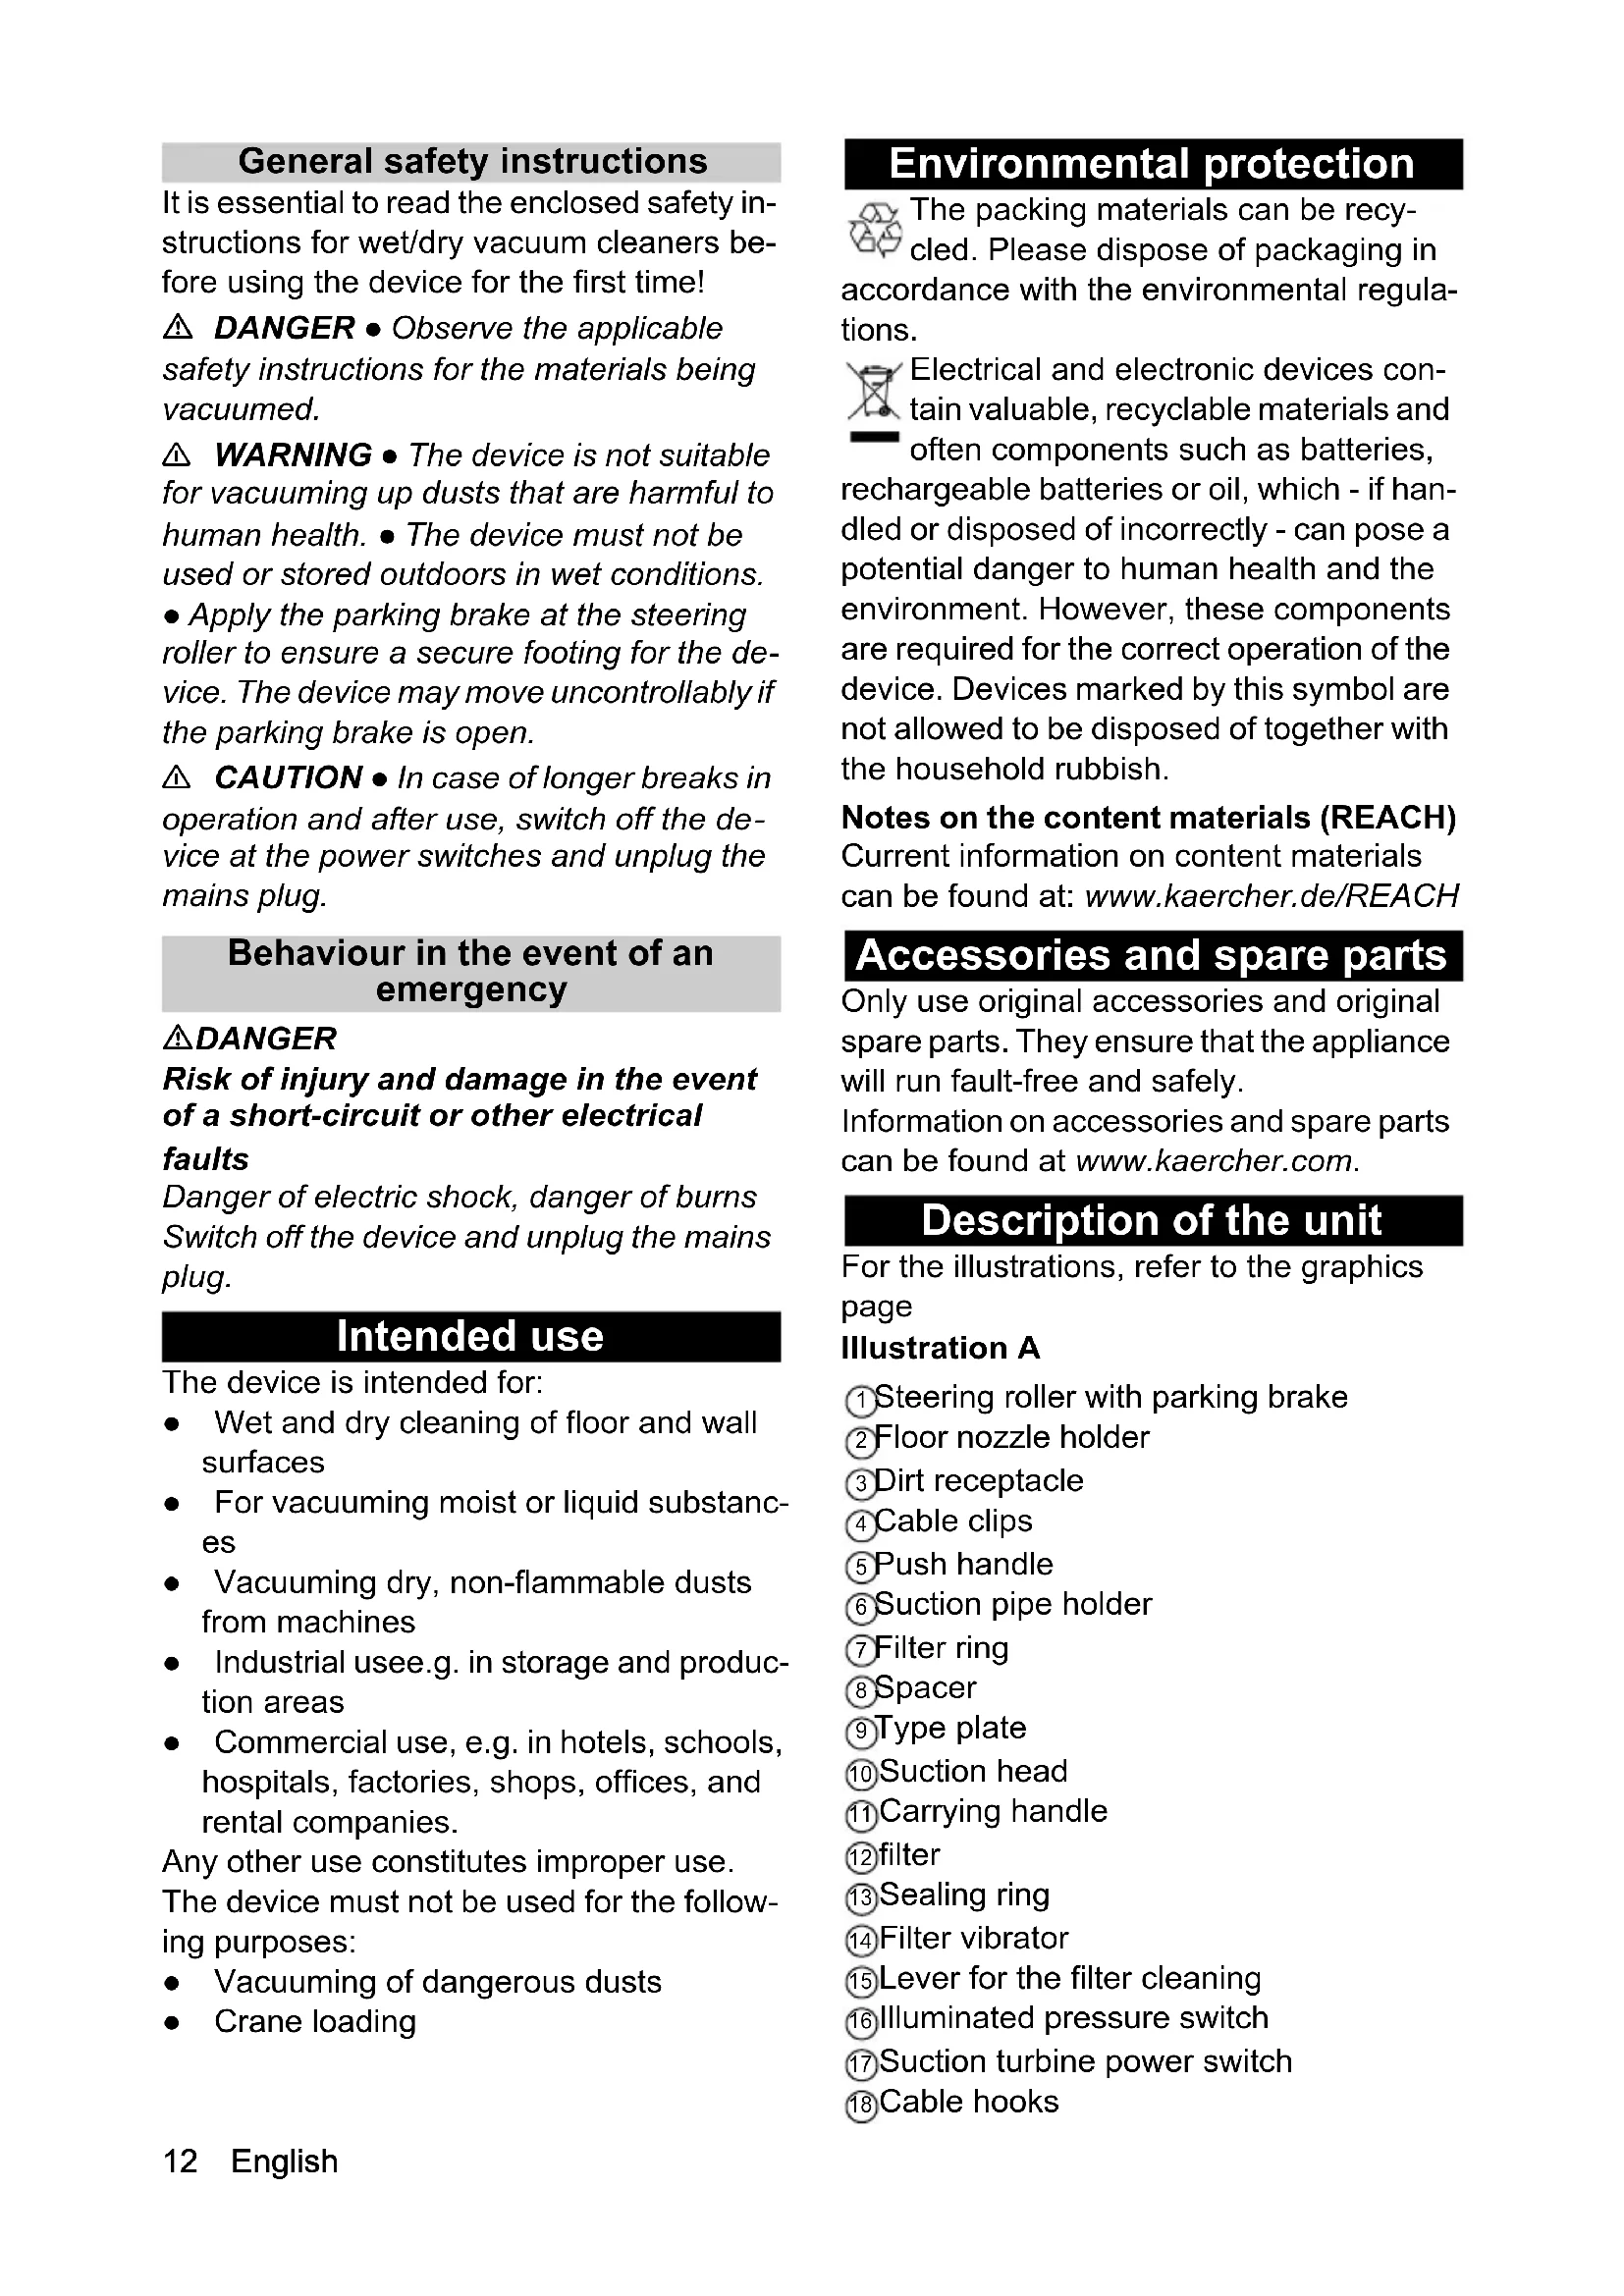
- Declaration of Conformity English General safety instructions It is essential to read the enclosed safety in- structions for wet/dry vacuum cleaners be- fore using the device for the first time! DANGER ● Observe the applicable safety instructions for the materials being vacuumed. 몇 WARNING ● The device is not suitable for vacuuming up dusts that are harmful to human health. ● The device must not be used or stored outdoors in wet conditions. ● Apply the parking brake at the steering roller to ensure a secure footing for the de p. 1712
vice. The device may move uncontrollably if the parking brake is open. 몇 CAUTION ● In case of longer breaks in operation and after use, switch off the de
vice at the power switches and unplug the mains plug. Behaviour in the event of an emergency DANGER Risk of injury and damage in the event of a short-circuit or other electrical faults Danger of electric shock, danger of burns Switch off the device and unplug the mains plug. Intended use The device is intended for: ● Wet and dry cleaning of floor and wall surfaces ● For vacuuming moist or liquid substanc-
● Vacuuming dry, non-flammable dusts from machines ● Industrial usee.g. in storage and produc- tion areas ● Commercial use, e.g. in hotels, schools, hospitals, factories, shops, offices, and rental companies. Any other use constitutes improper use. The device must not be used for the follow- ing purposes: ● Vacuuming of dangerous dusts ● Crane loading Environmental protection The packing materials can be recy- cled. Please dispose of packaging in accordance with the environmental regula
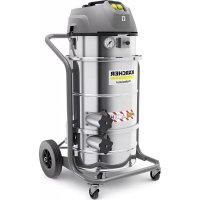
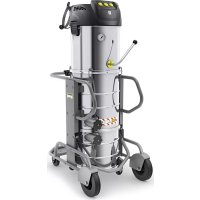
tions. Electrical and electronic devices con- tain valuable, recyclable materials and often components such as batteries, rechargeable batteries or oil, which - if han- dled or disposed of incorrectly - can pose a potential danger to human health and the environment. However, these components are required for the correct operation of the device. Devices marked by this symbol are not allowed to be disposed of together with the household rubbish. Notes on the content materials (REACH) Current information on content materials can be found at: www.kaercher.de/REACH Accessories and spare parts Only use original accessories and original spare parts. They ensure that the appliance will run fault-free and safely. Information on accessories and spare parts can be found at www.kaercher.com. Description of the unit For the illustrations, refer to the graphics page Illustration A 1 Steering roller with parking brake 2 Floor nozzle holder 3 Dirt receptacle 4 Cable clips 5 Push handle 6 Suction pipe holder 7 Filter ring 8 Spacer 9 Type plate 10 Suction head 11 Carrying handle 12 filter 13 Sealing ring 14 Filter vibrator 15 Lever for the filter cleaning 16 Illuminated pressure switch 17 Suction turbine power switch 18 Cable hooksEnglish 13 19 Mains cable 20 Suction head lock 21 Spacer lock 22 Suction hose port 23 Bow handle of the dirt receptacle 24 Fill level sensor plug 25 Fill level sensor 26 Chassis Initial startup ATTENTION Exceeding the grid impedance Electrical shock in the event of a short-cir- cuit The maximum permissible mains grid im- pedance at the electrical connection point (see Technical data) must not be exceed- ed. Contact your electricity supplier in the case of any uncertainties regarding the mains grid impedance at your electrical connec- tion point.
1. Bring the device into the working posi-
2. Secure the device with the parking
3. Insert the suction hose into the suction
4. Plug the desired accessory onto the suc-
6. Ensure that the dirt receptacle is correct-
ly fitted. Fitting the dust collection bag A dust collection bag can be inserted into the dirt receptacle to allow dust-free empty- ing of the device. Note The dust collection bag must not be used for wet vacuum cleaning.
1. Fit the dust collection bag in the dirt re-
ceptacle and carefully press it against the wall of the container.
2. Fold the edge of the bag over the edge
of the dirt receptacle. 몇 WARNING Improper handling when locking the dirt receptacle Risk of crushing Under no circumstances should you hold your hands between the dirt receptacle and filter ring or allow them to come close to the lifting mechanism while locking it. Lock the dirt receptacle by operating the bow handle with both hands.
3. Fit the dirt receptacle in the device.
Operation After vacuuming moist or liquid substances, see chapter Switching from wet to dry vac- uuming. Switching on the unit
1. Plug the mains plug into the socket.
The illuminated pressure switch lights up. Illustration B
2. Press the illuminated pressure switch.
3. Switch on the device via the suction tur-
bine power switches. Note Select the required suction power via the suction turbine power switch, starting with suction turbine 1. Always switch the suction turbines on and off one after the other.
4. Start the vacuuming process.
Performing the vacuuming process Note The unit has a fill level sensor that automat- ically switches the unit off when the dirt re- ceptacle is full.
2. If necessary, clean the filter (see chapter
Cleaning the filter) or change/ replace the filter (see chapter Chang- ing/replacing the filter).14 English Wet vacuum cleaning ATTENTION Risk of damage if the dirt receptacle overflows The dirt receptacle can fill within a few sec- onds and overflow when vacuuming large amounts of liquids. Continuously monitor the filling level.
1. Remove the dust collection bag, if nec-
essary, before wet vacuum cleaning (see chapter Emptying the dirt recepta- cle).
2. After wet vacuum cleaning:
a Dry the filter. b Clean the dirt receptacle with a moist cloth and dry it off. Switching from wet to dry vacuuming ATTENTION Switching from wet to dry vacuuming Risk of damage to the filter Do not vacuum dry dust with a wet filter el- ement because this clogs the filter and can make it unusable.
1. Allow the wet filter to dry completely or
replace it with a dry filter before using the device for dry vacuuming.
2. Replace the filter if necessary.
Cleaning the filter Clean the star pleated filter at regular inter- vals.
1. Switch off the device.
2. If dry suction material has been extract-
ed, move the filter cleaning lever back and forth at least 5 times. If this cleaning does not bring any improve- ment, remove the star pleated filter and wash or replace it (see chapter Care and maintenance). Switching off the device
1. Switch off the device via the suction tur-
bine power switches.
1. Remove the accessories.
2. Remove the accessories and, if neces-
sary, flush with water and allow to dry.
4. Vacuum the inside and outside of the de-
vice and clean with a moist cloth.
5. Remove the filter for drying if wet suction
material has been vacuumed. Emptying the dirt receptacle 몇 WARNING Risk of crushing When removing or replacing the container, watch for moving parts. Note Empty the dirt receptacle when the unit switches off automatically and the illuminat
ed pressure switch lights up.
1. Switch off the device at the power
2. Secure the device with the parking
3. If dry suction material has been extract-
ed, move the filter cleaning lever back and forth at least 5 times. Illustration C
4. Pull the bow handle up.
The dirt receptacle is unlocked and low- ered.
5. Pull the dirt receptacle out of the device
sary. a Close the dust collection bag and re- move it from the dirt receptacle. b Dispose of the dust collection bag and contents according to the applicable waste disposal regulations.
7. Empty the dirt receptacle.
Note The dirt receptacle can be lifted by crane at the handle. The maximum load for trans
port by crane is 50 kg. 몇 CAUTION Exceeding the permissible total weight Risk of injury and damage Observe the total weight of the dirt recepta- cle when transporting it by crane. Do not overload the receptacle. Observe the valid instructions for crane op- eration.English 15 몇 WARNING Improper handling when locking the dirt receptacle Risk of crushing Under no circumstances should you hold your hands between the dirt receptacle and filter ring or allow them to come close to the lifting mechanism while locking it. Lock the dirt receptacle by operating the bow handle with both hands.
8. Insert the dirt receptacle into the device
in reverse order. Illustration B
9. Press the illuminated pressure switch.
The light goes out. Transport 몇 CAUTION Failure to observe the weight Risk of injury and damage Be aware of the weight of the device during transportation.
1. Secure the device against slipping and
tipping over when transporting in vehi- cles. Storage 몇 CAUTION Failure to observe the weight Risk of injury and damage Be aware of the weight of the device during storage.
1. Store the device indoors only.
Care and maintenance DANGER Risk of injury due to inadvertently start- ing up device and also due to electric shock. Switch off the device and unplug the mains plug before performing any work on the de
vice. DANGER Disconnecting the fill level sensor plug Risk of electric shock The fill level sensor plug may only be dis- connected by trained specialist or service personnel. Inspection and maintenance work Have the device regularly inspected ac- cording to the respective national accident prevention regulations. Maintenance work as specified by the manufacturer must be performed by a technically qualified person at the specified regular intervals and in ac
cordance with the applicable regulations and safety requirements. Work on electrical components may only be performed by a qualified electrician. Please contact a KÄRCHER branch office if you have any questions. Maintenance intervals / user maintenance No periodic maintenance intervals are specified for this device. The following maintenance is to be performed as neces
sary: ● Wash the filter. ● Change the filter. ● Replace the filter. Wash the filter ATTENTION Use of detergents or bleach Damage to the filter. Clean the filter with water only. Only fit the filter in the device when it is completely dry. The star folded filter can be washed out un- der running water.
1. Always flush the star folded filter from
the inside to the outside so that no re
maining particles impair the filter perfor- mance. Changing/replacing the filter
1. Switch off the device.
2. Pull out the mains plug.
ATTENTION Incorrect removal of the suction head Damage to the plug of the fill level sensor Be careful not to damage the fill level sen- sor connector when removing the suction head. Place the suction head near the unit so that the cable of the level sensor plug is not stretched.
3. Unlock and remove the suction head.
4. Unlock and remove the spacer.16 English
5. Remove the star pleated filter.
6. Check the sealing ring for damage.
7. Insert the new star pleated filter:
a Pull the new star pleated filter over the filter vibrator on the spacer such that the vibrating elements are aligned centrally in the filter bags. b Place the spacer with star pleated fil- ter and filter vibrator on the filter ring. c Lock the spacer.
8. Fit and lock the suction head.
Troubleshooting guide DANGER Unintentional start-up of the device / electric shock Unintentional start-up of the suction motor can cause injuries. Voltage present on electrical parts can cause an electric shock. Switch off the device and unplug the mains plug before performing any work on the de- vice. Have all checks and work on electrical parts performed by an qualified technician. Note The device must be switched off immedi- ately in the event of a malfunction. The mal- function must be eliminated before switching the device on again. If the malfunction cannot be corrected, the device must be checked by the Customer Service department. Suction turbine does not start up
1. Check the socket and the power supply
3. Switch the device on.
Suction power decreases
1. Remove the blockages from the suction
nozzle, the suction pipe or the suction hose.
2. Clean the filter (see chapter Cleaning
1. Check the seating of the filter and cor-
2. Clean the filter (see chapter Cleaning
3. Replace the filter (see chapter Chang-
ing/replacing the filter). Disposal At the end of its service life, the device is to be disposed of in accordance with statutory regulations. Warranty The warranty conditions issued by our rele- vant sales company apply in all countries. We shall remedy possible malfunctions on your appliance within the warranty period free of cost, provided that a material or manufacturing flaw is the cause. In a war
ranty case, please contact your dealer (with the purchase receipt) or the next author
ised customer service site. (See overleaf for the address) Further warranty information (if available) can be found in the service area of your lo
cal Kärcher website under "Downloads". Technical data Electrical connection Mains voltage V 220-
Dimensions and weights Typical operating weight kg 76 Length x width x height mm 1020 x
- with elements of protection class II ar- rangement Subject to technical changes without no- tice. Declaration of Conformity We hereby declare that the machine de- scribed below complies with the relevant basic safety and health requirements in the EU Directives, both in its basic design and construction as well as in the version placed in circulation by us. This declaration is invalidated by any changes made to the machine that are not approved by us. Product: Dry vacuum cleaner Product: Wet/dry vacuum cleaner Type: 9.990-xxx Currently applicable EU Directives 2006/42/EC (+2009/127/EC) 2014/30/EU 2011/65/EU Harmonised standards used EN 60335-1 EN 60335-2-69 EN 55014-1: 2017 + A11: 2020 EN 55014-2: 2015
The signatories act on behalf of and with the authority of the Executive Board. Documentation supervisor: A. Haag Kärcher Industrial Vacuuming GmbH Robert-Bosch-Straße 4-8 73550 Waldstetten (Germany) Ph.: +49 7171 94888-0 Fax: +49 7171 94888-528 Waldstetten, 24/04/01 We hereby declare that the product de- scribed below complies with the relevant provisions of the following UK Regulations, both in its basic design and construction as well as in the version put into circulation by us. This declaration shall cease to be valid if the product is modified without our prior approval. Product: Dry vacuum cleaner Product: Wet/dry vacuum cleaner Type: 9.990-xxx Currently applicable UK Regulations S.I. 2008/1597 (as amended) S.I. 2016/1091 (as amended) S.I. 2012/3032 (as amended) Device performance data Container capacity l 100 Vacuum (with pressure re- lief valve) kPa 25.4 Air quantity l/s 3 x 74 Suction hose connection DN70 Nominal width of the suc- tion hose DN40/ 50/70 Filter order number 6.907-
Sound pressure level L
www.kaercher.com/REACH