IVS 10075 M - Vacuum Cleaner Kärcher - Free user manual and instructions
Find the device manual for free IVS 10075 M Kärcher in PDF.
Download the instructions for your Vacuum Cleaner in PDF format for free! Find your manual IVS 10075 M - Kärcher and take your electronic device back in hand. On this page are published all the documents necessary for the use of your device. IVS 10075 M by Kärcher.
USER MANUAL IVS 10075 M Kärcher
Register your product www.kaercher.com/welcome IVS 100/40 M IVS 100/55 M IVS 100/75 M
Chairman of the Board of Management Director Regulatory Affairs & Certification 13DE– 12 Technische Daten IVS
IVS 100/40 M IVS 100/55 M IVS 100/75 M
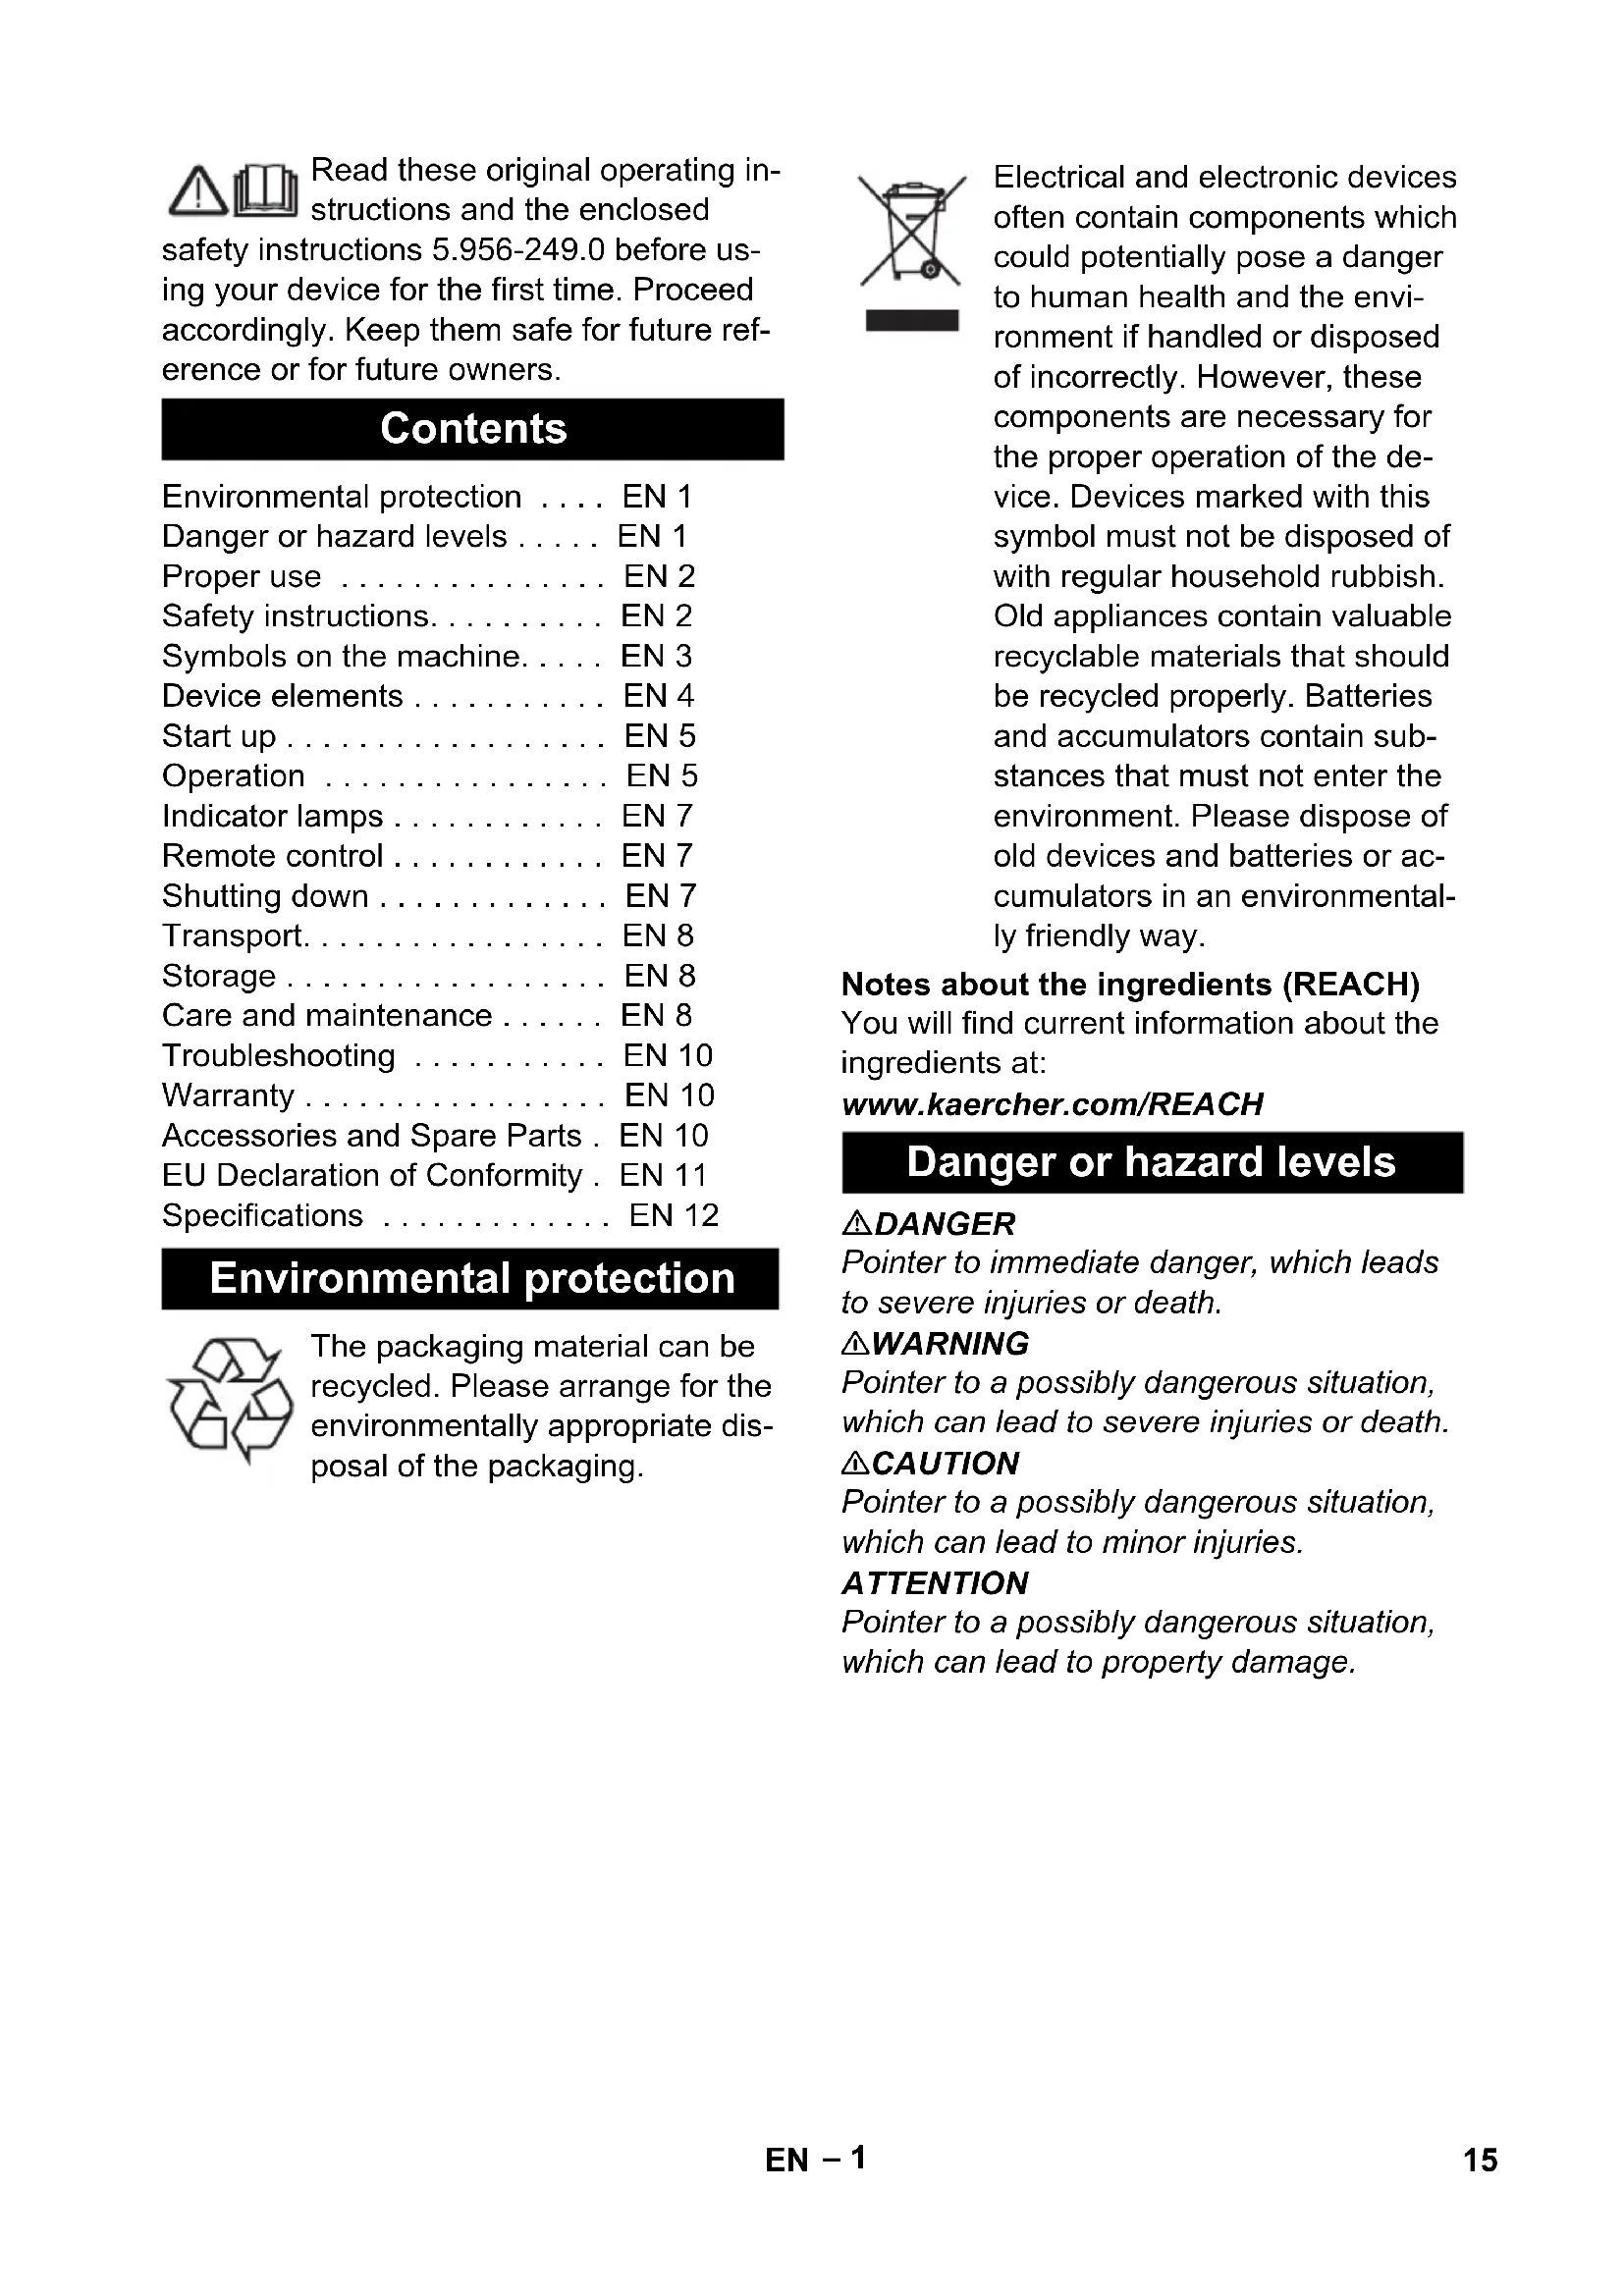
14 DE– 1 Read these original operating in- structions and the enclosed safety instructions 5.956-249.0 before us- ing your device for the first time. Proceed accordingly. Keep them safe for future ref- erence or for future owners. Notes about the ingredients (REACH) You will find current information about the ingredients at: www.kaercher.com/REACH DANGER Pointer to immediate danger, which leads to severe injuries or death. 몇 WARNING Pointer to a possibly dangerous situation, which can lead to severe injuries or death. 몇 CAUTION Pointer to a possibly dangerous situation, which can lead to minor injuries. ATTENTION Pointer to a possibly dangerous situation, which can lead to property damage. Contents Environmental protection ... EN 1 Danger or hazard levels ... EN 1 Proper use ... EN 2 Safety instructions... EN 2 Symbols on the machine... EN 3 Device elements ... EN 4 Start up ... EN 5 Operation ... EN 5 Indicator lamps ... EN 7 Remote control ... EN 7 Shutting down ... EN 7 Transport... EN 8 Storage ... EN 8 Care and maintenance ... EN 8 Troubleshooting ... EN 10 Warranty ... EN 10 Accessories and Spare Parts . EN 10 EU Declaration of Conformity . EN 11 Specifications ... EN 12 Environmental protection The packaging material can be recycled. Please arrange for the environmentally appropriate dis- posal of the packaging. Electrical and electronic devices often contain components which could potentially pose a danger to human health and the envi- ronment if handled or disposed of incorrectly. However, these components are necessary for the proper operation of the de- vice. Devices marked with this symbol must not be disposed of with regular household rubbish. Old appliances contain valuable recyclable materials that should be recycled properly. Batteries and accumulators contain sub- stances that must not enter the environment. Please dispose of old devices and batteries or ac- cumulators in an environmental- ly friendly way. Danger or hazard levels 15EN– 2 – This vacuum cleaner is intended for the wet and dry cleaning of floor and wall surfaces. – This appliance is suitable for vacuum- ing dry, non-flammable dust particles from machines. – The device is suitable for vacuuming moist or liquid substances. – The appliance is suited for the extrac- tion of dry, non-combustible, harmful dusts; dust class M according to EN 60 335–2–69. Restriction: No carci- nogenic substances may be vacuumed up. – This appliance is suitable for industrial use. – Accessories are not included in the de- livery. The accessories for the device must be ordered separately, depending on the application. – The device's correct function is only guaranteed when using suction hose nominal widths DN42, DN52 and DN
The IV 100/40 M may only be used with accessories DN 42 and DN 52. – Any other use other than the specified one will be treated as improper use of the appliance. The enclosed safety information for wet/dry vacuum cleaners must be read prior to ini- tial commissioning! DANGER – When the outgoing air is carried back into the room, a sufficient ventilation rate L in the room must be ensured. To comply with the required limit values the carried back volume flow must be 50% of the fresh air volume flow (room vol- ume V
) at maxi- mum. Without a specific ventilation sys- tem the following applies: L
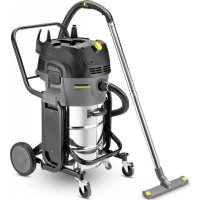
– Only persons trained in the use of the machine and the handling of substanc- es for which the machine is to be used including training in the safe disposal of the sucked-in material may use the ma- chine. – This appliance contains harmful dust. Evacuation and maintenance work, in- cluding the disposal of the dust collec- tion containers, may only be performed by specialists who wear the appropriate protective equipment. – Do not use the appliance without the complete filtering system. – Please follow the safety regulations ap- plicable to the materials that are to be treated. 몇 WARNING This appliance should not be used or stored in the open under wet conditions. 몇 WARNING Actuate the parking brake of the steering rollers for secure footing. The device may move uncontrollably when switched on if the parking brakes are not engaged. Switch off the appliance after completing the work and pull out the mains plug. Observe the safety regulations for the vacuuming material. The parts of the industrial vacuum (e.g. outlet opening) can endure tempera- tures of up to 95°C in proper/improper operation. In case of emergency (while sucking in combustible materials, when there is a short-circuit or some other electrical de- fect), switch off the appliance and remove the plug from the socket. Proper use Safety instructions Safety instructions In Emergency 16 EN– 3 몇 WARNING This appliance contains harmful dust. Evacuation and maintenance work, includ- ing the disposal of the dust collection con- tainers, may only be performed by special- ists who wear the appropriate protective equipment. The label provides information on the max- imum vacuum for your device depending on the suction hose cross section used. When in operation, the current value can be read from the pressure gauge and conclu- sions can be drawn on the filter status. The applicable values for your device can also be found in the chapter "Cleaning the filter". Note: The different suction hose sections are required to allow an adjustment to the connection sections of the accessory parts. The IV 100/40 M may only be used with ac- cessories DN 42 and DN 52. The label displays the permissible filters and dust bags for this device. Symbols on the machine Indicator lamp - Operation Malfunction indicator lamp rota- ry field Filter Order No. 6.907-651.0 Dust disposal bag Order No. 6.907-646.0 Order No. 6.907-336.0 17EN– 4 1 ON/OFF switch 2 “Switch-on appliance” button (only IVS 100/55 and IVS 100/75) 3 Muffler 4 Handle for filter cleaning 5 Lid of filter chamber 6 Closure filter chamber 7 Manometer 8 Green indicator lamp (only IVS 100/55 and IVS 100/75) 9 Sliding handle 10 Hose holder 11 Suction pipe holder 12 Floor nozzle holder 13 Connection nozzle for suction hose with connection bushing 14 Lever for unlocking the vacuuming ma- terial container 15 Guiding rolls with fixed position brake 16 Red indicator lamp 17 Motor/suction turbine casing Device elements 18 EN– 5 몇 WARNING Do not vacuum without the filter elements; otherwise, the suction motor can get dam- aged and this can be hazardous to health on account of increased release of fine dust particles. Bring the device into the working posi- tion and lock parking brake. Insert the suction hose into the suction hose connection. Attach the desired accessoried to the suction hose. Ensure that the vacuum material con- tainer has been inserted properly. Check the fill level in the dirt container prior to starting work and empty the container if necessary. 몇 Warning The highest allowed net impedance at the electrical connection point (refer to techni- cal specifications) is not to be exceeded. In case of confusion regarding the power impedance present on your connection, please contact your utilities provider. The device is suitable for vacuuming fine dust up to dust class M. Use a dust bag when vacuuming this dust class. Conventional vacuumed material (wet/dry) can be vacuumed directly into the vacuum cleaner waste container without a dust bag. After vacuuming moist or liquid substanc- es, observe the notes in chapter "Changing from wet vacuuming to dry vacuuming". 몇 CAUTION Never remover the filter when vacuuming. – The appliance is fitted with a disposal bag, order no. 6.907-336.0 (5 ea.). Note: All types of dust up to dust class M can be vacuumed with this device. The use of a dust collection bag (for order no., see label on the device) is required by law. Note:The appliance is suited as industrial vacuum cleaner to take up dry, non-com- bustible dusts with MAK values greater than or equal to 0.1 mg/m
ATTENTION Remove the dust bag before wet vacuum cleaning. Lock parking brakes. Unlock and lower the container. Pull the container out by the handle. Insert the disposal bag so that it is snug against the reservoir wall and the reser- voir bottom. Pull disposal bag over the container. Reinsert container and lock. Lock parking brakes. Unlock and lower the container. Switch on device to avoid releasing dangerous dusts. Pull the container out by the handle. Put the disposal bag over. Tightly seal the disposal bag with clo- sure strips underneath the opening. Remove disposal bag. Dispose of the disposal bag according to the local provisions. Reinsert container and lock. Start up Operation Disposal system Installing the dust disposal bag Removing the dust disposal bag 19EN– 6 몇 WARNING Health risk on account of fine dust! If the suction hose is removed, the suction con- nection must be closed. Properly insert the connection socket in the suction connection. Push in the connection socket until it locks into place. Turn the suction connection with the connection socket to the right to close it tightly. Caution: Constantly monitor the fill level in the dirt receptacle when vacuuming high volumes of liquid, as the receptacle can be filled within a matter of seconds and could overflow. DANGER No dusts hazardous to health should be sucked in during wet vacuuming. To suck wet dirt, always remove the dispos- al bag. ATTENTION Please note the following when switch- ing from wet to dry vacuum cleaning: 몇 WARNING Health hazard due to fine dust. If the device has been used for wet vacuum cleaning, then the filter must be replaced. Filters that have become wet no longer fulfil the re- quirements for dusts that are harmful to health and may no longer be used, even if they have been dried before use. Replace wet filters with new, dry filters (described under point "Care and main- tenance"). 몇 WARNING Health hazard due to fine dust. Check that the rotation direction is correct before switching on the device. The red indicator lamp lights up if there is a rotary field fault. In this case, swap the pins on the device's plug (described in chapter "Troubleshoot- ing"). Insert the appliance plug into the mains socket. Turn the On/Off switch to "1". Press “Switch-on appliance” button. (only IVS 100/55 M and IVS 100/75 M) Perform the suction process. If necessary, clean or replace the filter (described in chapter “Care and mainte- nance”). Close the suction connection Wet vacuum cleaning Changeover from wet to dry vacuum cleaning Turning on the Appliance Suction process 20 EN– 7 See also "Emptying the vacuum cleaner waste container" in chapter "Shutting down". Lock parking brakes. Pull the locks of the placement mechan- ics up. Pull the push handle upward. The con- tainer is unlocked and lowered. Pull the container out by the handle. Replace the dust bag (see chapter "Dis- posal system"). Reinsert the container and lock it with the push handle. On completion of wet vacuum cleaning: Dry the filter. Clean the container with a moist cloth and dry it off. Vacuum and wipe the appliance inside and outside with a damp cloth. A pressure gauge showing the vacuum in- side the device is located on the front of the device. If the vacuum is greater than the value given in the table, then the device must be switched off and the filter cleaned. Press the "Switch off appliance" switch. Move the filter cleaning lever back and forth several times, but 5 times at least. If this cleaning does not bring about any im- provement, then remove the filter and wash it or replace it (see chapter "Replacing the filter"). The appliances IVS 100/40 IVS 100/55 IVS 100/75 are equipped with a radio receiver for the remote control option. The training time and operation are de- scribed in the operating instructions of the remote control. Switch off the appliance using the On/ Off switch. If necessary, dismantle the accessory and rinse it with water and let dry. Empty the vacuuming material contain- er (refer chapter "Emptying vacuuming material container"). Vacuum and wipe the appliance inside and outside with a damp cloth. On completion of wet vacuum cleaning: Dry the filter. Clean the container with a moist cloth and dry it off. Switch off the appliance and secure it using the parking brakes at the guide rollers. Unlock and lower the container. Switch on device to avoid releasing dangerous dusts. After each operation Replace the disposal bag Cleaning the device Cleaning the filter NW 42 NW 52 NW 72 IVS 100/40 10 kPa 7.5 kPa -- IVS 100/55 20 kPa 18.0 kPa 10 kPa IVS 100/75 28 kPa 24 kPa 13 kPa Indicator lamps Green indicator lamp Lights up when the suction turbine is running Blink codes for training the remote con- trol (see radio remote control) Red indicator lamp Lights if there is a rotary field fault. Note: Appliance is not running. Exchange the poles at the appliance plug. Remote control Shutting down Emptying the vacuuming material container 21EN– 8 Pull out the vacuuming material con- tainer from the appliance using the han- dle that has been provided for the pur- pose. Replace the dust bag (see chapter "Dis- posal system"). Note The vacuum material container can be lift- ed by cranes at the handle. Maximum load for crane transport: 50 kg. 몇 CAUTION Risk of injury and damage! Note the total weight of the vacuum material container when transporting with a crane. Do not overload the container. Observe instruc- tions on lifting with a crane. Wrap the mains cord around the cable holder. Wind the suction hose around the slid- ing bow. Insert the floor nozzle and the suction pipe into their respective holder. Place the appliance in a dry room and secure it from unauthorized use. 몇 CAUTION Risk of injury and damage! Observe the weight of the appliance when you transport it. When transporting in vehicles, secure the appliance according to the guidelines from slipping and tipping over. 몇 CAUTION Risk of injury and damage! Note the weight of the appliance in case of storage. This appliance must only be stored in inte- rior rooms. 몇 Warning First remove the mains plug before doing any job on the vacuum cleaner. DANGER First pull out the plug from the mains before carrying out any tasks on the machine. Adhere to the local accident prevention guidelines and safety notes. Dust extracting machines are safeguards for the prevention or elimination of hazards defined in the regulations of BGV A1. – In order to carry out maintenance work, the user must disassemble, clean and service the unit, in so far as this is pos- sible without endangering maintenance personnel and other persons. Suitable precautions include decontamination before the unit is disassembled. Pre- cautions must be taken for local filtered forced air ventilation at the place where the unit is disassembled, the cleaning of the maintenance surface and suitable protection of the personnel. – The outside of the unit should be cleaned thoroughly and any harmful substances removed. Alternatively, a sealed coating may be applied before the unit is removed from the danger ar- ea. All unit parts are to be considered contaminated when they are removed from the danger area. To avoid distribu- tion of the dust, you must take the ap- propriate measures. – In the framework of maintenance and repair work all contaminated objects that cannot be cleaned satisfactorily must be disposed of. Such objects must be disposed of in impermeable bags in accordance with the valid provisions for the disposal of such waste. Storing the Appliance Transport Storage Care and maintenance 22 EN– 9 – The motor/suction turbine casing may only be disassembled by specialist per- sonnel. – The interior of the motor/suction turbine casing may only be cleaned by special- ist personnel. – During the transport and maintenance of the appliance the extraction opening is to be closed with the connection socket. 몇 WARNING Safety equipment for preventing hazards must be serviced and maintained regularly. This means that the manufacturer's staff or persons trained by the manufacturer must check the equipment for proper functioning at least once a year, i.e. check for leaks, fil- ter damage, functioning of the controlling elements, etc. 몇 CAUTION Risk of damage! Do not use detergents containing silicone to clean. – No outside help is required for carrying out basic maintenance and cleaning. – The appliance surface and the inside of the container should be cleaned regu- larly using a damp cloth. DANGER Risk due to dust hazardous to health. Al- ways use disposal clothing and P2 or high- er breath-safe masks while carrying out maintenance tasks (such as changing fil- ters). Have the vacuum cleaner regularly inspect- ed according to the respective national ac- cident prevention regulations. Maintenance work must be carried out by a specialist at regular intervals in accordance with the specifications of the manufacturer. The existing stipulations and safety re- quirements are to be here observed. Work on the electrical plant may only be carried out by qualified electricians. If you have any more questions, your KÄRCHER branch will be happy to help. No periodic maintenance intervals are specified for this device. The following maintenance is to be performed as neces- sary: Wash the filter. Change the filter. Replace the filter. The filter can be washed out under running water. ATTENTION Risk of damage! Do not use washing agents or bleach. Only insert the filter into the appliance when it is completely dry. 몇 CAUTION Health risk from dust escaping. Changing the filter must be done in a suitable mainte- nance area. Wear protective gear when changing the filter. Dispose of the old filter according to the le- gal regulations. 1 Lid of filter chamber 2 Filter spreader 3 Washer ring 4Filter Inspection and maintenance work Maintenance intervals / user maintenance Wash the filter Changing/ replacing filter 23EN– 10 Remove the hose clamp on the connec- tion hose. Use a screwdriver. Open locks. Remove the lid of the filter chamber. Pull the new dust bag over the filter chamber and the inserted filter. Pull the filter into the dust bag and out of the device. Close and dispose of the dust bag. Thoroughly clean the outside of the de- vice before inserting a new filter by vac- uuming it and wiping with a damp cloth. Check sealing ring for damage. Insert the new filter in reverse sequence and take care to ensure that the filter spreader is aligned correctly in the filter bag. Troubleshooting and the associated re- moval of the vacuumed material is only to be carried out by trained personnel. 몇 Warning All checking and work on electrical parts must be performed by an authorized elec- trician. In the event of continuing faults, contact Kärcher customer service. Motor (suction turbine) does not start No electrical voltage. Check the receptacle and the fuse of the power supply. Check the power cable and the power plug of the device. Red indicator lamp lights up, no vacu- uming operations Suction turbine rotates in the wrong di- rection; interchange poles at the plug. Suction capacity decreases slowly Filter, nozzle, suction hose or suction pipe may be blocked. Check, clean the accessories, replace the filter, if required. Dust comes out during the vacuuming Filter has not been fastened correctly or is defective. Check to see if filter is sitting properly; replace if required. Switch off the appliance, clean the filter or insert a new filter. The warranty terms published by the rele- vant sales company are applicable in each country. We will repair potential failures of your appliance within the warranty period free of charge, provided that such failure is caused by faulty material or defects in man- ufacturing. In the event of a warranty claim please contact your dealer or the nearest authorized Customer Service centre. Please submit the proof of purchase. Only use accessories and spare parts which have been approved by the manu- facturer. The exclusive use of original ac- cessories and original spare parts ensures that the appliance can be operated safely and trouble free. For additional information about spare parts, please go to the Service section at www.kaercher.com. Troubleshooting Warranty Accessories and Spare Parts 24 EN– 11 We hereby declare that the machine de- scribed below complies with the relevant basic safety and health requirements of the EU Directives, both in its basic design and construction as well as in the version put into circulation by us. This declaration shall cease to be valid if the machine is modified without our prior approval. The signatories act on behalf of and with the authority of the company management. Documentation supervisor: S. Reiser Alfred Kärcher SE & Co. KG Alfred-Kärcher-Straße 28-40 71364 Winnenden (Germany) Tel.: +49 7195 14-0 Fax: +49 7195 14-2212 Winnenden, 2018/10/01 EU Declaration of Conformity Product: Wet and dry vacuum cleaner Type: 1.573-xxx Relevant EU Directives 2006/42/EC (+2009/127/EC) 2014/30/EU Applied harmonized standards EN 60335–1 EN 60335–2–69 EN 55014–1: 2006+A1: 2009+A2: 2011 EN 55014–2: 2015 EN 61000–3–2: 2014 EN 61000–3–3: 2013 EN 62233: 2008 Applied national standards
Chairman of the Board of Management Director Regulatory Affairs & Certification 25EN– 12 Specifications IVS
IVS 100/40 M IVS 100/55 M IVS 100/75 M
Chairman of the Board of Management Director Regulatory Affairs & Certification 37FR– 12 Données techniques IVS
IVS 100/40 M IVS 100/55 M IVS 100/75 M
Chairman of the Board of Management Director Regulatory Affairs & Certification 49IT– 12 Dati tecnici IVS
IVS 100/40 M IVS 100/55 M IVS 100/75 M
Chairman of the Board of Management Director Regulatory Affairs & Certification 61NL– 12 Technische gegevens IVS
IVS 100/40 M IVS 100/55 M IVS 100/75 M
Chairman of the Board of Management Director Regulatory Affairs & Certification 73ES– 12 Datos técnicos IVS
IVS 100/40 M IVS 100/55 M IVS 100/75 M
Chairman of the Board of Management Director Regulatory Affairs & Certification 85PT– 12 Dados técnicos IVS
IVS 100/40 M IVS 100/55 M IVS 100/75 M
Chairman of the Board of Management Director Regulatory Affairs & Certification 96 DA– 11 Tekniske data IVS
IVS 100/40 M IVS 100/55 M IVS 100/75 M
Chairman of the Board of Management Director Regulatory Affairs & Certification 107NO– 11 Tekniske data IVS
IVS 100/40 M IVS 100/55 M IVS 100/75 M
Chairman of the Board of Management Director Regulatory Affairs & Certification 119SV– 12 Tekniska data IVS
IVS 100/40 M IVS 100/55 M IVS 100/75 M
Chairman of the Board of Management Director Regulatory Affairs & Certification 131FI– 12 Tekniset tiedot IVS
IVS 100/40 M IVS 100/55 M IVS 100/75 M
IVS 100/40 M IVS 100/55 M IVS 100/75 M
Chairman of the Board of Management Director Regulatory Affairs & Certification 156 TR– 12 Teknik bilgiler IVS
IVS 100/40 M IVS 100/55 M IVS 100/75 M
www.kaercher.com/REACH
IVS 100/40 M IVS 100/55 M IVS 100/75 M
Chairman of the Board of Management Director Regulatory Affairs & Certification 182 HU– 12 Műszaki adatok IVS
IVS 100/40 M IVS 100/55 M IVS 100/75 M
IVS 100/40 M IVS 100/55 M IVS 100/75 M
Chairman of the Board of Management Director Regulatory Affairs & Certification 206 SL– 12 Tehnični podatki IVS
IVS 100/40 M IVS 100/55 M IVS 100/75 M
Chairman of the Board of Management Director Regulatory Affairs & Certification 218 PL– 12 Dane techniczne IVS
IVS 100/40 M IVS 100/55 M IVS 100/75 M
Chairman of the Board of Management Director Regulatory Affairs & Certification 230 RO– 12 Date tehnice IVS
IVS 100/40 M IVS 100/55 M IVS 100/75 M
IVS 100/40 M IVS 100/55 M IVS 100/75 M
Chairman of the Board of Management Director Regulatory Affairs & Certification 254 HR– 12 Tehnički podaci IVS
IVS 100/40 M IVS 100/55 M IVS 100/75 M
Chairman of the Board of Management Director Regulatory Affairs & Certification 266 SR– 12 Tehnički podaci IVS
IVS 100/40 M IVS 100/55 M IVS 100/75 M
Chairman of the Board of Management Director Regulatory Affairs & Certification 279BG– 13 Технически данни IVS
IVS 100/40 M IVS 100/55 M IVS 100/75 M
Chairman of the Board of Management Director Regulatory Affairs & Certification 291ET– 12 Tehnilised andmed IVS
IVS 100/40 M IVS 100/55 M IVS 100/75 M
Chairman of the Board of Management Director Regulatory Affairs & Certification 303LV– 12 Tehniskie parametri IVS
IVS 100/40 M IVS 100/55 M IVS 100/75 M
Chairman of the Board of Management Director Regulatory Affairs & Certification 315LT– 12 Techniniai duomenys IVS