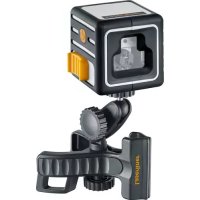
CompactCubeLaser 3 Plus - Hand tool Laserliner - Free user manual and instructions
Find the device manual for free CompactCubeLaser 3 Plus Laserliner in PDF.

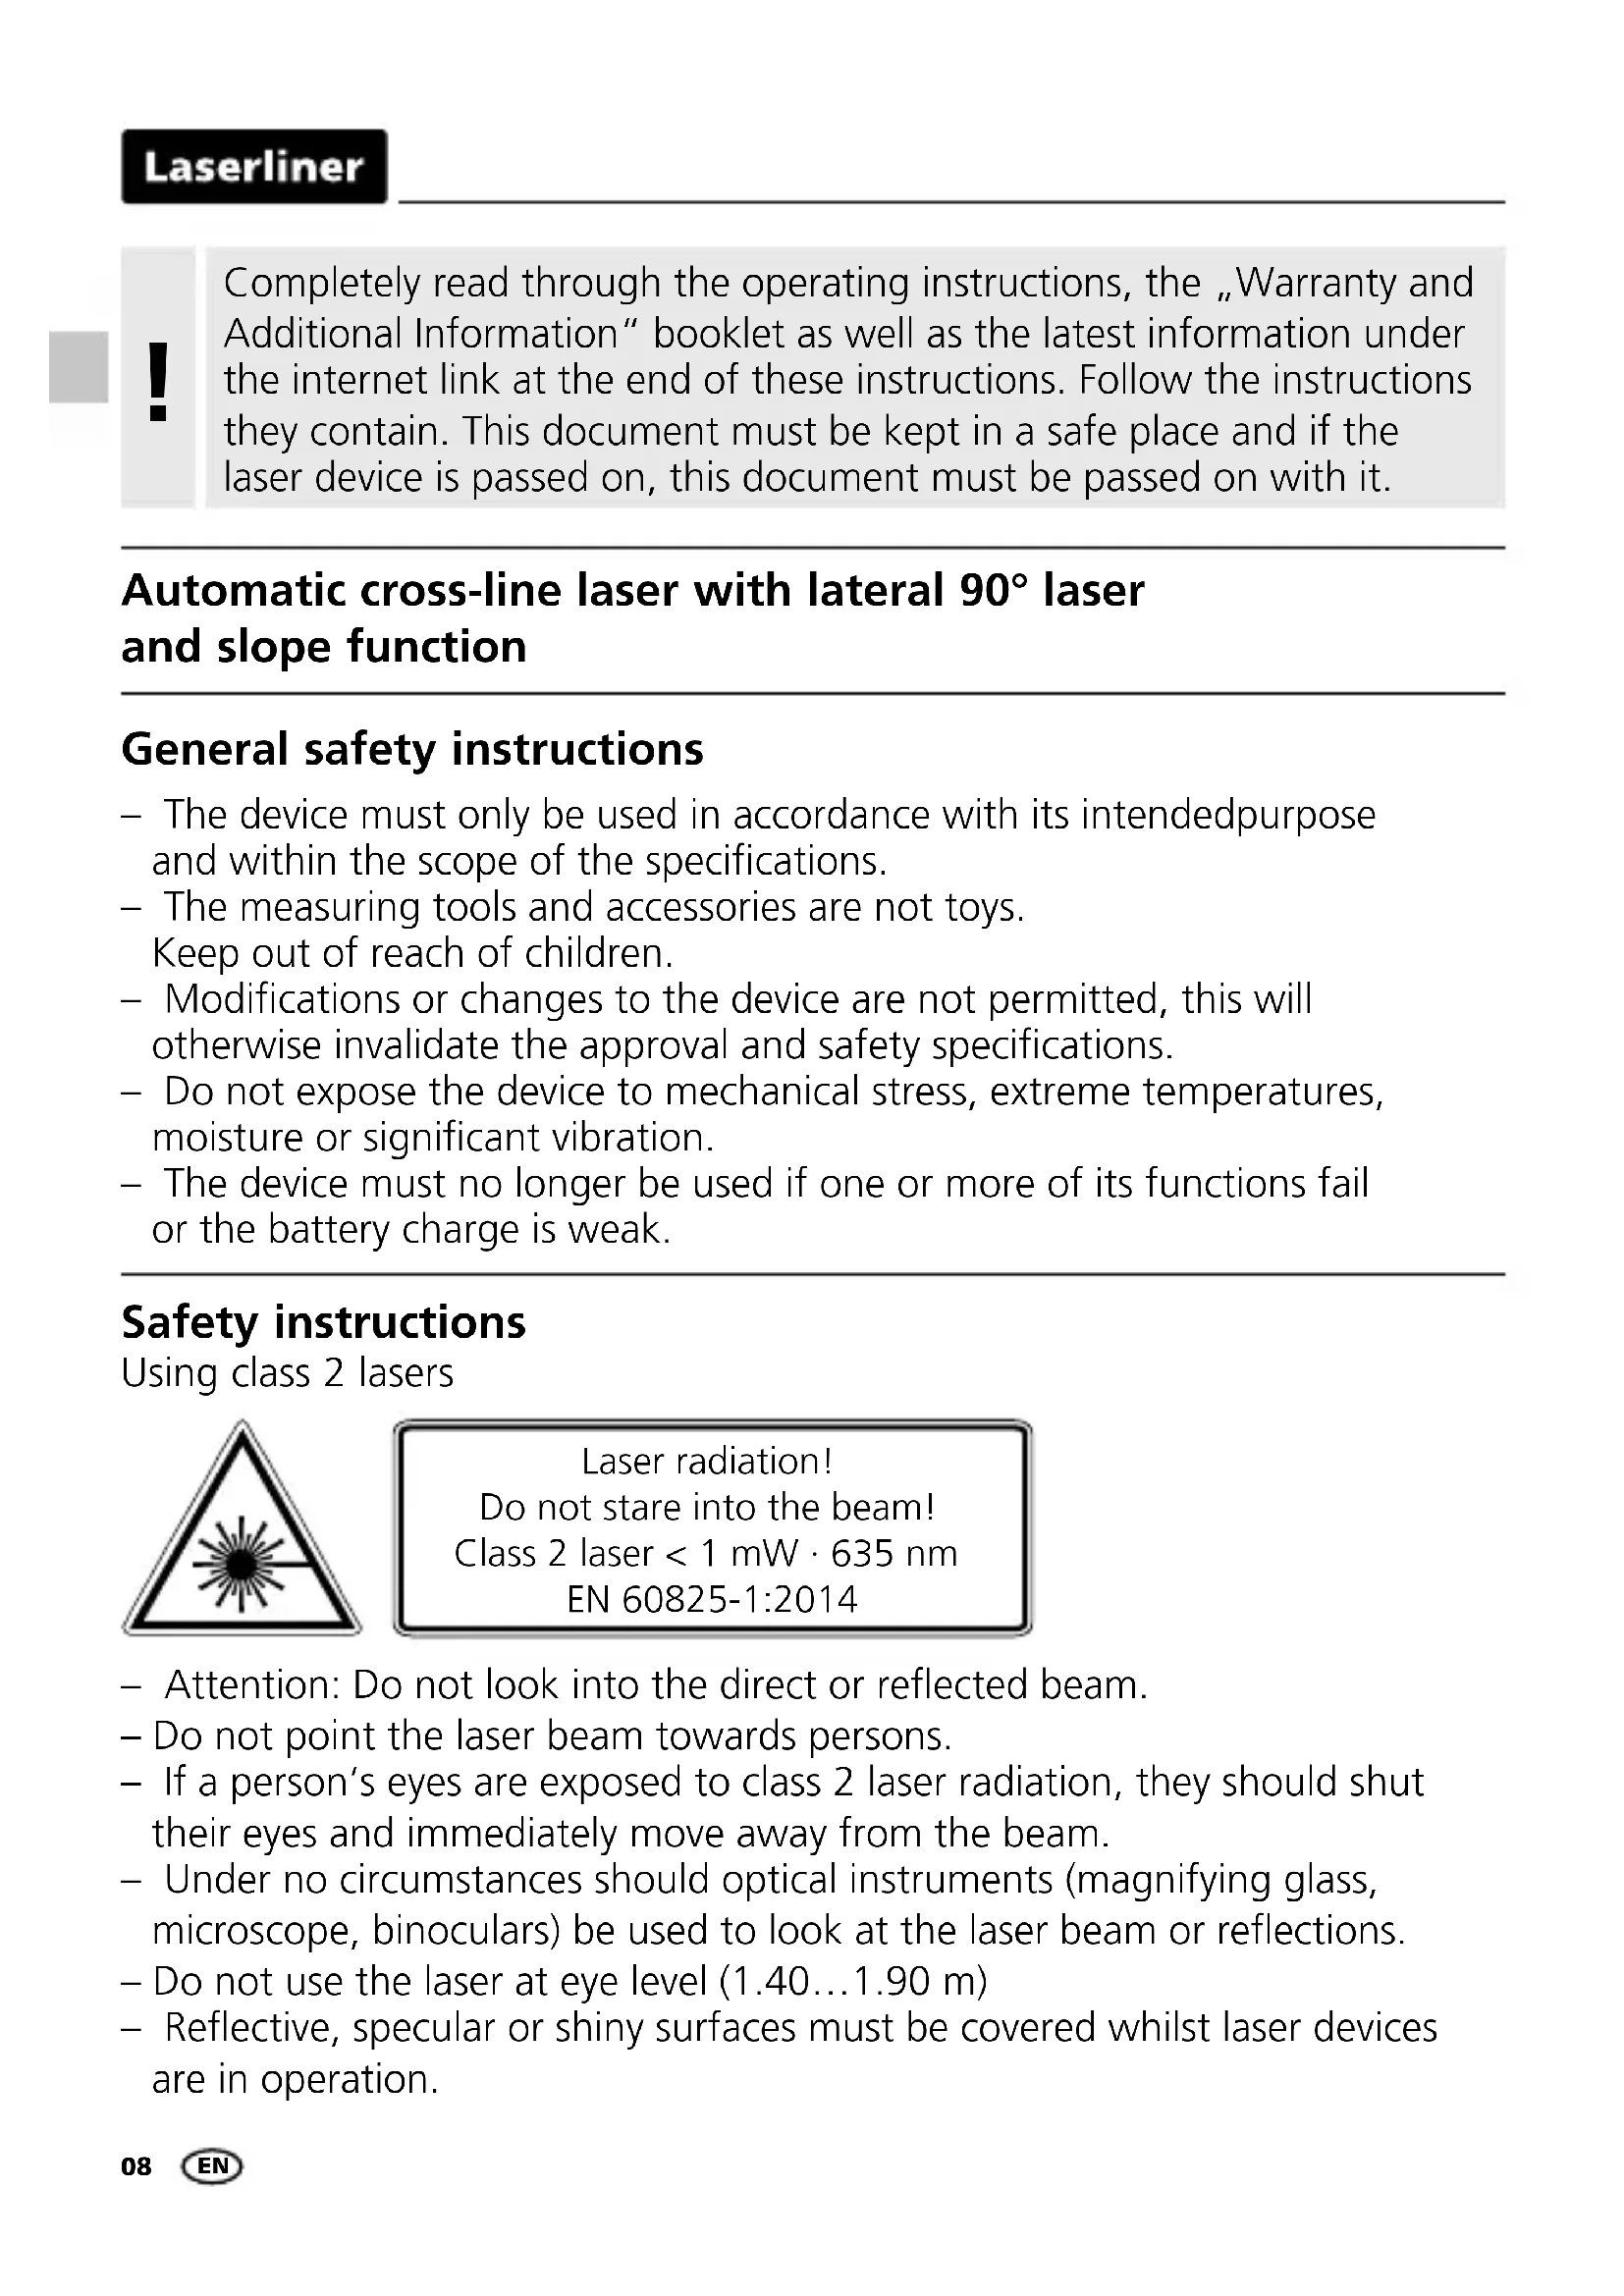


| Product type | Self-leveling cross-line laser level |
| Brand | Laserliner |
| Model | CompactCubeLaser 3 Plus |
| Category | Hand tool |
| Dimensions (L x H x D) | 69 x 69 x 65 mm |
| Weight (including batteries) | 285 g |
| Power supply | 3 alkaline batteries 1.5 V (type AAA) |
| Battery life (laser cross) | About 20 hours |
| Battery life (all lines) | About 9 hours |
| Laser class | 2 / < 1 mW, 635 nm |
| Range | Up to 15 m (depending on ambient brightness) |
| Accuracy | ± 0.5 mm/m |
| Leveling range | ± 3° |
| Main functions | Horizontal and vertical lines, cross mode, tilt mode, transport lock |
| Tripod thread | 1/4" |
| Operating temperature | 0 to 40°C |
| Storage temperature | -10 to 70°C |
| Max humidity | 80% RH without condensation |
| Maintenance and cleaning | Clean with a slightly damp cloth; do not use solvents or abrasive products |
| Safety | Laser class 2 - do not look into the beam; turn off the device and lock the pendulum before transport |
| Spare parts and repairability | Replaceable batteries (AAA); for repairs, contact Umarex-Laserliner customer service |
| General information | Compliant with EMC directive 2014/30/EU and WEEE; full manual available online |
Frequently Asked Questions - CompactCubeLaser 3 Plus Laserliner
User questions about CompactCubeLaser 3 Plus Laserliner
0 question about this device. Answer the ones you know or ask your own.
Ask a new question about this device
Download the instructions for your Hand tool in PDF format for free! Find your manual CompactCubeLaser 3 Plus - Laserliner and take your electronic device back in hand. On this page are published all the documents necessary for the use of your device. CompactCubeLaser 3 Plus by Laserliner.
USER MANUAL CompactCubeLaser 3 Plus Laserliner
Completely read through the operating instructions, the „Warranty and Additional Information“ booklet as well as the latest information under the internet link at the end of these instructions. Follow the instructions they contain. This document must be kept in a safe place and if the laser device is passed on, this document must be passed on with it.
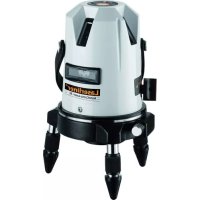
Automatic cross-line laser with lateral 90^ laser and slope function
General safety instructions
- The device must only be used in accordance with its intended purpose and within the scope of the specifications.
- The measuring tools and accessories are not toys. Keep out of reach of children.
- Modifications or changes to the device are not permitted, this will otherwise invalidate the approval and safety specifications.
- Do not expose the device to mechanical stress, extreme temperatures, moisture or significant vibration.
- The device must no longer be used if one or more of its functions fail or the battery charge is weak.
Safety instructions
Using class 2 lasers
Laser radiation! Do not stare into the beam! Class 2 laser < 1mW· 635nm EN 60825-1:2014
- Attention: Do not look into the direct or reflected beam.
- Do not point the laser beam towards persons.
- If a person's eyes are exposed to class 2 laser radiation, they should shut their eyes and immediately move away from the beam.
- Under no circumstances should optical instruments (magnifying glass, microscope, binoculars) be used to look at the laser beam or reflections.
- Do not use the laser at eye level (1.40...1.90 m)
-
Reflective, specular or shiny surfaces must be covered whilst laser devices are in operation.
-
In public areas shield off the laser beam with barriers and partitions wherever possible and identify the laser area with warning signs.
Safety instructions
Dealing with electromagnetic radiation
- The measuring device complies with electromagnetic compatibility regulations and limits in accordance with the EMC Directive 2014/30/EU.
- Local operating restrictions – for example, in hospitals, aircraft, petrol stations or in the vicinity of people with pacemakers – may apply. Electronic devices can potentially cause hazards or interference or be subject to hazards or interference.
Special product features

Automatic alignment of the device with a magnetically dampened pendulum system. The device is brought into initial position and aligns itself autonomously.

Transport LOCK: The device is protected with a pendulum lock during transport.

Devices with PowerBright technology have special high-performance diodes to produce super bright laser lines. These remain visible over longer distances, in bright ambient light and on dark surfaces.
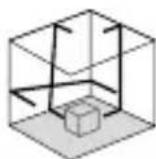
Number and direction of the lasers
H = horizontal laser
V = vertical laser
S = slope function
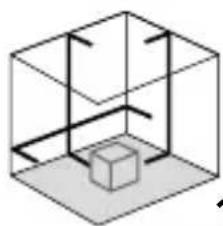
1H 2VS
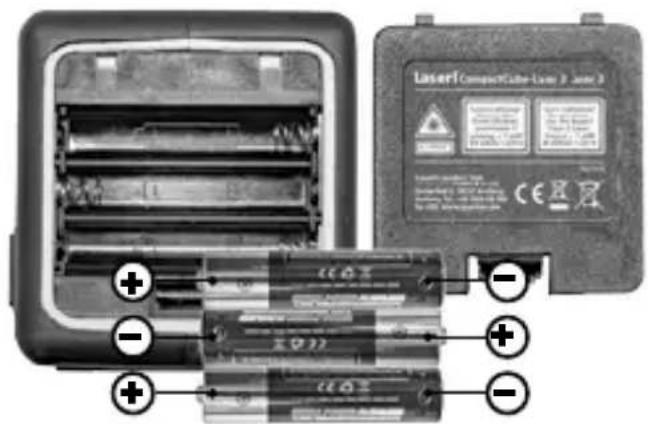
1 Inserting batteries
Open the battery compartment and insert batteries (3 x type AAA) according to the symbols. Be sure to pay attention to polarity.
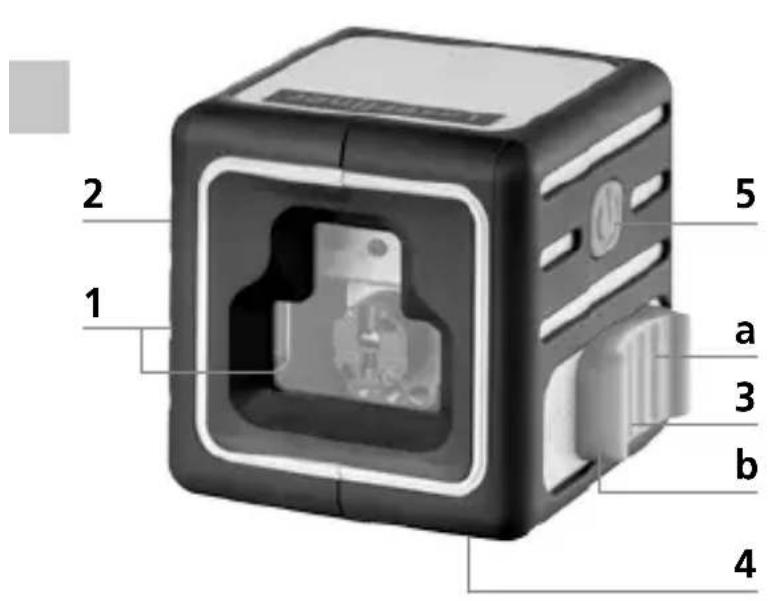
1 Laser output windows
2 Battery compartment (backside)
3 Slide switch
a ON
b OFF/Transport lock / Slope mode
4 1/4" tripod threads (bottom)
5 Laser line selection button

When transporting always switch off all lasers, secure the pendulum and set the slide switch to „OFF“!
2 Horizontal and vertical levelling
Release the transport restraint, set slide switch (3) to „ON“. The laser cross will appear. The laser lines can be switched with the selector button.
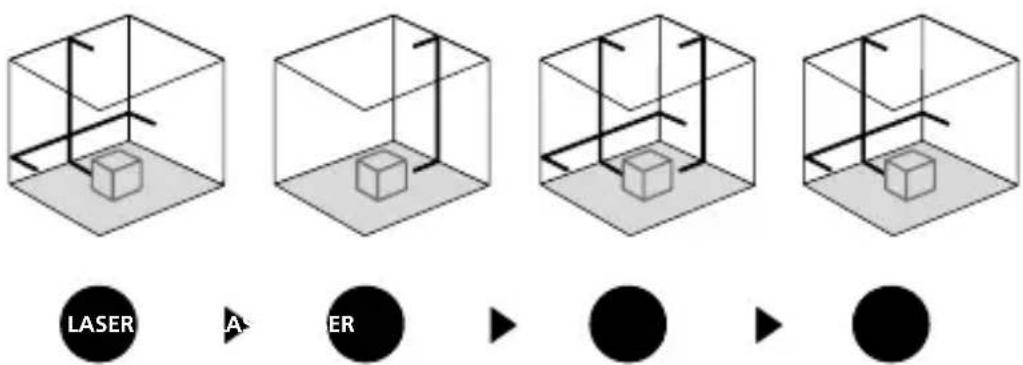

The transport restraint must be released for horizontal and vertical levelling. The laser lines flash and a signal sounds as soon as the device is outside the automatic levelling range of 3^ . Position the device such that it is within the levelling range.
3 Slope mode
Do not release the transport restraint, set slide switch (3) to „OFF". Select and switch on the laser with the selection button. Sloping planes can now be measured. This mode cannot be used to perform horizontal or vertical levelling as the laser lines are no longer aligned automatically. This is signalised by the laser lines flashing.
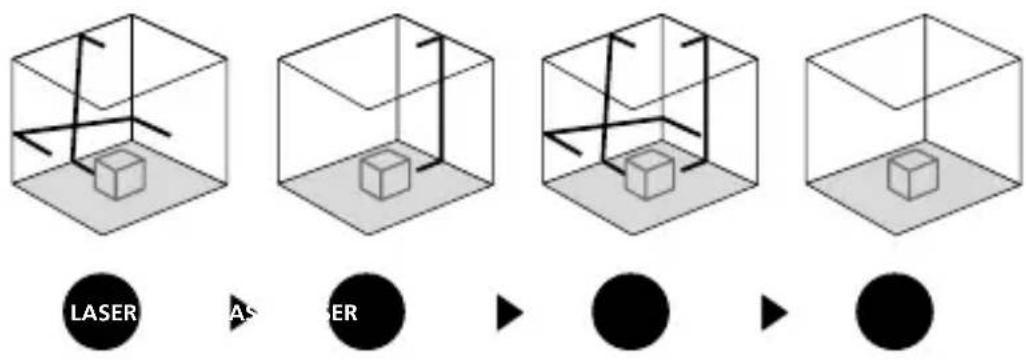
Checking the vertical line
Position the device about 5m from a wall. Fix a plumb bob with a line of 2.5m length on the wall, making sure that the bob can swing freely. Switch on the device and align the vertical laser to the plumb line.
The precision is within the specified tolerance if the deviation between the laser line and the plumb line is not greater than ± 2.5mm .
Checking the horizontal line
Position the device about 5m from a wall and switch on the cross laser. Mark point B on the wall. Turn the laser cross approx. 2.5m to the right and mark point C. Check whether the horizontal line from point C is level with point B to within ± 2.5mm . Repeat the process by turning the laser to the left.
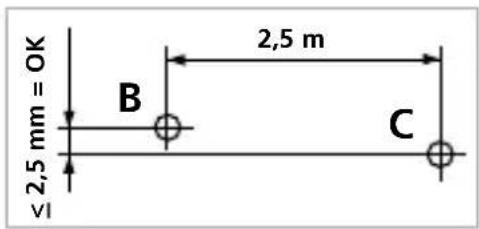
! Regularly check the calibration before use, after transport and after extended periods of storage.
Preparing the calibration check
It is possible for you to check the calibration of the laser. To do this, position the device midway between 2 walls, which must be at least 5 metres apart. Switch the device on (Laser cross ON). The best calibration results are achieved if the device is mounted on a tripod.
- Mark point A1 on the wall.
- Turn the device through 180^ and mark point A2.
You now have a horizontal reference between points A1 and A2.
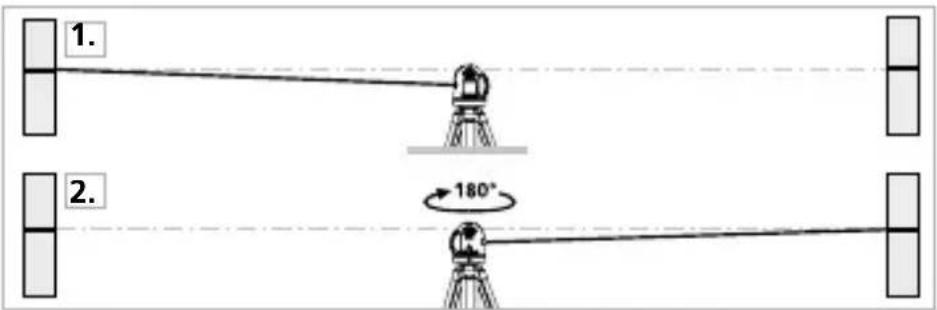
Performing the calibration check
- Position the device as near as possible to the wall at the height of point A1.
- Turn the device through 180^ and mark point A3. The difference between points A2 and A3 is the tolerance.
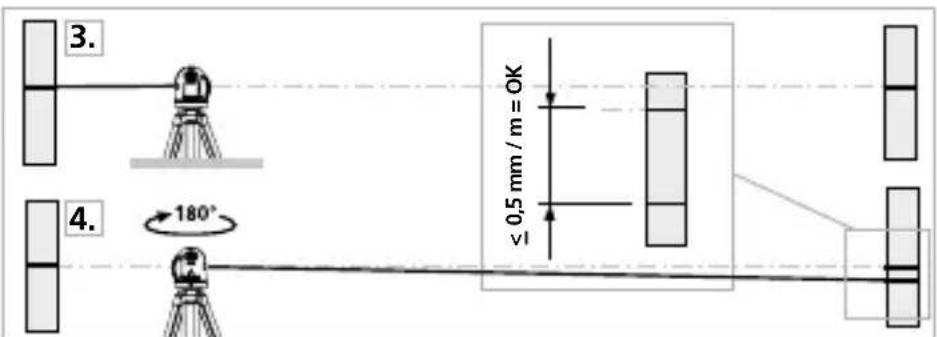

When A2 and A3 are more than 0.5mm / m apart, an adjustment is necessary. Contact your authorised dealer or else the UMAREX-LASERLINER Service Department.
Calibration
The meter needs to be calibrated and tested on a regular basis to ensure it produces accurate measurement results. We recommend carrying out calibration once a year.
Information on maintenance and care
Clean all components with a damp cloth and do not use cleaning agents, scouring agents and solvents. Remove the battery(ies) before storing for longer periods. Store the device in a clean and dry place.
| Technical data | Subject to technical alterations. 18W10 |
| Self-levelling range ± 3° | |
| Accuracy ± 0.5 mm / m | |
| Operating range (depending on room illumination) | 15 m |
| Laser wavelength | 635 nm |
| Laser class | 2 / < 1 mW |
| Power supply 3 x 1.5 V alkaline | batteries (type AAA) |
| Operating time with laser cross at front with all laser lines | approx. 20 hours approx. 9 hours |
| Operating conditions | 0...40°C, max. humidity 80% rH, no condensation, max. working altitude 4000 m above sea level |
| Storage conditions | -10...70°C, max. humidity 80% rH |
| Dimensions (W x H x D) 69 x 69 | x 65 mm |
| Weight (incl. batteries) 285 g |
EU directives and disposal
This device complies with all necessary standards for the free movement of goods within the EU.
This product is an electric device and must be collected separately for disposal according to the European Directive on waste electrical and electronic equipment.
Further safety and supplementary notices at: http://laserliner.com/info?an=comcublas3pl
Laserliner
!
- Automatic cross-line laser with lateral 90° laser and slope function
- General safety instructions
- Safety instructions
- Special product features
- Number and direction of the lasers
- Inserting batteries
- Horizontal and vertical levelling
- Slope mode
- Checking the vertical line
- Checking the horizontal line
- Preparing the calibration check
- Performing the calibration check
- Calibration
- Information on maintenance and care
- EU directives and disposal
- Laserliner
- !
Brand : Laserliner
Model : CompactCubeLaser 3 Plus
Category : Hand tool