
DecoFlex - Saw SCHEPPACH - Free user manual and instructions
Find the device manual for free DecoFlex SCHEPPACH in PDF.
Download the instructions for your Saw in PDF format for free! Find your manual DecoFlex - SCHEPPACH and take your electronic device back in hand. On this page are published all the documents necessary for the use of your device. DecoFlex by SCHEPPACH.
USER MANUAL DecoFlex SCHEPPACH
Scroll Saw Translation from the original instruction manual
Scope of delivery 17
Storage 22 11: Electrical connection 22
Disposal and recycling 22
Declaration of conformity 133
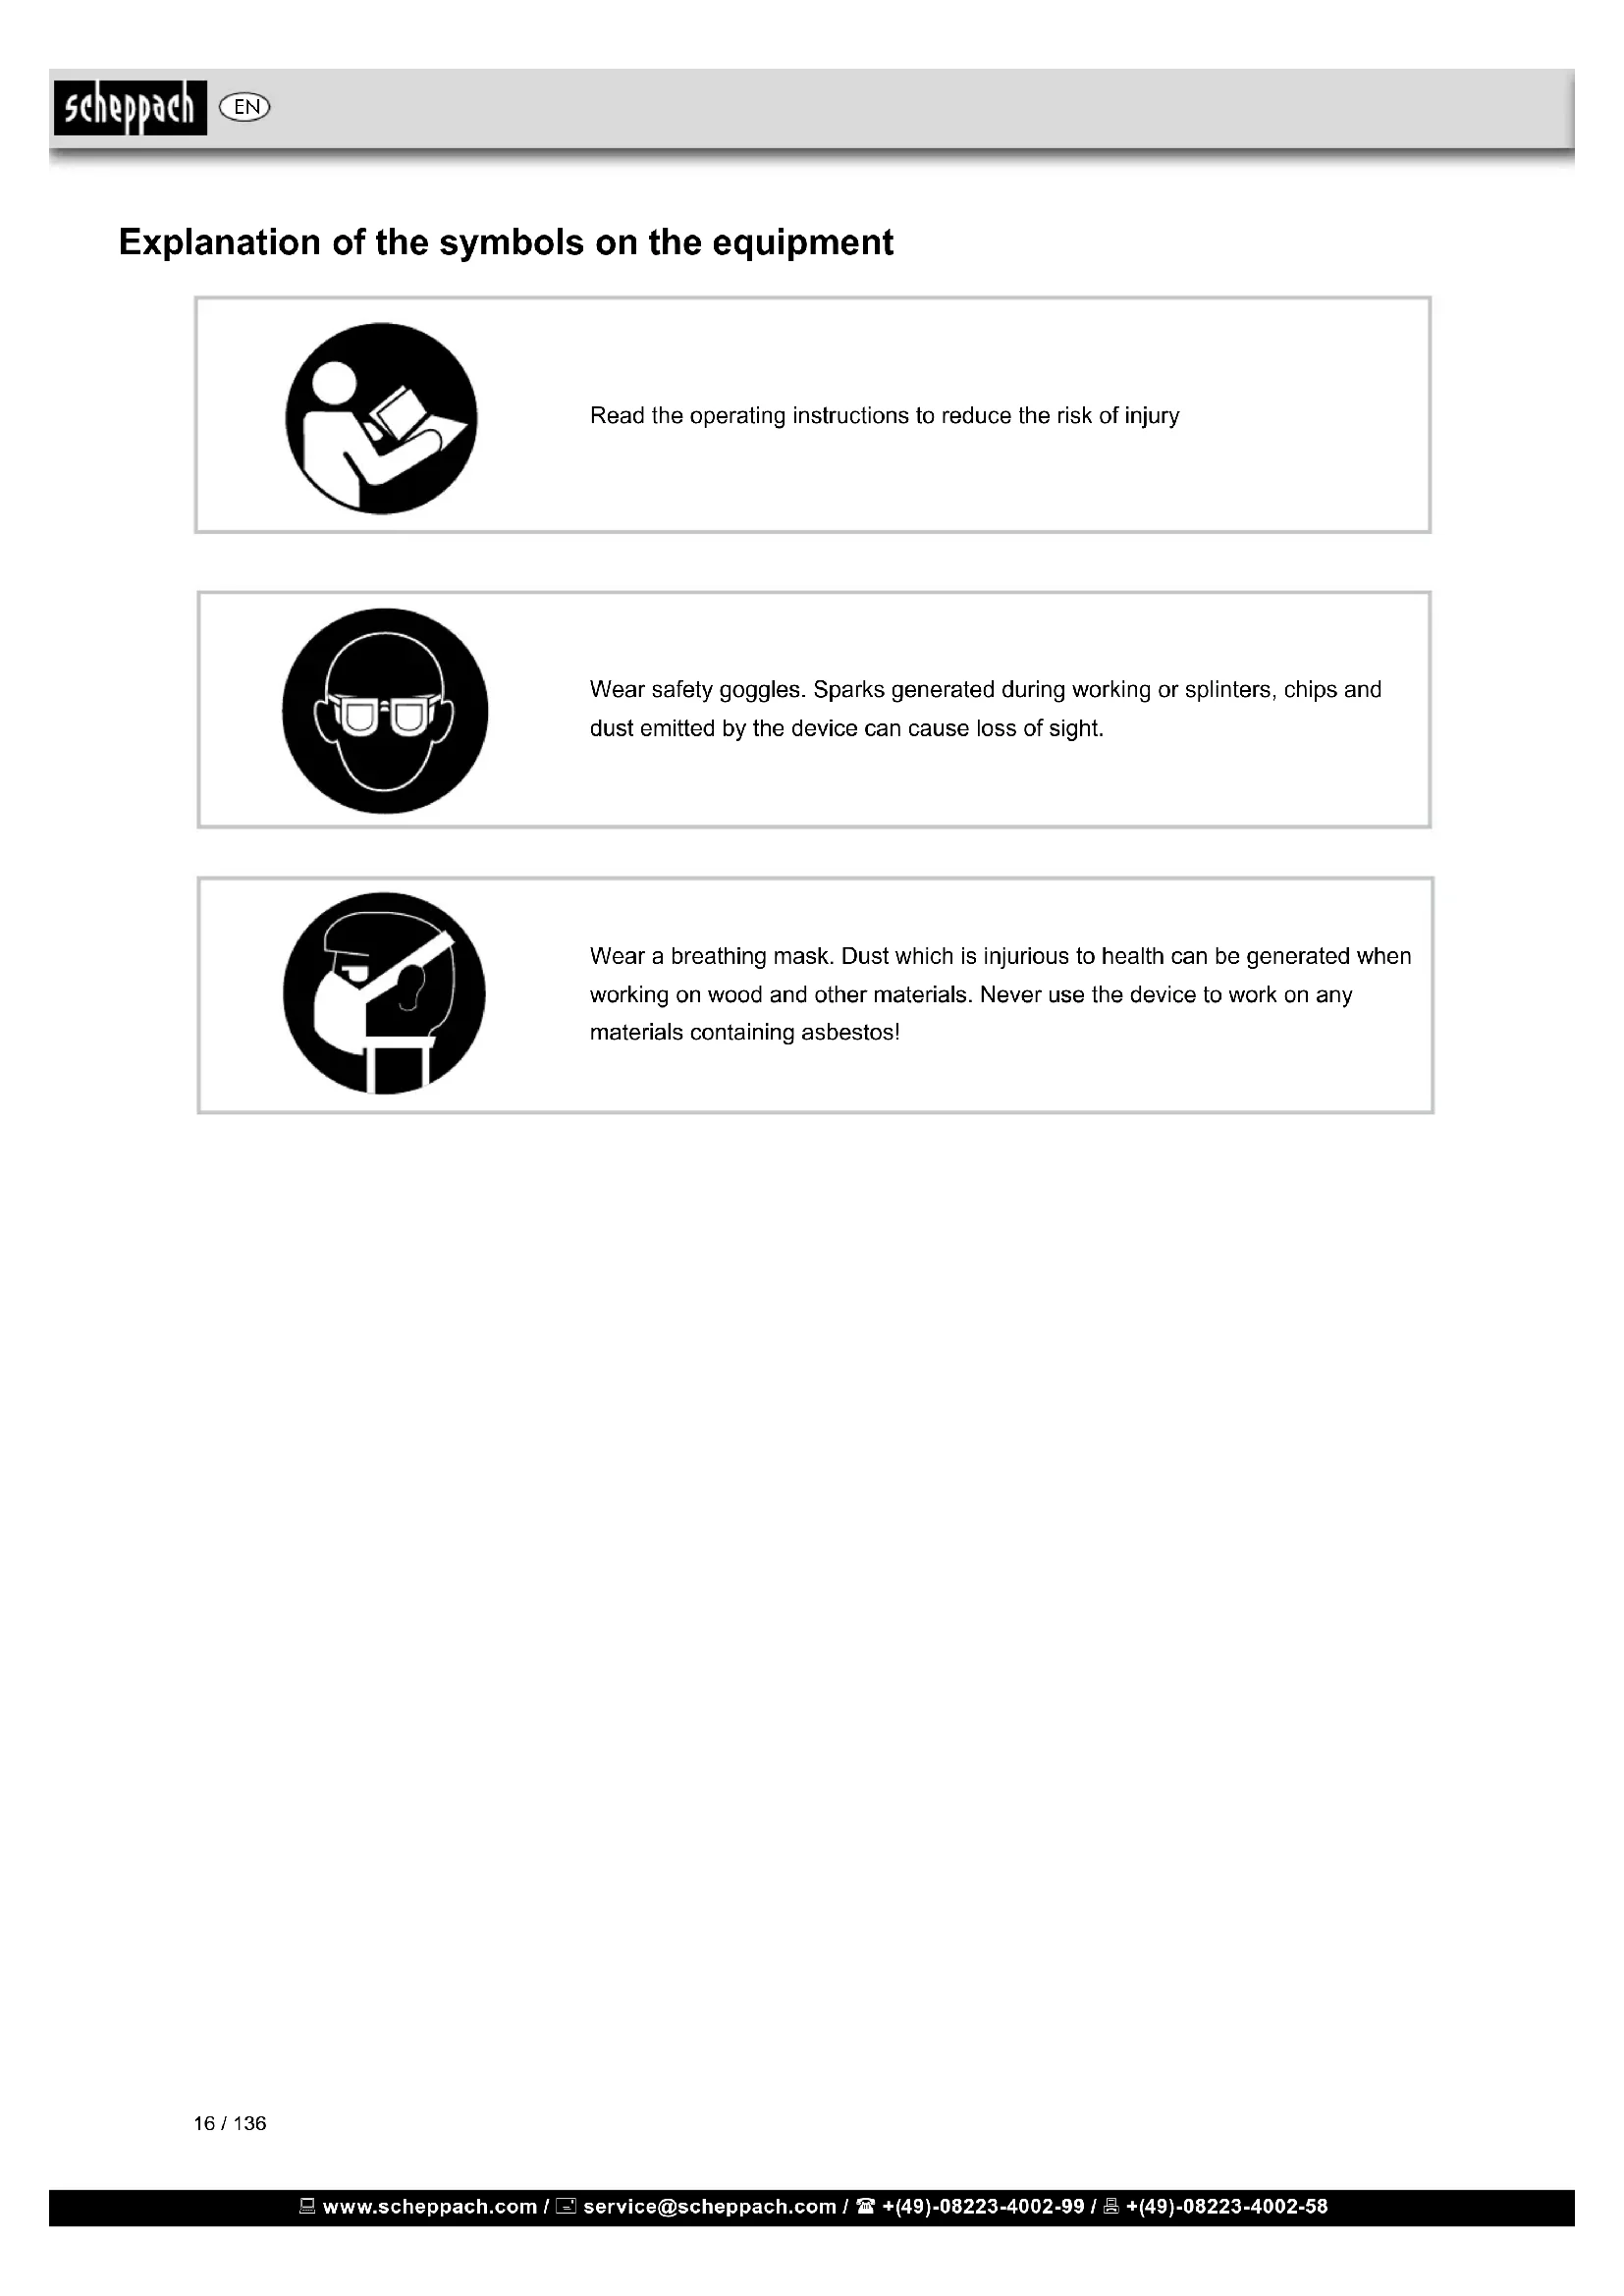
Guarantee certicate 135 15 / 136 EN www.scheppach.com / service@scheppach.com / +(49)-08223-4002-99 / +(49)-08223-4002-58 Explanation of the symbols on the equipment 16 / 136 Read the operating instructions to reduce the risk of injury Wear a breathing mask. Dust which is injurious to health can be generated when working on wood and other materials. Never use the device to work on any materials containing asbestos! Wear safety goggles. Sparks generated during working or splinters, chips and dust emitted by the device can cause loss of sight. EN www.scheppach.com / service@scheppach.com / +(49)-08223-4002-99 / +(49)-08223-4002-58
2. Device description (Fig. 1)
1. Clamping screw: for removing the saw blade.
2. Blade guard: protects your hands from injury.
3. Work piece holder
4. Shavings blower: keeps the workpiece area free
7. Angle scale: you can read the angle position of the
9. Flexible shaft with drill chuck
10. Setting gauge for saw blades without pin
3. Scope of delivery
- When you unpack the device, check all parts for pos- sible transport damages. In case of complaints the supplier is to be informed immediately.
- Complaints received at a later date will not be acknow- ledged.
- Check the delivery for completeness.
- Read the operating instructions to make yourself fa- miliar with the device prior to using it.
- Only use original scheppach parts for accessories as well as for wearing and spare parts. Spare parts are available from your specialized dealer.
- Specify our part numbers as well as the type and year of construction of the device in your orders. m ATTENTION The device and packaging materials are not toys! Children must not be allowed to play with plastic bags, lm and small parts! There is a risk of swal- lowing and suffocation!
CE tested machines meet all valid EC machine guidelines as well as all relevent guidelines for each machine.
- The machine must only be used in technically per- fect con dition in accordance with its designated use and the in structions set out in the operating manual, and only by safety-conscious persons who are fully aware of the risks involved in oerating the machine. Any functional dis orders, especially those affecting the safety of the machine, sholud terefore be rectied im- mediately.
- The safety, work and maintenance instructions of the manufacturer as well as the technical data given in the calibrations and dimensions must be adhered to.
- Relevant accident prevention regulations and other, gene rally recognized safety-technical rules must also be adhered to.
Manufacturer: scheppach Fabrikation von Holzbearbeitungsmaschinen GmbH Günzburger Straße 69 D-89335 Ichenhausen Dear customer, we wish you a pleasant and successful working experi- ence with your new scheppach Scroll Saw. Note: According to the applicable product liability law the man- ufacturer of this device is not liable for damages which arise on or in connection with this device in case of:
- non-compliance with the instructions for use
- repairs by third party, non authorized skilled workers
- installation and replacement of non-original spare parts
- failures of the electrical system due to the non-com- pliance with the electrical specications and the VDE 0100, DIN 57113 / VDE 0113 regulations Warning To avoid electrical hazards, re hazards, or damage to the tool, use proper circuit protection. Your drill press is wired at the factory for 230 V opera- tion. Connect to a 230 V/15 amp branch circuit and use a 15 amp time delay fuse or circuit breaker. To avoid shock or re, replace power cord immediately if it is worn, cut or damaged in any way. Recommendations: Read the entire text of the operating instructions pri- or to the assembly and operation of the device. These operating instructions are intended to make it easier for you to get familiar with your device and utilize its intended possibilities of use. The operating instructions contain important notes on how to work safely, properly and economically with your machine and how to avoid dangers, save repair costs, reduce downtime, and increase the reliability and work- ing life of the machine. In addition to the safety regula- tions contained herein, you must in any case comply with the applicable regulations of your country with respect to the operation of the machine. Put the operating instruc- tions in a clear plastic folder to protect them from dirt and humidity, and store them near the machine. The instruc- tions must be read and carefully observed by each op- erator prior to starting the work. Only persons who have been trained in the use of the machine and have been informed on the related dangers and risks are allowed to use the machine. The required minimum age must be met. In addition to the safety notes contained in the pre- sent operating instructions and the special regulations of your country, the generally recognized technical rules for the operation of wood working machines must be ob- served. 17 / 136 EN www.scheppach.com / service@scheppach.com / +(49)-08223-4002-99 / +(49)-08223-4002-58 8 Wear suitable clothing – Do not wear wide clothing or jewellery, which can become entangled in moving parts. – When working outdoors, anti-slip footwear is recommended. – Tie long hair back in a hair net. 9 Use protective equipment – Wear protective goggles. – Wear a mask when carrying out dust-creating work. 10 Connect the dust extraction device – If connections for dust extraction and a collect- ing device are present, make sure that they are connected and used properly. – Operation in enclosed areas is only permitted with a suitable extraction system. 11 Do not use the cable for purposes for which it is not intended – Do not use the cable to pull the plug out of the outlet. Protect the cable from heat, oil and sharp edges. 12 Secure the workpiece – Use the clamping devices or a vice to hold the workpiece in place. In this manner, it is held more securely than with your hand. – An additional support is necessary for long work- pieces (table, trestle, etc.) in order to prevent the machine from tipping over. – Always press the workpiece rmly against the working plate and stop in order to prevent bouncing and twisting of the workpiece. 13 Avoid abnormal posture – Make sure that you have secure footing and always maintain your balance. – Avoid awkward hand positions in which a sudden slip could cause one or both hands to come into contact with the saw blade. 14 Take care of your tools – Keep cutting tools sharp and clean in order to be able to work better and more safely. – Follow the instructions for lubrication and for tool replacement. – Check the connection cable of the electric tool regularly and have it replaced by a recognised specialist when damaged. – Check extension cables regularly and replace them when damaged. – Keep the handle dry, clean and free of oil and grease. 15 Pull the plug out of the outlet – Never remove loose splinters, chips or jammed wood pieces from the running saw blade. – During non-use of the electric tool or prior to maintenance and when replacing tools such as saw blades, bits, milling heads. 16 Do not leave a tool key inserted – Before switching on, make sure that keys and adjusting tools are removed.
- The machine may only be used, maintained, and op- erated by persons familiar with it and instructed in its operation and procedures. Arbitrary alterations to the machine release the manufacturer from all responsi- bility for any resulting damages.
- The machine may only be used with original accesso- ries and tools made by the manufacturer.
- Any other use exceeds authorization. The manufac- turer is not responsible for any damages resulting from un authorized use; risk is the sole responsibility of the operator. Please note that our equipment has not been designed for use in commercial, trade or industrial applications. Our warranty will be voided if the equipment is used in commercial, trade or industrial businesses or for equivalent purposes.
5. Safety information
Attention! The following basic safety measures must be observed when using electric tools for protection against electric shock, and the risk of injury and re. Read all these notices before using the electric tool and keep the safety instructions for later reference. Safe work 1 Keep the work area orderly – Disorder in the work area can lead to accidents. 2 Take environmental inuences into account – Do not expose electric tools to rain. – Do not use electric tools in a damp or wet envi- ronment. – Make sure that the work area is well-illuminated. – Do not use electric tools where there is a risk of re or explosion. 3 Protect yourself from electric shock – Avoid physical contact with earthed parts (e.g. pipes, radiators, electric ranges, cooling units). 4 Keep children away – Do not allow other persons to touch the equip- ment or cable, keep them away from your work area. 5 Securely store unused electric tools – Unused electric tools should be stored in a dry, elevated or closed location out of the reach of children. 6 Do not overload your electric tool – They work better and more safely in the specied output range. 7 Use the correct electric tool – Do not use low-output electric tools for heavy work. – Do not use the electric tool for purposes for which it is not intended. For example, do not use hand- held circular saws for the cutting of branches or logs. – Do not use the electric tool to cut rewood. 18 / 136 EN www.scheppach.com / service@scheppach.com / +(49)-08223-4002-99 / +(49)-08223-4002-58
- Always use the blade guard to avoid possible injury due to blade breakage.
- Never leave the scroll saw work area with the power 01), or before the machine has come to a complete stop.
- Do not perform layout, assembly or set up work on the table while the cutting tool is in operation.
- Never turn your scroll saw on before clearing the table of all objects: (tools, scraps of wood, etc) except for the workpiece and related feed or support devices for the operation planned. Remaining hazards The machine has been built using modern technolo- gy in accor dance with recognized safety rules. Some remaining hazards, how ever, may still exist.
- Long hair and loose clothing can be hazardous when the work piece is rotating. Wear personal protective gear such as a hair net and tight tting work clothes.
- Saw dust and wood chips can be hazardous. Wear per so nal protective gear such as safety goggles and a dust mask.
- The use of incorrect or damaged mains cables can lead to injuries caused by electricity.
- Even when all safety measures are taken, some re- maining hazards which are not yet evident may still be present.
- Remaining hazards can be minimized by following the instructions in „Safety Precautions“, „Proper Use“ and in the entire operating manual.
- Do not force the machine unnecessarily: excessive cutt ing pressure may lead to rapid deterioration of the blade and a decrease in performance in terms of nish and cutting precision.
- Avoid accidental starts: do not press the start button while inserting the plug into the socket. Keep this safety information in a safe place. 17 Avoid inadvertent starting – Make sure that the switch is switched off when plugging the plug into an outlet. 18 Use extension cables for outdoors – Only use approved and appropriately identied extension cables for use outdoors. – Only use cable reels in the unrolled state. 19 Remain attentive – Pay attention to what you are doing. Remain sensible when working. Do not use the electric tool when you are distracted. 20 Check the electric tool for potential damage – Protective devices and other parts must be care- fully inspected to ensure that they are fault-free and function as intended prior to continued use of the electric tool. – Check whether the moving parts function fault- lessly and do not jam or whether parts are dam- aged. All parts must be correctly mounted and all conditions must be fullled to ensure fault-free operation of the electric tool. – The moving protective hood may not be xed in the open position. – Damaged protective devices and parts must be properly repaired or replaced by a recognised workshop, insofar as nothing different is speci- ed in the operating manual. – Damaged switches must be replaced at a cus- tomer service workshop. – Do not use any faulty or damaged connection cables. – Do not use any electric tool on which the switch cannot be switched on and off. 21 ATTENTION! – Exercise elevated caution for double mitre cuts. 22 ATTENTION! – The use of other insertion tools and other acces- sories can entail a risk of injury. 23 Have your electric tool repaired by a qualied electrician – This electric tool conforms to the applicable safety regulations. Repairs may only be per- formed by an electrician using original spare parts. Otherwise accidents can occur. Warning! This electric tool generates an electromag- netic eld during operation. This eld can impair active or passive medical implants under certain conditions. In order to prevent the risk of serious or deadly injuries, we recommend that persons with medical implants consult with their physician and the manufacturer of the medical implant prior to operating the electric tool.
ADDITIONAL SAFETY RULES FOR SCROLL SAWS
- This scroll saw is intended for use in dry conditions, and for indoor use only.
- Do not cut pieces of material too small to hold by hand outside the blade guard.
- Avoid awkward hand positions where a sudden slip could cause a hand to move into the blade. 19 / 136 EN www.scheppach.com / service@scheppach.com / +(49)-08223-4002-99 / +(49)-08223-4002-58 Blade guard assembly, Fig. 4 Install the blade guard to the holder as shown in the dia- gram. Secure the screws with a nut and washer.
- Lift the saw onto the frame and base and push it onto the workbench.
- Familiarize yourself with the saw operating elements and features. Mounting the saw on a work bench, Fig. 5
- A workbench made from solid wood is betier than one made of plywood, as interfering vibrations and noise are more noticeable with plywood.
- The necessary tools and small parts for assembling the saw on a workbench are not supplied with the saw. However, use equipment of at least the following size: E Saw body F Foam rubber base G Work bench H Flat seal I Washer J Hexagonal nut K Lock nut L Hexagonal bolt Ouantity Description 4 Hexagonal bolts (6mm) 1/4-20 x length 4 Flat seal (7mm) 9/321.0 4 Washers (7mm) 9/321.0. 8 Hexagonal nuts (6 mm) 1/4-20 First of all, drill holes into the seating surface and then insert the screws.
- A foam rubber base for reduction of noise is not sup- plied with the saw either. However, we expressly rec- ommend that you use such a base to keep vibration and noise to a minimum. Ideal size 400 x 240 mm.
CHANGING THE SAW BLADES
Warning: Switch off the saw and remove the mains
supply plug before installing saw b!ades in order to avoid injuries caused by unintentiona! activation of the saw. A. Flat saw-blades Fig. 6 Use the adapter with at saw-blades. The saw-blade is xed with Allen screws. A 1 Saw-blade removal, g. 7+8, 10
- Extract the saw-blade by sliding the table’s inlay up, then unscrew the tightening screw (1).
- Slightly press the upper arm (M) down (g. 10).
- Then remove the sawblade by pulling it forward out of the supports and through the access perforation in the table. A 2 Inserting the saw-blade:
- Put the saw-blade with the two adapters into the lower support, the other end into the upper support.
- Slightly press the upper arm (M) down (g 10) before hooking it in.
Sound pressure level on oper at or’s ear measured in accordance with DIN 45635 with max. speed during idle running 77,3 dB (A)
Setting the saw bench, Fig. 2 Setting the angle scale
- Release the star button (A and bring the saw bench (B) to a right angle (C) in relation to the saw blade.
- Use a 90° angle tc measure the right angle between the blade and the bench. The saw blade be 90° to the angle.
- Close the star button again when the distance be- tween the blade and the 90° angle is at a minimum. The bench should then be at 90° to the saw blade.
- Release the lock screw (D) and bring the indicator to the zero position. Fasten the screw. Please note: the angle scale is a useful piece of supplementary equip- ment, but should not be used for precision work. Use scrap wood for saw tests, adjust the bench if neces- sary. Note: The bench should not be on the motor block, this can cause undesireable noise. Horizontal saw bench and diagonal cuts, Fig. 2+3
- The saw bench can be positioned into a 450 diagonal position or be left in the horizontal position.
- You can read off the approximate slope angle by us- ing the angle scale located under the work bench. For more exact adjustment, use scrap wood for some saw tests; adjust the bench if necessary. 20 / 136 EN www.scheppach.com / service@scheppach.com / +(49)-08223-4002-99 / +(49)-08223-4002-58 INSIDE CUTS
Warning: Switch off the saw and remove the mains
supply plug before installing saw blades in order to avoid injuries caused by unintentional activation of the saw. This saw is suited also to inside cuts cuts not starting at the edge of the work piece. Proceed as follows:
- Drill a 6 mm hole in the work piece.
- Loosen the blade tension er and release the tension in the blade.
- Place the bore hole over the saw blade slot in the work bench.
- Install the saw blade through the hole in the work piece and through the work blade slot, and fasten the blade to the holders.
- When you have completed the inside cut, remove the saw blade and then remove the workpiece from the bench. Flexible shaft, Fig. 12-14
- Remove protective cap (O) from the threaded bush- ing (Fig. 13).
- Place exible shaft onto the threaded bushing (Fig. 14).
- Clamp tool in the drill chuck (D 3.2).
- Firmly hold threaded shaft at the handle and switch on the speed control.
- Having nished the work, remove the exi- ble shaft and place the protective cap in place. Attention: When working with the exible shaft, cover the saw blade with the blade guard.
Warning: In the interests of operational safety,
always switch off the saw and remove the mains plug before carrying out maintenance work. General Wipe chips and dust off the machine from time to time us- ing a cloth. Re-application of the wax coating on the workbench makes feeding the workpiece to the blade easier. Motor The mains cable should be replaced immediately if pulled out, cut or damaged in any other way. Do not lubricate the motor bearings or internal parts! Saw arm bearings Lubricate the saw arm bearings every 50 hours. Pro- ceed as follows (Fig. 15).
- Turn the saw to the side
- Apply a generous amount of SAE 20 oil to the shaft end and bronze bearings.
- Let the lubricant oil work in overnight.
- Repeat the procedure the next day on the other side of the saw.
- Tighten the blade with the tightening screw (1) (g.7) by rotating it clockwise. Check the tightness of the blade. Keep on rotating clockwise in order to tighten the blade even more. B. Saw-blade with pins B 1 Saw blade removal, g. 7 + 8
- Extract the saw-blade by rst unscrewing the tighten- ing screw (1).
- Remove the saw-blade from the upper and lower sup- port by slightly pressing the saw´s upper arm down (g. 10, M). B 2 Inserting the saw-blade g 7, 9-11
- Lead one end of the saw-blade through the perfora- tion in the table and insert the saw-blade pins into the notch. Repeat this procedure at the upper blade support.
- Before hooking it in, slightly press the saw´s upper arm down. (Fig 9; Nr. 10)
- Check the position of the blade pins at the supports (g 11).
- Tighten the blade by means of the tightening screw. Check the blade´s tightness. Keep on rotating clock- wise in order to tighten the blade even more. (Fig. 7).
A scroll saw is fundamentally a „curve cutting tool“ but which can also carry out straight and angled edge cuts. Familiarise yourself with the following important points prior to commissioning the saw.
- The saw does not automatically cut wood. You must feed the wood against the saw blade manually.
- The cutting process occurs on I y while the blade is moving downwards.
- Feed the wood slowly against the saw blade as the saw blade teeth are small and cut only while moving downwards.
- AlI persons carrying out work with the saw require training. The saw blade may break easily during this training time Iwhile the operator is sti1l unfamiliar with the saw.
- The saw is best suited tor sheets of wood less than
- Feed the wood especially slowly against the blade and avoid abrupt curves to prevent the saw blade from breaking, if you wish to cut wood sheets thickerthan
- Saw blade teeth blunten over time, saw blades must be replaced. The saw blades are sufcient tor 1/2 to 2 operating time depending upon the type of wood.
- Try and make sure that the saw blade follows the grain of the wood in order to obtain a clean cut.
- The saw speed must be reduced to minimum when cutting precious and non-terrous metals. 21 / 136 EN www.scheppach.com / service@scheppach.com / +(49)-08223-4002-99 / +(49)-08223-4002-58 Such defective electrical connection cables must not be used as the insulation damage makes them extremely hazardous. Check electrical connection cables regularly for damage. Make sure the cable is disconnected from the mains when checking. Electrical connection cables must comply with the regu- lations applicable in your country. SINGLE-PHASE MOTOR
- The mains voltage must coincide with the voltage specied on the motor’s rating plate.
- Extension cables up to a length of 25 m must have a cross-section of 1.5 mm2, and beyond 25 m at least
- The connection to the mains must be protected with a 16 A slow-acting fuse. Only a qualied electrician is permitted to connect the machine and complete repairs on its electrical equip- ment. In the event of enquiries please specify the following data:
- Type of current of the motor
- Data recorded on the machine’s rating plate
- Data recorded on the switch’s rating plate If a motor has to be returned, it must always be dis- patched with the complete driving unit and switch.
12. Disposal and recycling
The equipment is supplied in packaging to prevent it from being damaged in transit. The raw materials in this packaging can be reused or recycled. Never place bat- teries in your household refuse, in re or in water. Bat- teries should be collected, recycled or disposed of by environment-friendly means. The equipment and its ac- cessories are made of various types of material, such as metal and plastic. Defective components must be disposed of as special waste. Ask your dealer or your local council. There are no parts inside the equipment which re- quire additional maintenance. Special accessories Pin saw blade-universal 135 x 2,0 x 0,25 Z 10 blade mm 1 set = 6 pieces, Article No. 8800 0011 Pin saw blade- wood/plastic mm 135 x 2,0 x 0,25 Z 7 1 set = 6 pieces, Article No. 8800 0012 Pin saw blade-wood mm 135 x 3,0 x 0,5 Z 4 1 set = 6 pieces, Article No. 8800 0013 Service information Please note that the following parts of this product are subject to normal or natural wear and that the following parts are therefore also required for use as consuma- bles. Wear parts*: Carbon brushes, saw blade, table inlays; v-belt
- Not necessarily included in the scope of delivery!
Store the device and its accessories in a dark, dry and frost-proof place that is inaccessible to children. The optimum storage temperature is between 5 and 30˚C. Store the electrical tool in its original packaging.
11. Electrical connection
The installed electric motor is completely wired ready for operation. The customer’s connection to the power sup- ply system, and any extension cables that may be used, must conform with local regulations. IMPORTANT REMARK: The motor is automatically switched off in the event of an overload. The motor can be switched on again after a cooling down period that can vary.
DEFECTIVE ELECTRICAL CONNECTION
CABLES Electrical connection cables often suffer insulation dam- age. Possible causes are:
- Pinch points when connection cables are run through window or door gaps.
- Kinks resulting from incorrect attachment or laying of the connection cable.
- Cuts resulting from running over the connecting cable.
- Insulation damage resulting from forcefully pulling out of the wall socket.
- Cracks through aging of insulation. 22 / 136 EN www.scheppach.com / service@scheppach.com / +(49)-08223-4002-99 / +(49)-08223-4002-58
Warning: In the interests of operational safety, always switch off the saw and remove the mains plug before carrying out
maintenance work. Fault Possible causes Action Saw blades break Tension incorrectly set Set the correct tension Load to great Feed the workpiece more slowly Incorrect saw blade variety Use the correct saw blades Workpiece not fed straight Avoid exerting pressure from the side Motor does not function Mains Gable faulty Change faulty parts Motor faulty Call customer service. Do not at- tempt to repair the motor yourself as this should be carried out by trained personnel. Vibration NOTE: The saw vibrates slightly when the motor is running in normal opera- tion. Saw incorrectely installed Refer to the instructions given earlier in this manual for information on installing the saw Unsuitable underlay The heavier the work bench is,the less the vibration. A bench made from ply wood always vibrates more than one made from solid wood. Select the work bench best suited to your working conditions The work bench is not screwed down or is on the motor Tighten the locking lever The motor is not secured Securely screw the motor in place Saw blade swings out Holders not aligned straight Holders not aligned Losen the screws with which the hold- ers are fastenedto the arm. Align the holders so that they are perpendicular to each other and retighten the screws. 23 / 136 EN www.scheppach.com / service@scheppach.com / +(49)-08223-4002-99 / +(49)-08223-4002-58 Table des matières: Page:
- non-compliance with the instructions for use
- repairs by third party, non authorized skilled workers
- installation and replacement of non-original spare parts
Only for EU countries. Do not dispose of electric tools together with household waste material! In observance of European directive 2012/19/EU on wasted electrical and electronic equipment and its implementation in accordance with national law, electric tools that have reached the end of their life must be collected separately and returned to an environmentally compatible recycling facility.