PASP 18 A1 - Vacuum Cleaner PARKSIDE - Free user manual and instructions
Find the device manual for free PASP 18 A1 PARKSIDE in PDF.
| Product type | Ash and coarse debris filter for vacuum cleaner |
| Brand | Parkside |
| Model | PASP 18 A1 |
| Tank capacity | 18 L |
| Dimensions | ∅ 30 x H 34.3 cm |
| Hose length | 95 cm |
| Filter type | Class M |
| Tank material | Metal |
| Use | For vacuuming cold ashes (max. 40 °C) and small debris |
| Power supply | Requires an external motor vacuum cleaner (max. 1200 W, max. flow 1.4 m³/min, max. vacuum 20 kPa) |
| Filter maintenance | Clean by shaking or tapping gently; do not wash with water |
| Filter replacement | Use only Lidl or approved replacement filters |
| Cleaning | With a dry cloth; do not use harsh chemicals |
| Warranty | 3 years |
| Weight | Approx. 4 kg |
Frequently Asked Questions - PASP 18 A1 PARKSIDE
User questions about PASP 18 A1 PARKSIDE
0 question about this device. Answer the ones you know or ask your own.
Ask a new question about this device
Download the instructions for your Vacuum Cleaner in PDF format for free! Find your manual PASP 18 A1 - PARKSIDE and take your electronic device back in hand. On this page are published all the documents necessary for the use of your device. PASP 18 A1 by PARKSIDE.
USER MANUAL PASP 18 A1 PARKSIDE
text_image
PDF ONLINE www.lidl-service.com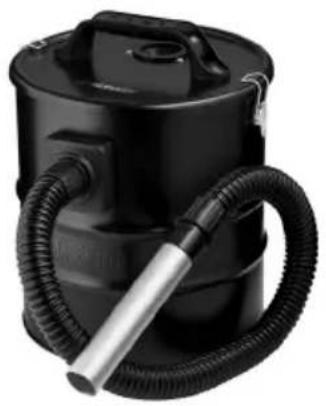
natural_image
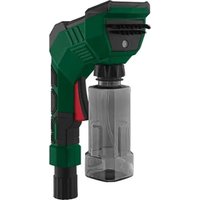
Black industrial vacuum cleaner with coiled hose and metal handle (no visible text or symbols)ASCHE- UND GROBSCHMUTZFILTER / ASH FILTER VACUUM CLEANER ATTACHMENT / FILTRE À CENDRES ET GROS DÉCHETS PASP 18 A1
DE AT CH
Operation and safety notes
FR BE
Warnings and symbols used Page 16
Introduction Page 17
Intended use Page 17
Scope of delivery.... Page 17
Description of parts ...... Page 18
Technical data Page 18
Safety advice.... Page 18
Before first use Page 20
Before use Page 20
Connecting the hose Page 20
Disconnecting the hose ...... Page 20
Connecting the tube.... Page 20
Fixing and removing the container lid Page 20
Operation.... Page 20
Connecting the product with a motorised vacuum cleaner (not included). Page 21
Emptying the metal container.... Page 21
Cleaning and replacing the pleated filter ...... Page 21
Cleaning and care Page 22
Cleaning. Page 22
Maintenance Page 22
Storage Page 23
Transportation Page 23
Disposal Page 23
Warranty Page 24
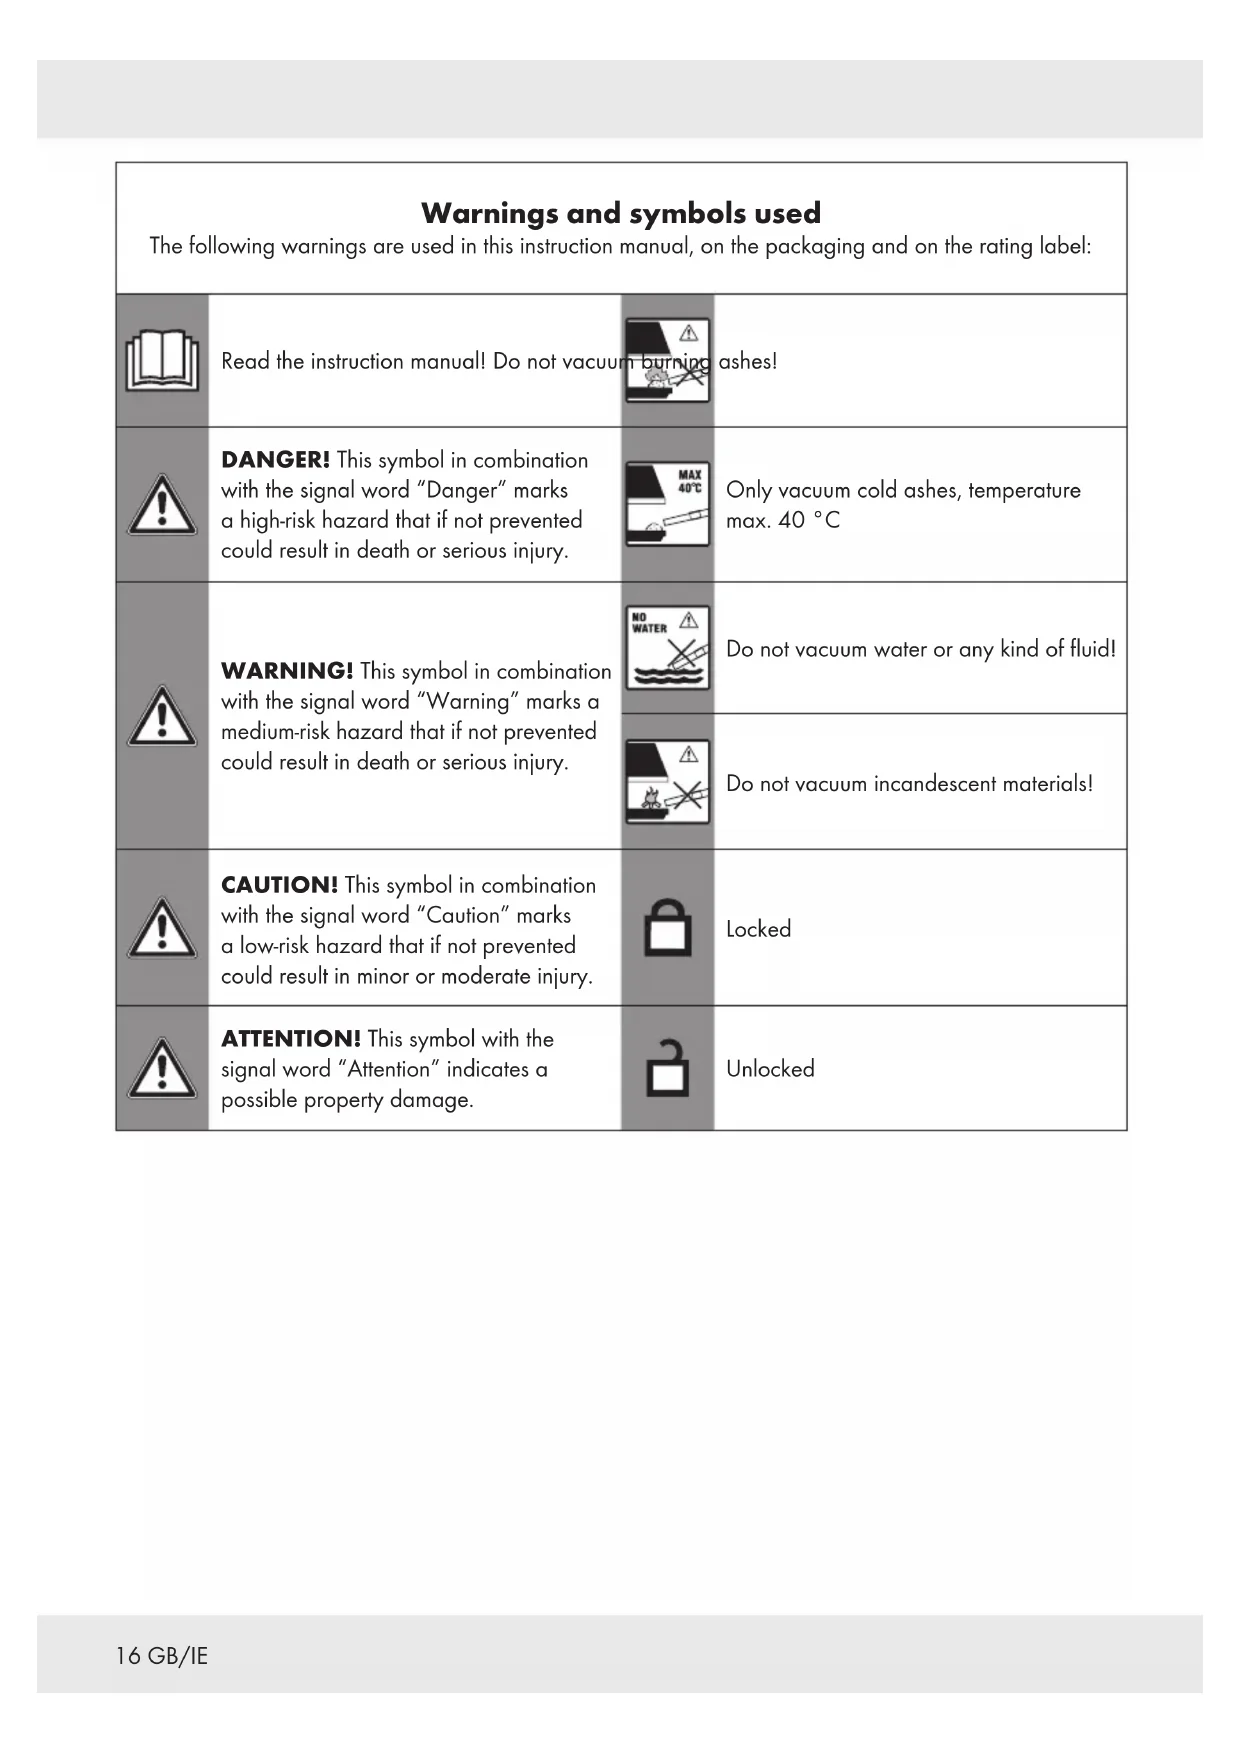
| Warnings and symbols usedThe following warnings are used in this instruction manual, on the packaging and on the rating label: | |||
 | Read the instruction manual! Do not vacuur | 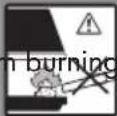 | ashes! |
 | DANGER! This symbol in combination with the signal word "Danger" marks a high-risk hazard that if not prevented could result in death or serious injury. | 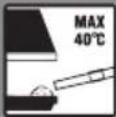 | Only vacuum cold ashes, temperature max. 40 °C |
 | WARNING! This symbol in combination with the signal word "Warning" marks a medium-risk hazard that if not prevented could result in death or serious injury. | 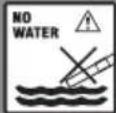 | Do not vacuum water or any kind of fluid! |
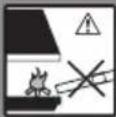 | Do not vacuum incandescent materials! | ||
 | CAUTION! This symbol in combination with the signal word "Caution" marks a low-risk hazard that if not prevented could result in minor or moderate injury. |  | Locked |
 | ATTENTION! This symbol with the signal word "Attention" indicates a possible property damage. |  | Unlocked |
ASH FILTER VACUUM CLEANER ATTACHMENT
Introduction
We congratulate you on the purchase of your new product. You have chosen a high quality product. The instructions for use are part of the product. They contain important information concerning safety, use and disposal. Before using the product, please familiarise yourself with all of the safety information and instructions for use. Only use the product as described and for the specified applications. If you pass the product on to anyone else, please ensure that you also pass on all the documentation with it.
- Intended use
Combined with a suitable vacuum cleaner, the product is intended for removing cold ash with a temperature of no more than 40 °C and other cold small parts from chimneys, charcoal stoves, ash pans or grill grates.
WARNING!
"Cold ash" is ash cooled down for a sufficient time without any pockets of embers inside. This can be confirmed by scouring the ash for pockets of embers by using metal tools before using the product. Cold ash does not emit any recognizable heat.
The product is not suitable for vacuuming the following materials:
Liquids
■ Soot and glowing embers
■ Cement, gypsum and lime dust
■ Any materials that are combustible, explosive or constitute a health hazard
■ Heating boilers and oil-burning ovens
WARNING!
▶ Vacuum only ashes from admissible fuels!
Any other use or modification of the product is considered improper and may result in hazards such as death, personal injury and property damage. The manufacturer is not liable for damage caused by improper use. The product is intended for domestic use only. The product is not intended for commercial use.
NOTE
Definition of a "suitable vacuum cleaner":
- max. admissible rated power: 1200 W
- max. admissible flow volume: 1.4 m³/min
- max. admission underpressure: 20 kPa
Finding this information: Check the rating label or instruction manual of the vacuum cleaner with which you want to connect the product.
- Scope of delivery
After unpacking the product, check if the delivery is complete and if all parts are in good condition. Remove all packing materials before use.
1 Container lid
1 Metal container
1 Hose
1 Tube
1 Wire mesh (pre-installed)
1 Pleated filter (pre-installed)
1 Instruction manual
● Description of parts
Before reading, unfold the page containing the illustrations and familiarise yourself with all functions of the product.
Fig. A
| 1 | Container lid |
| 2 | External vacuum connector |
| 3 | Filter thread |
| 4 | Internal vacuum connector |
| 5 | Tube |
| 6 | Hose |
| 7 | Hose coupler (with coupler marking) |
| 8 | Hose adaptor |
| 9 | (Coupler marking) |
| 10 | Metal container |
| 11 | Latch |
| 12 | Pleated filter |
| 13 | Wire mesh |
- Technical data
Ash filter vacuum
cleaner attachment : PASP 18 A1
Model number : HG08313
Length of hose : 95 cm
Size : ∅ 30 x H 34.3 cm
Filter type : Class M

Safety advice
BEFORE USING THE PRODUCT, PLEASE FAMILIARISE YOURSELF WITH ALL OF THE SAFETY INFORMATION AND INSTRUCTIONS FOR USE! WHEN PASSING THIS PRODUCT ON TO OTHERS, PLEASE ALSO INCLUDE ALL THE DOCUMENTS!
In the case of damage resulting from non-compliance with these operating instructions the warranty claim becomes invalid! No liability is accepted for consequential damage! In the case of material damage or personal injury caused by incorrect handling or non-compliance with the safety instructions, no liability is accepted!
Children and persons with limitations

⚠ WARNING! DANGER OF DEATH AND ACCIDENTS FOR TODDLERS AND CHILDREN!
Never leave children unsupervised with the packaging material. The packaging material represents a danger of suffocation. Children frequently underestimate the dangers.
This product can be used by children aged from 8 years and above and persons with reduced physical, sensory or mental capabilities or lack of experience and knowledge if they have been given supervision or instruction concerning use of the product in a safe way and understand the hazards involved.
■ Children shall not play with the product.
- Cleaning and user maintenance shall not be made by children unless they are older than 8 and supervised.
Intended use
⚠ WARNING! Risk of injury!
Misuse may lead to injury. Use this product solely in accordance with these instructions. Do not attempt to modify the product in any way.
Operation
⚠ WARNING! Risk of injury!
The product is not suitable for vacuuming the following materials:
– Water and other liquids,
-burning ashes,
–any material with a temperature above 40 °C
-incandescent materials
■ Defective components must always be replaced by original spare parts.
Before first use
WARNING!
The product and the packaging are not children's toys! Children must not play with plastic bags, sheets and small parts! There is a danger of choking and suffocation!
- Unpack all parts and remove all packaging materials.
■ Make sure the delivery contents are complete and free of damage (Fig. A). If you find that parts are missing or damaged, do not use the product and contact your dealer.
Using an incomplete or damaged product represents a hazard to people and property.
Before use
Connecting the hose
Fig. B
- Align 9 with the notch in the internal vacuum connector 4.
■ Push the hose coupler 7 fully into the internal vacuum connector 4.
■ Turn the hose coupler 7 in a clockwise direction until it is fully engaged. - Check if the hose 6 is installed properly by pulling the hose coupler 7 slightly. If the hose coupler does not move, the hose is connected properly.
- Disconnecting the hose
- Rotate the hose coupler 7 in an anti-clockwise direction. Pull out the hose coupler.
Connecting the tube
■ Push the tube 5 into the hose adapter 8.
● Fixing and removing the container lid
■ Fixing the container lid 1:
- Place the container lid on the metal container 10. - Lock the container lid in place with the latches 11.
■ Removing the container lid 1:
- Undo the latches 11. - Lift the container lid off the metal container 10.
Operation
⚠ WARNING! Risk of injury!
Before operation, read the instruction manual of the motorised vacuum cleaner you want to use with the product!
Do not vacuum incandescent materials. Even material that looks as though it has cooled off on the outside may still be very hot on the inside. Hot extracted material could be set alight again in the air current.
Hot ashes should not be purged with water, as the sudden temperature difference can cause ruptures to the chimney.
▶ Wait at least 24 hours before vacuuming a fireplace to make sure that the fire has gone out and the ash has cooled down.
- Connecting the product with a motorised vacuum cleaner (not included)
- Secure the container lid 1 to the metal container 10 with the latches 11.
For the following steps, you need a motorised vacuum cleaner and the associated hose (Fig. B):
- Attach the hose adapter that belongs to the hose of the motorised vacuum cleaner (not included) with the external vacuum connector 2.
- Connect the other end of the hose to the motorised vacuum cleaner.
- The motorised vacuum cleaner now serves as an external suction power source for the product.
⚠ WARNING! Follow the operation procedures, including the illustrations of the motorised vacuum cleaner's instruction manual.
● Emptying the metal container
- Remove the container lid 1 from the metal container 10 (see "Fixing and removing the container lid"). Empty the metal container.

WARNING!
▶ Empty and clean the product before and after use to avoid the collection of materials that could pose a fire hazard in the vacuum cleaner.
● Cleaning and replacing the pleated filter
- When the suction power of the product decreases, clean the pleated filter 12.
Removing the pleated filter
Fig. C
- Remove the container lid 1 from the metal container 10 (see „Fixing and removing the container lid“).
■ Turn over the container lid 1. - Hold the pleated filter 12 by the rim. Turn the pleated filter in an anticlockwise direction.
Lift the pleated filter 12 together with the wire mesh 13 out of the product.
Take the pleated filter 12 out of the wire mesh 13.
Cleaning the pleated filter
NOTE
▶ Never clean the pleated filter 12 with water. You would otherwise damage the pleated filter.
■ Shake the pleated filter 12. If necessary, tap the pleated filter gently on the floor.
Inserting the pleated filter
Fig. D
■ Remove the container lid 1 from the metal container 10 (see „Fixing and removing the container lid“).
■ Turn over the container lid 1 and put it to one side.
- Insert the pleated filter 12 into the wire mesh 13.
■ Slide the wire mesh 13 with the inserted pleated filter 12 over the filter thread 3.
Fixing the pleated filter 12 and wire mesh 13: Hold the pleated filter by the rim. Turn the pleated filter clockwise. Once the pleated filter is fixed on the filter thread 3, it holds the wire mesh in place.
Replacing the pleated filter

WARNING!
Check the pleated filter 12 regularly for damage and deformation. A damaged or deformed pleated filter cannot be cleaned and must be replaced. This is necessary to maintain the functionality of the product and to protect the product from damage.
Only use replacement filters from Lidl or authorized resellers. Filters that are not compatible with the product can lead to injury and product damage.

Cleaning and care

Cleaning
- Do not let the pleated filter 12 come into contact with water or other liquids.
■ Always keep the product clean, dry and free from oil or grease. Remove dust from the product after each use and before storage. - Regular and proper cleaning will help ensure safe use and prolong the life of the product. The best time for cleaning is right after completing works.
■ Clean the product with a dry cloth.

ATTENTION!
Do not use any abrasive, aggressive cleaners, hard brushes, or sharp objects to clean the product or its accessories. Risk of product damage.

Maintenance
This product does not contain any parts that can be repaired by the user. Contact an authorized service centre or a similarly qualified person to have it checked and repaired.
Storage
■ Clean the product before storage.
■ Store the product and its accessories in a dry place.
- Do not store the product close to open flames or heat sources such as stoves or heating appliances.
■ Always store the product in a place that is inaccessible to children.
- Transportation
- Secure the product to prevent it from slipping or falling over.
● Disposal
The packaging is made entirely of recyclable materials, which you may dispose of at local recycling facilities.
Observe the marking of the packaging materials for waste separation, which are marked with abbreviations (a) and numbers (b) with following meaning: 1–7: plastics / 20–22: paper and fibreboard / 80–98: composite materials.

The product and packaging materials are recyclable, dispose of it separately for better waste treatment.
The Triman logo is valid in France only.

Contact your local refuse disposal authority for more details of how to dispose of your worn-out product.
To help protect the environment, please dispose of the product properly when it has reached the end of its useful life and not in the household waste. Information on collection points and their opening hours can be obtained from your local authority.
Warranty
The product has been manufactured to strict quality guidelines and meticulously examined before delivery. In the event of product defects you have legal rights against the retailer of this product. Your legal rights are not limited in any way by our warranty detailed below.
The warranty for this product is 3 years from the date of purchase. The warranty period begins on the date of purchase. Please keep the original sales receipt in a safe location. This document is required as your proof of purchase.
Should this product show any fault in materials or manufacture within 3 years from the date of purchase, we will repair or replace it – at our choice – free of charge to you. This warranty becomes void if the product has been damaged, or used or maintained improperly.
The warranty applies to defects in material or manufacture. This warranty does not cover product parts subject to normal wear, thus possibly considered consumables (e.g. batteries) or for damage to fragile parts, e.g. switches, rechargeable batteries or glass parts.
Warranty claim procedure
To ensure quick processing of your case, please observe the following instructions:
Please have the till receipt and the item number (e.g. IAN 123456_7890) available as proof of purchase.
You will find the item number on the rating plate, an engraving, on the front page of the instructions for use (bottom left), or as a sticker on the rear or bottom of the product.
If functional or other defects occur, please contact the service department listed either by telephone or by e-mail.
You can return a defective product to us free of charge to the service address that will be provided to you. Ensure that you enclose the proof of purchase (till receipt) and information about what the defect is and when it occurred.
Service
GB Service Great Britain
Tel.:08000569216
E-Mail:owim@lidl.co.uk
IE Service Ireland
Tel.:1800200736
E-Mail:owim@lidl.ie
CE