PSBSA 20Li C3 - Screwdriver PARKSIDE - Free user manual and instructions
Find the device manual for free PSBSA 20Li C3 PARKSIDE in PDF.
| Brand | Parkside |
| Model | PSBSA 20Li C3 |
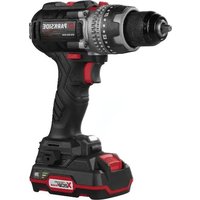
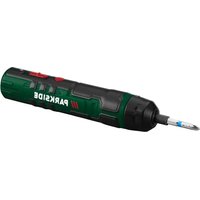
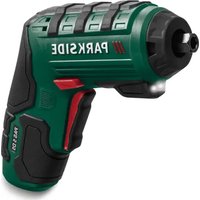
| Product Type | Cordless Screwdriver |
| Rated Voltage | 20 V max |
| Battery Type | Li-Ion |
| Battery Capacity | 2 Ah |
| Battery Energy | 40 Wh |
| Number of Cells | 5 |
| Charging Time (2 Ah battery) | 60 minutes |
| Charger - Input Voltage | 230-240 V~ |
| Charger - Frequency | 50 Hz |
| Charger - Output Voltage | 21.5 V |
| Charger - Output Current | 2.4 A |
| Charger - Rated Consumption | 65 W |
| Charger - Net Weight | 0.76 kg |
| Charger - Protection Class | II (double insulation) |
| Operating Temperature | +4 to +40 °C |
| Storage Temperature | +20 to +26 °C |
| Use | Dry indoor use only |
| Safety | Safety warnings and instructions included |
| Maintenance | Clean with a soft brush |
| Warranty | 3 years |
| After-Sales Service France | 0800904879 |
| After-Sales Service Belgium | 080071011 |
| Compatibility | Parkside X 20 V Team |
Frequently Asked Questions - PSBSA 20Li C3 PARKSIDE
User questions about PSBSA 20Li C3 PARKSIDE
0 question about this device. Answer the ones you know or ask your own.
Ask a new question about this device
Download the instructions for your Screwdriver in PDF format for free! Find your manual PSBSA 20Li C3 - PARKSIDE and take your electronic device back in hand. On this page are published all the documents necessary for the use of your device. PSBSA 20Li C3 by PARKSIDE.
USER MANUAL PSBSA 20Li C3 PARKSIDE
Operation and safety notes Page 32
FR/BE
Warnings and symbols used. Page 33
Introduction. Page 35
Intended Use. Page 35
Contents . 36
Parts list. Page 36
Technical data. Page 37
General safety notes . Page 39
First use. Page 44
Charging the rechargeable battery . Page 44
Wall mounting. Page 45
Operation. Page 46
LED status. Page 46
Checking the rechargeable battery
charge level. Page 47
Removing/inserting the rechargeable battery . Page 47
Cleaning 48
Maintenance and storage . Page 48
Disposal. Page 49
Simplified EU declaration of conformity . . Page 51
Warranty . 51
Warranty claim procedure. Page 52
Service. Page 54
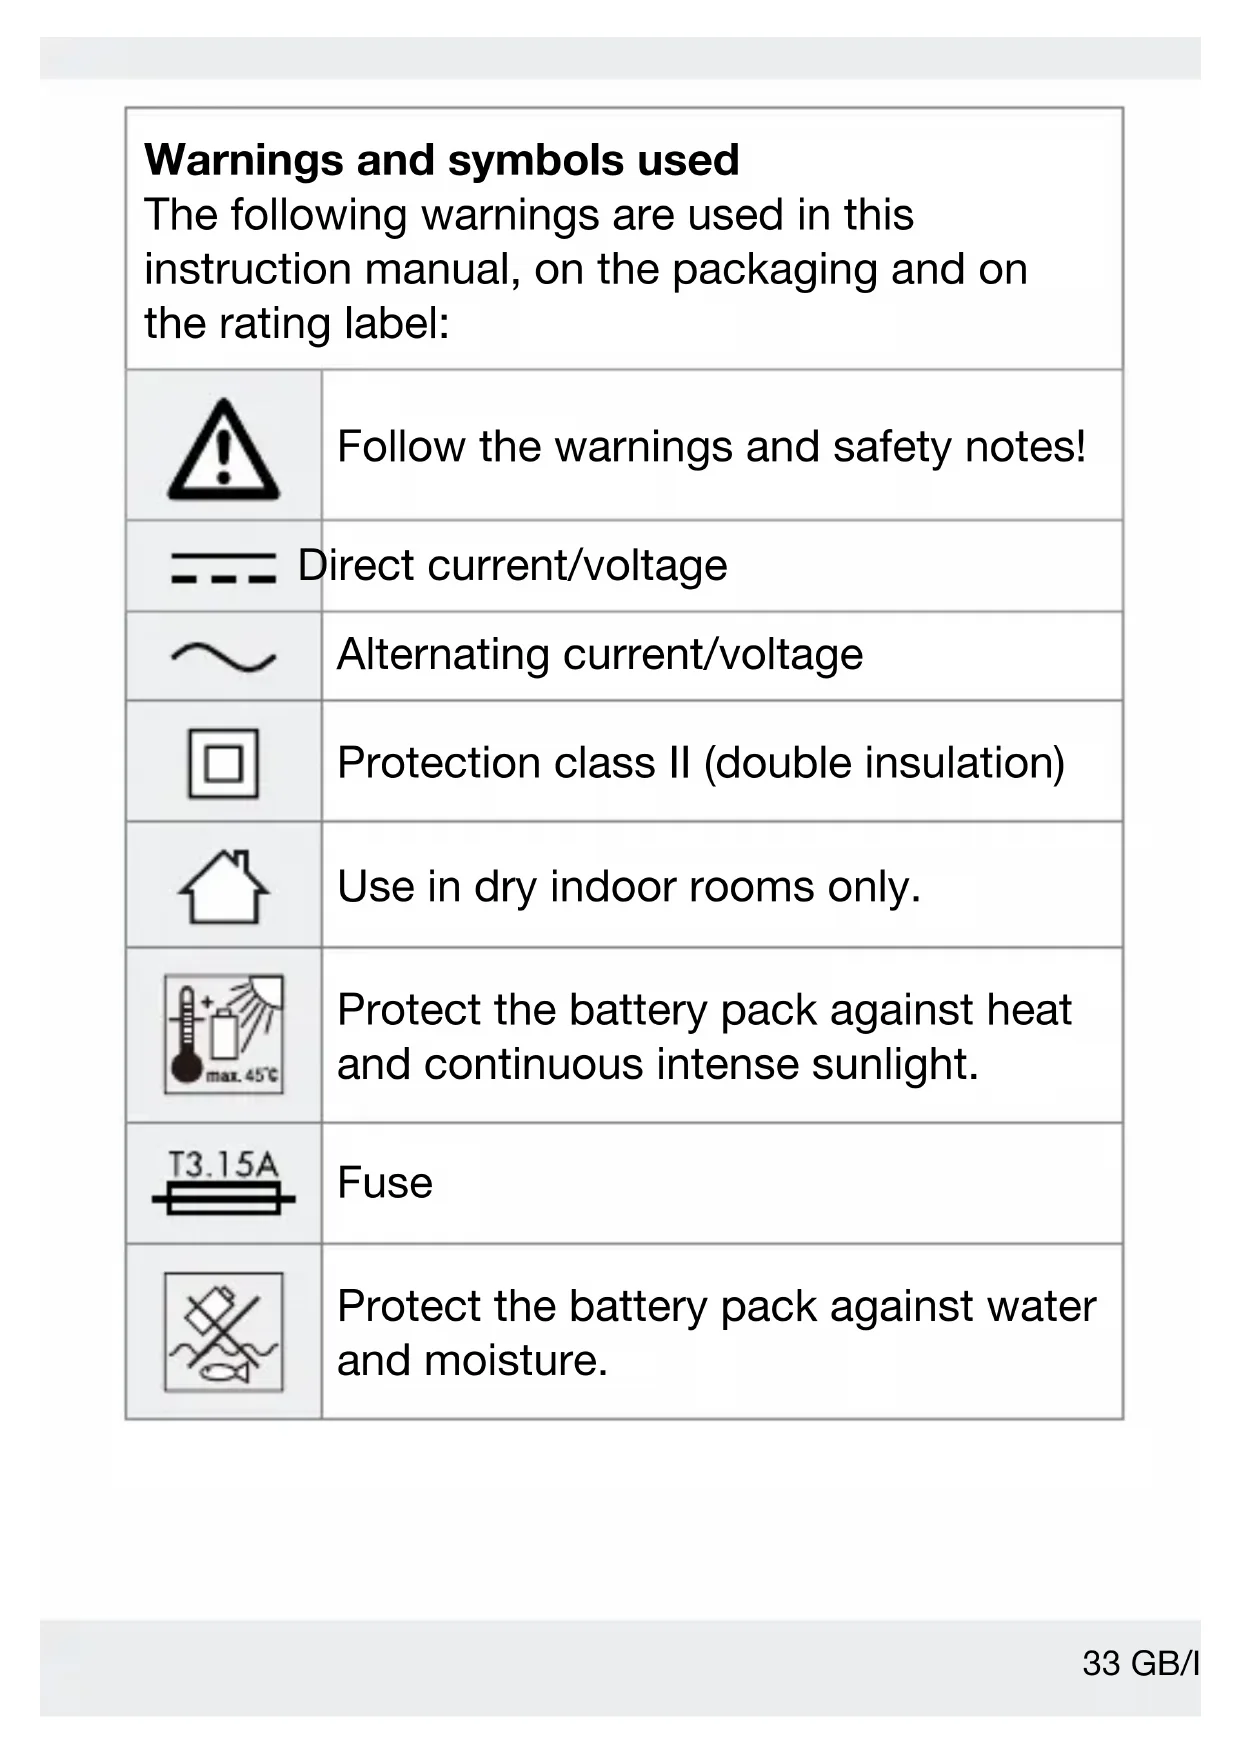
| Warnings and symbols used The following warnings are used in this instruction manual, on the packaging and on the rating label: | |
| ! | Follow the warnings and safety notes! |
| --- | Direct current/voltage |
| ~ | Alternating current/voltage |
| Protection class II (double insulation) | |
| Use in dry indoor rooms only. | |
| max.45℃ | Protect the battery pack against heat and continuous intense sunlight. |
| T3.15A | Fuse |
| Protect the battery pack against water and moisture. | |
| Protect the battery pack from fire. | |
| Read the instruction manual. | |
| This symbol means that the operating instructions must be observed before using the product. | |
| This symbol in combination with the word “Info” provides additional useful information. | |
| Safety-relevant information and other notes Instructions for use | |
20V / 2Ah RECHARGEABLE BATTERY
PAP 20 B1 + 20V / 2.4A CHARGER
PLG 20 C1
Introduction
We congratulate you on the purchase of your new product. You have chosen a high quality product. The instructions for use are part of the product. They contain important information concerning safety, use and disposal. Before using the product, please familiarise yourself with all of the safety information and instructions for use. Only use the product as described and for the specified applications. If you pass the product on to anyone else, please ensure that you also pass on all the documentation with it.
Intended Use
The rechargeable battery is compatible with all devices from the Parkside X 20 V Team series. The rechargeable battery may only be charged using chargers from the Parkside X 20 V TEAM series.
The charger is exclusively intended for charging Parkside 20 V batteries of X 20 V Team series.
The product is not intended for commercial use. Any other usage of or modification to the product is deemed to be improper and carries a significant risk of accidents. The manufacturer accepts no responsibility for damage(s) attributable to misuse.
- Contents
1 Rechargeable battery
1 Battery charger
1 Instruction manual
Parts list
1 Release button for rechargeable battery
2 Rechargeable battery
3 Charging level LEDs (red/orange/green)
4 button (charging level)
5 Mains cord with mains plug
6 Battery charger
7 Charging control LED-red
8 Charging control LED-green
9 Mounting holes (underside)

Technical data
Battery: PAP 20 B1
Type: Li-Ion (Lithium
Ion)
Rated voltage: max. 20V
Capacity: 2Ah
Cells: 5
Energy value: 40 Wh
Recommended ambient
temperature:
max. 45^ C
While charging: +4 to +40 °C
During operation: +4 to +40 °C
During storage: +20 to +26 °C
To charge the rechargeable battery, only use the chargers from the Parkside X 20 V TEAM series.
Charger: PLG 20 C1
Input:
Rated voltage:
230-240 V~
Rated frequency:
50 Hz
Rated power consumption:
65 W
Fuse (internal):
3.15 A
Output:
Rated voltage: 21.5 V
Rated current: 2.4 A
Battery pack type Charging time
PAP 20 B1, PAP 20 B2, 2.0 Ah 60 minutes
PAP 20 B3, PAPS 204 A1, 4.0 Ah| 120 minutes
PAPS 208 A1, 8.0 Ah 210 minutes
Protection class: II/(double insulation)
Net weight: 0.76 kg
Customers can order compatible replacement batteries and chargers from Lidl online shops for the following countries:
Germany (lidl.de), France (lidl.fr), Belgium (lidl.be), Czech Republic (lidl.cz), Netherlands (lidl.nl), Poland (lidl.pl), Slovakia (lidl.sk), Spain (lidl.es)
Customers from all other countries can order from www.optimex-shop.com.
Recommended ambient temperature:
While charging: +4 to +40 °C
During operation: +4 to +40 °C
During storage: +20 to +26 °C

General safety notes

WARNING! Read all safety warnings and all instructions. Failure to follow the warnings and instructions may result in electric shock, fire and serious injury.
SAVE ALL WARNING AND INSTRUCTIONS FOR FUTURE REFERENCE.
a) Recharge only with the charger specified by the manufacturer. A charger that is suitable for one type of rechargeable battery may create a risk of fire when used with another rechargeable battery.
b) Use power tools only with specifically designated rechargeable batteries. Use of any other rechargeable batteries may create a risk of injury and fire.
c) When the rechargeable battery is not in use, keep it away from other metal objects, like paper clips, coins, keys, nails, screws or other small metal objects, that can make a connection from one terminal to another. Shorting the battery terminals together may cause burns or a fire.
d) Under abusive conditions, liquid may be ejected from the rechargeable battery; avoid contact. If contact accidentally occurs, flush the affected area with water. If liquid contacts eyes, additionally seek medical help. Liquid ejected from the battery may cause irritation or burns.
CAUTION! RISK OF EXPLOSION!
Never charge non-rechargeable batteries!

Protect the rechargeable battery from heat, for example from continuous exposure to sunlight, fire, water and moisture.

There is a risk of explosion.
e) Do not use a damaged or modified rechargeable battery with the tool.
Damaged or modified batteries exhibit unpredictable behaviour resulting in fire, explosion or risk of injury.
f) Do not expose a rechargeable battery or tool to fire or excessive temperature. Exposure to fire or temperatures above 130^ may cause an explosion.
g) Follow all charging instruction and do not charge the rechargeable battery or tool outside the temperature range specified in the instructions. Charging improperly or at temperatures outside the specified range may damage the battery and increase the risk of the fire.
h) The safety instructions of the compatible chargers must be observed.
Service
a) Have your power tool serviced by a qualified repair person using only identical replacement parts. This will ensure that the safety of the power tool is maintained.
b) Never service damaged battery packs.
Service of battery packs should only be performed by the manufacturer or authorized service providers.
Charger safety instructions
The product can be used by children aged from 8 years and above and persons with reduced physical, sensory or mental capabilities or lack of experience and knowledge if they have been given supervision or instruction concerning use of the product in a safe way and understand the hazards involved. Children shall not play with the product. Cleaning and user maintenance shall not be made by children without supervision.
- Do not charge regular or non-rechargeable batteries. Disregarding this instruction is hazardous.
If the mains cord is damaged, it must be replaced by the manufacturer, its service agent or similarly qualified persons in order to avoid a hazard.
- Protect the electrical parts against moisture. Do not immerse such parts in water or other liquids to avoid electrical shock. Never hold the product under running water. Pay attention to the instructions provided for cleaning, maintenance and repair.
The product is suitable for indoor use only.
■ ATTENTION! This charger is only designed for charging following battery pack types:
Parkside 20 V battery pack
| PAP 20 B1 2 | Ah 5 cells | |
| PAP 20 B2 2 | Ah 5 cells | |
| PAP 20 B3 4 | Ah 10 cells | |
| PAPS 204 A1 | 4 Ah 5 cells | |
| PAPS 208 A1 | 8 Ah 10 cells |
- First use
- Charging the rechargeable battery
1 INFO:
The rechargeable batt2 may be charged at any time without reducing the service life. Interrupting the charging process does not damage the rechargeable battery.
Charge the rechargeable battery before use when it is at medium or low charging level.
The charging control LEDs (7 and green 8) indicate the status of the charger 6 and the rechargeable battery (see Fig. A).
-
Insert the rechargeable battery 2 into the charger 6.
-
Connect the mains plug 5 to a socket-outlet.
- When the rechargeable battery is fully charged, remove the rechargeable battery from the charger. Disconnect the mains plug from the socket-outlet.
Wall mounting
WARNING! RISK OF INJURY!
When drilling, be careful not to damage any supply lines. Use suitable search devices to find these or consult an installation plan for guidance. Contact with electrical cables can lead to electric shock and fire. Contact with a gas pipe can result in an explosion. Damage to a water pipe can lead to property damage and electric shock.
1 INFO:
The charge can be used either freestanding or mounted on the wall.
- To mount the charger 6 on the wall, place 2 screws 76.2 ~mm apart as specified in Fig. B on a wall, using 2 dowels.
-
To secure the charger, use round-head screws with screw head diameter of 7-8 mm. Leave the screw head protruding at a distance of approx. 8 mm from the wall.
-
Hang the charger 6 on the 2 screws using the mounting holes 9 located on the underside.
The charging control LEDs (red 7 and green 8) must always be located on the lower end of the charger when the charger is mounted on the wall.
Operation
LED status
Red LED 7 lights up - The rechargeable battery 2 is charging.
Green LED 8 lights up - The rechargeable battery is fully charged.
Green and red LED flash - The rechargeable battery is defective.
Red LED flashes – The rechargeable battery is too cold or too warm.
Green LED lights up (without rechargeable battery) – The charger 6 is ready for use.
- Checking the rechargeable battery charge level
Press the button 4 to check the status of the rechargeable battery 2.
The status/remaining charge shows on the charging level LEDs 3 as follows (see Fig. A): - Red + orange + green = maximum charge - Red + orange = medium charge - Red = low charge
- Removing/inserting the rechargeable battery
CAUTION! RISK OF INJURY!
Only insert the rechargeable battery once the battery operated tool is ready for use.
To insert the rechargeable battery 2, place it on the guide track and push it into the charger 6. The rechargeable battery audibly snaps into place.
To remove the rechargeable battery from the charger, press the rechargeable battery release button 1 and pull out the rechargeable battery.
- Cleaning

CAUTION! RISK OF INJURY AND DAMAGE!
Never use flammable or combustible solvents around battery packs, charger, or tools.
- Clean out dust and debris from the vents and electrical contacts of the charger 6 and the rechargeable battery 2 using a soft brush.

Maintenance and storage
- Only store the rechargeable battery 2 partially charged. The rechargeable battery should be charged to 40 to 60 % (red and orange LED of the charging level LEDs 3 light up) before storing for extended periods.
Check the rechargeable battery charge about every 3 months when storing for extended periods. Recharge as necessary.
Disposal
The packaging is made of environmentally friendly materials, which may be disposed of through your local recycling facilities.
Observe the marking of the packaging materials for waste separation, which are marked with abbreviations (a) and numbers (b) with following meaning:
1-7: plastics/20-22: paper and fibreboard/80-98: composite materials.
Product:

Asnts de colletoe ur www qutlalireesdeschens. Priligieg la reparation ou le don de notre apparell!
The product incl. accessories, manual and packaging materials are recyclable and are subject to extended producer responsibility. Dispose them separately, following the illustrated Info-tri (sorting information), for better waste treatment.
The Triman logo is valid in France only.

Contact your local refuse disposal authority for more details of how to dispose of your wornout product.
To help protect the environment, please dispose of the product properly when it has reached the end of its useful life and not in the household waste. Information on collection points and their opening hours can be obtained from your local authority.
Faulty or used batteries/rechargeable batteries must be recycled. Return the batteries/rechargeable batteries and the product to the available collection points.
Environmental damage through incorrect disposal of the batteries / rechargeable batteries!
Remove the batteries / battery pack from the product before disposal.
Batteries / rechargeable batteries may not be disposed of with the usual domestic waste. They may contain toxic heavy metals and are subject to hazardous waste treatment rules and regulations. The chemical symbols for heavy metals are as follows: Cd = cadmium, Hg = mercury, Pb = lead. That is why you should dispose of
used batteries / rechargeable batteries at a local collection point.
- Simplified EU declaration of conformity
CE mark indicates conformity with relevant EU directives applicable for this product.
Warranty
The product has been manufactured to strict quality guidelines and meticulously examined before delivery. In the event of material or manufacturing defects you have legal rights against the retailer of this product. Your legal rights are not limited in any way by our warranty detailed below.
The warranty for this product is 3 years from the date of purchase. The warranty period begins on the date of purchase. Keep the original sales receipt in a safe location as this document is required as proof of purchase.
Any damage or defects already present at the time of purchase must be reported without delay after unpacking the product.
Should the product show any fault in materials or manufacture within 3 years from the date of purchase, we will repair or replace it – at our choice – free of charge to you. The warranty period is not extended as a result of a claim being granted. This also applies to replaced and repaired parts.
This warranty becomes void if the product has been damaged, or used or maintained improperly.
The warranty covers material or manufacturing defects. This warranty does not cover product parts subject to normal wear and tear, thus considered consumables (e.g. batteries, tubes, cartridges), nor damage to fragile parts, e.g. switches or glass parts.
Warranty claim procedure
So that your request can be processed quickly, please observe the following instructions:
For all inquiries, please have the receipt and item number (e.g., IAN 505120_2501) ready as proof of purchase.
The article number can be taken from the identification label on the product, engraving on the product, the front cover of your manual (at the bottom left), or the sticker on the back or bottom of the product.
If malfunctions or other defects arise, first contact the service department indicated below by phone or email.
You can then send a product recorded as defective to the communicated service address postage-free, making sure to enclose proof of purchase (receipt) and information on the details of the defect and when it occurred.
You can download and view this and numerous other manuals at parkside-diy.com. This QR code takes you directly to parkside-diy.com. Choose your country and use the search screen to search for the operating instructions. Entering the item number (IAN) 505120_2501 takes you to the operating instructions for your item.

Service
GB Service Great Britain
Tel.:08000569216
E-Mail:owim@lidl.co.uk
IE Service Ireland
Tel.:1800200736
E-Mail:owim@lidl.ie
Introduction. Page 58
Courant/tension continu

Courant/tension alternative

Classe de protection II (double isolation)

Type: Li-Ion (Lithium-
ion)
Nominale spanning: max. 20V
Capaciteit: 2 Ah
Cellen: 5
WAARSCHUWING! Lees alle
WAARSCHUWING! GEVAAAR VOOR LETSEL!
Typ: Li-ion (lithium-
iónová)
Menovité napätie: max. 20V
Kapacita: 2Ah
Počet Článkov: 5
Energetická hodnota: 40Wh
Type: Li-Ion (Lithium-ion)
Nominel spænding: maks. 20V
Kapacitet: 2Ah
Celler: 5
Energivärdi: 40 Wh
Anbefalet omgivende
driftstemperatur: maks. 45^ C
PAP 20 B1, PAP 20 B2, 2,0 Ah 60|minutter
PAP 20 B3, PAPS 204 A1, 4,0 Ah | 120 minute
PAPS 208 A1, 8,0 Ah 210 minute
Beskyttelsesklasse: II/(dobbelt isolering)
Nettovægt: 0,76 kg
Follow the warnings and safety notes!