
MRK17 - Food Processor MPM - Free user manual and instructions
Find the device manual for free MRK17 MPM in PDF.
| Product type | Multifunction food processor |
| Brand | MPM |
| Model | MRK17 |
| Power supply | 220-240 V ~ 50/60 Hz |
| Power | 800 W |
| Cord length | 1.45 m |
| Standby consumption | 0.29 W |
| Large container capacity | 2000 ml with handle |
| Chopper container capacity | 400 ml with lid |
| Whisk container capacity | 600 ml with lid |
| Blade material | Stainless steel |
| Main functions | Blend, chop, dice, slice, grate, knead, whip egg whites |
| Speed control | Progressive via rotary knob + Turbo function |
| Included accessories | Immersion blender, mixing accessory, dicer with 8/11 mm inserts, slicing/grating discs, potato grater disc, chopper, whisk, dough hook, pusher |
| Safety | Lock buttons, automatic stop after 30s in Turbo mode, protected blades |
| Cleaning | Dishwasher safe parts (max 70°C), housing cleaned with damp cloth |
| Maximum washing temperature | 70°C |
| Weight | Approximately 2.5 kg (estimate) |
| Dimensions (L x W x H) | Approximately 30 x 25 x 25 cm (estimate) |
Frequently Asked Questions - MRK17 MPM
User questions about MRK17 MPM
0 question about this device. Answer the ones you know or ask your own.
Ask a new question about this device
Download the instructions for your Food Processor in PDF format for free! Find your manual MRK17 - MPM and take your electronic device back in hand. On this page are published all the documents necessary for the use of your device. MRK17 by MPM.
USER MANUAL MRK17 MPM
EN We wish you satisfaction from using the product and invite you to check a wide range of other MPM appliances
natural_image
Black and white photo of a hand mixer in a clear plastic container (no visible text or symbols)cz NAVOD K OBSLUZE 3

Smooth speed control + TURBO function Food processor bowl (2000 ml)

2 full stainless steel disc including one for mashed potatoes
Attachments for dicing up
- two sizes of cubes
natural_image
Kitchen countertop with kitchen equipment including a blender, condenser, and fan (no visible text or labels)Functions: kneading, mixing, blending, milling, chopping, pureeing, shredding, slicing, grating, whisking, grinding
BEZPEČNOSTNÍ POKYNY PŘI POUŽÍVÁNÍ
natural_image
Close-up of a mechanical component with a metallic clip, no visible text or symbols
natural_image
Interior view of a room with ceiling and window (no visible text or symbols)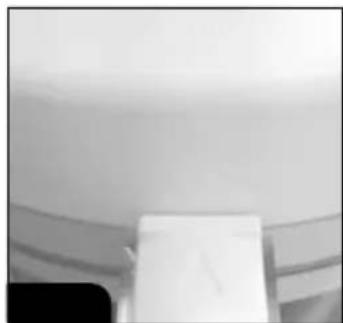
natural_image
Close-up of a white rectangular object partially covered by a light-colored ceiling (no visible text or symbols)natural_image
Close-up of a white industrial or laboratory device with a central grid and control knob, labeled 'obr. 4' (no readable text or symbols on the device itself)natural_image
Close-up of a metallic ring component with a small protrusion, labeled Abb. 1, Abb. 2, Abb. 3 (no other text or symbols visible)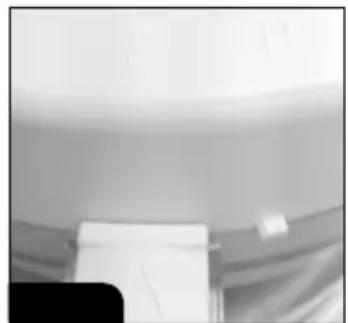
natural_image
Interior ceiling view with a white panel and a small light fixture (no visible text or symbols)
natural_image
Close-up of a white rectangular object with curved surfaces, possibly a lampshade or abstract design (no text or symbols visible)natural_image
Close-up of a mechanical component with a grid pattern and circular features (no visible text or symbols)natural_image
Close-up of a ribbon or cable with a hand adjusting its edge (no visible text or symbols)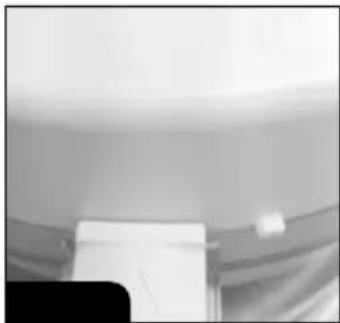
natural_image
Close-up of a white object with a dark rectangular base, possibly a device or component, against a plain background (no visible text or symbols)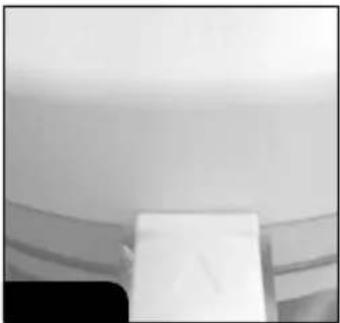
natural_image
Close-up of a white rectangular object partially covered by faint horizontal lines, no visible text or symbols.natural_image
Close-up of a mechanical component with a grid pattern and mounting bracket (no visible text or symbols)natural_image
Close-up of a curved mechanical component with no visible text or symbols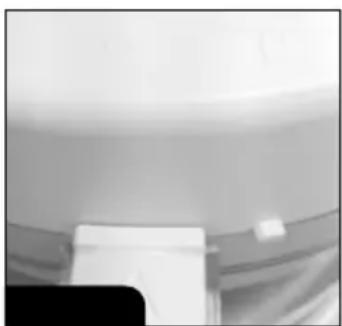
natural_image
Close-up of a white surface with a dark rectangular object at the bottom (no visible text or symbols)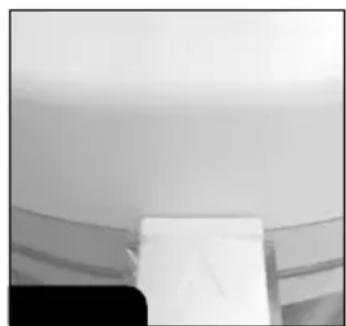
natural_image
Close-up of a white rectangular object against a plain background, possibly a container or lamp (no text or symbols visible)natural_image
Close-up of a mechanical component with a grid pattern and triangular features (no visible text or symbols)-Read carefully this manual before using the appliance.
-Do not touch the appliance with wet hands.
-This appliance must never be used near water!
-Children are not allowed to use the appliance unattended.
- Do not immerse the appliance, its cord and plug in water or any other liquids.
-Always unplug the appliance when it is not in use or before cleaning, during assembly or disassembly.
- Do not place the cord over sharp edges and keep it away from hot surfaces.
- Do not use the appliance if it is damaged, also if the power cord or plug is damaged - return the appliance for repair to an authorized service centre.
-Before disassembly wait until the motor stops completely.
-Take extreme care when touching cutting blades, especially when removing them for cleaning.
-To avoid the risk of damage, fire or injury, always use the attachments recommended by the manufacturer.
-Do not leave the operating appliance unattended.
-Do not place the appliance on hot surfaces.
-Do not use the device outdoors.
-During operation keep your hands away from moving parts.
-Before cleaning chipping attachment, remove it form the appliance first!
-Before use always make sure that all parts of the appliance are properly installed.
- Do not place the appliance in vicinity of electric and gas cookers, burners, ovens, etc.
- Do not use the appliance for the purposes different than it was designed for.
- This appliance is not intended for use by children under 8 years of age and individuals with reduced physical, sensory or mental capabilities, or lack of experience and knowledge, unless they have been given supervision or instruction concerning use of the appliance in a safe way and if they understand the hazards
involved. Cleaning and user maintenance shall not be carried out by children without supervision.
-Store the appliance and its cord out of reach of children under 8 years of age.
-Children shall not play with the appliance.
-This appliance has been designed for domestic use only.
-Do not pull the plug by holding the power cord.
-Do not connect the power plug with wet hands.
- In order to ensure your children's safety, please keep all packaging (plastic bags, boxes, polystyrene etc.) out of their reach.
-WARNING! Do not allow small children to play with the foil as there is a danger of suffocation!
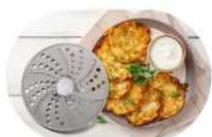
DESCRIPTION OF THE APPLIANCE
- Blender housing
- Stainless steel mixing attachment
- Release button (on both sides of housing)
- On/Off switch
- TURBO function
- Power control knob
- Dicing attachment
- Stainless steel blades of the dicing attachment
- Dicing inserts
a. small 8 mm b. big 11 mm - Closing clamps
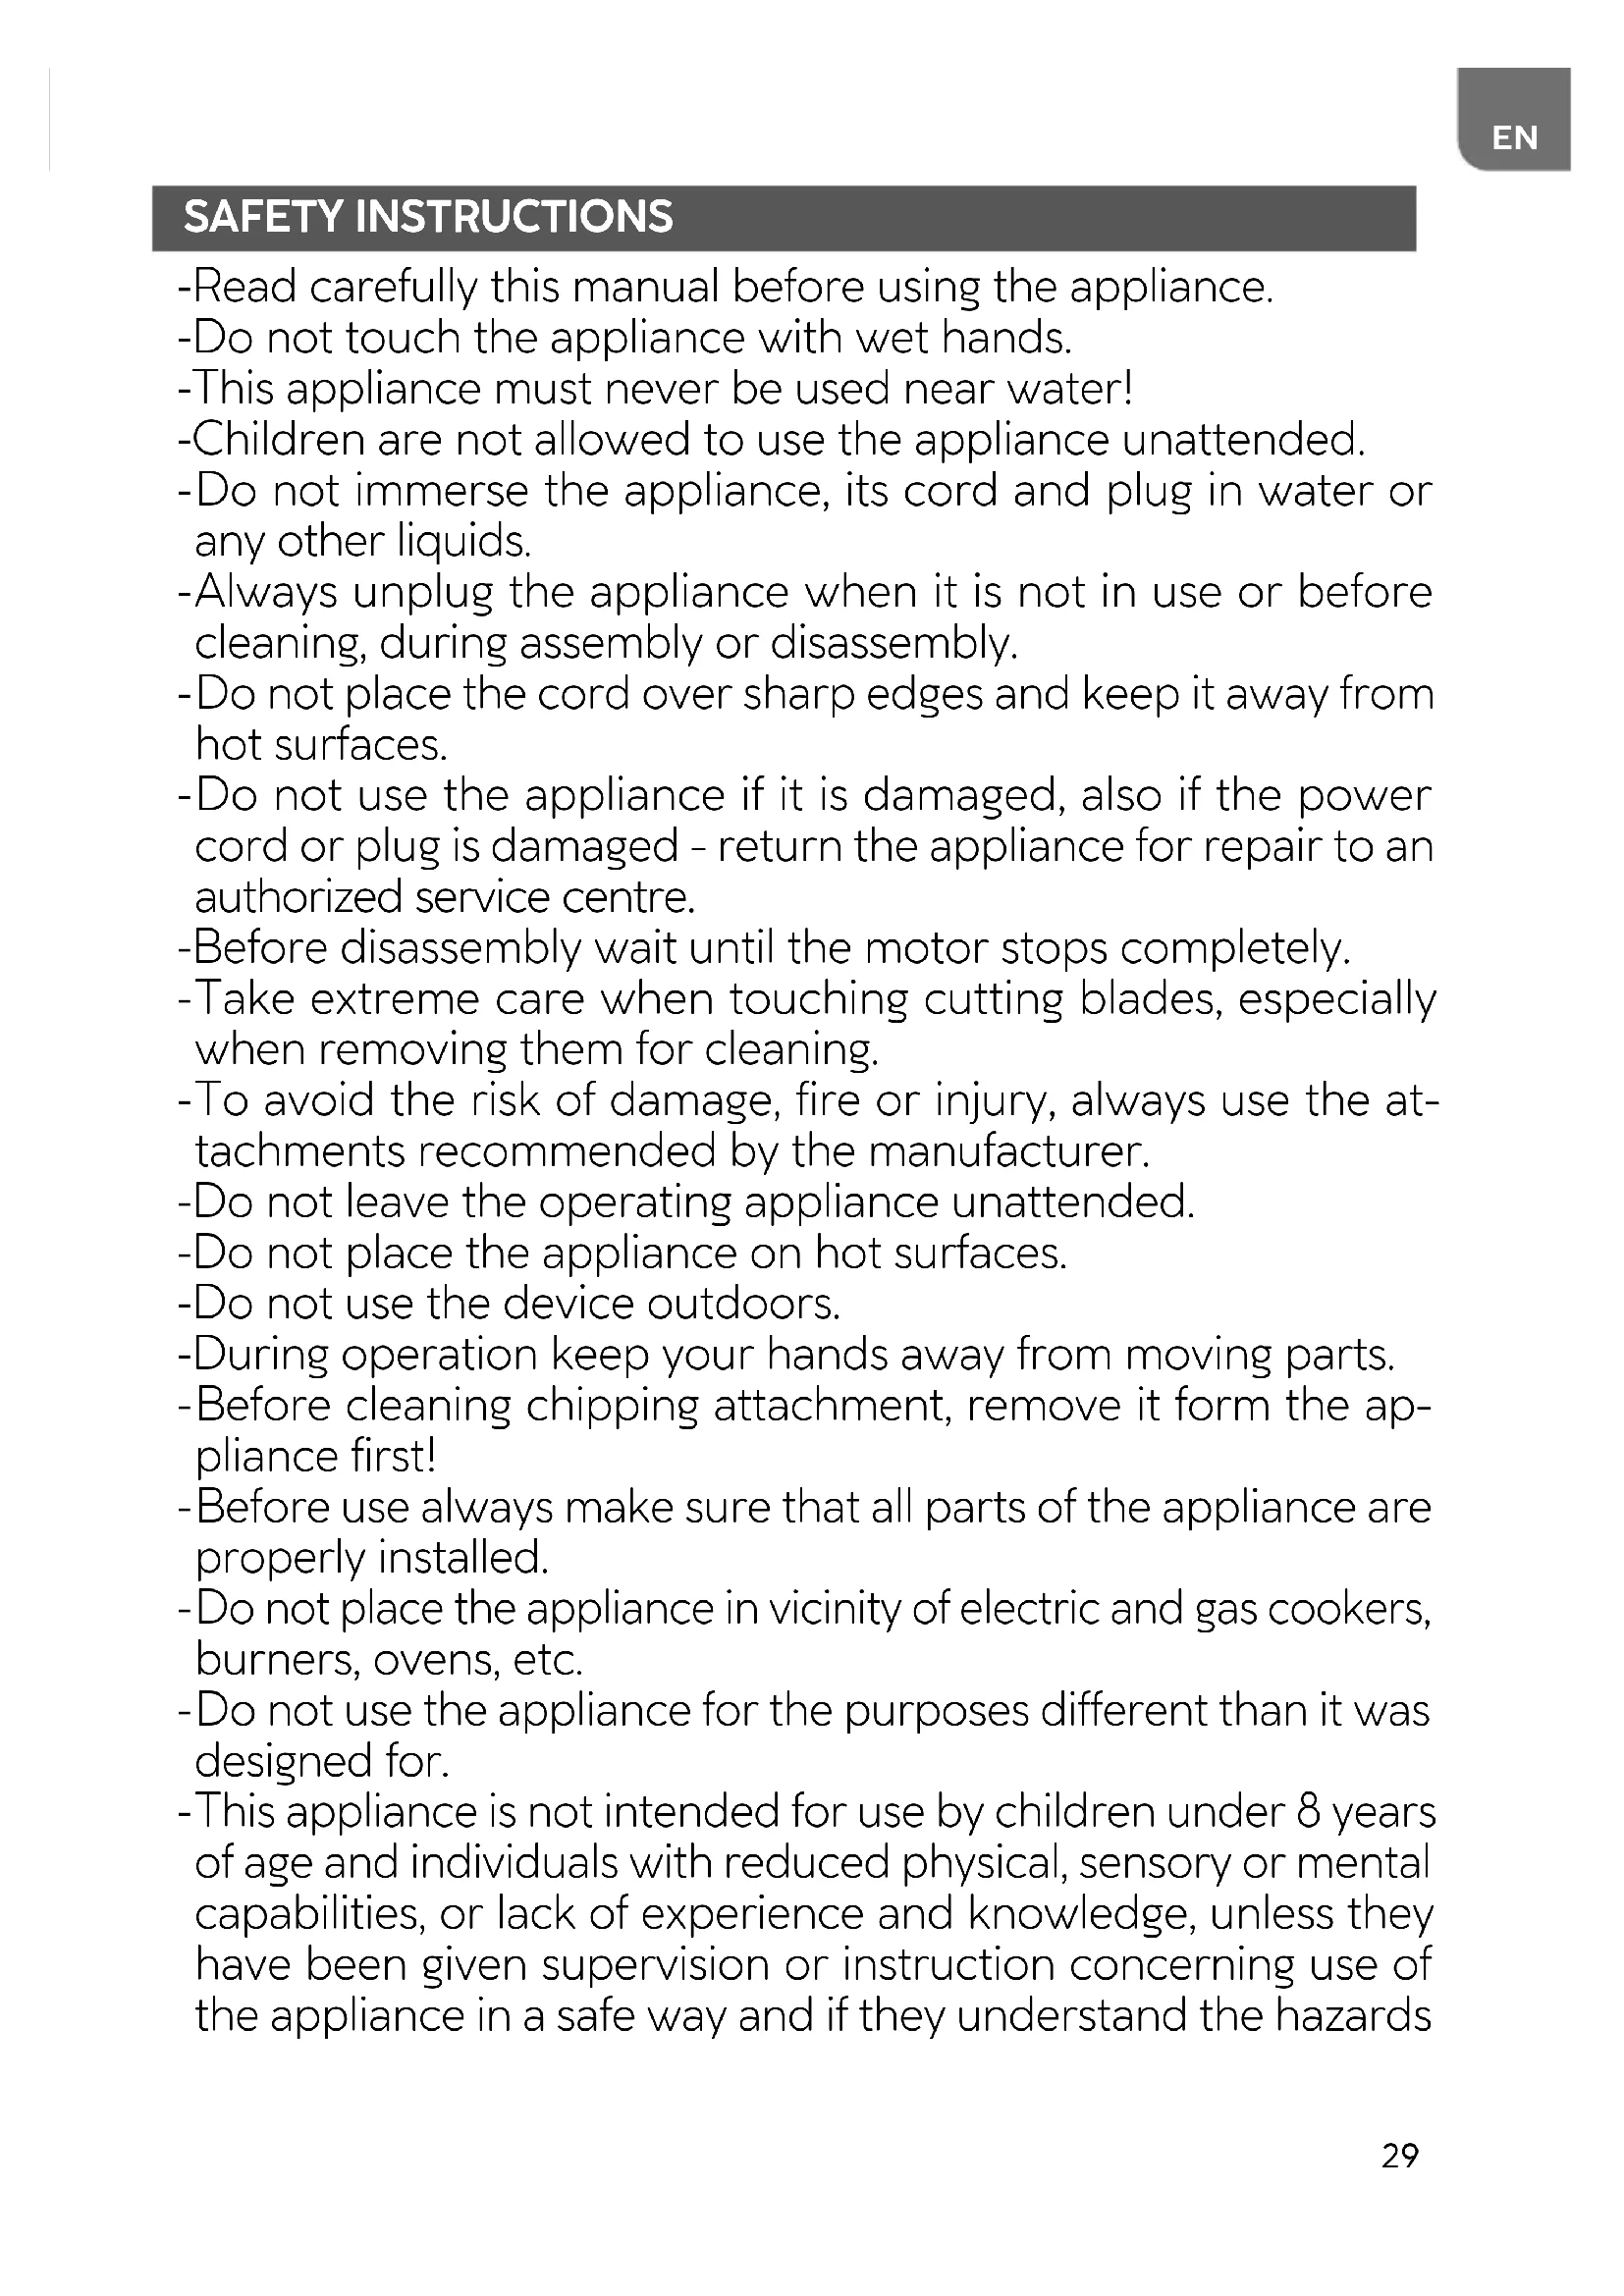
- Food processor container with holder - 2000 ml
- Lid release button
-
Food processor container lid
-
Opening in the lid to add products, with pusher
- Blender housing mounting socket
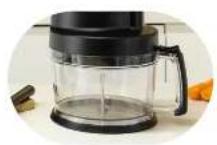
- Complete double-sided vegetable and fruit slicing and grinding disc
- Complete potato grinding disc
- Discs pin
- Container with a lid for grinding and chopping - 400 ml
- Grinding and chopping knife with stainless steel blade
- Attachment for whipping eggs, light cream and sauces
- Container with a lid - 600 ml
- Dough hook for mixing dough
- Operating status indicator
- Holder for hanging
ATTENTION! Cutting edges of blades are sharp. Danger of injury! Use them carefully!
ATTENTION! Clean all attachments and containers before using the appliance for the first time.
ASSEMBLY OF THE DICING ATTACHMENT
The attachment is destined for dicing food products, such as carrot, potato (fresh or boiled), cucumber, paprika, onion, eggs, cheese, cold cut, apple etc.
ATTENTION! Foodstuffs should not have stones or any other hard pieces. Foodstuffs should not be frozen.
Failure to comply with these instructions may result in damage of the dicing attachment, rotating knife and dicing grid.
Paying attention to the cuts, put the insert of choice (9a, 9b) into the attachment (7). Then hold the rotating cogged handle, put the stainless steel knives (8) on the attachment (7) and block it with 4 clamps (10).
Place the container (11) on a dry and firm surface.
natural_image
Close-up of a mechanical component with a clip, labeled 'fig. 1 fig. 2 fig. 3' (no other text or symbols visible)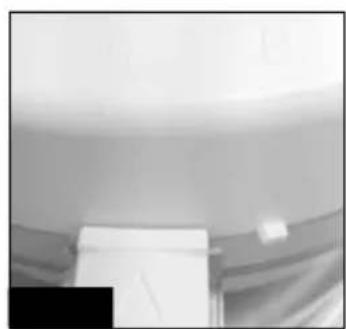
natural_image
Interior view of a room with ceiling and window (no visible text or symbols)
natural_image
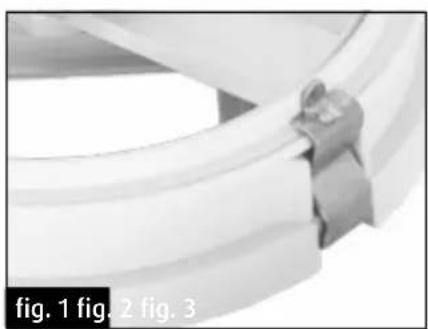
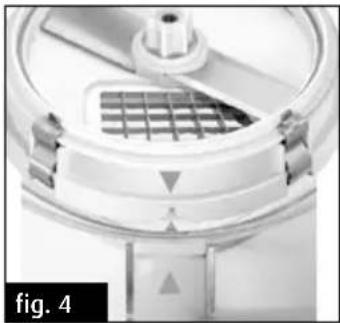
Close-up of a white rectangular object against a plain background, possibly a lampshade or abstract light source (no text or symbols visible)Put the attachment with the chosen insert and rotating knife into the container (11), so that sockets in the attachment are properly fixed on the insets on the inside of the container. Pay attention to the marks on the appliance (fig. 4). Before replacing the lid make sure the clamps (10) are in the closed position (fig. 1). Put the lid (13) on the container paying attention to the marks on it and on the handle (fig. 2). Then turn it fully clockwise so that the sign of "triangle" ▲ is directed towards the sign of "closed lock" 🔒 (fig. 3). You will hear a click. Make sure every part is correctly fixed and replace the blender housing (1). It gets blocked the moment it is pushed into the mounting socket (15) in the container lid.
Insert the plug into the power outlet.
natural_image
Close-up of a mechanical component with internal grid structure and mounting bracket (no visible text or symbols)In order to start the appliance press and hold down the switch (4) or (5).
Put the products to be cut into the food chute (14). You can lightly push them with the pusher or cut into smaller pieces earlier on, if necessary.
In order to detach the blender from the lid, push the lock release (3) and pull it out. In order to open the lid (13) push the lock release button (12) and turn the lid home, counter-clockwise (fig. 2)
To disassemble the cutting attachment reverse the assembly procedure.
The MRK-17 food processor is provided with additional stainless steel mixing attachment, designed for work in high temperatures (2), container with a lid, 400 ml, (19) with stainless steel chopping and grinding knife (20), additional container with a lid, 600 ml (22), whisking attachment (21) and dough hook (23).
ASSEMBLY OF THE CUTTING ATTACHMENT
Fix the mixing attachment (2) to the blender housing (1). The mixing attachment gets blocked the moment it is pushed into the blender housing (1). To remove the mixing attachment (2), push the lock release buttons (3) and remove it, keeping the blade downward. Make sure to avoid cutting yourself while removing the attachment and damaging any part.
CHOPPING KNIFE ASSEMBLY
Place the container (19) on a dry and firm surface. Remove the lid from the container (19). Then put the cutting knife (20) on the pin in the centre of the container bottom and close the container so that the tip of the cutting knife (20) fits into the lid. Make sure every part is correctly fixed and replace the blender housing (1) on the mounting socket in the cover. Insert the plug into the power outlet.
In order to start the appliance press and hold down the switch (4) or (5).
ASSEMBLY OF CUTTING DISCS
Place the container (11) on a dry and firm surface. Remove the lid (13) from the container (11) by pressing the lock release button (12) on the handle (11) and turn the lid home, counter-clockwise (fig 2). Next put the discs pin (18) on the bolt in the centre of the container bottom, place one of the discs (16, 17) on the pin (18) and close the container in such a way that the tip of the discs (16) (17) fits into the lid (13). Pay attention to the marks on the container lid and handle (fig. 2). Follow the steps of fixing the lid in the ASSEMBLY OF THE DICING ATTACHMENT section.
ASSEMBLY OF THE DOUGH HOOK
Place the container (11) on a dry and firm surface.
Remove the lid (13) from the container (11) by pushing the lock release button (12) and turn the lid home, counter-clockwise (fig. 2).
Next put the dough hook (23) on the bolt in the centre of the container bottom and close the container in such a way that the tip of the hook fits into the lid. Pay attention to the marks on the container lid and handle (fig. 2). Follow the steps of fixing the lid in the ASSEMBLY OF THE DICING ATTACHMENT section.
ASSEMBLY OF THE WHISKING ATTACHMENT FOR WHIPPING EGGS, LIGHT CREAM AND SAUCES
On the blender cover (1) mount the whisking attachment (21). Whisking attachment (21) gets blocked the moment it is pushed into the blender housing. In order to detach the whisking attachment (21), push the lock release (3) and pull it out.
POWER CONTROL KNOB
Blender has smooth power control by means of knobs (6). This function helps to adjust the engine speed to the particular application. By turning the knob (6) clockwise the power is increased; by turning it counter-clockwise the power is decreased.
TURBO FUNCTION
TURBO function (5) is used for temporary work at the highest speed. Pulse function – only after pressing the (5) button. Power of the TURBO function is equal to the highest value available by means of the control knob (6).
After pressing the TURBO button the appliance starts working at its highest speed/power.
This function can be used only for up to 30 sec. After this time turn off the appliance and wait until it cools down.
ATTENTION! Before pouring out the content of the container wait until the knife stops rotating.
CLEANING AND MAINTENANCE
ATTENTION! Cutting edges of blades are sharp. Danger of injury! Use them carefully!
- Unplug the appliance before cleaning.
- Each time before and after using, disassemble the appliance and wash its parts in warm water with detergent, rinse and dry them thoroughly. Water used for cleaning should not be warm -er than 70°C.
- Components of the appliance (except for the housing) may be used in the washer, if the temperature is set below 70^ C.
- Periodically check the components before reassembly. If the knives of the mixing attachment (2) get stuck or rotate with difficulty, do not use the blender.
- Never immerse the appliance in water. Unplug the appliance and then clean the housing with damp cloth.
- The motor is greased and do not require additional greasing.
- If plastic parts become dyed after grinding, e.g. carrot, wipe them with cloth with small amount of cooking oil.
ATTENTION! Do not clean the appliance using sharp objects, abrasive pastes, solvents and other strong chemicals – it can cause damage.
TECHNICAL DATA
| Model MRK-17 | |
| Power supply 220-240V ~ 50-60HZ | |
| Power 800W | |
| Off and standby mode available available | |
| Power consumption in standby mode 0,29 W | |
| Power consumption in off mode 0 W | |
| Power consumption in standby mode with display | - |
| Power consumption in network standby mode | - |
| It automatically goes into standby mode after - | |
| Automatically goes into shutdown mode after - | |
| Network standby mode, if the device has a connection function with the application | - |
| Length of mains cable 1.45 m |

CAUTION! MPM agd S.A. reserves the right to technical changes.
Proper disposal of the product (waste electrical and electronic equipment)
Marking on the product indicates that after the service-life of the product expires, it should not be disposed with other type of municipal waste. Used equipment may have a negative impact on the environment and health of people due to potentially containing hazardous substances, mixtures and components. Mixing electric waste with other types of waste or disassembling those in an unprofessional manner may cause a release of substances that are hazardous to the environment and health.
Used equipment should be handed-over to a point for collection of electric waste. In order to obtain detailed information regarding the electric waste collection points, the user should contact the municipal point of electric waste collection or used equipment processing department.
natural_image
Close-up of a fabric or cable with a hand holding a small object, labeled 'Figura 1 Figura 2 Figure' (no other text or symbols visible)
natural_image
Interior view of a room with ceiling and window (no visible text or symbols)
natural_image
Close-up of a white rectangular object with a dark base, possibly a container or item, against a plain background (no text or symbols visible)natural_image
Close-up of a white mechanical component with internal grid structure and control knob (no visible text or symbols)natural_image
Close-up of a metallic ring component with a small protrusion, labeled 'Figure 1 Figure 2 Figure' (no other text or symbols visible)
natural_image
Close-up of a white object with a dark rectangular object on the left, against a plain background (no text or symbols visible)
natural_image
Abstract grayscale image with a white rectangular block at the bottom (no text or symbols)natural_image
Close-up of a white mechanical component with internal grid structure and mounting brackets (no visible text or symbols)natural_image
Interior view of a room with a wall-mounted device and a small white object (no visible text or symbols)
natural_image
Close-up of a white rectangular object with a dark base, possibly a container or item, against a plain background (no visible text or symbols)natural_image
Close-up of a mechanical component with a grid and triangular base, labeled '4. ábra' (no other text or symbols visible)natural_image
Close-up of a mechanical component with a clamping tool, labeled Fig. 1, Fig. 2, and Fig. 3 (no other text or symbols visible)
natural_image
Interior view of a room with ceiling and wall-mounted equipment (no visible text or symbols)
natural_image
Close-up of a white rectangular object with a dark base, possibly a container or stand (no visible text or symbols)natural_image
Close-up of a mechanical component with a grid-patterned interior and a central hub (no visible text or symbols)natural_image
Close-up of a mechanical component with three grooves, no visible text or symbols
natural_image
Close-up of a white object on a curved surface, possibly a lamp or lampshade, with no visible text or symbols.
natural_image
Close-up of a white rectangular object against a plain background, possibly a lampshade or abstract light source (no text or symbols visible)natural_image
Close-up of a mechanical component with a grid and mounting bracket (no visible text or symbols)natural_image
Close-up of a metallic ring component with a small attached clip, labeled 1, 2, and 3 (no text or symbols on the ring itself)
natural_image
Interior view of a room with ceiling and window (no visible text or symbols)
natural_image
Close-up of a white rectangular object with a dark base, possibly a container or lamp (no visible text or symbols)natural_image
Close-up of a mechanical component with a grid and mounting bracket (no visible text or symbols)BESCHRIJVING VAN HET APPARAAT
natural_image
Close-up of a metallic mechanical component with a looped edge, labeled Fig. 1, Fig. 2, and Fig. 3 (no other text or symbols visible)
natural_image
Interior view of a room with ceiling and window (no visible text or symbols)
natural_image
Close-up of a white rectangular object with curved lines above, possibly part of a larger structure or panel (no visible text or symbols)natural_image
Close-up of a mechanical component with a grid-patterned interior and circular top (no visible text or symbols)natural_image
Close-up of a curved mechanical component with no visible text or symbols
natural_image
Close-up of a white object with a dark rectangular base, possibly a container or device, against a plain background (no visible text or symbols)
natural_image
Interior view of a room with ceiling and window (no visible text or symbols)natural_image
Close-up of a white industrial fan or vent with a central grille and side connectors (no visible text or symbols)natural_image
Close-up of a curved mechanical component with a small protrusion, labeled Fig. 1, Fig. 2, and Fig. 3 (no other text or symbols visible)
natural_image
Close-up of a white paper sheet on a surface, no visible text or symbols
natural_image
Close-up of a white rectangular object with curved edges, possibly a lampshade or abstract design (no visible text or symbols)natural_image
Close-up of a mechanical component with a grid and mounting bracket (no visible text or symbols)natural_image
Close-up of a metallic ring component with visible cracks and a small protrusion, labeled 'Рис. 1 Рис. 2 Рис. 3' (no other text or symbols)
natural_image
Interior ceiling view with a white panel and a small wall-mounted fixture (no visible text or symbols)
natural_image
Close-up of a white rectangular object with a dark top, possibly a lamp or stand (no visible text or symbols)natural_image
Close-up of a white industrial vacuum cleaner with ventilation grilles and control panel (no visible text or symbols)natural_image
Close-up of a ribbon or cable with a hand securing it, no visible text or symbols
natural_image
Close-up of a white object on a surface, possibly a container or device, with no visible text or symbols.
natural_image
Close-up of a white rectangular object against a plain background, possibly a lampshade or ceiling light (no text or symbols visible)natural_image
Close-up of a mechanical component with a grid pattern and a central shaft (no visible text or symbols)natural_image
Close-up of a mechanical component with a metallic clip, no visible text or symbols
natural_image
Interior view of a room with ceiling and window (no visible text or symbols)
natural_image
Close-up of a white rectangular object with a dark top, possibly a container or item, against a plain background (no visible text or symbols)natural_image
Close-up of a mechanical component with a grid and mounting bracket (no visible text or symbols)
- BEZPEČNOSTNÍ POKYNY PŘI POUŽÍVÁNÍ
- DESCRIPTION OF THE APPLIANCE
- ASSEMBLY OF THE DICING ATTACHMENT
- ASSEMBLY OF THE CUTTING ATTACHMENT
- CHOPPING KNIFE ASSEMBLY
- ASSEMBLY OF CUTTING DISCS
- ASSEMBLY OF THE DOUGH HOOK
- ASSEMBLY OF THE WHISKING ATTACHMENT FOR WHIPPING EGGS, LIGHT CREAM AND SAUCES
- POWER CONTROL KNOB
- TURBO FUNCTION
- CLEANING AND MAINTENANCE
- ATTENTION! Cutting edges of blades are sharp. Danger of injury! Use them carefully!
- Proper disposal of the product (waste electrical and electronic equipment)
- BESCHRIJVING VAN HET APPARAAT
Brand : MPM
Model : MRK17
Category : Food Processor