KT 300 HM - Pan ECG - Free user manual and instructions
Find the device manual for free KT 300 HM ECG in PDF.
User questions about KT 300 HM ECG
0 question about this device. Answer the ones you know or ask your own.
Ask a new question about this device
Download the instructions for your Pan in PDF format for free! Find your manual KT 300 HM - ECG and take your electronic device back in hand. On this page are published all the documents necessary for the use of your device. KT 300 HM by ECG.
USER MANUAL KT 300 HM ECG
- Touch panel
- Display
- Heater grille
- Front cover
- Stand
- Humidifier jet
- Switch I/O
- Humidifier indicator
- Humidifier control
- Tan cap
- Water container
- Remote control compartment
- Humidifier tank cover with dust filter
- Tank water level indicator
- Water discharge
Remote controller
The button functions match the buttons on the device.
- Switch button
- Rotation button
- Button (+)
- Power button
- Setup button
- Button (-)
HR/BIH
Uredaj
- Senzorska upravljacka ploca
- Zaslon
- Mrežica grijaca
- PrednjiPoklopac
- Stalak
- Mlaznica ovlazivača
- Prekidač I/O
- Pokazivač ovlživača
- Upravljač ovlazivača
- Ventil spremnika
- Spremnik za vodu
- Pretinac za daljinski upravljač
- Poklopac spremnika s filtrom za prasinu
- Pokazivač napunjenosti spremnika
- Ispust vode
Daljinski upravljač
Funkcije tipki identicne su funkcjama tipki na uredaju
- Tipka prekidača
- Tipka za okretanje
- Tipka (+)
- Tipka za izbor snage
- Podesavanje
- Tipka (-)
SI
Aparat
- Zaslon na dotik
- Zaslon
- Mreza grelca
- SprednjiPokrov
- Stojalo
- Soba vlažilca
- Stikalo I/O
- Kontrolna lučka vlažilca
- Upravlajnik vlažilica
- Tesnilo posodice
- Posoda za vodo
- Predal za daljinski upravljalnik
- Pokrov posodice vlažilca z filtrom za prah
- Pokazatelj vode v posodici
- Izpust vode
Daljinski upravljalnik
Funkcije gumbov so iste kot gumbi na aparatu
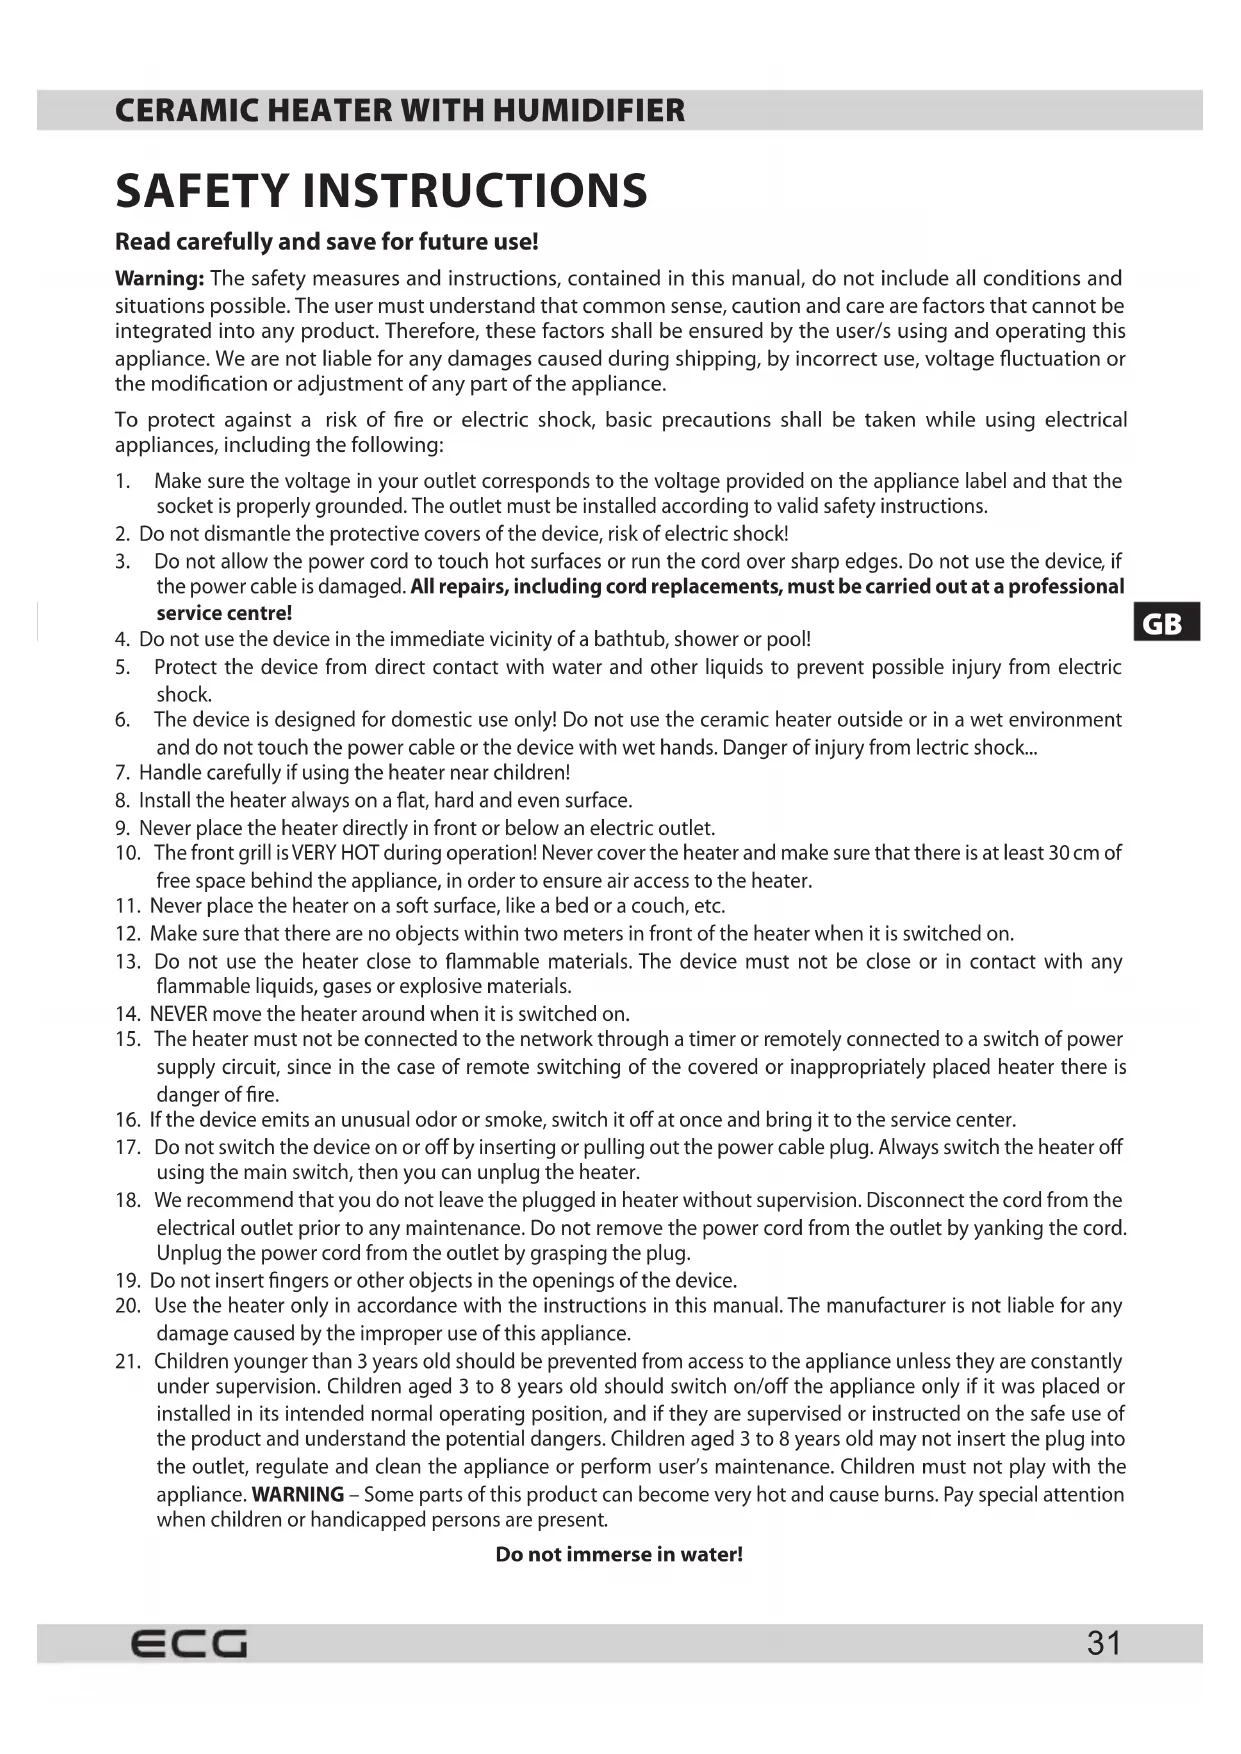
Read carefully and save for future use!
Warning: The safety measures and instructions, contained in this manual, do not include all conditions and situations possible. The user must understand that common sense, caution and care are factors that cannot be integrated into any product. Therefore, these factors shall be ensured by the user/s using and operating this appliance. We are not liable for any damages caused during shipping, by incorrect use, voltage fluctuation or the modification or adjustment of any part of the appliance.
To protect against a risk of fire or electric shock, basic precautions shall be taken while using electrical appliances, including the following:
- Make sure the voltage in your outlet corresponds to the voltage provided on the appliance label and that the socket is properly grounded. The outlet must be installed according to valid safety instructions.
- Do not dismantle the protective covers of the device, risk of electric shock!
- Do not allow the power cord to touch hot surfaces or run the cord over sharp edges. Do not use the device, if the power cable is damaged. All repairs, including cord replacements, must be carried out at a professional service centre!
- Do not use the device in the immediate vicinity of a bathtub, shower or pool!
- Protect the device from direct contact with water and other liquids to prevent possible injury from electric shock.
- The device is designed for domestic use only! Do not use the ceramic heater outside or in a wet environment and do not touch the power cable or the device with wet hands. Danger of injury from lectric shock...
- Handle carefully if using the heater near children!
- Install the heater always on a flat, hard and even surface.
- Never place the heater directly in front or below an electric outlet.
- The front grill is VERY HOT during operation! Never cover the heater and make sure that there is at least 30cm of free space behind the appliance, in order to ensure air access to the heater.
- Never place the heater on a soft surface, like a bed or a couch, etc.
- Make sure that there are no objects within two meters in front of the heater when it is switched on.
- Do not use the heater close to flammable materials. The device must not be close or in contact with any flammable liquids, gases or explosive materials.
- NEVER move the heater around when it is switched on.
- The heater must not be connected to the network through a timer or remotely connected to a switch of power supply circuit, since in the case of remote switching of the covered or inappropriately placed heater there is danger of fire.
- If the device emits an unusual odor or smoke, switch it off at once and bring it to the service center.
- Do not switch the device on or off by inserting or pulling out the power cable plug. Always switch the heater off using the main switch, then you can unplug the heater.
- We recommend that you do not leave the plugged in heater without supervision. Disconnect the cord from the electrical outlet prior to any maintenance. Do not remove the power cord from the outlet by yanking the cord. Unplug the power cord from the outlet by grasping the plug.
- Do not insert fingers or other objects in the openings of the device.
- Use the heater only in accordance with the instructions in this manual. The manufacturer is not liable for any damage caused by the improper use of this appliance.
- Children younger than 3 years old should be prevented from access to the appliance unless they are constantly under supervision. Children aged 3 to 8 years old should switch on/off the appliance only if it was placed or installed in its intended normal operating position, and if they are supervised or instructed on the safe use of the product and understand the potential dangers. Children aged 3 to 8 years old may not insert the plug into the outlet, regulate and clean the appliance or perform user's maintenance. Children must not play with the appliance. WARNING - Some parts of this product can become very hot and cause burns. Pay special attention when children or handicapped persons are present.
Do not immerse in water!
OPERATING INSTRUCTIONS
When you first turn the ceramic heater on, you may detect a slight odour. This is not a malfunction. This is common with most heaters, it is harmless and it disappears in a little while, after dust or grease residue, which settled there after a longer period of inactivity or during the manufacturing process, burns off.
The properties of the appliance
- Ceramic heater, automatic regulation of power according to the ambient temperature.
- Two power levels (1300W/2000W) and the ECO mode allow to keep the temperature in the set range.
- Timer 1-12 hours
- Option of automatic rotation in 80^ angle for even distribution of heat.
- Luxurious touch buttons
Automatic dimming of the display brightness - Humidifier switch with control of steam amount.
- Automatic stop of the humidifier when the water tank is empty (the heater continues to be active).
- Safety switch in case of overturning, double protection against overheating (thermistor, thermal fuse)
Infrared light control
GB
Preparing the appliance
Remove the appliance from the packaging and assemble it: Inserte the body of the heater in the base and secure it using screws (2pcs, included).
With regard to the above safety instructions plug the appliance into an appropriate electrical outlet.
Inserting battery in the remote control:
- Remove the cover of the battery compartment on the back of the remote control.
- Insert in the holder in the cover the battery CR2032 (included), pay attention to proper polarity of the battery.
- Insert the cover with the battery back in the remote control.
Appliance control
- Before using, fill first the water tank. Make sure that the humidifier is turned off and unplugged.
- Remove the back cover and take out the tank. Fill it with water, screw the cap on properly and return it. Make sure that the tank and its surrounding are dry and the water does not leak. In the event that water gets into the rear compartment, drain through the outlet on the rear side of the appliance: Lift off the cover and pull the plug, catch water in any vessel and then put the plug back in.
- Replace the back cover.
- Plug the appliance in the electrical outlet and turn the switch 0/1 on on the rear side. Press to start the appliance.
- Turn the humidifier control on the side of the appliance to "on" position and continuing to turn adjust the intensity of humidification. By turning back in the position, "off" you switch off the humidifier function.
- The indicator light is green when the humidifier is active. When the water runs out, the sprayer and the fan stop and the indicator turns red. After refilling the water (see „Setting up the humidifier“) the humidifier starts again and the indicator turns green again.
- You can use the humidifier and the heater in the same time or independently.
Attention: To prevent damage to the appliance, before you start the humidifier you have to install tank filled with water in the appliance.
Using the heater
- All functions except for the power switch are inactive in the standby mode.
- Press button to switch the appliance on. Press again to switch the appliance off.
Attention: When it is off the appliance cools for another 10 seconds until it is entirely off. These 10 seconds are counted down on the display. Before you turn off the heater using switch 0/1 , always allow this process to finish.
Initial state of the appliance after switching it on:
Power: Low power level heating, the indicator of low power heating is on, high power level indicator off.
- Rotating: Rotating is off, the rotation indicator is A .
- Timer: 0h (no time is set), the indicator is off.
-
Temperature: The display shows the current actual temperature, the indicator is on.
-
You can switch between low and high power level and ECO mode using the button
Low power level:The low power level indicator is on, the high power indicator is off.
High power level: The high power level indicator is on, the low power level indicator is off.
-
ECO mode: The indicator (ECO) is on, the indicators of low and high power levels are off. The default temperature is 22^ , when the temperature drops under 18^ the high power level turns on, when the temperature increases over 18^ , the appliance switches to low power level. When the temperature reaches 22^ , the heater turns off. The display shows the current ambient temperature.
-
Press to turn on or off the rotation of the appliance. The indicator is on during rotation. When the rotation is turned off the indicator is off.
- Press to set temperature or timer.
Temperature settings
- Press to enter the temprature setting mode. (Use the button to switch between the temperature and timer settings).
The indicator C. Is on and the value on the display flashes. Now you can set the temperaure using buttons in the range between 5^ 35^ . You change temperature by 1^ with each pressing of the buttons By holding the button you can change the value faster. -
Press to exit the temperature setting mode, the appliance will hold the temperature you have set.
-
If you do not press any button or press other button than + - within 5 seconds, the setting of temperature ends and the display shows the room temperature.
- The forst 10 seconds after you switch on the appliance, the temperature check is not performed. If the ambient temperature is higher than the set temperature within 10 seconds from switching the appliance on, the heater switches off, the indicator of high and low power mode turns off and the fan stops in 10 seconds. If the rotation function was active, the rotation stops as well. Other indicators and functions do not change. When the ambient temperature drops under the set temperature, the heater starts again, as well as the fan and rotation (If the rotation function was activated before).
Setting the timer
- Press to enter the timer setting mode. The indicator lights up, the display starts flashing and using the buttons you can now set the timer in the range 0-12h. Each time you press you move the timer by 1h. You can change the value faster by holding the button.
- If the displayed value is different from 0, the countdown of the timer starts and once it reaches 0 the appliance switches to standby mode.
If you donot press any button or press any other button than + within 5 seconds, the timer setting ends and the splay shows the room temperature. - When you finish the timer setting, press to go to the temperature setting.
Note:
If the timer and temperature are set in the same time or Eco mode the display will show in 30 seconds intervals the timer and room temperature setting or the Eco mode indicator (,EC^ ) If the timer is not set, the display will show only the temperature.
Attention:
If you want to turn off the heater, always use both switches (on the control panel and with the switch 0/1).
Overheating and rollover safety switch
- The device will be switched off by internal thermal fuse in case of overheating.
Overheating could be caused by covering the ventilation openings on the rear of the appliance or by covering the grill in front. When that happens, unplug the appliance from the outlet and let it cool for 30 minutes. Remove all obstacles and switch the appliance on again.
If the device stops working, the likeliest cause is a blown fuse. Please, contact an authorized service center. - The ceramic heater is equipped with a safety switch that in the event of overturning of the heater switches it off automatically.
CLEANING AND MAINTENANCE
- There are no parts inside the appliance that require your attention or maintenance. Do not attempt to open the exterior covers of the appliance. This could damage the motor and the heater and void the warranty. Have all service operations carried out by a qualified repair shop.
- Before cleaning unplug the appliance from the outlet and let it cool thoroughly.
- NEVER use water for cleaning the device and protect it from contact with water under all circumstances.
The outer cover can be cleaned using slightly damp cloth (if necessary use weak solution of mild detergent).
You can use regular vacuum cleaner to remove dust from behind the front grill or from the rear ventilation openings. - Always make sure that the device is completely dry before using it.
If you will not use the device for a longer period of time, it is best to clean it and when completely dry, store it in a plastic bag in a cool and dry place. - Do not forget to empty and dry the water tank. Drain the rest of the water using the drain at the back of the heater. Lift off the cover and pull the plug, catch water in any vessel and then put the plug back in.
Cleaning and maintenance of the humidifier
- In some areas there may be hard water with high content of calcium and magnesium ions. Some areas use chlorine for water purification.. When the humidifier is used, the ions of calcium and magnesium emitted in the water mist are deposited on various surfaces and floors and after drying may form a white coating. Ions also form deposits in the tank and the water circuit of the humidifier. Therefore we recommend that you use good quality purified water.
- Excessive amounts of sediment also shortens the life of the sprayer and therefore we recommend cleaning it every two weeks. Do not use chemicals for cleaning
- Use detergent and fine brush for cleaning the tank.
TECHNICAL SPECIFICATIONS
Nominal voltage: 220 - 240V 50Hz
Nominal input power: 2000 W (heater); 25W (humidifier)
Remote control: 1 × 3V batteries CR2032 (included)
Noise level: ≤ 50 dB
2 degrees of power settings: 1300/2000 W
WARRANTY:
The following situations void the warranty: Incorrect or inappropriate handling of the device, failure to observe safety measures applicable to the device, the use of force, alterations or repairs made by a party other than an authorized service centre.
Components subject to normal wear and tear are not covered under the warranty.
USE AND DISPOSAL OF WASTE
Wrapping paper and corrugated paperboard - deliver to scrapyard. Packing foil, PE bags, plastic elements - throw into plastic recycling containers.
DISPOSAL OF PRODUCTS AT THE END OF LIFETIME
Disposal of electric and electronic equipment (valid in EU member countries and other European countries with an implemented recycling system)
The represented symbol on the product or package means the product shall not be treated as domestic waste. Hand over the product to the specified location for recycling electric and electronic equipment. Prevent negative impacts on human health and the environment by properly recycling your product.
Recycling contributes to preserving natural resources. For more information on the recycling of this product, refer to your local authority, domestic waste processing organization or store, where you purchased the product.
This product complies with EU directive requirements on electromagnetic compatibility and electrical safety.
The instruction manual is available at website www.ecg-electro.eu.
Changes in text and technical parameters reserved.

08/05

GB
SIGURNOSNE UPUTE
Procitajte pažljivo i sačuvajte za buduću upotrebu!
BEZBEDNOSNA UPUTSTVA
Procitajte pažljivo i sačuvajte za buduću upotrebu!
250 69 Klicany, Czech Rep. e-mail: ECG@kbexpert.cz
HU
250 69 Klicany, Czech Rep. e-mail: ECG@kbexpert.cz
DE
Distributor fur DE: K+B E-Tech GmbH & Co. KG
Barbaraweg 2, DE-93413 Cham
250 69 Klicany, Czech Rep. e-mail: ECG@kbexpert.cz
IT
K+B Progres, a.s.
U Expertu 91 tel.: +44 776 128 6651 (English)
250 69 Klicany, Czech Rep. e-mail: ECG@kbexpert.cz
ES
K+B Progres, a.s.
U Expertu 91 tel.: +44 776 128 6651 (English)
250 69 Klicany, Czech Rep. e-mail: ECG@kbexpert.cz
ET
K+B Progres, a.s.
U Expertu 91 tel.: +420 272 122 111
250 69 Klicany, Czech Rep. e-post: ECG@kbexpert.cz
LT
K+B Progres, a.s.
U Expertu 91 tel.: +420 272 122 111
250 69 Klicany, Czech Rep. el. paštas: ECG@kbexpert.cz
LV
K+B Progres, a.s.
U Expertu 91 tel.: +420 272 122 111
250 69 Klicany, Czech Rep. e-pastes: ECG@kbexpert.cz