
SRC 4306 CD - Radio AEG - Free user manual and instructions
Find the device manual for free SRC 4306 CD AEG in PDF.
| Product type | Clock radio with CD player |
| Brand | AEG |
| Model | SRC 4306 CD |
| Power supply | 230 V, 50 Hz |
| Backup battery | 9 V block (not included) |
| Net weight | 1.46 kg |
| Radio frequency ranges | FM (UKW): 87.5 – 108 MHz / MW (AM): 525 – 1633 kHz |
| Protection class | II |
| Main functions | FM/MW radio, CD player, dual alarm, sleep timer, LCD display with dimmer, headphones |
| Number of keys | 15 control keys |
| Alarm | 2 independent alarms, wake up by radio, CD or buzzer, snooze function |
| Sleep timer | Yes, up to 1h59 |
| CD player | Audio CD (no MP3), random playback, repeat, track programming |
| Antenna | Wire antenna for FM, built-in antenna for MW |
| Headphone jack | 3.5 mm jack |
| Care and cleaning | Disconnect before cleaning; slightly damp cloth without detergent; do not immerse |
| Safety | Class 1 laser, CD compartment transport safety |
| Warranty | 24 months |
| Included accessories | User manual |
Frequently Asked Questions - SRC 4306 CD AEG
User questions about SRC 4306 CD AEG
0 question about this device. Answer the ones you know or ask your own.
Ask a new question about this device
Download the instructions for your Radio in PDF format for free! Find your manual SRC 4306 CD - AEG and take your electronic device back in hand. On this page are published all the documents necessary for the use of your device. SRC 4306 CD by AEG.
USER MANUAL SRC 4306 CD AEG
FM (MHz) = UKW, MW (KHz) = Mittelwelle.
D-47906 Kempen/Germany
FM (MHz) = UKW, MW (KHz) = middengolf
FM (MHz) = UKW, MW (KHz) = Onda media.
FM (MHz) = UKW, MW (KHz) = Onda media.
Legge inn batteri (Batterier leveres okay med)
Stille inn tiden (24 h)
General safety instructions
Read the operating instructions carefully before putting the appliance into operation and keep the instructions including the warranty, the receipt and, if possible, the box with the internal packing. If you give this device to other people, please also pass on the operating instructions.
- To avoid the risk of fire or an electric shock, you should not expose the device to rain or moisture. Consequently, do not use the device in the immediate vicinity of water - for example near a bath tub, a swimming pool or in a damp cellar.
- Use the device only for the intended purpose.
- Only connect the device at a properly installed plug socket. Pay attention that the specified voltage corresponds to the voltage of the plug socket.
- When using external mains supply, pay attention to the correct polarity and voltage. Always place the batteries in the correct direction.
- Assemble the device in such a way that the available ventilation openings are not covered.
- Never open the housing of the device. Incorrect repairs can constitute a considerable risk for the user. Should the device become damaged, in particular the mains supply cable, do not operate the device any longer, but rather have it repaired by an expert. Check the mains supply cable regularly for damage.
- For safety reasons a broken or damaged mains lead may only be replaced by an equivalent lead from the manufacturer, our customer service department or a similary qualified person.
- If the device is not used for a longer period, remove the plug connector from the plug socket or take out the batteries.
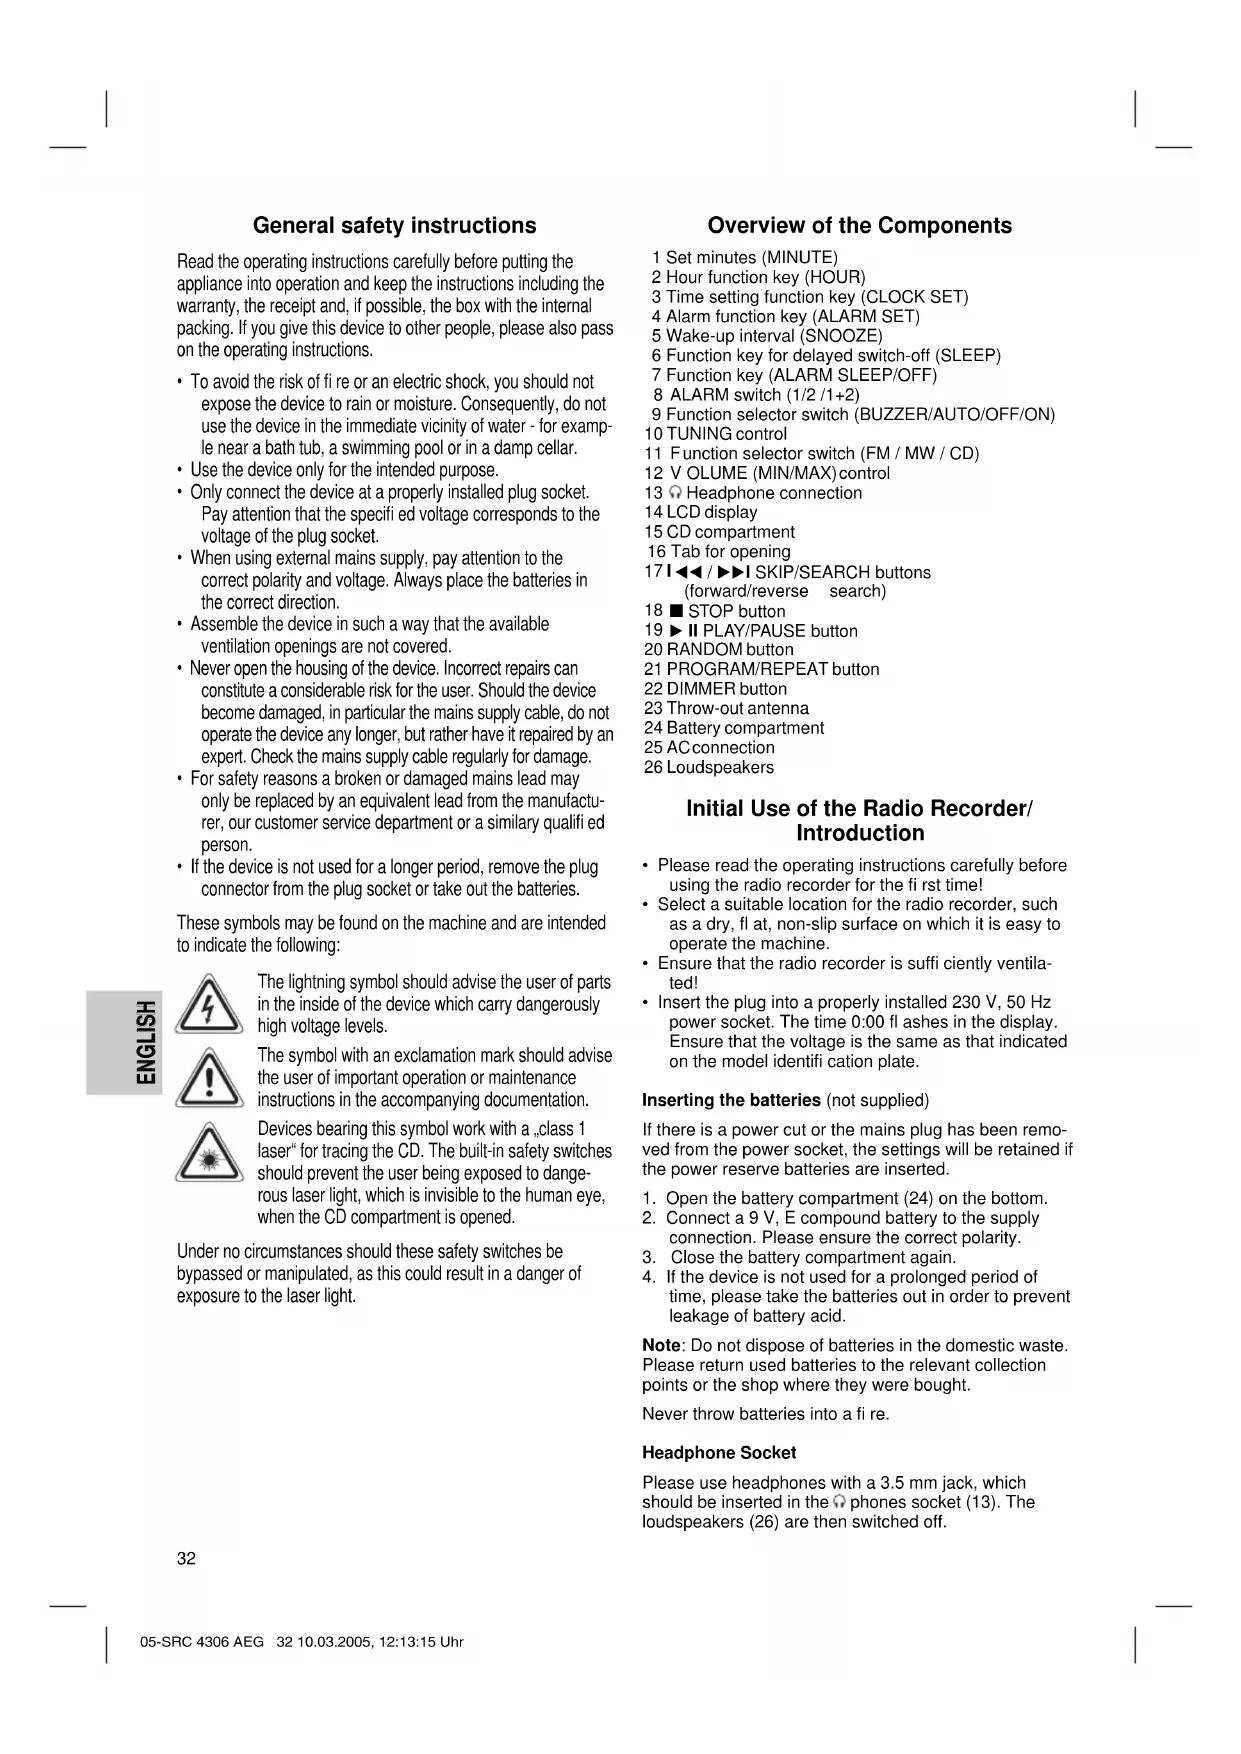
These symbols may be found on the machine and are intended to indicate the following:
The lightning symbol should advise the user of parts in the inside of the device which carry dangerously high voltage levels.
The symbol with an exclamation mark should advise the user of important operation or maintenance instructions in the accompanying documentation.
Devices bearing this symbol work with a .class 1 laser for tracing the CD. The built-in safety switches should prevent the user being exposed to dangerous laser light, which is invisible to the human eye, when the CD compartment is opened.
Under no circumstances should these safety switches be bypassed or manipulated, as this could result in a danger of exposure to the laser light.
Overview of the Components
1 Set minutes (MINUTE)
2 Hour function key (HOUR)
3 Time setting function key (CLOCK SET)
4 Alarm function key (ALARM SET)
5 Wake-up interval (SNOOZE)
6 Function key for delayed switch-off (SLEEP)
7 Function key (ALARM SLEEP/OFF)
8 ALARM switch (1 / 2 / 1 + 2)
9 Function selector switch (BUZZER/AUTO/OFF/ON)
10 TUNING control
11 Function selector switch (FM/MW/CD)
12 VOLUME (MIN/MAX)control
13 Headphone connection
14 LCD display
15 CD compartment
16 Tab for opening
171 / SKIP/SEARCH buttons (forward/reverse search)
18 STOP button
19 II PLAY/PAUSE button
20 RANDOM button
21 PROGRAM/REPEAT button
22 DIMMER button
23 Throw-out antenna
24 Battery compartment
25 AC connection
26 Loudspeakers
Initial Use of the Radio Recorder/ Introduction
- Please read the operating instructions carefully before using the radio recorder for the first time!
- Select a suitable location for the radio recorder, such as a dry, fl at, non-slip surface on which it is easy to operate the machine.
- Ensure that the radio recorder is sufficiently ventilated!
- Insert the plug into a properly installed 230V , 50Hz power socket. The time 0:00 fl ashes in the display. Ensure that the voltage is the same as that indicated on the model identifi cation plate.
Inserting the batteries (not supplied)
If there is a power cut or the mains plug has been removed from the power socket, the settings will be retained if the power reserve batteries are inserted.
- Open the battery compartment (24) on the bottom.
- Connect a 9 V, E compound battery to the supply connection. Please ensure the correct polarity.
- Close the battery compartment again.
- If the device is not used for a prolonged period of time, please take the batteries out in order to prevent leakage of battery acid.
Note: Do not dispose of batteries in the domestic waste. Please return used batteries to the relevant collection points or the shop where they were bought.
Never throw batteries into a fire.
Headphone Socket
Please use headphones with a 3.5mm jack, which should be inserted in the phones socket (13). The loudspeakers (26) are then switched off.
Transport Safety Device, CD Compartment
Open the CD compartment (15) by pulling the lid upwards by the tab (16). Before operating the machine for the first time, remove the transport safety device from the CD player if it is still in place.
Setting of the Clock (24 h)
Turn the function selector switch (9) to the ON or OFF position in order to set the time.
Hours: Press the CLOCK SET key (3) and the HOUR key (2) simultaneously.
Minutes: Press the CLOCK SET key (3) and the MINUTE key (1) simultaneously.
Setting of the Alarm (24 h)
It is possible to set up to two alarm times as follows:
- Move the ALARM switch (8) to position "1". When the ALARM SET button is pressed the word ALARM 1 appears in the display (14).
- Choose the desired alarm time with the select buttons.
Hours: Press the ALARM SET key (4) and the HOUR key (2) simultaneously.
Minutes: Press the ALARM SET key (4) and the MINUTE key (1) simultaneously.
- If the switch (9) is moved to AUTO the first alarm time becomes active. Press the ALARM SET button to see the set time in the display (switch (8) to ALARM 1).
Setting the Second Alarm Time
- Move the ALARM switch (8) to position "2". When the ALARM SET button is pressed the word ALARM 2 appears in the display.
- Choose the desired alarm time with the select buttons.
- Move the function selector switch (9) to AUTO to activate the second alarm time. Press the ALARM SET button to see the set time in the display (switch (8) to ALARM 2).
- If the ALARM switch is moved to the "1+2" position both alarm times are activated. Both ALARM 1 and ALARM 2 appear in the display. This function is only useful if the clock radio is switched off between the two times with the button (7).
In order to switch off the alarm until the following day please press the ALARM SLEEP/OFF button.
If you would like to deactivate the ALARM completely, move the switch (9) to the OFF position.
Radio station tuning
- Move the function selector switch (9) to the ON position and the switch (11) to MW or FM.
- Select a station by turning the TUNING control (10). The display shows the radio frequency and to the left of this the radio band.
FM (MHz) = FM (frequency modulation), MW (kHz) = medium wave.
If reception is too weak and the station being received hisses, try to improve reception by turning, unwinding or winding up the throw-out antenna (23).
- An aerial is integrated into the device for the reception of AM stations. The machine can be aligned to the station by turning it. In this frequency band programs are transmitted in „mono“ only.
- To switch off the radio, shift the function selector (9) to the OFF position.
- The desired volume can be sent using the VOLUME regulator (12).
- With the DIMMER button (22) you can select the brightness of your display (2 levels).
Radio alarm
After you have set the alarm time and chosen a radio station, turn function selector switch (11) to MW or FM and function selector switch (9) to the AUTO position.
- As soon as the alarm time is reached, the radio is switched on. The selected radio station plays at the set volume.
Buzzer alarm
- If you would not like to be woken up by the radio, move the function selector switch (9) to the BUZZER position.
Instead of the radio, the buzzer goes off when the alarm time is reached.
To turn off the alarm signal, move the function selector switch (9) to the AUTO or OFF position or press the ALARM SLEEP/OFF button (7).
Waking up to a CD
- In order to be woken up by an inserted CD, move the function selector switch to the "CD" position. Ensure that the CD is correctly inserted in the CD compartment.
- As soon as the set alarm time is reached the CD player switches on automatically. Playback is started at the set volume.
Automatic Alarm Interval
The automatically set alarm function can be shut off for approximately 7 minutes with the SNOOZE key (5). After approximately 1 hour the alarm function switches off completely until the following day.
Switch-off
The radio is switched off when the function selector switch (9) is turned to the "OFF" position.
Delayed Shut-Off
The delayed switch-off function can be used when the switch is in the positions AUTO or OFF.
- When the SLEEP button (6) is pressed the radio is switched off after 59 minutes or 1 hour and 59 minutes. SLEEP lights up in the display.
- The switch-off time can be adjusted by pressing the SLEEP and the HOUR button (2) or the MINUTE button (1) at the same time.
- This function can be cancelled with the ALARM SLEEP/OFF key (7).
Playing CDs
Proceed as follows in order to listen to a CD
- Move the function selector switch (9) to ON and the switch (11) to the CD position.
- Open the CD compartment (15) by pulling the lid upwards by the tab (16).
- Insert a audio CD with the lable facing upwards on to the central cone until it clicks into place. Then close the CD compartment.
- "appears in the display (14) followed by the number of tracks. Press the II PLAY/PAUSE button (19) in order to play the CD.
- Playback begins automatically with the first track on the CD. The track currently being played and the symbol are shown in the display.
- In order to remove a CD, please press the STOP button (18), open the CD compartment and carefully remove the CD.
- The desired volume can be sent using the VOLUME regulator (12).
Please note these instructions for playing back CDs and CDRs in MP3 format! The device is not able to play back MP3 fi les. The CD begins to turn, but the sound cannot be heard.
Always keep the CD deck closed.
Note: If a disc is inserted incorrectly, or no disc is inserted, the symbol "No" appears in the display.
Description of the CD Buttons
II PLAY/PAUSE (19):
When pressed once, this button briefly interrupts playback. The symbol fl ashes in the display.
14 SKIP/SEARCH (17):
Press once = This starts the current track again from the beginning.
Press three times =
Press This jumps back to the previous track.
This plays the song before etc. If the button is kept pressed down, the machine starts to search through the tracks.
With this button you can jump to the following track or the next track but one etc. If the button is kept pressed down, the machine starts to search through the tracks.
STOP (18): The CD is stopped.
REPEAT (21): Only with a CD running:
Press The current song is repeated continually (REPEAT 1 lights up in the display).
Press twice:
The entire CD is repeated continually (REP ALLlights up in the display).
Press three times:
The function is deactivated and the CD is played in the normal mode.
RANDOM (20)
- Press the II PLAY/PAUSE button (19) in order to play the CD.
- Press the RANDOM button 1x = the display (14) contains the word RAND and the track number that is to be played first. All tracks are played back in random order. Press the I I buttons (17) to see the randomly selected order.
- Press the RANDOM button 2 × = all functions are cancelled. The normal play mode is resumed.
Programmed Play
This can be used to program any desired sequence of tracks.
- Press the STOP key (18).
- Press the PROGRAM key (21). "01" (storage position) appears in the display (14) together with the abbreviation PROG. Use the I buttons (17) to select the desired track and then press the PROGRAM button again.
- Select the next track with the I<key (17) and press the PROGRAM key again. Repeat the procedure until all the desired tracks are selected.
- Press the II PLAY/PAUSE key (19). The playback starts. In the display the word PROG lights up. The symbol and the selected track numbers are shown in order. With this button you can also briefly interrupt the programme - the symbol flashes. Press the I buttons (17) to see the selected order.
- Press once the STOP key (18) to stop the playback while retaining the program. The word PROG. goes off.
- To resume the playback of the program press first the PROGRAM key once and then the II PLAY/PAUSE twice.
- The device stops automatically once the entire sequence of programmed tracks is completed.
- The programmed order remains in the memory until you change to the other mode, the CD is removed from the CD drawer or the device is switched off.
It is also possible to combine the programmed tracks with the REPEAT function. After you have programmed and started the device, please press the REPEAT button (21) up to three times and then you can use the functions as described under „REPEAT".
Cleaning
- Remove the plug before cleaning.
- Clean the appliance with a slightly humid cloth without any additives.
- Do not dip the appliance in water. Once:
Technical Data
Model: SRC 4306 CD
Power supply: AC 230 V, 50 Hz
Battery power reserve: 9 V block
Protection class: II
Net weight: 1.46 kg
Radio section:
Frequency ranges: UKW / FM 87,5 ~ 108 MHz MW / AM 525 ~ 1633 kHz
This device has been tested according to all relevant current CE guidelines, such as electromagnetic compatibility and low voltage directives, and has been constructed in accordance with the latest safety regulations.
Subject to technical changes without prior notice!
Guarantee
The device supplied by our Company is covered by a 24 month guarantee starting on the date of purchase (receipt).
During the life of the guarantee any fault of the device or its accessories ascribable to material or manufacturing defects will be eliminated free of charge by repairing or, at our discretion, by replacing it. The guarantee services do not entail an extension of the life of the guarantee nor do they give rise to any right to a new guarantee!
Proof of the guarantee is provided by the proof of purchase. Without proof of purchase no free replacement or repair will be carried out.
If you wish to make a claim under the guarantee please return the entire machine in the original packaging to your dealer together with the receipt.
Defects to consumables or parts subject to wearing as well as cleaning, maintenance or the replacement of said parts are not covered by the guarantee and hence are to be paid!
The guarantee lapses in case of unauthorized tampering.
After the expiry of the guarantee
After the expiry of the guarantee repairs can be carried by the competent dealer or repair service against the payment of the ensuing costs.

Meaning of the "Dustbin" Symbol
Protect our environment: do not dispose of electrical equipment in the domestic waste.
Please return any electrical equipment that you will no longer use to the collection points provided for their disposal.
This helps avoid the potential effects of incorrect disposal on the environment and human health.
This will contribute to the recycling and other forms of reutilisation of electrical and electronic equipment.
Information concerning where the equipment can be disposed of can be obtained from your local authority.
FM (MHz) = UKF, MW (KHz) = zakres fal srednich.
FM (MHz) = URH, AM (KHz) = kozéphullam.
Ha tul gyenge a vetel, vagy zug a hallgatott ado, probalja meg a kivet antenna (23) forgatasaval es le-, ill. feltekeresivel javitani a vetelt.
IoiroTOBka K BkJIIOUeHnIO/BVeJeHne
- Ipeed BkHoueHHem BHMaTeIbHO npOHTaTe HcTpyKuNo no 3Knnyataun!
BbIbepHe NOxOaIe MeTo Iy TaHOBKn 3NeKtpnp6Opa. NoXoAunm RbIaTe cyXoe, POBHoe H HeckoJb3KOE MeCTO, C yDo6HbIM DOCTYINOM.
-Посселпгte 3a TeM,чTo6bl элкtrponpnpbop xopoWo BENTINIPOBANc!
BCTaBbTe cTeByIO BnIKy B po3eKy C HanpJKeHHeM cTn 230 B,50 TcYCTaHOBNEHHyO B COOTBeCTBm C npEtnncAHnMI. Ha DCnIeem MrrAOT NOKa3AHn BPemEno 0:00. PObepbTe, cobnaaet n HApJKeHne Baew cTeC HAnpJKeHEm nTaHn ENeKTponPb6Opa, yKa3aHHoe HA TINOBt TaBnUke.
BcTabnHeHne 6aTapeek
(6aTapeKn B KOMnIeKT NocTaBKn He BXoIaT)
Ha cnyaai c6oEB 3eKtpocetH nH ecn ceteBaBnka 6ydt BbHyta n3 po3ETKn, BCTaBHeHHble6atapeHKn cnykat pe3epBOM XOa YacOB HcoxpaHrt nporpamMnpoBaHne.
- OTKpoIe oTceK dIaTeapeek (14) Ha HnKHei CTopoHc.
- POnCoEaHInTe 9-N BoIbToBvO 6aTapeNk pa3bemy. Co6nIoJaTe nolrphocTb.
-
3akpoTe OTEcK dIa6bataeek o6paTHo.
-
Ecn anektpnpn6op doJrnoe Bpemn He nCNoJIb3yeTcBbHbTe 6atapeKn N3 Hero, YTObI npedOTbpaTb "BbITEKaHHe" UeIoyn N3 HNX.
BHHMaHHe He BbI6paCbBaIte 6aTapeKn B DOMaUHm MycOp. IoxKaIyIcTa cdaIte Otpa6OtaHbIe 6aTapeKn Ha CneuaJIbHbI pyHKT pInema HIN B TropBOYIO TOky.
Hn B Koem cnyae He 6pocai Te 6atapeKn B orOhb.
The3do nooknoueHHraoOBhix TelefoHOB
Длпnpocnyшьанн My3bIKN HcNoIb3yIte rONoBbIe TeneФОнblc 3.5 MM wTeNCeIeM, KOTOpbl BCTaBnAETCBA rHe3do (13).rPOMKOrOBopNTeIIN (26)B 3tOM cIyae OTKnIOuHaOTcR.
TpaHcnpTHa ynaKOBKa OTeKa CD
OTkpOte KpbIuKy OTCeKa CD DnCKa (15),NotraHyB 3a neNecToK (16) BBepx.YdaIne H3 CD-Neepa TpaHCnpTHyU ynaKOBky,ecIN TaKOBaHMeetc.
FM (MHz) = YKB, MW (KHz) = CpeDnne BOnHbI.
Ecn npnem cnHkOM nIOxO npaHocTaHnur ymnt, nonpoByte ynyuHTb nphem, Bpauaar, ckpyuBaI INI IN3r6ba IpoBOJIoHyIO aHTeHHy (23).
-ДлгприемаВдианалоheCBIMeETcBCTpoEHнаг aHTeHHa.ВрашаяприемнIKMOxHOTOHTHO HacTpOntbCSHa paHIOCTaHUNo.В 3tOMДианалоhoe paHOnepedauHtpaHcNpyIOTcToIbKO BpeKHMe MOHO.
YTO6bI BbIKHIOHTb paADINOpHMHK NpeEaBnHbTe 0yHKUHOHaJIbHbI nepeKIOuAtelb (9) B NOJOKeHHe OFF.
- PpomKocTb 3Byka perynnpyetc npn nomoupepyIaTOPa VOLUME / PpomKocTb (12).
- Pn MmOuN KhoNk DIMMER (22) perynpyetra Rpkoctb dncnner (2-x ctyneHcataa).
BdHbHK C BKNOeHem paHNO
Iocne 3aHaHn BpEmeHN BkUoyehn6yDnBnKa n Bb6opa paAnocTaHcyn yCTaHOBnTe FyHKUHOHaBnHbI nepeKIOuAtel (11) Ha MW nn FM, a FyHKUHOHaBn NepeKIOuAtel (9) B noLoXeHne AUTO.
Kak Tolbko HactaHET BpemBkHoueHn6yDnIbHnka, BkHouHTcpaIIO. PnpHem BkHouHTcHa HAcTpoEHHyTO 3apaHee paIIOCTaHIO CycTaHOBHeHHO3apaHee rPOMKoCTbIO.
BdHbHK C BKNIOeHHem 3yMMepa
Ecn He JeelaTe YTo6bI 6yDnHbNk BKnOuHpaIIO, nepeBnHbTe FyHKUOnaHbHbN nepeKluOaTeJIb (9) B noJooKeHne BUZZER.
Kak ToIbKO HACTaHET BpEMB BkHIOueHn 6yDnJIbHnKa, BmecTO CnIHana paNIOCTaHcHn pa3dAcTcR TOHaJIbHbI CNHAn.
YTo6b BblKlIOUHTb CnHai 6yDnIbHnKa,pepeDbHbTe
FyHKUHOHaJIbHbN I nepeKluOaTeIb (9)B nIoXeHne
AUTO nn OFF,nn HaKMITE KhoNky ALARM SLEEP/ OFF (7).
BkIIOueHne CD nIeepa 6yDnblbHnKOM
UTo6bI npOCHyTbcra NOD My3bIKy C 3apaHee BCTaBnEHHO CD DnCKa, nepeDBHbTe YHKuHOHaJIbHbI npeKLIouatEnb B NOLOKeHne "CD".PpOBepBe, npaBnIbHO IIN BCTaBnEH CD DnCK BOTCEK.
Kak ToIbko 6yDnIbHnK cpa6oTaet ABTOMaTneeCKN BKNIOHTcC CD-IIeep.3aNNCb C DnCKa 6yTeBOCpOIN3BOIDITcC 3apaHee yCTaHOBNeHHoI rPOMKOCTbIO.
BdHbHcABTomaTHKo INHTepBaJbHO BKNIOHHeH
Pn NOMOUIK HONIKN "SNOOZE" (5) IMeETcR BO3MOXHOCTb BbIKIOHTb 6yINbHNK pIM. Ha 7 MHyT. PpIM. Ypeez 1 yac 6yINbHNK NOIHOCTbIO OTKIOHTcR do CNe dyUoero dHr.
BbIKIOueHHe
TTO6bI NOHOCbIO BbIKNoHTb 3JeKtpnpn6Op HeoXODMO yCTaHOBntb FyHKUHOHaBbHnepeKIOuATEb (9)B noJoxKeHe "OFF".
BbIKIOueHHe c 3aIepKko
PeknBbikHc3aepKkNcNoIb3yETcToIbkoB noIOxHeHnpeKluOaTeTn"AUTO"nn"OFF".
HaKaTHe KHOHnK "SLEEP" (6) BbIKIIOUaET paAnOpnpneMnK C 3aIepKKnB 59 nnn 1 cac 59 MNHyT.
BpeMa BbIKHoueHn MOKHO peRyIuropoBaTb,HaKHMaOdHOBpeMeHNO KhoNKn "SLEEP" n "HOUR"(2) HIN MINUTE"(1).
- HαKaTne KhoNkn "ALARM SLEEP/OFF" (7) BbIKNoUaet 3OT peKIM.
UteHHe 3aHnCeI c CD nHcOB
Tak YHTaHOTc3aHnC C CD DnCKOB
- NpeBnHbTe FyHKUHOHaJIbHbI nepeKIOuateIb (9) B noIOxHeNc ON, a nepeKIOuOaTeIb (11) B noIOxKeHne CD.
- OTKpOte KpbIuKy OTCeKa CD (15), NOrHyB 3a nenecToK (16) BBepx.
- BCTaBbTe BOTcEKAudio CD INCK 3TNIKETKOBBepx, TAK YTO6bO OH 3aΦNkCIPOBaNCB CEHTpe Ha BBICTyPe. 3aKpOte OTcEKC DINCA.
- Ha dincnee (14) noBnTcra "--", a 3aTeM uCNo 3aNcEe. HAnMITE KHOKky II PLAY/PAUSE (19), TTO6bI CTApTOBaTB BOCnpoHBeDEHne 3aNc n C CD DnCKa.
- Bocnpoun3BeDHeHne CTapTyETcA ABTomatNueckn C nepBo0 3aIncn CD dIcKa. Ha dIncPiiee OTo6paJkaTeCn HΦOpMaunr O TeKyuSei 3aIncn n CIMBOJ
- TObi BbHyTb CD nCK n3 OTcKa hAaMnTe KhoNky STOP (18), oTKpoIe OTcK n OCTopoXHo CHmnte CD nCK.
- FrpomKoCTb 3Byka perynipyETc npn nomou nperyntopap VOLUME (12).
HAnyIcTa yTHTe CNeDyOoee npmeaHne KacatEnbHO BOCPON3BeEHH NCHKOB CD HCDR B fOpMaTe MP3! DaHbI nIeep He BOCPON3BOiNT 3aHnCnB fOpMaTe MP3. Nsck NaHnHaet BpaAaTbc, ODaHko 3Byka He nocJeYt.
3JIeKtpoNTaHHe: 230B,50T
BaTapeiKa pe3epBHoro xOda: 9 B-6loUHa
Klacc 3aunTbI: II
Bec HeTIO: 1,46 Kr
PaHnOpriHmHnK:
Дианэзовы састт: YKB / FM 87,5 ~ 108 MHz
CB/AM522\~1620kHz
3To H3dJIeHHe npoJIO BCE Heo6xOaHmblc H aKtYaIbHbIe npOBepKn, npeiNncaHnblde DnpeKTHBOE CE, K npM. Ha 3JIeKTPomarHHTHyO COBMeCTHMOCb H COOTBetCTBHe Tpe6oBaHnAM K Hn3KOBoJbTHoT TEXHKe, OHO 6bINO TaKKe CkOHCTpyuPObaHo N NOcTpoEHO C yHTOM NOcJIeHNX Tpe6oBaHn I IO TexHKe 6e3OnaHochtn.
Mbl octabnem 3a coob npaba HO texhueckne n3mehenra!
TapaHTnHoe 063aTeJbCTBO
TapaTnHbI cpoK Ha TeppHTOpu N PoCCNcKo FeepaunnyCTaHaBnBaetcnoHOMOHyBMn npEcdTaBnTeJAMn.
KaccobbyuekRbnaTcrapaTHnHbIM TaHOHm.Bo3 Hero HeBO3MOKeH 6ecIaTHbI pMoHT HIN 3aMeHa N3dEInr.
B cnyae BO3NKHOBJHnnpTeH3n no rapaHTn, npeIbVBte H3dJIe B NOJHOKOMNKeTauu, C opRHaJIbHOJ yNAKOBJOH IN KACCobBM YekOM TOpROBToTKe, npOdaBSeI 3TO H3dJIeHe.
DeΦeKtby n3HaWnBaEmbIX npHnAaIeXHoCTe HnTpyuNXcB DeTaeN, a TaKHe YnCTKa, Texo6CnyXBaHne Hn 3aMeHa TpyuNXc DetaJe He NoJaAOT nOd rapaHTnIO, HnO3ToM y npOBoARTCa 3a OTdeNbHyO ONnATy!
TapaHTN TepReTc npB BCKpbITIN H3dJIIN NocToPOHHMNIIaMI.
Pocne rapaHTM
Iocne oKoHuaHnCpoka rapaHTn,peMOHTn3dEeHn npOn3BODNTc3aOnPNaTy,CooBTBeTCTByUOuHMMaCTepckHMn nnnyHKtAMn CepBnCHOrO 06CnyKbHaHn.
GARANTIE-KARTE
Garantiebewijs · Carte de garantie


- Legge inn batteri (Batterier leveres okay med)
- Stille inn tiden (24 h)
- General safety instructions
- Overview of the Components
- Initial Use of the Radio Recorder/ Introduction
- Inserting the batteries (not supplied)
- Headphone Socket
- Transport Safety Device, CD Compartment
- Setting of the Clock (24 h)
- Setting of the Alarm (24 h)
- Setting the Second Alarm Time
- Radio station tuning
- Radio alarm
- Buzzer alarm
- Waking up to a CD
- Automatic Alarm Interval
- Switch-off
- Delayed Shut-Off
- Playing CDs
- Proceed as follows in order to listen to a CD
- Please note these instructions for playing back CDs and CDRs in MP3 format! The device is not able to play back MP3 fi les. The CD begins to turn, but the sound cannot be heard.
- Description of the CD Buttons
- REPEAT (21): Only with a CD running:
- RANDOM (20)
- Programmed Play
- Cleaning
- Technical Data
- Guarantee
- After the expiry of the guarantee
- Meaning of the "Dustbin" Symbol
- IoiroTOBka K BkJIIOUeHnIO/BVeJeHne
- BcTabnHeHne 6aTapeek
- The3do nooknoueHHraoOBhix TelefoHOB
- TpaHcnpTHa ynaKOBKa OTeKa CD
- BdHbHK C BKNOeHem paHNO
- BdHbHK C BKNIOeHHem 3yMMepa
- BkIIOueHne CD nIeepa 6yDnblbHnKOM
- BdHbHcABTomaTHKo INHTepBaJbHO BKNIOHHeH
- BbIKIOueHHe
- BbIKIOueHHe c 3aIepKko
- UteHHe 3aHnCeI c CD nHcOB
- Tak YHTaHOTc3aHnC C CD DnCKOB
- TapaHTnHoe 063aTeJbCTBO
- Pocne rapaHTM
- GARANTIE-KARTE
Brand : AEG
Model : SRC 4306 CD
Category : Radio