250 - Aquarium EHEIM - Free user manual and instructions
Find the device manual for free 250 EHEIM in PDF.
User questions about 250 EHEIM
0 question about this device. Answer the ones you know or ask your own.
Ask a new question about this device
Download the instructions for your Aquarium in PDF format for free! Find your manual 250 - EHEIM and take your electronic device back in hand. On this page are published all the documents necessary for the use of your device. 250 by EHEIM.
USER MANUAL 250 EHEIM
IMPORTANT SAFETY INSTRUCTIONS
WARNING - To guard against injury, basic safety precautions should be observed, including the following.
a) READ AND FOLLOW ALL SAFETY INSTRUCTIONS.
b) DANGER - To avoid possible electric shock, special care should be taken since water is employed in the use of aquarium equipment. For each of the following situations, do not attempt repairs by yourself; return the appliance to an authorized service facility for service or discard the appliance.
1) If the appliance falls into the water, DON'T reach for it! First unplug it and then retrieve it. If electrical components of the appliance get wet, unplug the appliance immediately. (Non-immersible equipment only)
2) If the appliance shows any sign of abnormal water leakage, immediately unplug it from the power source. (Immersible equipment only)
3) Carefully examine the appliance after installation. It should not be plugged in if there is water on parts not intended to be wet.
4) Do not operate any appliance if it has a damaged cord or plug, or if it is malfunctioning or has been dropped or damaged in any manner.
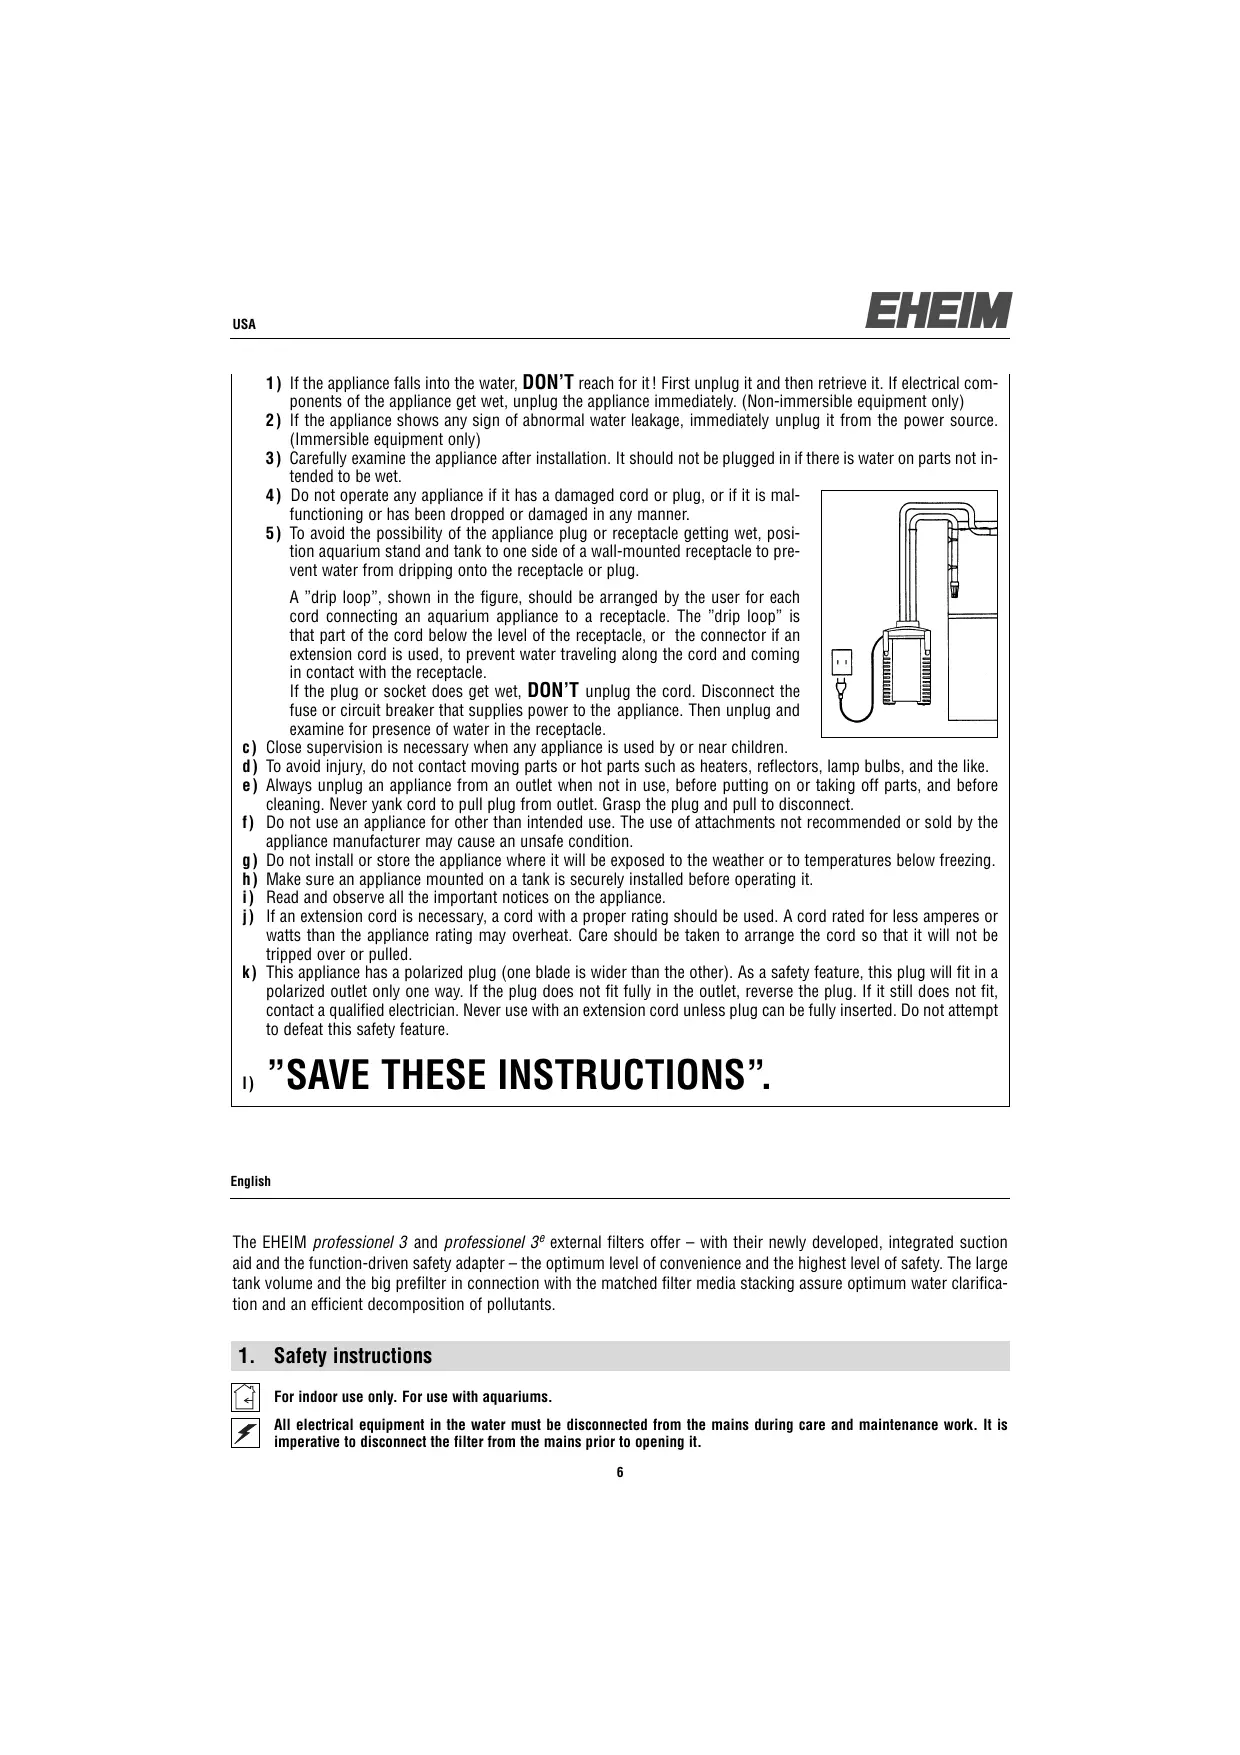
5) To avoid the possibility of the appliance plug or receptacle getting wet, position aquarium stand and tank to one side of a wall-mounted receptacle to prevent water from dripping onto the receptacle or plug.
A "drip loop", shown in the figure, should be arranged by the user for each cord connecting an aquarium appliance to a receptacle. The "drip loop" is that part of the cord below the level of the receptacle, or the connector if an extension cord is used, to prevent water traveling along the cord and coming in contact with the receptacle.
If the plug or socket does get wet, DON'T unplug the cord. Disconnect the fuse or circuit breaker that supplies power to the appliance. Then unplug and examine for presence of water in the receptacle.
c) Close supervision is necessary when any appliance is used by or near children.
d) To avoid injury, do not contact moving parts or hot parts such as heaters, reflectors, lamp bulbs, and the like.
e) Always unplug an appliance from an outlet when not in use, before putting on or taking off parts, and before cleaning. Never yank cord to pull plug from outlet. Grasp the plug and pull to disconnect.
f) Do not use an appliance for other than intended use. The use of attachments not recommended or sold by the appliance manufacturer may cause an unsafe condition.
g) Do not install or store the appliance where it will be exposed to the weather or to temperatures below freezing.
h) Make sure an appliance mounted on a tank is securely installed before operating it.
i) Read and observe all the important notices on the appliance
j) If an extension cord is necessary, a cord with a proper rating should be used. A cord rated for less amperes or watts than the appliance rating may overheat. Care should be taken to arrange the cord so that it will not be tripped over or pulled.
k) This appliance has a polarized plug (one blade is wider than the other). As a safety feature, this plug will fit in a polarized outlet only one way. If the plug does not fit fully in the outlet, reverse the plug. If it still does not fit, contact a qualified electrician. Never use with an extension cord unless plug can be fully inserted. Do not attempt to defeat this safety feature.
1) "SAVE THESE INSTRUCTIONS".
English
The EHEIM professional 3 and professional 3^e external filters offer - with their newly developed, integrated suction aid and the function-driven safety adapter - the optimum level of convenience and the highest level of safety. The large tank volume and the big prefilter in connection with the matched filter media stacking assure optimum water clarification and an efficient decomposition of pollutants.
1. Safety instructions

For indoor use only. For use with aquariums.
All electrical equipment in the water must be disconnected from the mains during care and maintenance work. It is imperative to disconnect the filter from the mains prior to opening it.

The connecting line of this device can not be replaced. When the line is damaged, the device must no longer be used. Never carry the pump by the cable; do not bend the cable.

This equipment is not intended for use by persons (including children) with limited physical, sensory or mental abilities or for persons with no experience or knowledge unless they are supervised by a person responsible for safety or unless they have received from such a person instructions on how to use the equipment. Children should be supervised to ensure that they do not play with the equipment.

20 cm Notice: These divices produce magnetic fields which might cause electronic and mechanical disturbances or damages. This also refers to pacemakers. Please consult the manuals of medical equipment for the required safety margins.

Attention: Maintenance work presents the risk of crushing th fingers due to high magnetic forces.

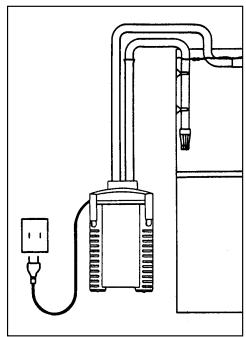
For your own safety, we recommend to form a drip loop with the connection cable to prevent any water running along the cable from intruding into the socket. When using a multiple socket or an external power supply unit, position them atop the filter's power connection.

Since a wide variety of varnishes and polishes are used when processing timer, the appliance feet can leave visible traces on furniture or parquet floors as a result of chemical reactions. Therefore the device should not be placed on unprotected wooden surfaces.

To achieve optimal operational safety there must be a maximum of 180cm between the surface of the water and the bottom of the filter.
Attention: Filter must always be operated in an upright position only.

Burning danger! Be careful when touching the heating coil of devices with integrated heater.

Take the necessary precautions when handling components that can discharge static electricity.
Do not clean the unit - or parts of it - in the dishwater. Not dishwater resistant!

Do not dispose of this product as normal household waste. Take it to your local refuse collection side.
The product is qualified in accordance with the respective national regulations and guidelines and meets EC standards.


2. Component overview (see II)
- Filter mat blue 2. Prefilter seal 3. Prefilter 4. Prefilter flap 5. Cover grating 6. Filter pad white 7. Filter inserts 8. Rubber buffers 9. Locking clips 10. Filter tank 11. Hose locking device 12. Locking lever 13. Safety adapter 14. Bracket 15. Float 16. Suction aid 17. Pump head 18. Adapter bar 19. Control panel (professionel 3^e ) 20. Profile seal 21. Pump wheel 22. Pump cover 23. Hoses 24. Outlet elbow 25. Nozzle pipe 26. Suction pipe 27. Sucker with terminal clamp 28. Power supply unit (only in professionl 3^e - 350 Type 2074) 29. Suction basket 30. Power cable 31. Connector socket for EHEIM Interface (optional)
3. Connection and commissioning
- Set the locking lever (12) to „OFF“ and press the adapter bar (18) until the safety adapter (13) disengages. 2. Open the locking clips (9) by pulling the clips' lower edge. 3. Remove the pump head (17). 4. Remove all inserts. Caution: Do not overfill filter inserts as, otherwise, their accurate fit is no longer assured. 5. Fill the filter inserts with EHEIM filter media. 6. Rinse the filled filter inserts with water.

Note: Easier cleaning with EASY CLEAN function.
- Close the filled filter cartridge with the screened cover (5). 8. Shake the filter cartridge under running water. Repeat this procedure with all filter cartridges. Caution: insert the white filter fleece into the very top filter cartridge and close it with the screened cover. 9. Then, re-insert the filter cartridges in the following sequence into the filter container (10): In professionl 3 - 250 (Type 2071): 1. Filter cartridge with EHEIM MECH pro. 2. Filter cartridge with EHEIM SUBSTRAT pro, white filter fleece and screened cover.
In professionl 3 - 350 (Type 2073) and professionl 3^e - 350 (Type 2074): 1. Filter cartridge with EHEIM MECH pro. 2. Filter cartridge with EHEIM bioMECH. 3. Filter cartridge with EHEIM SUBSTRAT pro, white filter fleece and screened cover. In professionl 3 - 600 (Type 2075): 1. Filter cartridge with EHEIM MECH pro. 2. Filter cartridge with EHEIM MECH pro. 3. Filter cartridge with EHEIM bioMECH. 4. Filter cartridge with EHEIM SUBSTRAT pro, white filter fleece and screened cover.
10. Insert the prefilter (3) with the blue filter mat (1) (place onto supports arrows). 11. Attach the pump head (17) (observe fitting position) and close the locking clips (9).

Note: Use original EHEIM hoses only.
- Attach the pre-assembled hose accessories to the aquarium. 13. Cut the hoses (23) to length in accordance with the clearance between the filter and the aquarium and plug onto the accessories. 14. Plug the hoses (23) onto the safety adapter (13) down to the limit stop. 15. Attach the hose locking device (11). 16. Push the safety adapter (13) into the pump head (17) until it audibly latches. 17. Set the locking lever (12) to „ON“. 18. Assure the nozzle pipe (25) is suspended above the water surface. 19. Rapidly press the suction aid (16) several times consecutively until the filter tank (10) automatically fills with water (no water must be present in the prefilter!). 20. Plug in the power supply unit (28) at the pump head (17) (only in professionl 3^ -350 Type 2074). 21. Plug in the power cable (30). 22. For bleeding, press the suction aid (16) once or twice and push the nozzle pipe (25) to the desired position.
4. Operation

Note: For electronic operation (profession/3e) use the „operating instructions electronics“.
5. Maintenance and care

Note: Electronic version (professionel 3^e ):
The control panel indicates the filter elements to be cleaned. Implement maintenance works in case of reduced filter capacity (approx. every 3 to 6 months). • First, clean prefilter (6.1). • If prefilter cleaning insufficient: Clean all filters (general cleaning 6.2). • If general cleaning insufficient: Clean the pump chamber. (6.3).
6.1 Prefilter cleaning

Note: Renew the blue filter mat after the third cleaning.
- Disconnect the power cable (30). 2. Disassemble the safety adapter (13) and the pump head (17) (chapter 3, step 1 - 3). 3. Remove the prefilter (3). 4. Remove the blue filter mat (1). 5. Rinse the blue filter mat (1) under running, lukewarm water (replace if required). 6. Empty the prefilter (3) and rinse it. 7. Insert the blue filter mat (1) into the prefilter (3). 8. Insert the prefilter (3) with the blue filter mat (1) (place onto supports arrows). 9. Check and, if required, clean the seals and treat them with EHEIM care spray (No. 4001000). 10. The prefilter flap (4) must be unobstructed. 11. Attach the pump head (17) (observe fitting position) and close the locking clips. 12. Put the filter system into operation (chapter 3, step 17 - 23).
6.2 General cleaning
- Disconnect the power cable (30). 2. Disassemble the safety adapter (13) and the pump head (17) (chapter 3, step 1 - 3). 3. Remove the pre-filter, the filter cartridge with the screened cover and white filter fleece. Renew the white filter fleece (6) during each cleaning process. 4. Remove all filter inserts. 5. Rinse the filter inserts (7) and filter media with water until they are clean (see EASY CLEAN function). 6. Empty the filter tank (10).

Note: Only carry out steps 7 to 8 during every third to fourth general cleaning. By mixing used and new substrate media, the required bacteria cultures remain intact.
Caution: Do not overfill filter inserts as, otherwise, their accurate fit is no longer assured.
- Leave one-third of the used EHEIM SUBSTRAT pro and EHEIM bioMECH in the filter cartridge. 8. Re-fill two-thirds of the used EHEIM SUBSTRAT pro and EHEIM bioMECH. 9. If required, completely renew EHEIM MECH pro. 10. Re-insert all filters and filter inserts (chapter 3, step 8 - 10). 11. Clean the hose system using an EHEIM universal cleaning brush (No. 4005570). 12. /13. /14. (chapter 3, step 8 - 10). 15. Attach the pump head (17) (observe fitting position) and close the locking clips (9). 16. Put the filter system into operation (chapter 3, step 17 - 23).
6.3 Cleaning the pump chamber

Caution: The caramic axis may break. Clean carefully!
- Disassemble the safety adapter (13) and the pump head (17) (chapter 3, step 1 - 3). 2. Turn the pump cover (22) and remove it. Grease the seal ring with EHEIM care spray. 3. Disassemble the pump wheel (21). 4. Clean the pump chamber, pump cover, pump wheel and lubrication duct with the EHEIM cleaning set (No. 4009560). 5. The pump wheel (21) must be clean and unobstructed (arrows). Observe the installation position of the ceramic sleeve (a) (only in professionl 3^e - 350 Type 2074). 6. Insert the pump wheel (21) into the pump chamber. 7. Close the pump chamber with the pump cover (22) observing the cutout and studs (arrows). 8. Disassemble the bracket (14) and the float (15) on the top side of the pump head (17) and clean them. 9. Install the check valve (14/15) (observing the installation position; the float must be unobstructed). 10. Attach the pump head (17) (observe fitting position) and close the locking clips (9). 11. Put the filter system into operation (chapter 3, step 17 - 23).
7. What to do if . . .
... Top part of filter can't be closed
| Cause | Solution |
| Filter inserts have been inserted wrongly. | Push filter inserts and pre-filter in until they lie flush on top of each other. |
| Filter inserts are too full. | Do not overfill filter inserts. If need be, clean the touching surfaces. |
| Gasket not fitted properly. | Insert correctly into the groove provided in the upper part of the filter. Check for damage and if necessary replace. |
... Top of filter leaks
| Cause | Solution |
| Closing clips not closed properly. | Close all clips properly. |
| Sealing areas or gasket soiled. | Clean seal areas and spray lightly with EHEIM silicone grease spray (Order no. 4001000). |
| Sealing ring not fitted, inserted wrongly or damaged. | Insert sealing ring correctly or renew. |
... Primer does not work
| Cause | Solution |
| Prefilter flap in prefilter not closed. | Check the prefilter flap for pollution and, if required, clean it. The prefilter flap must be unobstructed (see chapter 6.2, step 13). |
| Prefilter is filled with water. | Empty prefilter, repeat priming. Priming only works with empty prefilter. |
| Check valve polluted/defective. | Clean and, if required, replace the check valve (see chapter 6.3). |
... Pump does not work
| Cause | Solution |
| No mains supply. | Plug in to mains. |
| Shaft broken. | Renew shaft (see list of spares). |
| Impeller missing or blocked by bits of gravel, shells or similar. | Fit impeller, clean pump chamber. |
...Filter performance has greatly deteriorated
| Cause | Solution |
| Safety adapter lever position not correct. | Check lever setting and adjust. |
| Safety adapter soiled. | Remove safety adapter; open shut-off lever and clean openings with EHEIM cleaning brush (no. 4005570). |
| Hose installation. | Check that there are no kinks or marked narrowing of cross-section. |
| Hose installation soiled. | Clean hose installation with universal cleaning brush (no. 4005570). |
| Strainer blocked. | Remove coarse dirt, clean strainer. |
| Filter media heavily soiled. | Clean filter media. |
| Filter media filled into a net bag. | Never put long-term filter media in net bags or nylon stockings. This leads to a drastic reduction in pump performance within a short time. |
| Filter media not cleaned properly. | When cleaning, remove the filter media from the filter media basket and rinse through with lukewarm water. |
| Filter media wrongly assembled. | Check that filter media have been assembled correctly in the recommended layers of filtering. Fill bottom filter insert to just under edge with EHEIM MECH. Fill next filter inserts with EHEIM SUBSTRAT, also to just under edge. Never place white filter pad under the handle. |
| Filter pad not renewed. | Be sure to renew the filter pad each time you clean. |
| Pump is dirty. | Clean pump chamber, cooling and lubrication channel with EHEIM cleaning brush set (no. 4009560). |
| Water is not circulating properly. | Take filter into operation by priming (as described in the instructions). Make sure that the water runback (delivery side) is above the surface of the water during filling so that air is optionally bled from the device. |
| Too many accessories installed on the hose system. | Connected accessories reduce filter performance. Check and remove unnecessary accessories or operate via a separate water system. |
...Air in the filter
| Cause | Solution |
| Filter location. | The top edge of the pump head should be at least 10 cm beneath the surface of the water. It is better to place it underneath the aquarium. |
| Air is being sucked in via the hose installation. | Check that hose connector is fitted properly, and may be check whether hoses leak. |
| Additional air supply (membrane pump). | Do not install diffuser in the vicinity of the suction pipe. |
| Filter media heavily soiled. | Clean filter media. |
| Filter media have been placed in net bags. | Never put long-term filter media in net bags or nylon stockings. |
... The pump causes loud operating noise
| Cause | Solution |
| Ceramic sleeve not or incorrectly installed. (only in professionl 3e-350 Type 2074). | Correctly install or, if required, replace the ceramic sleeve. |
| Ceramic axis broken. | Replace the ceramic axis. |
Français
6.2 Nettoyage principal
... pumpen lager mye stoy
7. to deJatb, ecn...
...BepxHra yactb nIbtpa He 3akpbBaetc
...Hacoc He pa60taeT
...Hacoc He pa6oTaet
| Причина | Устраенье |
| Нет злескоштоаня | Вставы сetime boштокер. |
| Сломана ось | ЗаменITE ось (см. с pineфкаця заразных частей). |
| Кръльчатka оtcутstbvует пли защкою-ва на галков, рakobиною уліntки и.T.I. | ЗаменITE кръльчатky насoca, пооч'tite насochyю камеру. |
Reproduction or copying - even parts thereof - only with the express permission of the producer.