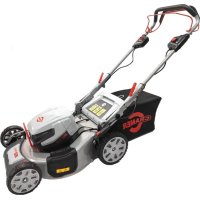
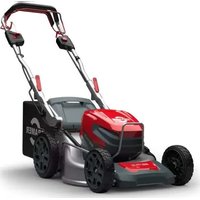
USER MANUAL 82LM51S Cramer
English (Original Instructions)
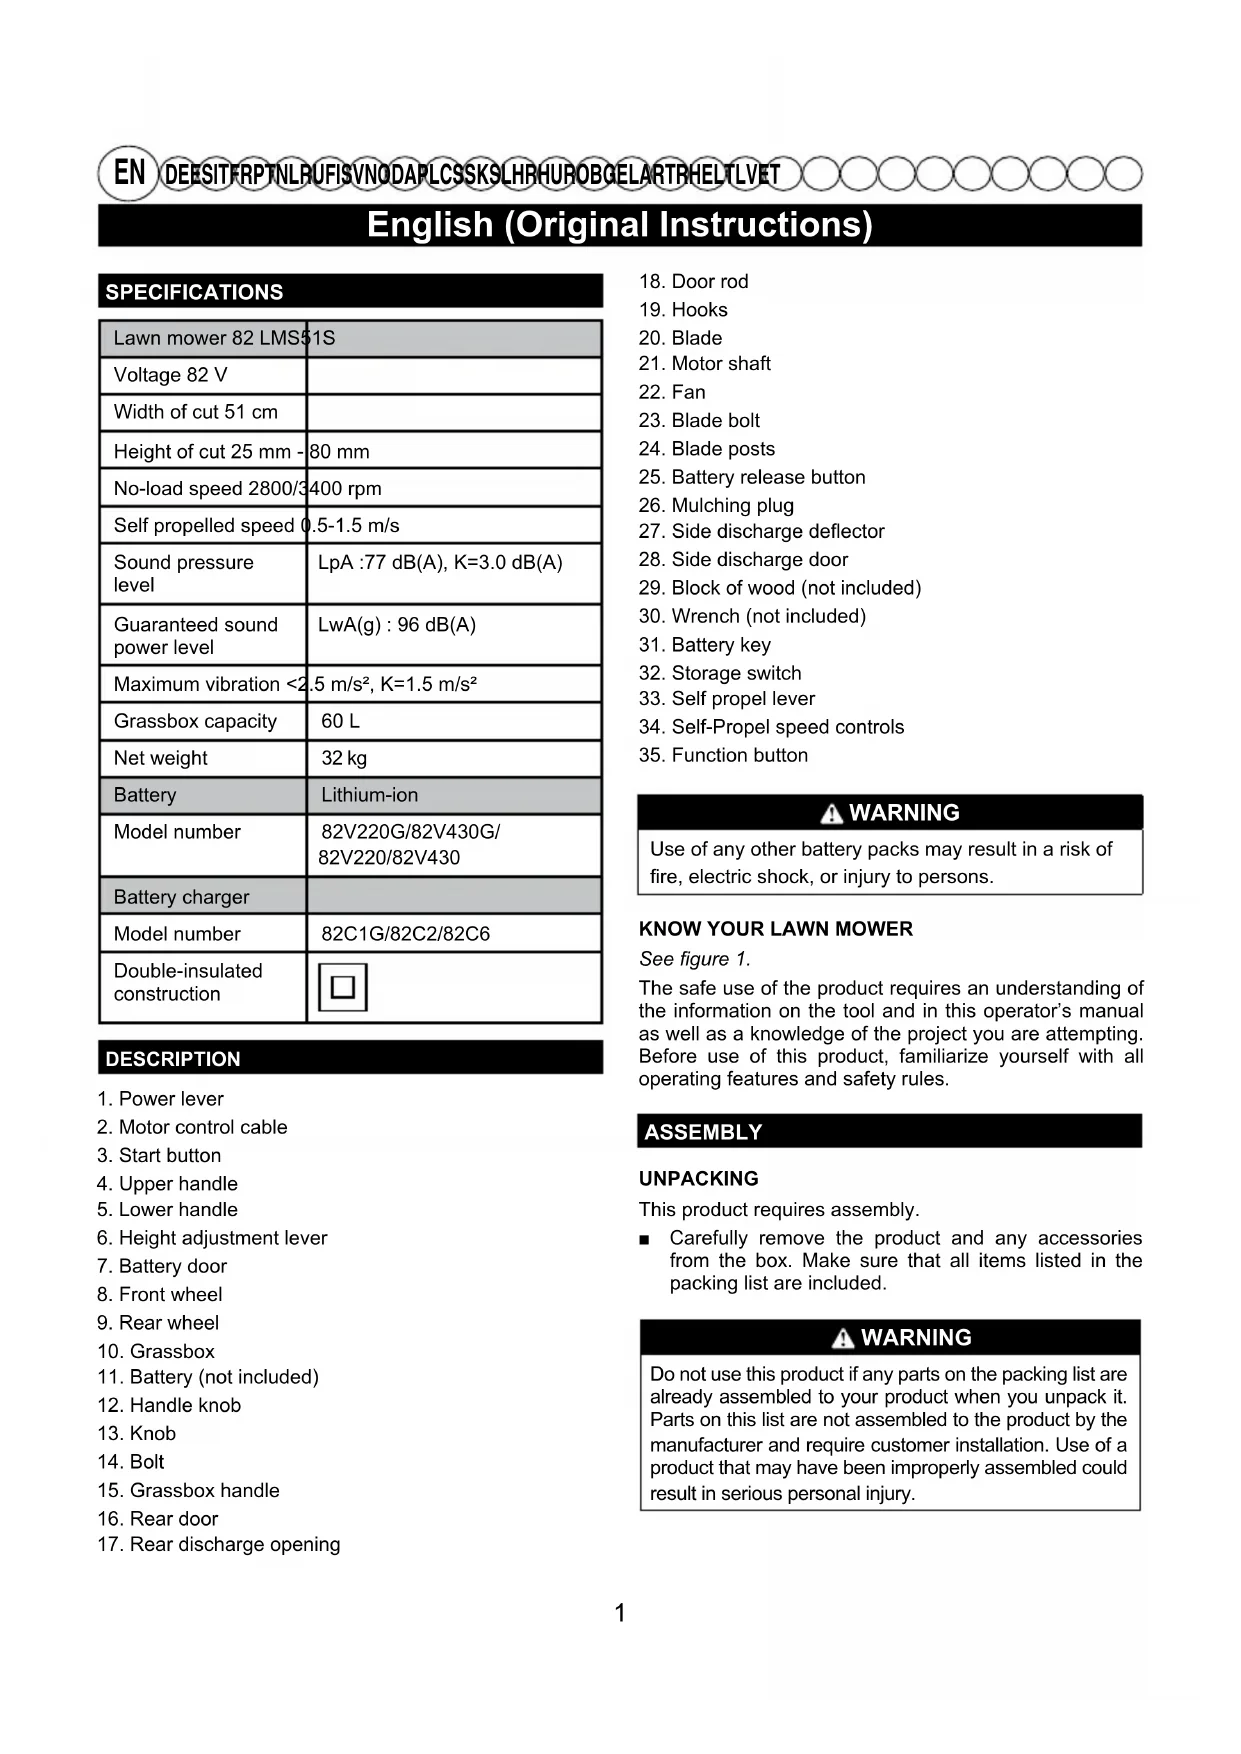
SPECIFICATIONS
| Lawn mower 82 LMS51S |
| Voltage 82 V | |
| Width of cut 51 cm | |
| Height of cut 25 mm - 80 mm |
| No-load speed 2800/3400 rpm |
| Self propelled speed 0.5-1.5 m/s |
| Sound pressure level | LpA :77 dB(A), K=3.0 dB(A) |
| Guaranteed sound power level | LwA(g) : 96 dB(A) |
| Maximum vibration <2.5 m/s2, K=1.5 m/s2 |
| Grassbox capacity | 60 L |
| Net weight | 32 kg |
| Battery | Lithium-ion |
| Model number | 82V220G/82V430G/82V220/82V430 |
| Battery charger | |
| Model number | 82C1G/82C2/82C6 |
| Double-insulated construction | |
DESCRIPTION
- Power lever
- Motor control cable
- Start button
- Upper handle
- Lower handle
- Height adjustment lever
- Battery door
- Front wheel
- Rear wheel
- Grassbox
- Battery (not included)
- Handle knob
- Knob
- Bolt
- Grassbox handle
- Rear door
-
Rear discharge opening
-
Door rod
- Hooks
- Blade
- Motor shaft
- Fan
- Blade bolt
- Blade posts
- Battery release button
- Mulching plug
- Side discharge deflector
- Side discharge door
- Block of wood (not included)
- Wrench (not included)
- Battery key
- Storage switch
- Self propel lever
- Self-Propel speed controls
- Function button
WARNING
Use of any other battery packs may result in a risk of fire, electric shock, or injury to persons.
KNOW YOUR LAWN MOWER
See figure 1.
The safe use of the product requires an understanding of the information on the tool and in this operator's manual as well as a knowledge of the project you are attempting. Before use of this product, familiarize yourself with all operating features and safety rules.
ASSEMBLY
UNPACKING
This product requires assembly.
■ Carefully remove the product and any accessories from the box. Make sure that all items listed in the packing list are included.
WARNING
Do not use this product if any parts on the packing list are already assembled to your product when you unpack it. Parts on this list are not assembled to the product by the manufacturer and require customer installation. Use of a product that may have been improperly assembled could result in serious personal injury.
English (Original Instructions)
■ Inspect the product carefully to make sure no breakage or damage occurred during shipping.
■ Do not discard the packing material until you have carefully inspected and satisfactorily operated the product.
■ If any parts are damaged or missing, please call your Cramer service centre for assistance.
PACKING LIST
■ Lawn mower
■ Battery key
Grassbox
■ Mulching plug
■ Side discharge deflector
■ Operator's manual
■ Knobs
■ Bolts
WARNING
If any parts are damaged or missing do not operate this product until the parts are replaced. Using a product with damaged or missing parts could result in serious personal injury.
WARNING
Do not attempt to modify this product or create accessories not recommended for use with this product. Any such alteration or modification is misuse and could result in a hazardous condition leading to possible serious personal injury.
WARNING
Do not insert battery key until assembly is complete and you are ready to mow. Failure to comply could result in accidental starting and possible serious personal injury.
WARNING
To prevent accidental starting that could cause serious personal injury, always remove the battery pack from the product when assembling parts.
WARNING
Never operate the mower without the proper safety devices in place and working. Never operate the mower with damaged safety devices. Operation of this product with damaged or missing parts could result in serious personal injury.
UNFOLDING AND ADJUSTING LOWER HANDLE
See figure 2.
■ Pull and rotate the handle knobs 90° on both sides to loosen the lower handles on both sides.
■ Move the lower handles to the operating position. You may raise or lower the handle to a position comfortable for you. There are 3 positions for you to choose. Release the handle knobs to lock the lower handle into position.
NOTE: Ensure both sides are set at the same position for proper assembly.
INSTALLING THE UPPER HANDLE
See figure 3.
■ Align the mounting holes on the upper handle and the lower handle. Insert the carriage bolts and use the knobs to tighten them. Repeat the operation on the other side.
INSTALLING THE GRASSBOX
See figure 4.
■ Lift the rear discharge door.
■ Lift the grass catcher by its handle and place under the rear discharge door so that the hooks on the grass catcher are seated on the door rod.
■ Release the rear discharge door. When installed correctly, the hooks on the grass catcher will extend through the openings on the rear discharge door.
INSTALLING THE MULCHING PLUG
See figure 5.
■ Lift and hold up the rear discharge door.
■ Grasp the mulching plug by its handle and insert it at a slight angle, as shown.
■ Push the mulching plug securely into place.
■ Lower the rear discharge door.
INSTALLING SIDE DISCHARGE DEFLECTOR
See figure 6.
NOTE: When using the side discharge deflector, do not install the grassbox. The mulching plug should remain installed.
■ Lift the side discharge door.
■ Align the hooks on the defl ector with the hinge rod on the underside of the door.
■ Lower the defl ector until the hooks are secured on the mulch door hinge rod.
■ Release the deflector and side discharge door.
English (Original Instructions)
SETTING BLADE HEIGHT
See figure 7.
When shipped, the wheels on the mower are set to a low-cutting position. Before using the mower for the first time, adjust the cutting position to the height best suited for your lawn. The average lawn should be between 38 mm and 51 mm during cool months and between 51 mm and 70 mm during hot months.
To adjust the blade height
■ To raise the blade height, grasp the height adjustment lever and move it toward the back of the mower.
■ To lower the blade height, grasp the height adjustment lever and move it toward the front of the mower.
OPERATION
WARNING
Do not allow familiarity with products to make you careless. Remember that a careless fraction of a second is sufficient to inflict serious injury.
WARNING
Always wear eye protection. Failure to do so could result in objects being thrown into your eyes resulting in possible serious injury.
WARNING
Do not use any attachments or accessories not recommended by the manufacturer of this product. The use of attachments or accessories not recommended can result in serious personal injury.
WARNING
Always inspect mower for missing or damaged parts and blade for damage, uneven, or excessive wear prior to use. Using a product with damaged or missing parts could result in serious personal injury.
■ Do not tilt the lawn mower when starting the engine or switching on the motor, unless the lawn mower has to be tilted for starting. In this case, do not tilt it more than absolutely necessary and lift only the part which is away from the operator.
■ Do not start the engine when standing in front of the discharge chute.
■ Do not put hands or feet near or under rotating parts. Always keep clear of the discharge opening.
For complete charging instructions, refer to the operator's manual for the battery packs and chargers listed in the specifications section.
TO INSTALL BATTERY PACK
See figure 8.
■ Lift and hold up the battery door.
■ Align the battery with the mower's battery port.
■ Make sure the battery release button snaps in place and that battery is fully seated and secure in the mower before beginning operation.
■ Insert the battery key.
■ If the machine is not going to be used immediately, do not insert the battery key
■ Close the door.
TO REMOVE BATTERY PACK
See figure 8.
■ Release the power lever to stop the product.
■ Open the battery door to access the battery compartment.
■ Remove the battery key.
■ Press the battery release button on the mower. This will cause the battery to raise out of the tool slightly.
■ Remove battery pack from the product.
STARTING/STOPPING THE MOWER
See figure 9.
■ Press and hold the safety ock-out button.
■ Pull the power lever upward to the handle to start the mower and release the safety lock-out button.
■ To stop the mower, release the power lever.
NOTE: A high-pitched noise and sparking may occur as the electric motor decelerates. This is normal.
This lawn mower is equipped with a function button on the rear end of the power head. This button is a manual overdrive button that changes the RPM.
Press this button, the indicating light will be on and the mower will be in the high-speed.You can mow more efficiently when the grass is very thick.
Press this button again, the indicating light will be off and then your mower will be in the auto mode. You can mow slowly and this mode helps to save the energy and makes your mower run for a longer time.
SELF-PROPELLED MOWING
See Figure 9.
To engage the self-propelled feature:
English (Original Instructions)
■ Open the battery door.
■ Insert the battery.
■ Insert the battery key.
■ Pull the self propel lever upward to meet the handle.
To disengage the self-propelled feature:
■ Release the self propel lever.
To adjust the speed of self-propelled feature:
■ Pull the variable speed control lever towards the Rabbit Symbol to increase speed.
■ Push the variable speed control lever towards the Turtle Symbol to decrease speed.
MOWING TIPS
■ Make sure the lawn is clear of stones, sticks, wires, and other objects that could damage the lawn mower blades or motor. Do not mow over property stakes or other metal posts. Such objects could be accidentally thrown by the mower in any direction and cause serious personal injury to the operator and others.
■ For a healthy lawn, always cut off one-third or less of the total length of the grass.
■ Do not cut wet grass, it will stick to the underside of the deck and prevent proper bagging or mulching of grass clippings.
■ New or thick grass may require a narrower cut or a higher cutting height.
■ Clean the underside of the mower deck after each use to remove grass clippings, leaves, dirt, and any other accumulated debris.
■ When cutting long grass, reduce walking speed to allow for more effective cutting and a proper discharge of the clippings.
NOTE: Always stop mower, allow blades to completely stop, and remove the battery key before cleaning underneath the mower.
SLOPE OPERATION
WARNING
Slopes are a major factor related to slip and fall accidents that can result in severe injury. Operation on slopes requires extra caution. If you feel uneasy on a slope, do not mow it. For your safety, do not attempt to mow slopes greater than 15 degrees.
WARNING
Please keep self-propelled at low speed when mowing up to a slope.
■ Mow across the face of slopes, never up and down. Exercise extreme caution when changing direction on slopes.
■ Watch for holes, ruts, rocks, hidden objects, or bumps which can cause you to slip or trip. Tall grass can hide obstacles. Remove all objects such as rocks, tree limbs, etc., which could be tripped over or thrown by the blade.
■ Always be sure of your footing. A slip and fall can cause serious personal injury. If you feel you are losing your balance, release the power lever immediately.
■ Do not mow near drop-offs, ditches, or embankments; you could lose your footing or balance.
■ Stop mower, allow blade to completely stop, and remove battery key.
■ Lift the rear door.
■ Lift the grassbox by its handle to remove from mower.
■ Empty grass clippings.
■ Lift the rear door and reinstall the grassbox as described earlier in this manual.
MAINTENANCE
WARNING
Before performing any maintenance, make sure the mower battery and battery key are removed to avoid accidental starting and possible serious personal injury.
WARNING
To prevent accidental start-up or unauthorized use, the cordless lawn mower is equipped with a removable safety key. To completely disable the mower, the safety key should be removed and kept in a place away from the mower and out of the reach of children.
WARNING
When servicing, use only authorised replacement parts. Use of any other parts may create a hazard or cause product damage.
WARNING
Keep the motor and battery compartments free from grass, leaves or excessive grease. This will help reduce the risk of fire.
English (Original Instructions)
GENERAL MAINTENANCE
Before each use, inspect the entire product for damaged, missing, or loose parts such as screws, nuts, bolts, caps, etc.
Tighten securely all fasteners and caps and do not operate this product until all missing or damaged parts are replaced. Please call Cramer customer service for assistance. Avoid using solvents when cleaning plastic parts. Most plastics are susceptible to damage from various types of commercial solvents and may be damaged by their use. Use clean cloths to remove dirt, dust, oil, grease, etc.
WARNING
To reduce the risk of damage and danger, never clean the tool with pressure washer or under running water.
WARNING
Store indoors only. Always remove the battery from mower and charger when cleaning or storing the tool.
WARNING
Do not at any time let brake fluids, gasoline, petroleum-based products, penetrating oils, etc., come in contact with plastic parts. Chemicals can damage, weaken, or destroy plastic which may result in serious personal injury.
Periodically check all nuts and bolts for proper tightness to ensure safe operation of the mower.
Wipe the mower clean with a dry cloth occasionally. Do not use water.
LUBRICATION
All of the bearings in this product are lubricated with a sufficient amount of high grade lubricant for the life of the unit under normal operating conditions. Therefore, no further bearing lubrication is required.
WARNING
Always protect hands by wearing heavy gloves and/or wrapping the cutting edges of the blade with rags and other material when performing blade maintenance. Contact with the blade could result in serious personal injury.
WARNING
Do not lubricate any of the wheel components. Lubrication may cause the wheel components to fail during use, which could result in serious personal injury to the operator and/or mower or property damage.
REPLACING THE CUTTING BLADE
See figure 11-12.
NOTE: Only use authorised replacement blades. Replace worn or damaged blades and bolts in sets to preserve balance.
■ Stop the motor and remove the battery key. Allow blade to come to a complete stop.
■ Remove the battery pack.
■ Turn the mower on its side.
■ Wedge a block of wood between the blade and mower deck to prevent the blade from turning.
■ Loosen the blade bolt by turning it counterclockwise (as viewed from bottom of mower) using a 27 mm wrench or socket (not provided).
■ Remove the blade bolt and blade.
■ Place the new blade on the shaft. Ensure blade is properly seated with shaft going through center blade hole and the two blade posts on the fan inserted into their respective holes on the blade. Make sure it is installed with the curved ends pointing up toward the mower deck and not down toward the ground. When seated properly, the blade should be flat against the fan.
■ Thread the blade bolt on the shaft and finger tighten.
■ Torque the blade bolt down clockwise using a torque wrench (not provided) to ensure the bolt is properly tightened. The recommended torque for the blade bolt is 62.5\~71.5 kgfcm (350-400 in.-lb.).
VERTICAL STORAGE FUNCTION
See figure 13.
■ Remove the battery from the mower.
■ Remove the grass catcher bag.
■ Rotate the handle knobs to the unlocked position.
■ Lower the handle assembly and rotate the handle knobs to the locked position.
■ Lift the mower by the front end to the vertical position
WARNING
Always remove the battery from the mower before placing the unit in the vertical storage position.
STORAGE SWITCH
When the handle is rotated into the fully locked storage position, the mower is equipped with a storage switch that will disable the mower from running in the storage position. The storage switch does not replace the need to remove the safety key and battery to prevent accidental start-up or unauthorized use.
English (Original Instructions)
| TROUBLESHOOTING |
| Problem Possible cause | Use Solution | |
| Handle is not in position. | Carriage bolts are not seated properly. | Adjust the height of the handle and make sure the carriage bolts are seated properly. |
| Mower is not starting. | Battery is low in charge. Charge the battery. | |
| Battery is either inoperable or will not take a charge. | Replace the battery. |
| The battery key is not inserted. Insert the battery key. | |
| Mower is cutting grass unevenly. | Lawn is rough or uneven or cutting height not set properly. | Move the wheels to a higher position. All wheels must be placed in the same cutting height for the mower to cut evenly. |
| Mower is not mulching properly. | Wet grass clippings are sticking to the underside of the deck. | Wait until the grass dries before mowing. |
| Mower is hard to push. | High grass, rear of mower housing and blade are dragging in heavy grass, or cutting height too low. | Raise the cutting height. |
| Mower is not bagging properly. | Cutting height is set too low. | Raise the cutting height. |
| Mower is vibrating at higher speed. | Blade is unbalanced, excessively or unevenly worn. | Replace the blade. |
| Motor shaft is bent. | Stop the motor, remove isolator key and battery, disconnect the power source, and inspect for damage. Have it repaired by an authorised service center before restarting. |
| Motor stops while cutting. | Cutting height is set too low. | Raise the cutting height. |
| Battery has no power. | Charge the battery. |
If these solutions do not solve the problem contact your authorised service dealer.
DIE INSTALLATION DES OBEREN GRIFFS
Siehe Abbildung 3.
kgf cm (350-400 in. lb).
T∅MMING AV GRESSBOKSEN
Se figure 10.
GENERELT VEDLIKEHOLD
INSTALACJA KOSZA NA TRAWE
Zobacz rysunek 4.
Use of any other battery packs may result in a risk of fire, electric shock, or injury to persons.
IEPAZISTIET SAVU ZÂLES PLÂVÊJU
Skatiet 1. attēlu.
Manufacturer: Changzhou Globe Co., Ltd.
Address: No. 65 Xinggang Rd., Zhonglou Zone, Changzhou, Jiangsu, China
Name and address of the person authorised to compile the technical file:
Name: Peter Söderström
Adress: Propellergatan 1, 211 15 Malmö, Sweden
Herewith we declare that the product
Category ...... CORDLESS MOWER
Model 2500686
Serial Number ...... See product rating label
Year of Construction ...... See product rating label
■ is in conformity with the relevant provisions of the Machinery Directive (2006/42/EC)
■ is in conformity with the provisions of the following other EC-Directives EMC Directive (2014/30/EU),
Noise Emission Directive (2000/14/EC amended by 2005/88/EC)
And furthermore, we declare that
■ The following (parts/clauses of) European harmonised standards have been used EN 60335-1; EN60335-2-77; EN 62233, EN ISO 3744;
EN 55014-1; EN 55014-2; ISO 11094
Measured sound power level 92.6 dB(A), K: 3.0 dB(A)
Guaranteed sound power level 96 dB(A)
Conformity assessment method to Annex VI / Directive 2000/14/EC
EC type approval to 2000/14/EC : Intertek Testing & Certification Co., Ltd. (NB0359)
Place, date: Changzhou, 08/09/2017
Signature: Ted Qu Haichao
Quality Director
DE
Adresse: No. 65 Xinggang Rd., Zhonglou Zone, Changzhou, Jiangsu, China
Indirizzo: No. 65 Xinggang Rd., Zhonglou Zone, Changzhou, Jiangsu, China
Fabricant : Changzhou Globe Co., Ltd.
Adresse : No. 65 Xinggang Rd., Zhonglou Zone, Changzhou, Jiangsu, China
Endereço: No. 65 Xinggang Rd., Zhonglou Zone, Changzhou, Jiangsu, China
Adres: No. 65 Xinggang Rd., Zhonglou Zone, Changzhou, Jiangsu, China
Osoite: No. 65 Xinggang Rd., Zhonglou Zone, Changzhou, Jiangsu, China
Adress: No. 65 Xinggang Rd., Zhonglou Zone, Changzhou, Jiangsu, China
Adresse: No. 65 Xinggang Rd., Zhonglou Zone, Changzhou, Jiangsu, China
EC type approval to 2000/14/EC : Intertek Testing & Certification Co., Ltd. (NB0359)
Sted, dato: Changzhou, 08/09/2017
Kvalitetsdirektør
Signatur: Ted Qu Haichao
DA
EC OVERENSSTEMMELSESERKLÆRING
Fabrikant: Changzhou Globe Co., Ltd.
Adresse: No. 65 Xinggang Rd., Zhonglou Zone, Changzhou, Jiangsu, China
Adres: No. 65 Xinggang Rd., Zhonglou Zone, Changzhou, Jiangsu, China
Adresa: No. 65 Xinggang Rd., Zhonglou Zone, Changzhou, Jiangsu, China
Adresa: No. 65 Xinggang Rd., Zhonglou Zone, Changzhou, Jiangsu, China
Naslov: No. 65 Xinggang Rd., Zhonglou Zone, Changzhou, Jiangsu, China
Adresa: No. 65 Xinggang Rd., Zhonglou Zone, Changzhou, Jiangsu, China
Ime i prezime, i adresa osobe ovlaštene da sastavi tehničku datoteku:
Ime i prezime: Peter Söderström
Adresa: Propellergatan 1, 211 15 Malmö, Sweden
Cím: No. 65 Xinggang Rd., Zhonglou Zone, Changzhou, Jiangsu, China
Adresa: No. 65 Xinggang Rd., Zhonglou Zone, Changzhou, Jiangsu, China
Adres: No. 65 Xinggang Rd., Zhonglou Zone, Changzhou, Jiangsu, China
No. 65 Xinggang Rd., Zhonglou Zone, Changzhou, Jiangsu, China :
Adresas: No. 65 Xinggang Rd., Zhonglou Zone, Changzhou, Jiangsu, China
Adrese: No. 65 Xinggang Rd., Zhonglou Zone, Changzhou, Jiangsu, China
Aadress: No. 65 Xinggang Rd., Zhonglou Zone, Changzhou, Jiangsu, China