OWR 300B - Radio OK - Free user manual and instructions
Find the device manual for free OWR 300B OK in PDF.
User questions about OWR 300B OK
0 question about this device. Answer the ones you know or ask your own.
Ask a new question about this device
Download the instructions for your Radio in PDF format for free! Find your manual OWR 300B - OK and take your electronic device back in hand. On this page are published all the documents necessary for the use of your device. OWR 300B by OK.
USER MANUAL OWR 300B OK
Enioyn twv ota0wv FM stations
10 PatnoTE MODE (TpOnoc Aetoupyiac) yia va eTIAEETe Touc oTaOuOC FM.To paioqwo naiZei Tov TEaetao Otao oou exi eIaei.
Enioyn ouxvoTsw twv o3uow FM
Thanks for your purchase of an ok. product. Please read this manual carefully and keep it for future reference.
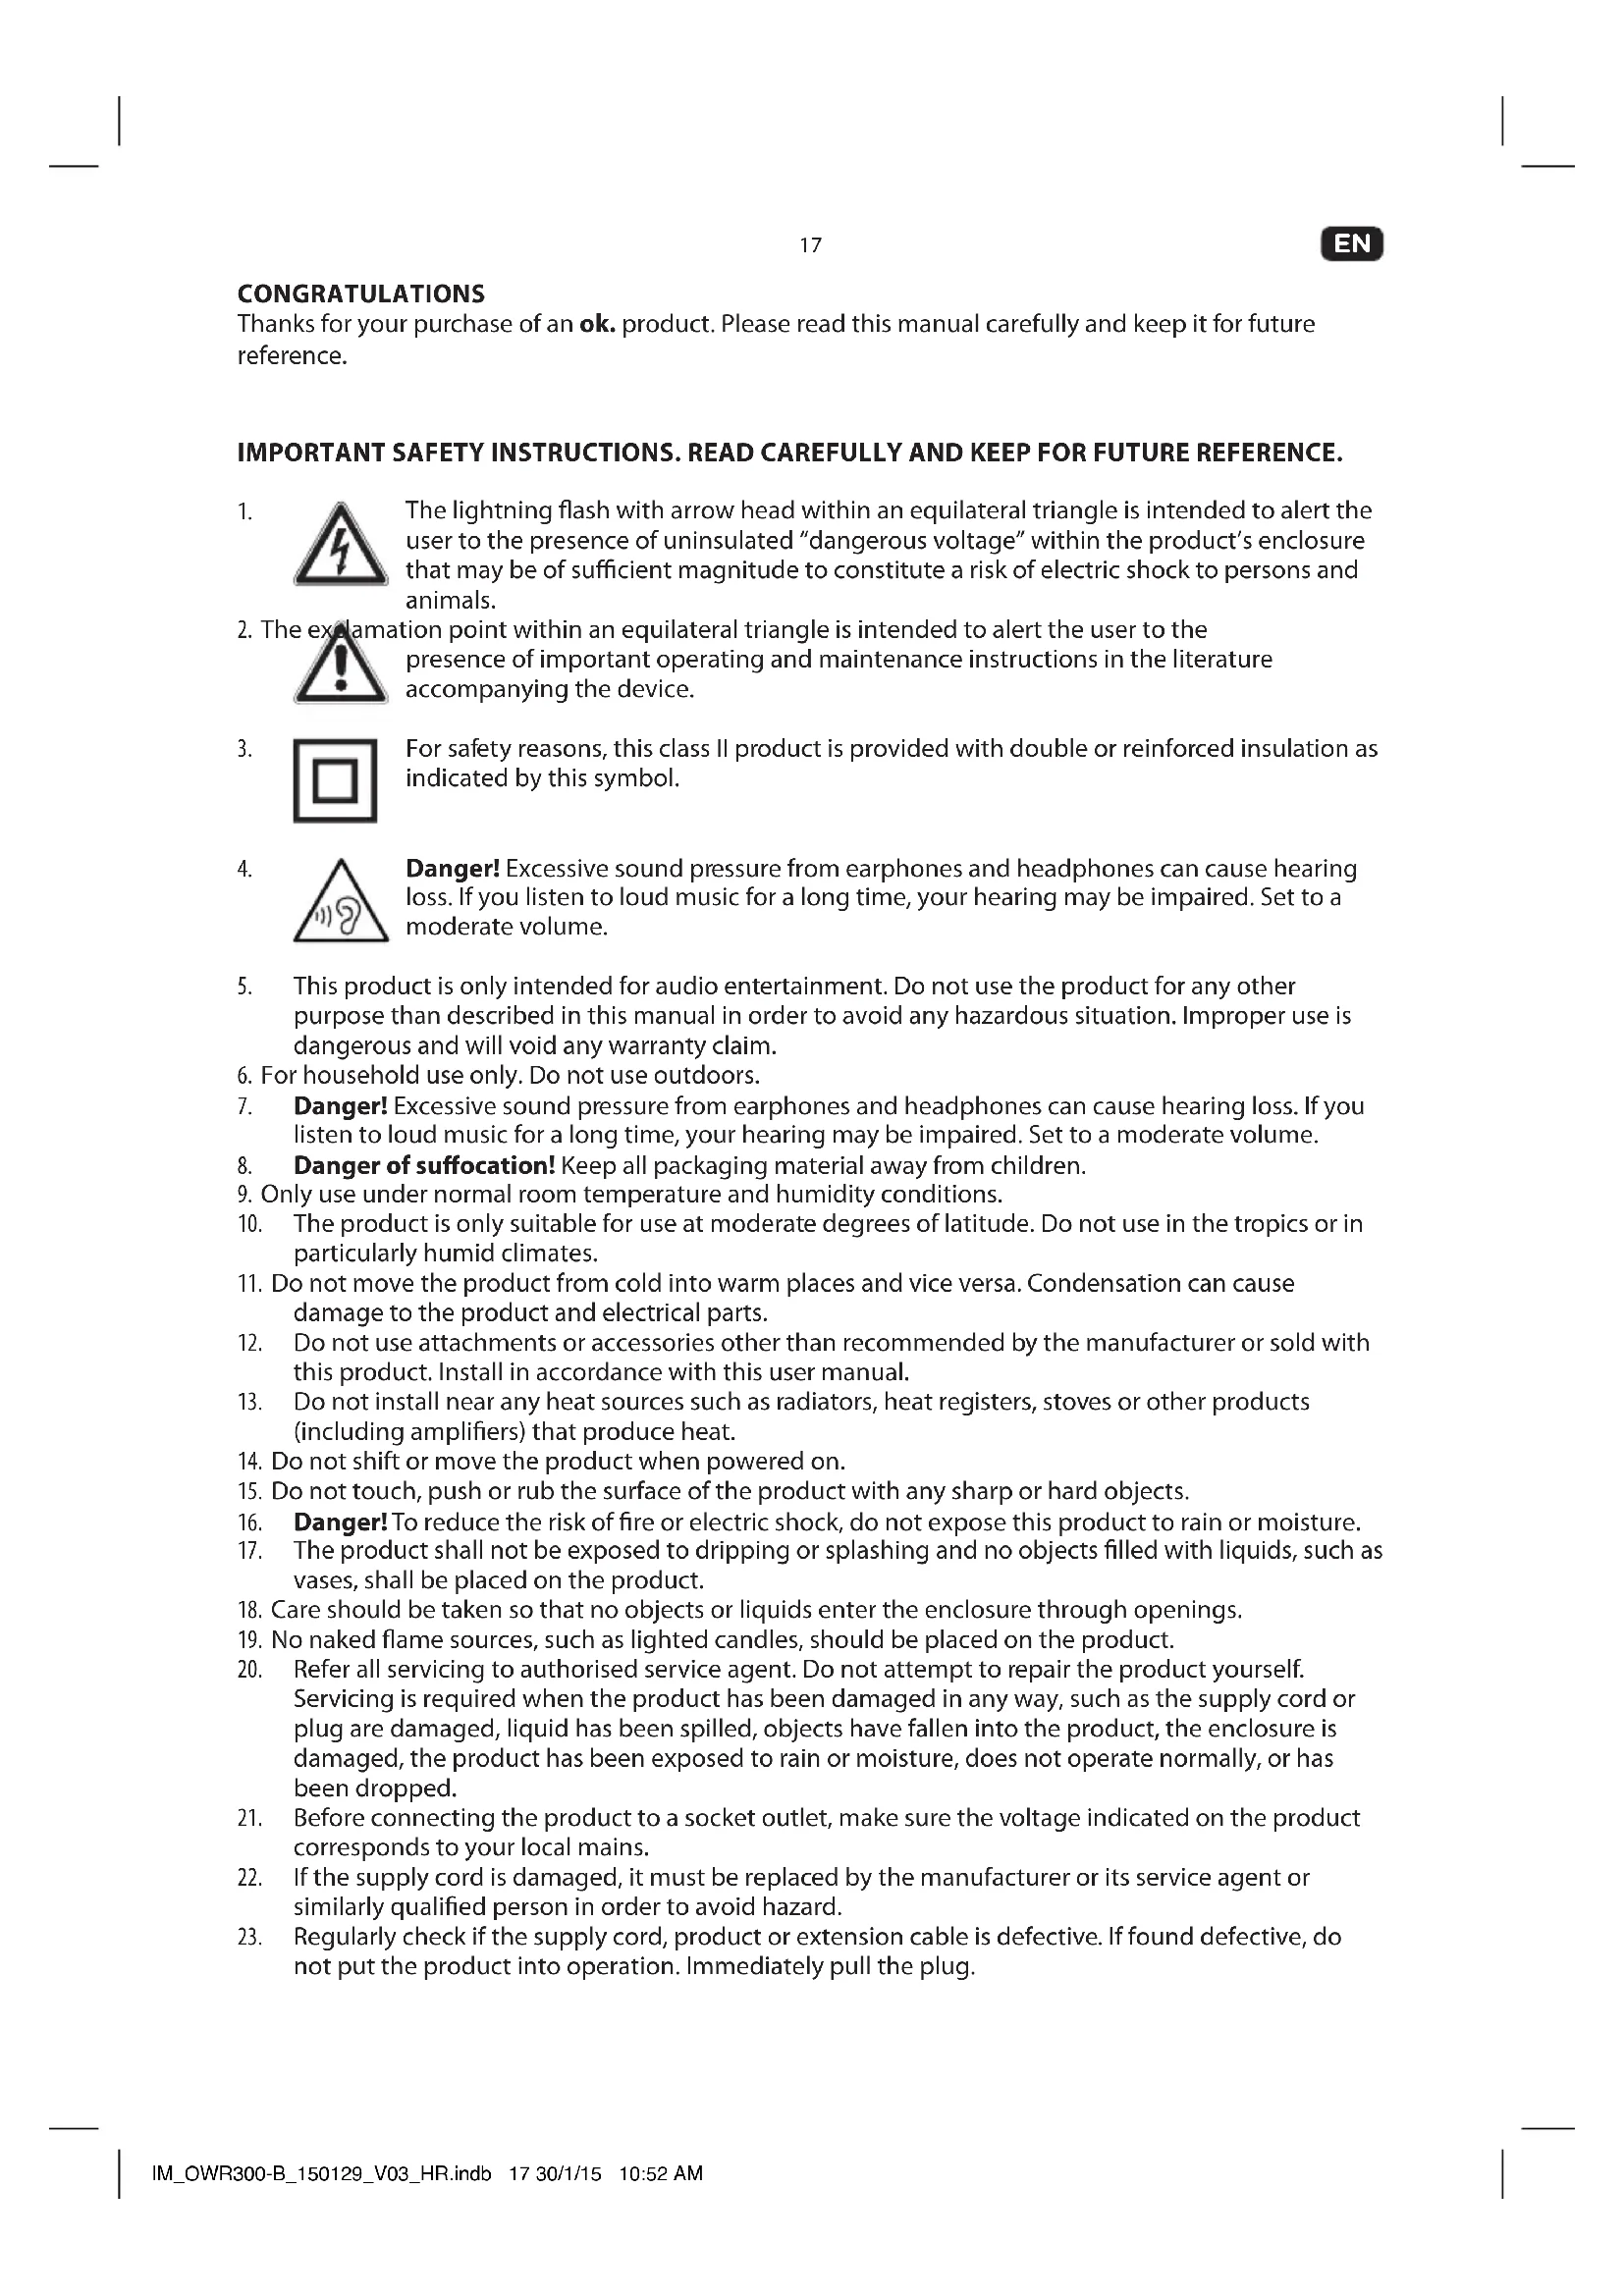
IMPORTANT SAFETY INSTRUCTIONS. READ CAREFULLY AND KEEP FOR FUTURE REFERENCE.
- The lightning flash with arrow head within an equilateral triangle is intended to alert the user to the presence of uninsulated "dangerous voltage" within the product's enclosure that may be of sufficient magnitude to constitute a risk of electric shock to persons and animals.
- The exclamation point within an equilateral triangle is intended to alert the user to the presence of important operating and maintenance instructions in the literature accompanying the device.
- For safety reasons, this class II product is provided with double or reinforced insulation as indicated by this symbol.
- Danger! Excessive sound pressure from earphones and headphones can cause hearing loss. If you listen to loud music for a long time, your hearing may be impaired. Set to a moderate volume.
- This product is only intended for audio entertainment. Do not use the product for any other purpose than described in this manual in order to avoid any hazardous situation. Improper use is dangerous and will void any warranty claim.
- For household use only. Do not use outdoors.
- Danger! Excessive sound pressure from earphones and headphones can cause hearing loss. If you listen to loud music for a long time, your hearing may be impaired. Set to a moderate volume.
- Danger of suffocation! Keep all packaging material away from children.
- Only use under normal room temperature and humidity conditions.
- The product is only suitable for use at moderate degrees of latitude. Do not use in the tropics or in particularly humid climates.
- Do not move the product from cold into warm places and vice versa. Condensation can cause damage to the product and electrical parts.
- Do not use attachments or accessories other than recommended by the manufacturer or sold with this product. Install in accordance with this user manual.
- Do not install near any heat sources such as radiators, heat registers, stoves or other products (including amplifiers) that produce heat.
- Do not shift or move the product when powered on.
- Do not touch, push or rub the surface of the product with any sharp or hard objects.
- Danger! To reduce the risk of fire or electric shock, do not expose this product to rain or moisture.
- The product shall not be exposed to dripping or splashing and no objects filled with liquids, such as vases, shall be placed on the product.
- Care should be taken so that no objects or liquids enter the enclosure through openings.
- No naked flame sources, such as lighted candles, should be placed on the product.
- Refer all servicing to authorised service agent. Do not attempt to repair the product yourself. Servicing is required when the product has been damaged in any way, such as the supply cord or plug are damaged, liquid has been spilled, objects have fallen into the product, the enclosure is damaged, the product has been exposed to rain or moisture, does not operate normally, or has been dropped.
- Before connecting the product to a socket outlet, make sure the voltage indicated on the product corresponds to your local mains.
- If the supply cord is damaged, it must be replaced by the manufacturer or its service agent or similarly qualified person in order to avoid hazard.
- Regularly check if the supply cord, product or extension cable is defective. If found defective, do not put the product into operation. Immediately pull the plug.
EN
18
- Place the supply cord and, if necessary, an appropriate extension cable in such away that pulling or tripping over it is impossible. Do not allow the supply cord to hang down within easy reach.
- Do not jam, bend or pull the supply cord over sharp edges.
- The power plug is used as the disconnect device; the disconnect device shall remain readily operable. To completely disconnect the power input, disconnect the mains plug.
- The product may not function properly or not react to the operation of any control due to electrostatic discharge. Switch off and disconnect the product; reconnect after a few seconds.
- Protect the supply cord from being walked on or pinched particularly at the plug, convenience receptacles and the point where it exits from the product.
- Never pull the plug by the supply cord or with wet hands.
- Disconnect the power plug in case of faults during use, during lightening storms, before cleaning and when not using the product for a longer period of time.
- Danger! Before cleaning, switch the product off and disconnect the power plug from the socket.
- When the product has reached the end of its service life, make it defective by disconnecting the plug from the socket and cutting the cord in two.
- Caution! There is danger of explosion from improper replacement of the batteries. Replace batteries only with the same or equivalent type of battery.
- Always change the entire battery pack. Do not mix old and new batteries, or batteries with different charge state.
- Make sure the batteries are correctly inserted. Observe the polarity (+) plus / (-) negative on the battery and the housing. Improperly inserted batteries can lead to leakage or, in extreme cases, a fire or an explosion.
- Remove used batteries. Remove the batteries if you know that the product will not be used for a longer period of time. Otherwise, the batteries could leak and cause damage.
- If the batteries leak, remove them with a cloth and dispose of them accordingly. Prevent battery acid from coming into contact with skin and eyes. If you do get battery acid in your eyes, flush them thoroughly with lots of water and consult a physician immediately. If battery acid comes into contact with your skin, wash the affected area with lots of water and soap.
- When installing the device, leave sufficient space for ventilation. Do not install in bookcases, built-in cabinets or the like.
- Do not impede ventilation by covering the ventilation openings with items, such as newspapers, table-cloths, curtains, etc. Do not insert any objects.
- Non-rechargeable batteries must not be recharged.
- The connections must not be short-circuited.
- Remove the batteries from the product before disposal.
INTENDED USE
This product is intended for audio entertainment only. Any other use may result in damage to product or injuries.
COMPONENTS
The product may be available in different colors.
A. Loudspeaker
B. Display
C. Button MODE/SNOOZE
D. Button STANDBY
E. Button SCAN
F. Button PRESET
G. Button INFO/AL. SET
H. Button TUNE -
I. Button ENTER
J. Button TUNE +
K. Volume control MIN/MAX
L. Aerial
M. Audio input AUX
N. Battery compartment lid
O. Power cord and plug
BEFORE FIRST TIME USE
Remove the product and accessories from the original packaging carefully. For disposal of the original packaging, follow applicable legal requirements. If you have questions about correct disposal, contact your local authority.
Check the package contents for completeness and damage. If the package content is incomplete or damages can be found, contact your place of purchase immediately.
EN
20
OPERATION
Aerial adjustment
For optimal reception, extend the antenna, move to fully extend and adjust it.
POWER SUPPLY
2 If operation by mains power is not possible the radio can be powered by batteries.
Operation by mains
Connect plug to suitable mains socket.
Operation by batteries
- Open the battery compartment.
- Insert 4 × 1.5V battery (type LR03/AAA, not included). Make sure the polarity is correct as indicated.
- Close the battery compartment.
Switch on appliance
Press the STANDBY button to turn the unit on.
Adjusting the volume
4 The volume can be adjusted during playback with the volume control.
Select operation mode
5 If the radio is switched on you can select the desired mode DAB+, FM radio or Reset by pressing MODE button.
DAB-RADIO
6 When the radio is switched on for the first time, it will automatically do a full scan of DAB/DAB+ stations. The list of stations is then stored, eliminating the need for another full scan when the radio is turned on next time.
When the scan is complete, the stations are stored in alphabetical order. The first available station will be played back.
Note
- If there is no DAB reception at any time, change the position of the unit or adjust the antenna. Press Scan to start a new search.
- New stations and services are added to the stored DAB/DAB+ stations. In order to make new DAB/DAB+ stations and services available on your radio, run a full scan at regular intervals.
Changing DAB stations
7 Push the TUNE+/- buttons in DAB mode to navigate available DAB stations.
Displaying station information
Select a DAB station. During DAB/DAB+ radio playback, press INFO repeatedly to display the following information (if available):
- Channel and frequency
- Bit rate and audio status (Mono/Stereo)
- Ensemble name (e.g. DAB+)
- Signal strength
- Time and date
- Dynamic Label Segment (DLS)
- Program type (PTY)
- Station name
Storing DAB stations

You can store up to 10 pre-set DAB/DAB+ stations.
- Select a DAB station.
- Push PRESET button for at least 1 second. Within 3 seconds chose the preset with TUNE+/- buttons and push ENTER to save the station to the desired preset.
- The pre-set number of the stored station is displayed.
- Repeat steps 1 and 2 to store more DAB/DAB+ stations.
Selecting pre-set DAB stations

- Press MODE to select the DAB/DAB+ radio.
- Press PRESET to access the preset menu.
- Press TUNE+/- buttons to navigate through the preset DAB/DAB+ stations.
FM-Radio
Selecting FM stations

Press MODE to select FM radio. The radio plays the last station selected.
Selecting FM station frequencies

- Select a FM station.
- Manual frequency selection
Push TUNE+/- buttons to change the frequency in 0.05 MHz steps. Keep the TUNE+/- buttons pushed to set a frequency quickly.
- Automatic frequency selection
Push the SCAN button to start the channel search. The radio stops if an radio signal is received.
4. Push the SCAN button to scan forward FM frequency,press and hold the SCAN button to scan backward FM frequency.
Storing FM stations

You can store up to 10 pre-set FM stations.
- Select the desired FM station.
- Push PRESET button for at least 1 second. Within 3 seconds chose the preset with TUNE+/- buttons and push ENTER to save the station to the desired preset.
- The pre-set number of the stored station is displayed.
- Repeat steps 1 and 2 to store more FM stations.
Selecting a pre-set FM station

- Press MODE to select the FM radio.
- Press PRESET to access the Preset menu.
- Press TUNE+/- buttons to navigate through the preset FM stations.
EN
22
Displaying station information
Select a FM station. During FM radio playback press INFO repeatedly to display the following information (if available):
- Frequency
- Audio status (Mono/Stereo)
- Radio text
- Program type
- Signal strength
- Time and date
AUX-IN
This radio allows you to listen to external audio devices.
- Connect a cable (not included) to the AUX IN-jack (3.5mm) at the back of the radio.
- Start playback from the device.
Note
Once an audio cable has been connected to the AUX socket FM or DAB radio are muted. However, the display will still show the selected radio station. AUX-IN source must be Stereo signal, if AUX-IN source is Mono signal the unit will be muted.
Attention!
Before connecting an external playback device, carefully read the respective user guide and safety instructions as well as instructions concerning usage with other devices.
GENERAL SETTINGS
Set date and time
Date and time cannot be set manually, but will be set or updated automatically once a DAB radio signal is received.
Alarm function
15 Activate and deactivate alarm
The alarm can be set only if the FM or DAB radio are off (Standby):
1. Press INFO/AL. SET button and status ON or OFF and the alarm time are shown in display. Note: If no settings done within 4 seconds the display will turn off into standby.
2. Press TUNE+/- button to activate (ON) or deactivate (OFF) alarm.
3. Press ENTER button. The hours are flashing and can be set by pushing TUNE+/- button. Press ENTER button again. Now the minutes are flashing and can be set by pressing TUNE+/- button.
4. Press ENTER button again. The alarm sound - BEEP Tone 1, BEEP Tone 2, DAB- or FM Radio - can be set with TUNE+/- button.
Stop alarm
- Snooze function: Press SNOOZE button to suspend alarm sound for a few minutes. The alarm will start again after 9 minutes.
- Press STANDBY button to stop/cancel alarm.
Audio settings
In FM radio mode you can chose between mono and stereo mode. Please consider that the radio only has one loudspeaker which makes stereo playback impossible.
- During FM radio mode press ENTER button. The display will show the audio mode.
- Press ENTER button again to switch between Auto- and Mono mode
Automatic power off
The radio will switch off after 15 minutes if it does not receive any FM or DAB radio signal and there is no playback by an external audio player (AUX). The display light will turn off and current time will be shown in display.
CLEANING AND CARE
- Disconnect the product from the power supply before cleaning it. Clean the product with a soft, damp cloth and a mild cleaning agent. Finish by wiping it with a dry cloth. Do not use alcohol, acetone, benzene, scouring cleansers etc. to clean the product. Do not use hard brushes or metal objects.
- Warning! Never immerse electrical parts of the product in water during cleaning or operation. Never hold the product under running water.
- Warning! When cleaning, never use solvents or abrasive materials, hard brushes, metallic or sharp objects. Solvents are harmful to human health and can attack plastic parts, while abrasive cleaning mechanisms and tools may scratch the surface(s).
SPECIFICATION
Rated Voltage: 230V 50 Hz
Protection class : II
Operation power consumption : 10 W
Standby power consumption: ≤ 1 W
Battery operation: 4 × 1.5 ~V (Type LR03/AAA)
Tunning range (Tuner DAB): 174 - 240 MHz
Tuning range (Tuner FM) : 87.5 - 108 MHz
Tuning grid (Tuner FM): 0.05 MHz
Dimension: 216 × 145 × 113 ~mm
Weight: 1.188 kg
DISPOSAL

Do not dispose of this product as unsorted municipal waste. Return it to a designated collection point for the recycling of WEEE. By doing so, you will help to conserve resources and protect the environment. Contact your retailer or local authorities for more information.

Please dispose of batteries in an environmentally friendly manner. Do not put batteries into the household waste. Please use the return and collection systems in your community or contact the dealer where you purchased the product.
ENHORABUENA
ACCENSIONE DELL'UNITÀ
Consumo in standby: ≤ 1 W
2 Ecnn pa6ota ot ceTN HeBO3MOxHa, paNIO MOxKET NITaTbCra OT 6aTapei.
Pa6ota ot cetn
BcTaBbTe ceTeByu BnIky BnOAnxOaIyUo po3eKy.
Pa6ota ot 6atapei
- OTKpoIte OTdeneHne IJI 6aTapeek.
- BCTaBbTe 4 x 6aTapeKn 1,5 B (TUN LR03/AAA, He BXoJNT B KOMnJIeKT) B OTJeHne dIy 6aTapeek. Co6IouaTe npabInbHyIO nOJIpHocTb.
- 3aKpoIe OToIeJIeHne IJIa6TaapeeK.
BkHoueHne ycTpoNCTBa
3 UTo6bI BkInouHTb npu6Op, HaxMMTe Ha KhoNky STANDBY (nTuHne/peKmM oXuaHna).
PerynnpobKa rpoMkoCTn
3ByK MoXHO peRyIINPOBaTb BO BpeMBOcPOn3BeDeHnC NOMOuBIO peRyIaTOpa yPoBHr pOMKOCTN.
Bb6epnte pexm pa60tbi
5 Ecni paio BkIOyeHO, MoXHO BbIpaTb HxHbI peXIM: DAB+, FM-paio nIN C6poc HaxKaTneM Ha KHOIIKO MODE (peXIM).
Papno DAB (LnfoPoBoe paNoBaeHne)
6 Korda paIIO BkIIOaEeTcBnepBbIe, OHO aBTOMaTHeeCKN BblONHReT PONHoe cKaHIpOBaHne cTaHcIy IuΦpOBo rpaIOBeUaHr DAB/DAB+. NocIe 3TOrO cncOK cTaHcIy 6yDet coXpaHEn, YTO pO3BOIHT n36ExaT bAaBHeIWeRo pONHOro cKaHIpOBaHn npi CJeDyUeM BKJIIOueHm paIIO.
10 3aBepSeHHn cKaHIpOBaHn cTaHcIy COxpaHJeTcB aIφabNTHom nopJdKe. BocnpOn3BODITbcra
6yDet nepBaJdoCTynHa CTaHcIy.
PpmeaHne
EcnB kaKoe-Jn6o Bpemr Ht npHema CnHana DAB, n3MeHnte noLoXeHne ycTpoCTBa nn Otperynnpyute aHTehny. Jna hauana HOBO rONcKa HaxMnte Scan (CkaHnpoBaHne).
K coxpaHeHHbIM cTaHcIaM DAB/DAB+do6abJIIOCTcHOBIe cTaHcIIN yClyrN. YTo6blcJeIaTb DoCTyINbIMn Ha BaIeM paIIO HOBIE cTaHcIIN DAB/DAB+,peYJIrpHO 3aIyckaiTe noJIHoe cKaHIpOBAHne.
U3meHeHne CtaHcN DAB/DAB+
Ipeep noKIOUeHEm BHeHrero yctpoCTBa BOCIPpon3BeHnB HmMaTeNbHO npOHTaTe COOTBeTCTByIOoee pyKOBoCTBO NOb3OBaTeN I NHCTpyKuN NO 6e3ONaChOCTN, a TAKKe IHCTpyKuN, KacaIouneC NcNoB3OBaHn C dpyrUm npi6opamn.
OBUHEHACTPOIKN
Hactpoika daTbI n BpeMeHH
IaTy n Bpem HnB3HaCTponTb BpyHyIO, OHn 6ydyT yCTaHOBHeHb IIN O6HOBHeHb aBTOMaTuYeCKn npn noJyuEHn paadinocuHaHa DAB.
Функця 6удиьнka

AknBaunn n deaktnBaunn 6ydnbHnka
Moxno nocTabnb 6yunbHK, TOnbKO ecn FM- nn DAB-paNo OTKIOueHo (haoDntcBpeKIMe OxuaHn):
- Haxmte KhoNky INFO/AL. SET (nHOpmaunHaCTpoKa 6yUnbHnka), nocJe yero Ha dncnlee oTo6pa3ntc coctoHne ON (BKn.) uN OFF (OTKn.) u BpeM 6yUnbHnka. PnpmeuHne: Ecn B TeueHne 4 cekyn HnKaKe HacTpoKn He npOn3BOaTc, nCnPei OTKIOUHTcN nepeeIeT B pexm OxndaHna.
- Haxmnte Ha KhoNky TUNE+/- (hactpoikka +/), yTo6bI aKTNBnpoBaTb (ON) (BKJI.) nn DeaKTNBnpoBaTb (OFF) (OTKn.) 6yUnlbHnk.
- Haxmnte Ha KHONky ENTER (BBOJ). HaHyT MuraTb Yacbl INx MOXHO HAcTPONTb, Haxmam Ha KONKy TUNE+/- (HactpoNka +/-). CHoBa Haxmnte Ha KHONky ENTER (BBOJ). Tenepb Miraot MNHyTb INx MoXHO HAcTPONTb, Haxmam Ha KHONky TUNE+/- (HactpoNka +/-).
- CHOBA HaxmTe Ha KhoIky ENTER (BBOJ). C nOMoUbIO KHOKN TUNE+/- (HacTpoNka +/-) MoXHo HAcTPOuNTb CnHaJI 6yDnIbHNKa - 3BYKOBOU cnHaJI 1, 3BYKOBOU cnHaJI 2, DAB- nn FM-paNo.
OTKnIOueHHe 6yDnBbHnKa
1.Функця KOPOTKOrO cHa: HaxMnte Ha KhoNkY SNOOZE (KOpOTKn coH), YTO6bI OTIOxNtB CnTHa 6yDnNbHnKa Ha HeCKoNbKO MnHyT. ByDnNbHnK CHOba 3a3BeHnT uepe 9 MnHyT.
2. Haxmnte Ha KHONky STANDBY (pekmoxnua), yTO6bl OTKIOHHTb/OTMeHNtB 6yINbHNK.
Hactponkaydno
B pexnme FM-paio moxho Bb6paTb pexm MOHO n Ctepeo. 06paTne BHMaHne, yTo paio n Meet TOIbKO OIN DNHAMK, YTO DeJaet HeBO3MOXHbIM BOCnpoUN3BeDeHne B pexnme Ctepeo.
- B pexnme FM-paio no haxmnte Ha KhoNky ENTER (BbOd). Ha dinnee oTo6pa3ntcpexim ayino.
- CHOBA HauKMITE Ha KhoNkY ENTER (BBOd), YTO6bl nepeKJIIOHTbcra MeJdy peKImaMn ABTo n MoHO.
ABTomatnueckoe OTKIOUeyHne nntaHn
Papno OTKIIOHTcA uepe3 15 MInHy, ecn OHO He npHmMaet kakoro-ln6o FM- DAB-paIIOscHana, n Ha HEm He BbIIOHNReTc BocIpOn3BedeHne C BHeHrero ayINOpNlEepa (AUX). POpCBETKa dncnnpe OTKIOHTcA n Ha HEm OTo6pa3NTc TeKUe ee Bpem.
YHCTKA N YXOJ
- Ipeed ouincko npu6opa BbHbTe nepexoHnK n3 ceTn. Ounctnte Kopnyc c nomoou cnerKa CMOueHHO TKAHN.
BHMnHe! Bo Bpem OuchTkn nn 3Knpyataun 3anpeucho norgykaTb 3neKtpueckne deTaHn3denn B Body. HkoRda He nepxnte n3delle noD npotooho Bdoi.
BhMaHHe! PnO uocTke 3aPpeIeHO nCNoJIb3OBaTb paCTBOpITeIN nn a6pa3NBbIe MaTePnaJIbI, TBepIbe IeTKN, MeTaIIInueckne INnn OcTpbl EpeIMTebl. PaCTBOpITeIN HaHOCr TBePd 3IopOBbIO YeIOBeka N MoRyT pa3pyuINb IIaCTMaCCOBbIe DeTaN, a a6pa3NBbIe YIcTReIe yCTpOJcTBa INHCTpyMeHTbl MOrY IIOapaNaTb NOBepXHOCTb (-TN).
CNEUΦUKAUN
HomHaJIbHoe HaIpyKeHHe:230B\~,50Tc
Klacc 3aunTbI:II
3KcNJIyTaUIOHNaIOTpe6IeMaM MoUHOCTb:10W
Iotppe6nemmaMoUHoctbBpeKmmeOxuHaHn:≤1W