M 80 Sm - Vacuum Cleaner Kärcher - Free user manual and instructions
Find the device manual for free M 80 Sm Kärcher in PDF.
Download the instructions for your Vacuum Cleaner in PDF format for free! Find your manual M 80 Sm - Kärcher and take your electronic device back in hand. On this page are published all the documents necessary for the use of your device. M 80 Sm by Kärcher.
USER MANUAL M 80 Sm Kärcher
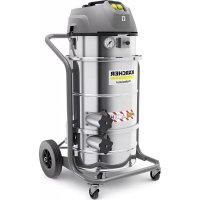
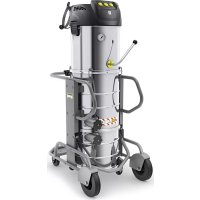
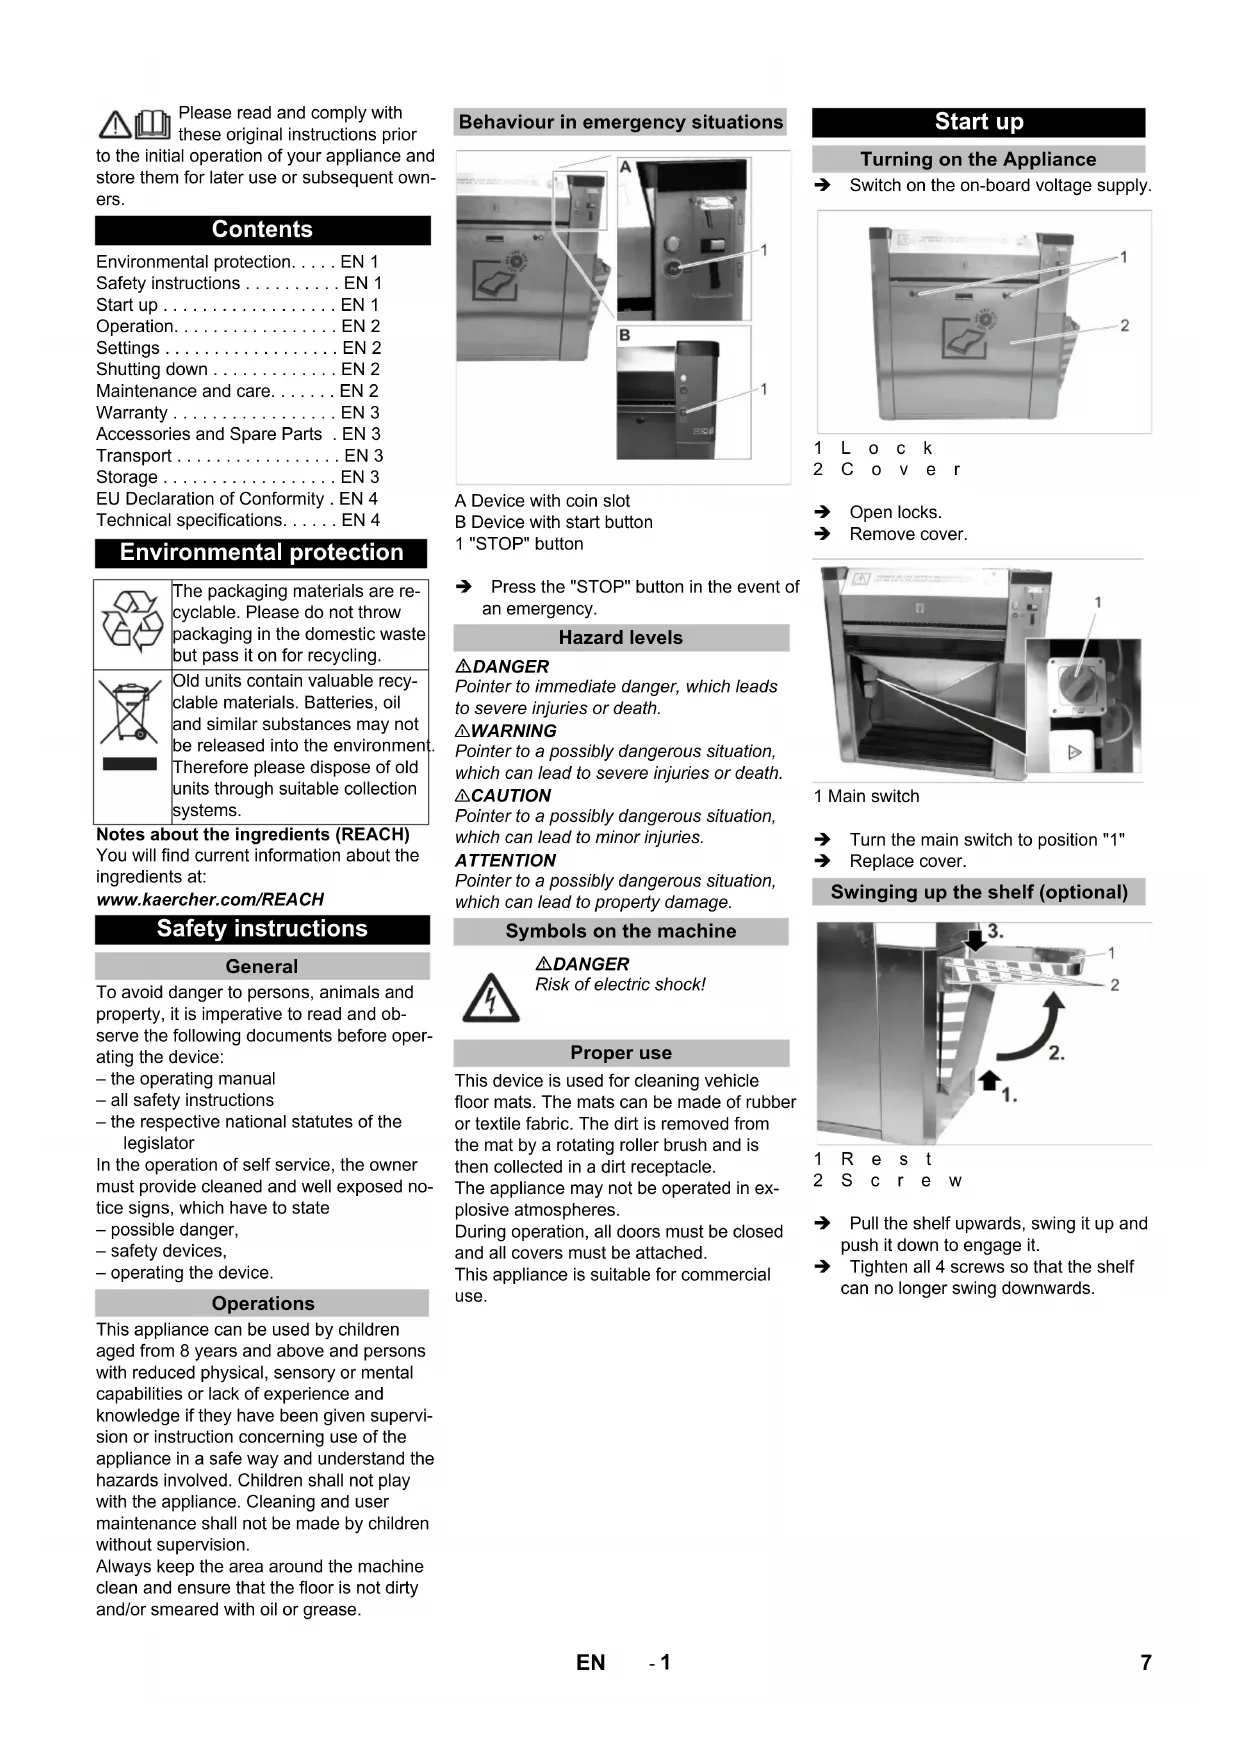
dB(A) 63 Abmessungen Länge mm 1092 Breite mm 531 Höhe mm 1094 Gewicht kg 70 6 DE- 1 Please read and comply with these original instructions prior to the initial operation of your appliance and store them for later use or subsequent own- ers. Notes about the ingredients (REACH) You will find current information about the ingredients at: www.kaercher.com/REACH To avoid danger to persons, animals and property, it is imperative to read and ob- serve the following documents before oper- ating the device: – the operating manual – all safety instructions – the respective national statutes of the legislator In the operation of self service, the owner must provide cleaned and well exposed no- tice signs, which have to state – possible danger, – safety devices, – operating the device. This appliance can be used by children aged from 8 years and above and persons with reduced physical, sensory or mental capabilities or lack of experience and knowledge if they have been given supervi- sion or instruction concerning use of the appliance in a safe way and understand the hazards involved. Children shall not play with the appliance. Cleaning and user maintenance shall not be made by children without supervision. Always keep the area around the machine clean and ensure that the floor is not dirty and/or smeared with oil or grease. A Device with coin slot B Device with start button 1 "STOP" button Press the "STOP" button in the event of an emergency. DANGER Pointer to immediate danger, which leads to severe injuries or death. 몇 WARNING Pointer to a possibly dangerous situation, which can lead to severe injuries or death. 몇 CAUTION Pointer to a possibly dangerous situation, which can lead to minor injuries. ATTENTION Pointer to a possibly dangerous situation, which can lead to property damage. This device is used for cleaning vehicle floor mats. The mats can be made of rubber or textile fabric. The dirt is removed from the mat by a rotating roller brush and is then collected in a dirt receptacle. The appliance may not be operated in ex- plosive atmospheres. During operation, all doors must be closed and all covers must be attached. This appliance is suitable for commercial use. Switch on the on-board voltage supply. 1Lock 2Cover Open locks. Remove cover. 1 Main switch Turn the main switch to position "1" Replace cover. 1Rest 2Screw Pull the shelf upwards, swing it up and push it down to engage it. Tighten all 4 screws so that the shelf can no longer swing downwards. Contents Environmental protection... EN 1 Safety instructions ... EN 1 Start up ... EN 1 Operation... EN 2 Settings ... EN 2 Shutting down ... EN 2 Maintenance and care... EN 2 Warranty ... EN 3 Accessories and Spare Parts . EN 3 Transport ... EN 3 Storage ... EN 3 EU Declaration of Conformity . EN 4 Technical specifications... EN 4 Environmental protection The packaging materials are re- cyclable. Please do not throw packaging in the domestic waste but pass it on for recycling. Old units contain valuable recy- clable materials. Batteries, oil and similar substances may not be released into the environment. Therefore please dispose of old units through suitable collection systems. Safety instructions General Operations Behaviour in emergency situations Hazard levels Symbols on the machine DANGER Risk of electric shock! Proper use Start up Turning on the Appliance Swinging up the shelf (optional) 7EN- 2 A Device with coin slot B Device with start button 1 Throwing in the coin 2 Indicator lamp 3 Coin return 4 Start button 5 Mat feeder 6 Mat ejector Note: If the mat is released, it will move through the device and be ejected at the mat ejec- tor. Note: The adjustable run time applies to the in- sertion of one of the following coins: – 50 Eurocents – 50 British pence – 1 Swiss franc – 1 Polish złoty – 5 Norwegian Kroner Remove the lid (see "Maintenance and care/Maintenance tasks/Removing the lid"). 1 "PRG" button 2LED 3 3LED 1 4 "P1" button 5Control Press the "PRG" button and hold it down until LED 3 illuminates. The "adjustment" operating mode is ac- tivated. Note: The "adjustment" operating mode will end if no buttons have been pressed for 10 sec- onds. The adjustment begins with a run time of 0 seconds. Maximum run time is 10 minutes. If this set- ting is reached, LED 1 will flash quickly. Press the "P1" button briefly. LED 1 flashes quickly and the run time is increased by 5 seconds. Press and hold the "P1" button. LED 1 flashes slowly and the run time is increased by 30 seconds. Set the desired run time by pressing the "P1" button repeatedly. To confirm the set run time, press the "PRG" button until LED 3 flashes quick- ly: The run time has now been saved. Set main switch to “0”. DANGER Risk of injury due to inadvertently starting up device and also due to electric shock. Before starting any maintenance and care work, turn the main switch off "0" and ensure that it will not be turned on accidentally. For device with coin slot: Empty the coin cassette (see "Maintenance tasks"). Empty the dirt receptacle (see "Mainte- nance tasks"). Check the general condition of the de- vice. Have damaged parts replaced. Remove dirt from the mat ejector. Clean the device. Lubricate the locks with penetrating oil (Caramba, WD 40). Replace the brush (see "Maintenance tasks"). 1Door 2Lock 3 Coin cassette Open door. Remove and empty the coin cassette. 1Lock 2Cover Open locks. Remove cover. Remove the front cover (see above). 1 Dirt receptacle (not included in delivery) Remove and empty the dirt receptacle. Reinsert the dirt receptacle. Install and lock the cover. Operation Operating elements Cleaning the mat Device with coin slot: Insert a coin in the coin slot. The device starts. Device with start button: Press the start button. The device starts. Turn the side of the mat to be cleaned downwards. Push the mat into the mat feed- er and hold it. Insert, withdraw, and turn the mat in the device several times until all points of the mat have been cleaned. Pull the mat out of the device. Settings Setting the run time START Shutting down Maintenance and care Daily Weekly Every 500 cycles Every 8000 cycles Maintenance Works Emptying the coin cassette Removing the front cover Emptying the dirt receptacle 8 EN- 3 1 Cover 2Door 3Lock 4 Star handle screw Open locks. Open door. Unscrew the star-knob screw. Repeat the procedure on the other side of the appliance. Remove the lid. Remove the lid (see "Maintenance and care/Maintenance tasks/Removing the lid"). 1Door 2Lock 3Screw 4 V-belt Open door. Loosen 4 screws. Remove V-belt. Remove the front cover (see "Mainte- nance and care/Maintenance tasks/Re- moving the front cover"). 1 Funnel 2 Dirt receptacle Remove the waste container. Pull out the funnel. 1Screw 2Pulley Loosen 2 screws. Remove the pulley. A Right side B Left-hand side 1Screw Unscrew 12 screws. 1 Bracket 2Screw 3 Brush roller Loosen 4 screws. Lift the roller brush. Remove the supports. Remove the retainer incl. the roller brush. 1Screw 2 Shaft 3 Intake 4 Brush roller Unscrew 2 screws. Pull out the shaft. Remove the roller brush. Reassemble everything in the reverse order with the new roller brush. The warranty terms published by our com- petent sales company are applicable in each country. We will repair potential fail- ures of your accessory within the warranty period free of charge, provided that such failure is caused by faulty material or de- fects in fabrication. In the event of a warran- ty claim please contact your dealer or the nearest authorized Customer Service cent- er. Please submit the proof of purchase. Only use original accessories and spare parts, they ensure the safe and trouble-free operation of the device. For information about accessories and spare parts, please visit www.kaerch- er.com. 몇 CAUTION Risk of injury and damage! Observe the weight of the appliance when you transport it. When transporting in vehicles, secure the appliance according to the guide- lines from slipping and tipping over.
CAUTION Risk of injury and damage! Note the weight of the appliance in case of storage. Removing the lid Exchanging the brush Warranty Accessories and Spare Parts Transport Storage 9EN- 4 We hereby declare that the machine de- scribed below complies with the relevant basic safety and health requirements of the EU Directives, both in its basic design and construction as well as in the version put into circulation by us. This declaration shall cease to be valid if the machine is modified without our prior approval. Documentation supervisor: MTM Hydro Srl Via Moglia, 33 12062 Cherasco (Cn) - Italy Tel. +39 0172 427311 Fax +39 0172 495437 C.F./R.I./P.IVA/V.A.T.: IT 02469390047 Cap. Soc. € 255.000 - REA CN-178422 CCIAA info@mtmhydro.it PEC: mtmhydro@multipec.it www.mtmhydro.it 2021/01/01 EU Declaration of Conformity Product: AT, AT Fp AWT, AWT Fp PT, PT Fp M 80, M 80 S M 80 3, M 80 3 S M 80 Sm M 80 Sm S Type: 1.534-xxx Relevant EU Directives 2006/42/EC (+2009/127/EC) 2014/30/EU 2014/35/EU Technical specifications Electrical connection Voltage V 230 400 Frequency Ph/Hz 1/50 3/50 Power Input W 400 Type of protection IPX4 Working conditions Temperature °C -10...40 Humidity % 10...80 Noise emission Sound pressure lev- el L