
SCBI9000BK - Binoculars NEDIS - Free user manual and instructions
Find the device manual for free SCBI9000BK NEDIS in PDF.
| Product type | Night vision monocular |
| Brand | Nedis |
| Model | SCBI9000BK |
| Dimensions (L x W x H) | 190 x 83 x 56 mm |
| Weight | 345 g |
| Power supply | 3 AA batteries (1.5 V, not included) |
| Optical zoom | 5x |
| Digital zoom | 3x |
| Battery life | Approximately 6 hours |
| Viewing distance (total darkness) | 100 - 150 m |
| Photo resolution | 0.3 MP |
| Video resolution | 640 x 480 pixels |
| Storage | microSD card (4 to 32 GB, class 10, not included) |
| Connections | Mini USB, 3.5 mm AV output |
| Infrared illuminator | 9 adjustable levels |
| Minimum focus | 57 mm |
| Lens diameter | 32 mm |
| Field of view | 87/1000 mm |
| Maintenance | Clean only the exterior with a dry cloth. Do not clean the interior. |
| Safety | Do not expose to water or intense light. Do not look directly at the sun. Repair by qualified technician only. |
| Main parts | Lens cap, focus ring, wrist strap, buttons, eyepiece, diopter ring, IR illuminator, Picatinny rail, tripod mount, ports, battery cover |
| Warranty | Refer to Nedis warranty conditions |
Frequently Asked Questions - SCBI9000BK NEDIS
User questions about SCBI9000BK NEDIS
0 question about this device. Answer the ones you know or ask your own.
Ask a new question about this device
Download the instructions for your Binoculars in PDF format for free! Find your manual SCBI9000BK - NEDIS and take your electronic device back in hand. On this page are published all the documents necessary for the use of your device. SCBI9000BK by NEDIS.
USER MANUAL SCBI9000BK NEDIS
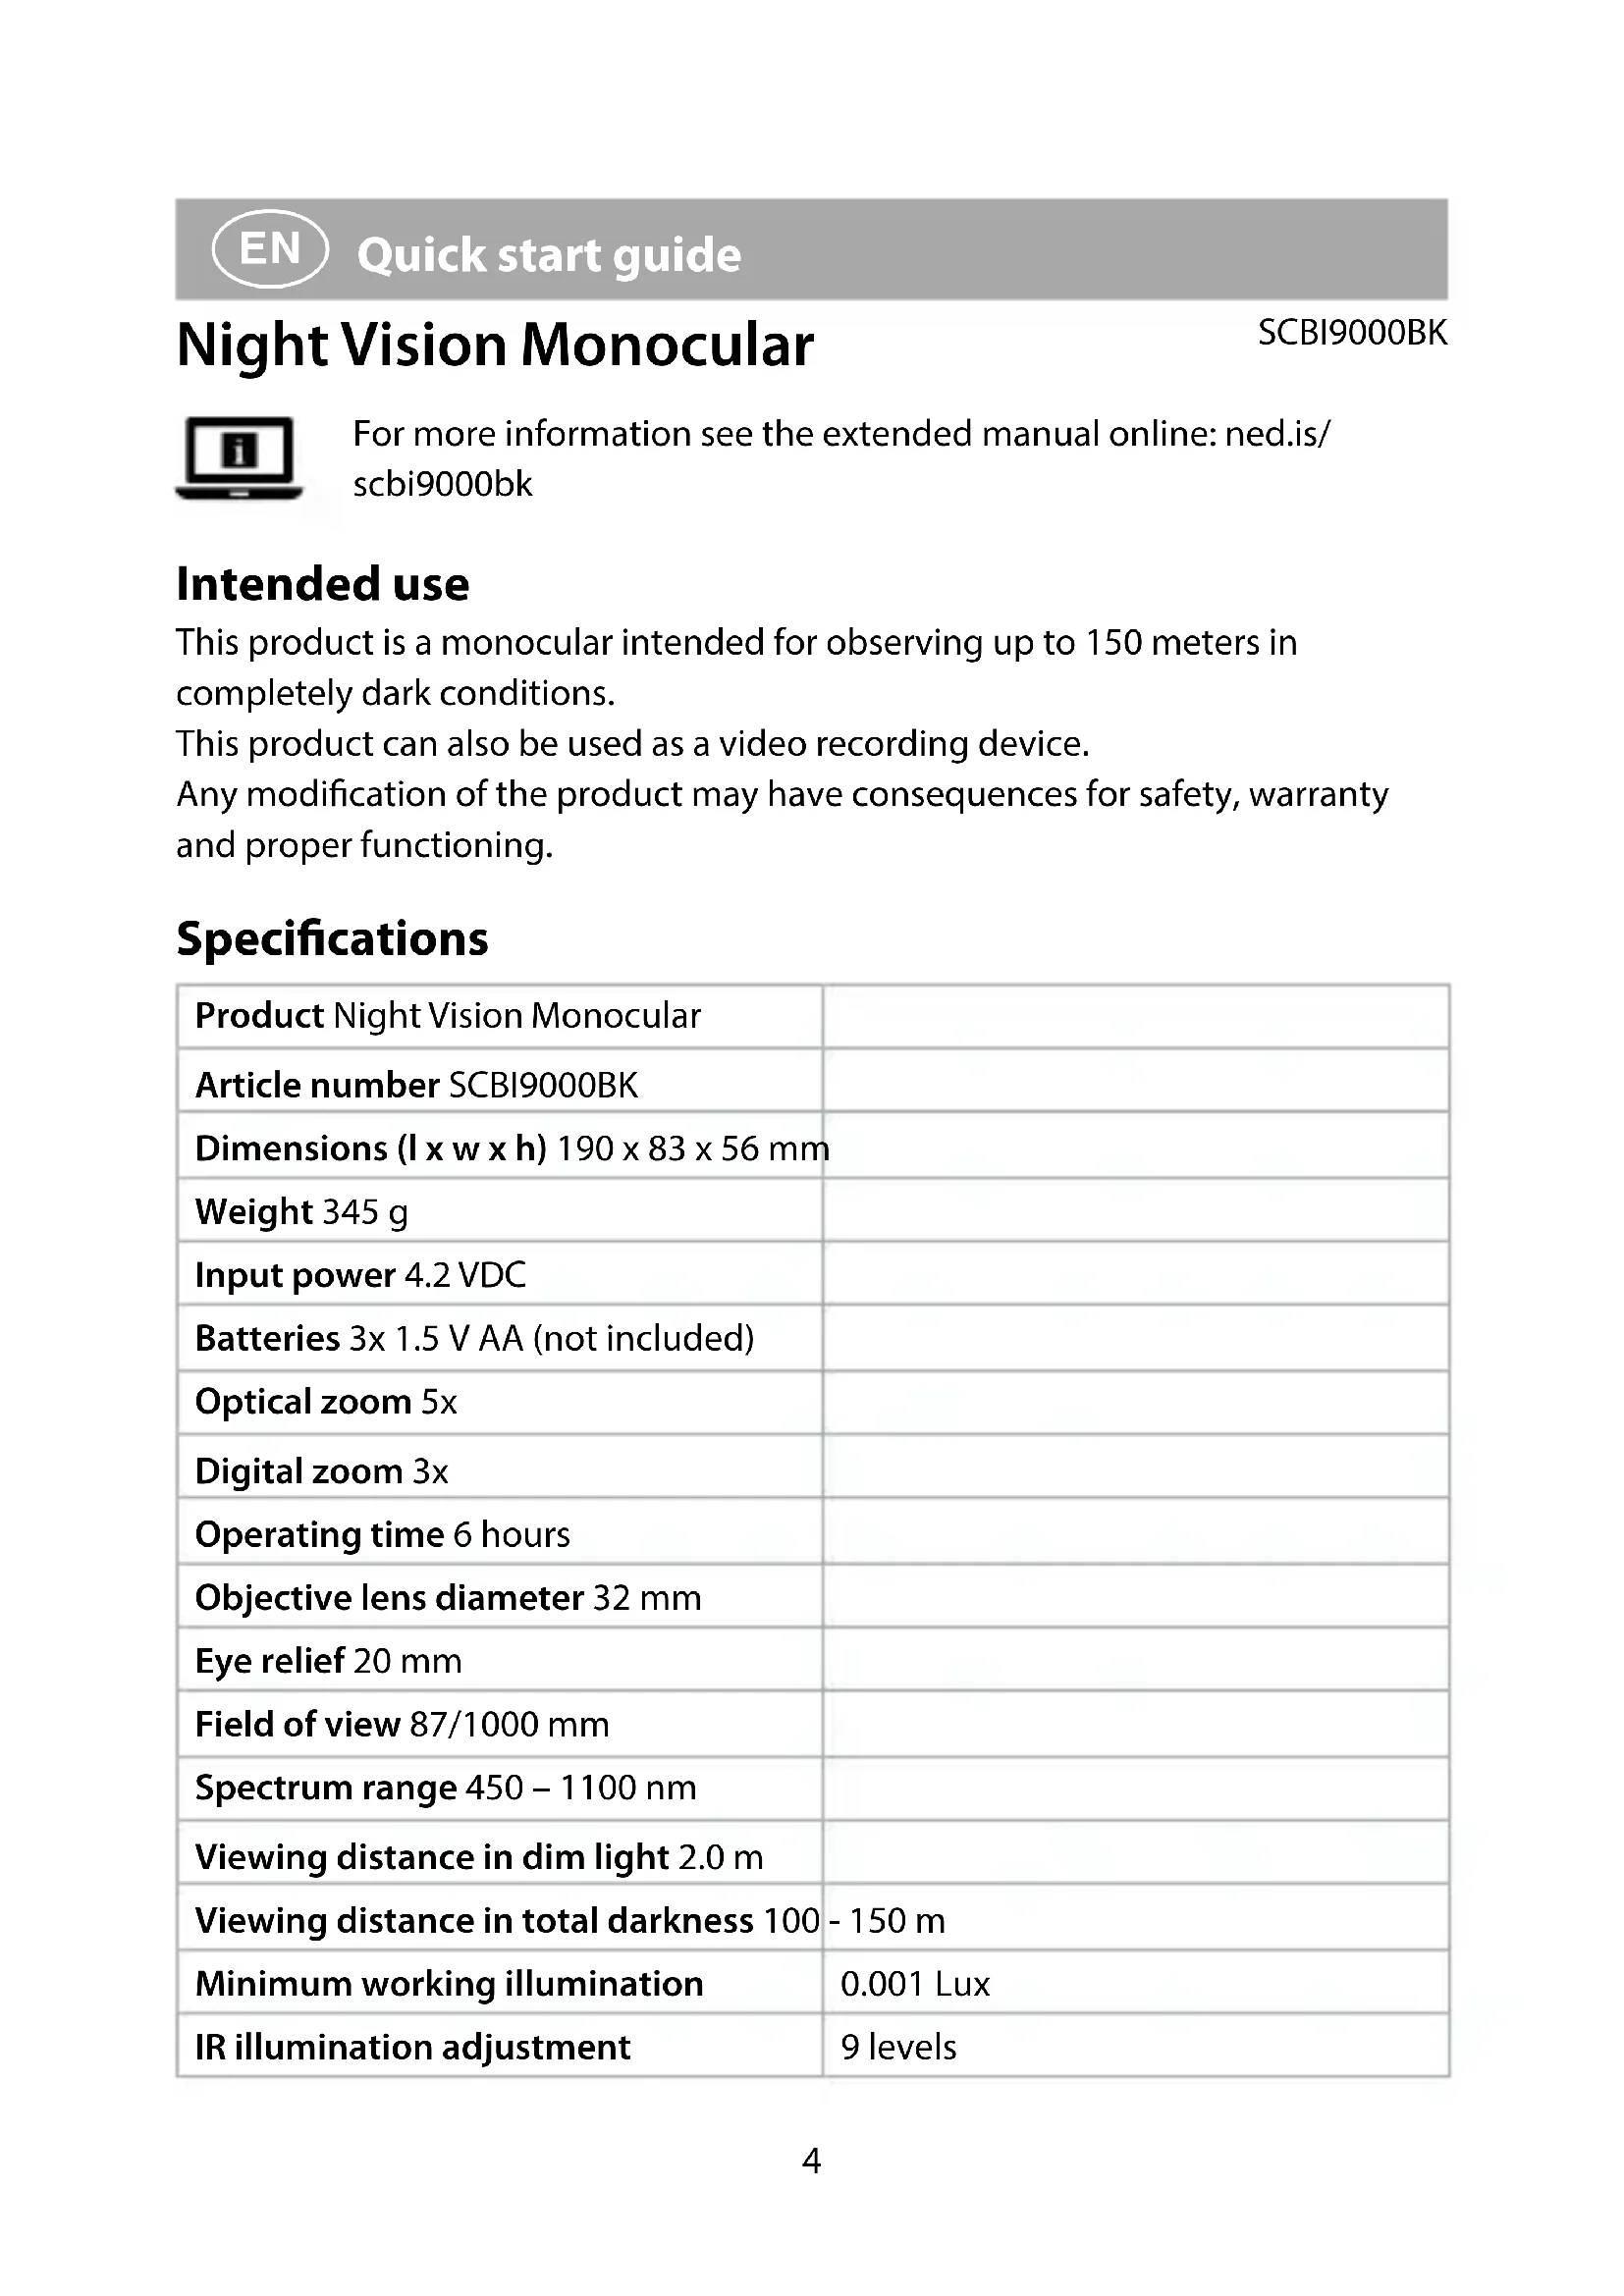
Night Vision Monocular
5 × 32 ~mm
SCBI9000BK
EN Quick start guide 4
DE Kurzanleitung 8
This product is a monocular intended for observing up to 150 meters in completely dark conditions.
This product can also be used as a video recording device.
Any modification of the product may have consequences for safety, warranty and proper functioning.
Specifications
| Product Night Vision Monocular | |
| Article number SCBI9000BK | |
| Dimensions (I x w x h) 190 x 83 x 56 mm | |
| Weight 345 g | |
| Input power 4.2 VDC | |
| Batteries 3x 1.5 V AA (not included) | |
| Optical zoom 5x | |
| Digital zoom 3x | |
| Operating time 6 hours | |
| Objective lens diameter 32 mm | |
| Eye relief 20 mm | |
| Field of view 87/1000 mm | |
| Spectrum range 450 – 1100 nm | |
| Viewing distance in dim light 2.0 m | |
| Viewing distance in total darkness 100 - 150 m | |
| Minimum working illumination | 0.001 Lux |
| IR illumination adjustment | 9 levels |
| Focal length 57 mm | |
| Video resolution 640 x 480 pixels | |
| Photo resolution 0.3 MP | |
| MicroSD card 4 - 32 GB (Class 10) (not included) | |
| Connections Mini USB, 3.5 mm AV output |
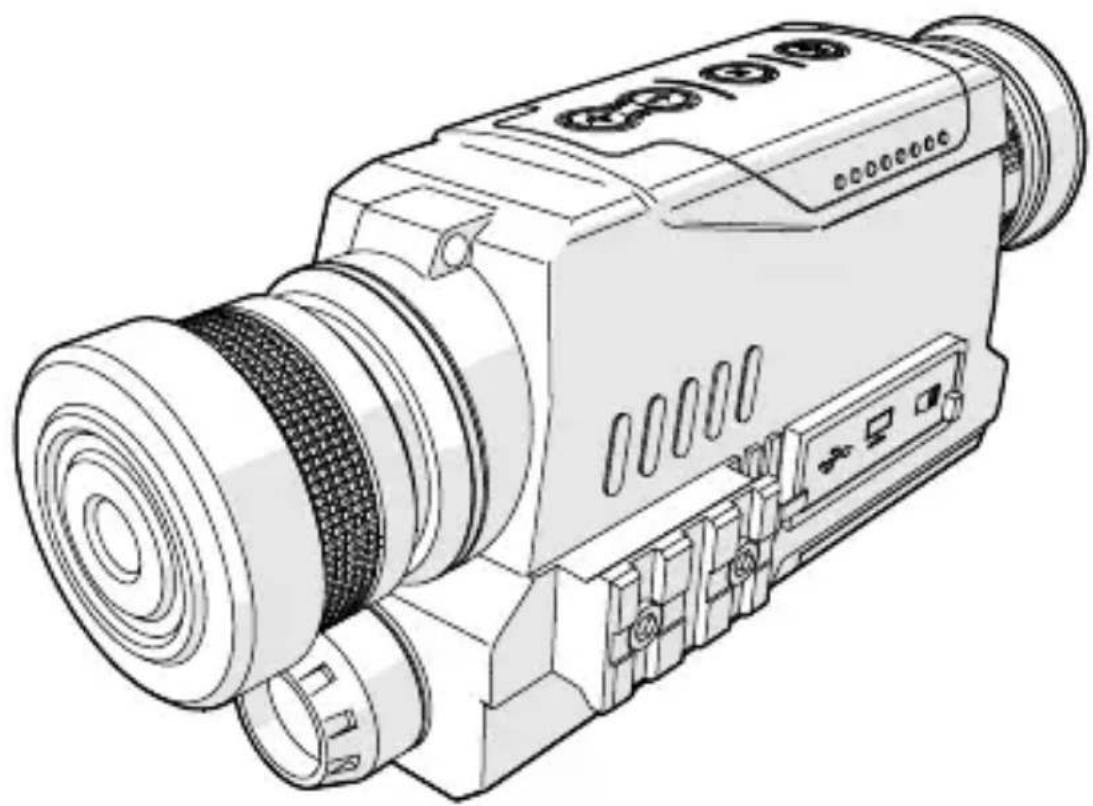
Main parts (image A)
Objective lens cover
2 Focus ring
3 Hand strap
4 Down button
Up button
Mode button
7 Power button
8 Diopter mark
9 Ocular lens
10 Diopter ring
11 Auxiliary illuminator
12 Picatinny rail
13 Tripod mount
14 Mini USB port
15 Video transmit port
MicroSD card slot
17 Battery cover
Symbols (image B)
1 Battery level indicator
2 Camera mode indicator
3 Available storage for photos or video
MicroSD card indicator
Safety instructions
WARNING
- Ensure you have fully read and understood the instructions in this document before you install or use the product. Keep the packaging and this document for future reference.
- Only use the product as described in this document.
- Do not use the product if a part is damaged or defective. Replace a damaged or defective product immediately.
- Do not drop the product and avoid bumping.
- Do not expose the product to water or moisture.
- This product may only be serviced by a qualified technician for maintenance to reduce the risk of electric shock.
-
Protect the product from excessive lighting. Do not use the product in daylight. Do not point the product at a bright light source. This can cause damage of your product.
-
Only power the product with the voltage corresponding to the markings on the product.
- Wipe the battery terminals with a clean dry cloth if they are dirty.
- Non-rechargeable batteries are not to be recharged.
- Do not short-circuit a battery.
Children of less than 8 years should be kept away. - Cleaning and user maintenance shall not be done by children without supervision.
- Make sure to match the (+) and (-) polarity markings.
- Do not clean the inside of the product.
- For more detailed information about disposal of your old battery, check the local rules and regulations for the correct disposal instructions.
Setting up the product
- Remove the battery cover A 17.
- Insert 3 type AA batteries (not included) into the battery compartment. Make sure that the battery polarity (+/-) matches the polarity markings inside the battery compartment.
- If you want to save photos or videos, insert a 4-32 GB Class 10 microSD card into the microSD card slot A16.
- Place back A 17.
- Press the power button A 7.
Look through the ocular lens A9. The screen lights up.
If the screen does not light up, check if the batteries are charged and have been installed correctly.
Using the product
Rain, fog, snow or smoke can negatively influence the viewing distance and image quality.
- Remove the objective lens cover A 1.
Leave the lens cover A 1 on during daylight. - Press to switch on the product.
The product starts up in observation mode. - Look through the ocular lens A 9
- Rotate the diopter ring A 10 to adjust the light sensitivity.
- Rotate the focus ring A 2 to adjust the focus distance.
- Press the up and down buttons A 4 5 to adjust the digital zoom. In dark environments, the infrared lamp switches on automatically.
The objective lens is equipped with an optic filter. Remove the optic filter in low light conditions.
Making photos
The product has no internal storage. Photos can only be saved on a microSD card (not included).
- Press 7 when the product is in observation mode to take a photo.
Making videos
The product has no internal storage. Videos can only be saved on a microSD card (not included).
- Press to enter video mode.
- Press 7 to start recording.
- Press to stop and save the recording.
Viewing photos and videos
- Double press A 6 to enter playback mode.
- Press A4 or A5 to browse the stored files.
- During video playback, press A to start and pause playback.
Deleting photos and videos
- Double press A 6 to enter playback mode.
- Press and hold A 6 on the file you wish to delete.
- Press 4 or A 5 to select Yes.
- Press to confirm.
Adjusting screen brightness
- Press and hold A 6 to enter the settings.
- Press to select the screen brightness setting.
- Press 4 or A 5 to adjust the screen brightness. Select level 1-9.
- Press 6 to confirm.
The product returns to observation mode after 5 seconds of inactivity.
Infrared light settings
The product is equipped with an infrared lamp A11 for increased visibility in dark environments. By default, A11 automatically switches on in dark environments. You can also set A11 to manual mode to manually switch it on and off.
If the infrared lamp is switched on, the brightness level is indicated on the screen.
Using A11 in manual mode:
- Press and hold A 6 to enter the settings.
- Press to select the infrared lamp brightness setting.
- Press 4 or A 5 to adjust the infrared lamp brightness.
- Press 6 to confirm.
The product returns to observation mode after 5 seconds of inactivity.
Setting the time and date
- Press and hold A 6 to enter the settings.
- Press to select the time setting.
- Press 4 or A 5 to change the value between the arrows.
- Press to select the next value.
- After setting all numbers, press A to confirm.
Connecting the product to an external monitor
- Plug a cable into the video transmit port A 15
- Plug the other end of the cable into an external monitor.
Switching off the product
Press and hold A7 for 3 seconds to switch off the product.
When the product is not in video recording or playback mode, the product switches off automatically after 3 minutes of inactivity.
DE Kurzanleitung
- Night Vision Monocular
- Specifications
- Main parts (image A)
- Symbols (image B)
- Safety instructions
- WARNING
- Setting up the product
- Using the product
- Making photos
- Making videos
- Viewing photos and videos
- Deleting photos and videos
- Adjusting screen brightness
- Infrared light settings
- Setting the time and date
- Connecting the product to an external monitor
- Switching off the product
- DE Kurzanleitung
Brand : NEDIS
Model : SCBI9000BK
Category : Binoculars