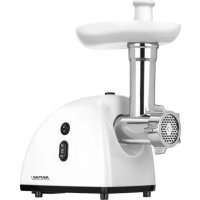
MMM05 - Chopper MPM - Free user manual and instructions
Find the device manual for free MMM05 MPM in PDF.

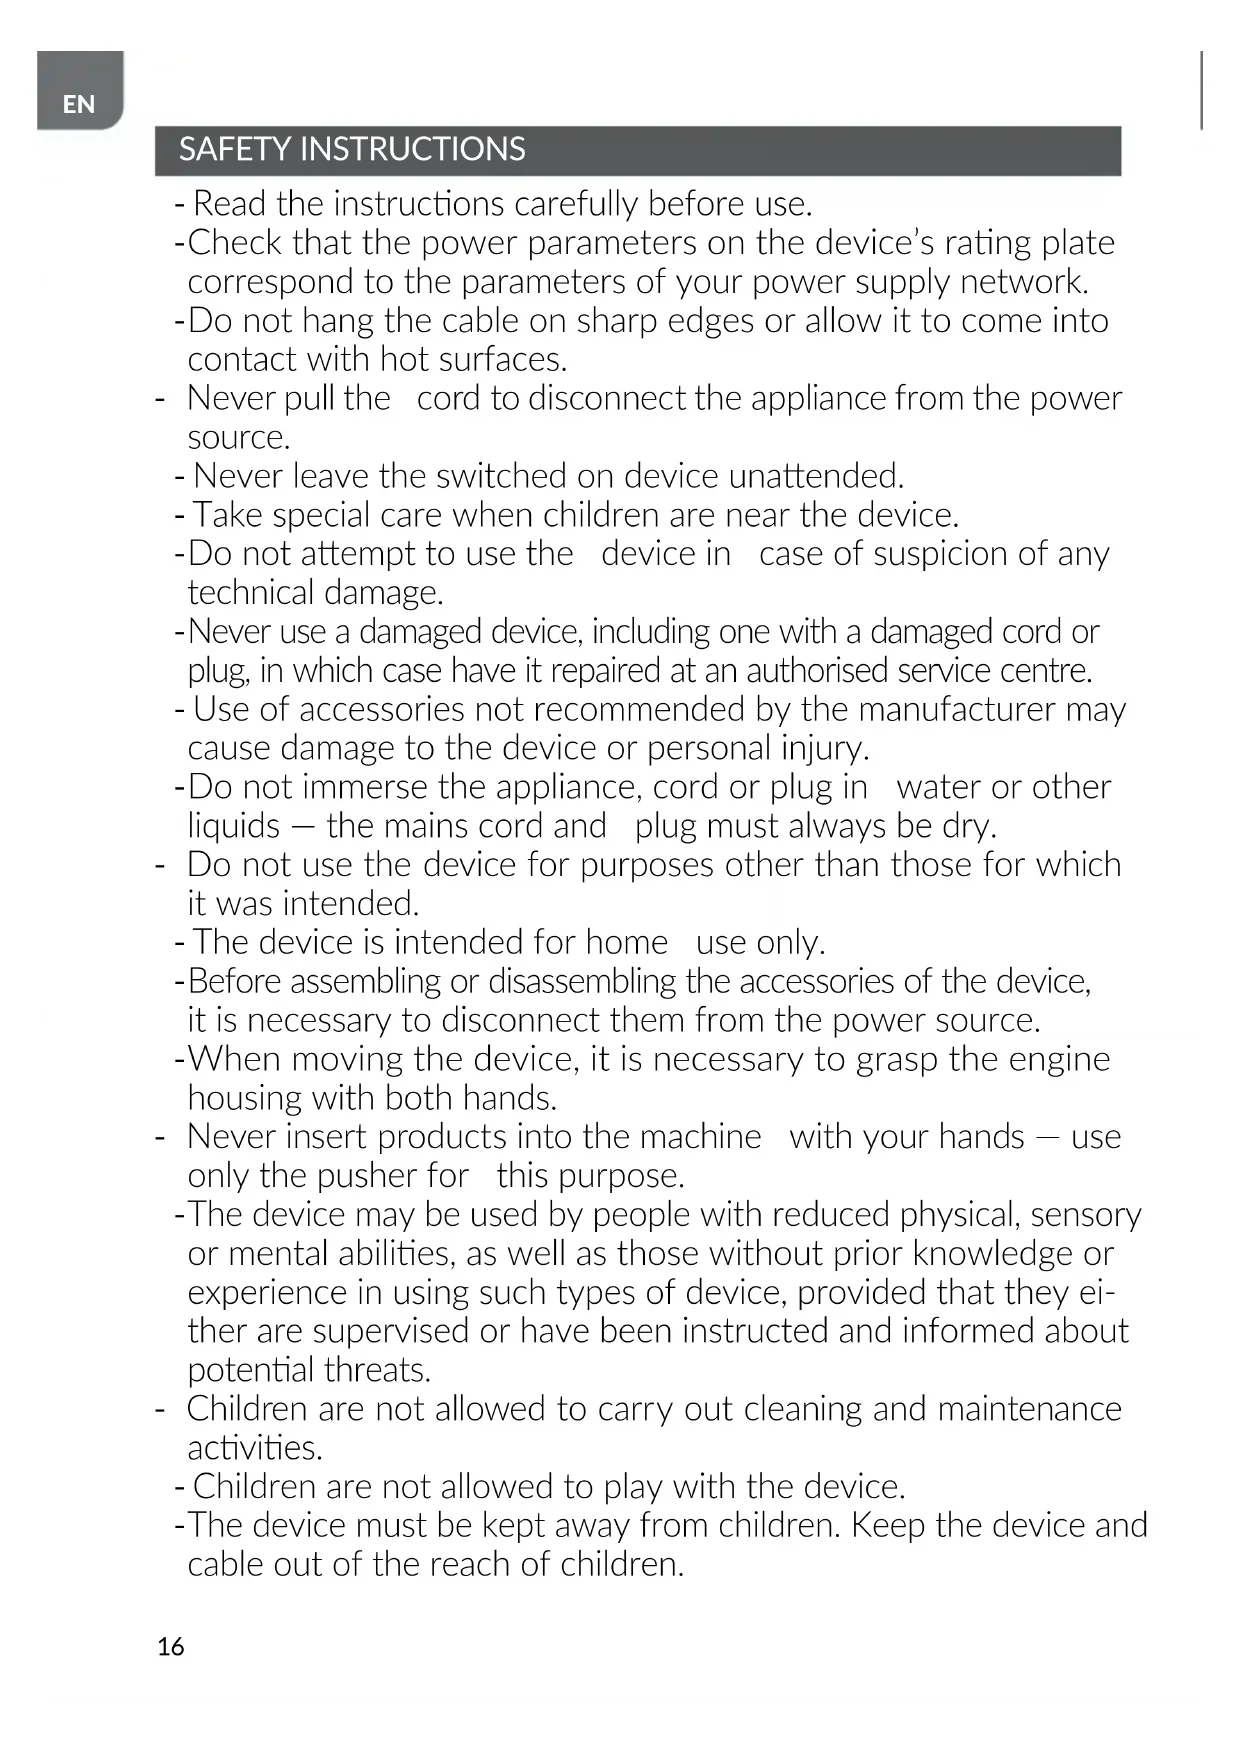


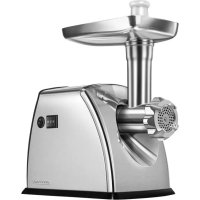
| Product type | Multifunctional meat grinder |
| Brand | MPM |
| Model | MMM05 |
| Power supply | 220-240 V ~ 50/60 Hz |
| Rated power | 500 W |
| Dimensions (approx.) | 20 x 15 x 30 cm |
| Weight (approx.) | 3 kg |
| Power cord length | 1.15 m |
| Sound level | L_WA = 80 dB |
| Max continuous operation time | 10 minutes (KB MAX) |
| Blade material | Stainless steel |
| Provided grinding plate diameters | 3 mm, 5 mm, 7 mm |
| Included accessories | Pusher, tray, 3 plates, knife, screw, sausage attachment, pasta attachment |
| Main functions | Meat grinding, sausage making, pasta preparation |
| Reverse rotation function | Yes (ON/R button) |
| Safety lock | Grinding chamber lock button |
| Cleaning | Removable parts washable in hot water with detergent; do not dishwasher; wipe housing with a damp cloth |
| Maintenance | Lubricate parts with cooking oil |
| Usage | Household use only |
| Warranty | 2 years (according to applicable legislation) |
| Repairability | Repair by authorized center only |
Frequently Asked Questions - MMM05 MPM
User questions about MMM05 MPM
0 question about this device. Answer the ones you know or ask your own.
Ask a new question about this device
Download the instructions for your Chopper in PDF format for free! Find your manual MMM05 - MPM and take your electronic device back in hand. On this page are published all the documents necessary for the use of your device. MMM05 by MPM.
USER MANUAL MMM05 MPM
EN We wish you satisfaction from using the product and invite you to check a wide range of other MPM appliances
GAAS MALSANAS MASINA
VEESMOLEN
MASZYNKA DO MIELENA MIESA
natural_image
White electrician meat maker with handle and control knob (no visible text or symbols)C2 NAVOD K OBSLUZE 3
BEZPEČNOSTNÍ POKYNY PŘI POUŽÍVÁNÍ
- Read the instructions carefully before use.
-Check that the power parameters on the device's rating plate correspond to the parameters of your power supply network. - Do not hang the cable on sharp edges or allow it to come into contact with hot surfaces.
- Never pull the cord to disconnect the appliance from the power source.
- Never leave the switched on device unattended.
- Take special care when children are near the device.
- Do not attempt to use the device in case of suspicion of any technical damage.
- Never use a damaged device, including one with a damaged cord or plug, in which case have it repaired at an authorised service centre.
- Use of accessories not recommended by the manufacturer may cause damage to the device or personal injury.
- Do not immerse the appliance, cord or plug in water or other liquids — the mains cord and plug must always be dry.
- Do not use the device for purposes other than those for which it was intended.
- The device is intended for home use only.
- Before assembling or disassembling the accessories of the device, it is necessary to disconnect them from the power source.
-When moving the device, it is necessary to grasp the engine housing with both hands. - Never insert products into the machine with your hands — use only the pusher for this purpose.
- The device may be used by people with reduced physical, sensory or mental abilities, as well as those without prior knowledge or experience in using such types of device, provided that they either are supervised or have been instructed and informed about potential threats.
- Children are not allowed to carry out cleaning and maintenance activities.
- Children are not allowed to play with the device.
-The device must be kept away from children. Keep the device and cable out of the reach of children.
- Disconnect the device from the power supply each time when the device is left unattended and before any assembling, disassembling, or cleaning works.
- Do not place the device near other electric cookers, burners, ovens, etc.
- Always ensure that all parts of the device are correctly fitted before starting work.
- Do not use the device outdoors.
- Do not place the device on a hot surface.
- Do not pull the plug out of the power socket by pulling the cord.
- Do not connect the plug to the power socket with wet hands.
- For the safety of children, please do not leave freely accessible parts of the packaging (plastic bags, cardboard boxes, polystyrene, etc.).
- Do not wash the components of the device in dishwashers.
-Cleaning of the appliance, in particular parts in direct contact with food, must be carried out before the first use, immediately after the end of the work or in the event that the appliance has not been used for a long time - the procedure is described in the section “CLEANING AND MAINTENANCE”.
- WARNING! Do not allow children to play with the film. Danger of suffocation!
- NOTE: The blade of the knife is very sharp, avoid physical contact when emptying and cleaning the device - you can seriously injure yourself.
FEATURES
- Pusher
- Food tray
- Safety-lock button
- Housing
- ON/OFF switch/R
- ON/R switch
- Mincing chamber
- Feed screw
- Stainless steel cutting blade
- Fine mincer screen (3 mm holes)
- Coarse mincer screen (7 mm holes)
- Ring collar
- Sausage nozzle
- Two-piece pate attachment
-
Non-slip feet
-
Medium mincer screen (5 mm holes)
BEFORE FIRST USE
- Remove the appliance from the box. Remove all plastic sheets, bags and styrofoam inserts.
- Wash all parts (except for the housing) in warm soapy water.
- Make sure that your mains power supply corresponds to the voltage stated on the rating plate.
- Make sure that the appliance is off before plugging.
ASSEMBLY
- Place the appliance on a sturdy, level and dry surface
- Insert the mincing chamber ⑦ into the housing ④ with the feed tube upwards and tilted 45° to the right from the vertical as seen from the mincing chamber seat in the housing.
- Press and hold the safety-lock button ③ of the mincing chamber, while turning the mincing chamber feed chute upward ⑦. Now, release the safety-lock button ③.
- Insert the feed screw 8 into the mincing chamber 7 with the splined end to the inside 7. Next, mount the stainless steel cutting blade 9 on the feed screw 8 outer tip with the sharp edge blades outwards.
- Next, fit one of the mincer screens 10, 11, 12 and screw on the ring collar 13.
- When making sausage, replace the cutting blade 9 and one of the screens with the inner part of the pate attachment 15 and the sausage nozzle 14, and tighten the ring collar all the way up 13.
- Fit the food tray 2 onto the mincing chamber in the right position.
MINCING MEAT
WARNING! Never use the appliance for mincing bones, nut shells and food with tough tendons. WARNING! To avoid jamming, do not overload the appliance.
WARNING! If any hard material blocks the mincer screen or cutting blade, immediately switch off the appliance and remove the obstruction.
- Cut meat into small chunks for easy feeding into the mincing chamber.
- Plug in and switch on the appliance using the ON/OFF switch 5.
- Guide seasoned meat through the feed tube using the pusher 1.
-
When finished mincing, switch the mincer off using the ON/OFF switch 5 and unplug it.
-
If the meat does not go through the mincer screen and the mincer runs heavy, turn the mincer off by setting the ON/OFF switch 5 OFF, set the ON/R button 6 R, and set the ON/OFF switch 5 R. When the meat moves back inside the mincing chamber, turn the mincer off by setting the ON/OFF switch 5 OFF. Next, clean the mincer parts of meat and strings.
MAKING SAUSAGES
- Prepare the required amount of minced and seasoned meat. Fit the feed screw 8, the inner part of the pates attachment 15 and the sausage nozzle 14 inside the appliance and screw on the ring collar 13.
- Soak the sausage skins in warm water for about 10 minutes. Pull the sausage skin onto the end of the nozzle 14.
- Using the food pusher 1 gently guide the sausage filling into the mincing chamber. If necessary, wet the nozzle with some water.
- The appliance is also provided with a pate attachment. To make pates, fit the pate attachment inside the appliance and screw on the ring collar 13.
NOTE! When screwing on the ring collar, make sure not to screw it too tight as the feed screw may be blocked. The sausage nozzle and the pate attachment must not be used together with the cutting blade or the mincer screens.
DISASSEMBLY
Disassembly is the reverse of assembly.
CLEANING AND MAINTENANCE
- Do not use any sharp objects or harsh cleaners (such as solvents) for cleaning the appliance as they will permanently damage the mincer housing.
- After each use, remove the remnants of minced products and wash all parts in contact with food in warm soapy water.
- Using chlorine bleaching solutions will cause the aluminium parts to become discoloured.
- Never immerse the motor housing in water or other liquids – wipe it with a damp cloth.
- Never clean the appliance using any harsh cleaners which may cause damage to the appliance.
- After washing, carefully dry all parts.
- Wipe the mincer screens and the cutting blade with a light coating of vegetable oil to prevent rust developing.
TECHNICAL SPECIFICATIONS
Technical parameters are indicated on the product nameplate.
Noise level: L_WA = 80 dB
KB MAX: 10 min
Power cord lenght: 1,15 m

NOTE! MPM agd S.A. reserves its right to modify the technical data.
Proper disposal of the product (waste electrical and electronic equipment)
Marking on the product indicates that after the service-life of the product expires, it should not be disposed with other type of municipal waste. Used equipment may have a negative impact on the environment and health of people due to potentially containing hazardous substances, mixtures and components.
Mixing electric waste with other types of waste or disassembling those in an unprofessional manner may cause a release of substances that are hazardous to the environment and health. Used equipment should
be handed-over to a point for collection of electric waste. In order to obtain detailed information regarding the electric waste collection points, the user should contact the municipal point of electric waste collection or used equipment processing department.
BESCHRIJVING VAN HET APPARAAT
INSTALLATIE VAN HET APPARAAT
Brand : MPM
Model : MMM05
Category : Chopper