LUFOS 420 - Lighting BRENNENSTUHL - Free user manual and instructions
Find the device manual for free LUFOS 420 BRENNENSTUHL in PDF.
| Product type | Battery-powered LED duo floodlight |
| Luminous flux | 2 x 240 lm (total 480 lm) |
| Color temperature | 5000 K (daylight) |
| Power supply | 3 LR14 batteries (C-Baby cell) |
| Maximum battery life | 800 days (50% mode, 6 cycles/night at 10s) |
| Battery life in 100% mode | 400 days |
| Dusk sensor | Yes, threshold of 10 lux |
| Adjustable lighting duration | 10 to 30 seconds |
| Detection angle (PIR) | 180° |
| Detection range (PIR) | 10 m |
| Protection rating | IP44 (protected against water splashes) |
| Temperature range | -10°C to +45°C |
| Recommended installation height | 1.8 to 2.5 m |
| Functions | Switch AUTO 50% / AUTO 100% / OFF, PIR motion detector, day/night sensor |
| Orientation | Heads adjustable horizontally and tiltable vertically, individually or together |
| Battery replacement | By user (via removal strip) |
| Light source | Integrated non-replaceable LED (replace the entire floodlight at end of life) |
| Maintenance and cleaning | Clean with a dry or slightly damp cloth, without solvent or abrasive |
| Safety | Do not look directly into the beam, do not use in explosive areas, do not immerse |
Frequently Asked Questions - LUFOS 420 BRENNENSTUHL
User questions about LUFOS 420 BRENNENSTUHL
0 question about this device. Answer the ones you know or ask your own.
Ask a new question about this device
Download the instructions for your Lighting in PDF format for free! Find your manual LUFOS 420 - BRENNENSTUHL and take your electronic device back in hand. On this page are published all the documents necessary for the use of your device. LUFOS 420 by BRENNENSTUHL.
USER MANUAL LUFOS 420 BRENNENSTUHL
Battery Duo LED Light LUFOS 420
ATTENTION:
Please read these operating instructions carefully before installing the light and keep them available!
| Luminous flux: | 2x 240 lm |
| Light colour: | 5,000 K |
| Battery: | 3x LR14 (C baby cell) |
| Service life at 6 switching cycles per night for 10 sec. each: | max. 800 days |
| Day/night sensor: | 10 lux |
| Light duration adjustable: | 10-30 sec. |
| Motion detector detection angle: | 180° |
| Motion detector detection range: | 10 m |
| Ambient degree of protection: | IP 44 |
| Temperature range: | -10°C-+45°C |
This battery LED light is suitable for lighting purposes both indoors and outdoors and is intended for a fixed installation. The light must not be used for other purposes.
SAFETY INSTRUCTIONS
- Do not use the light if damaged. Contact a professional electrician or the specified service address.
Do not look directly into the light. - Open the device only to replace used batteries.
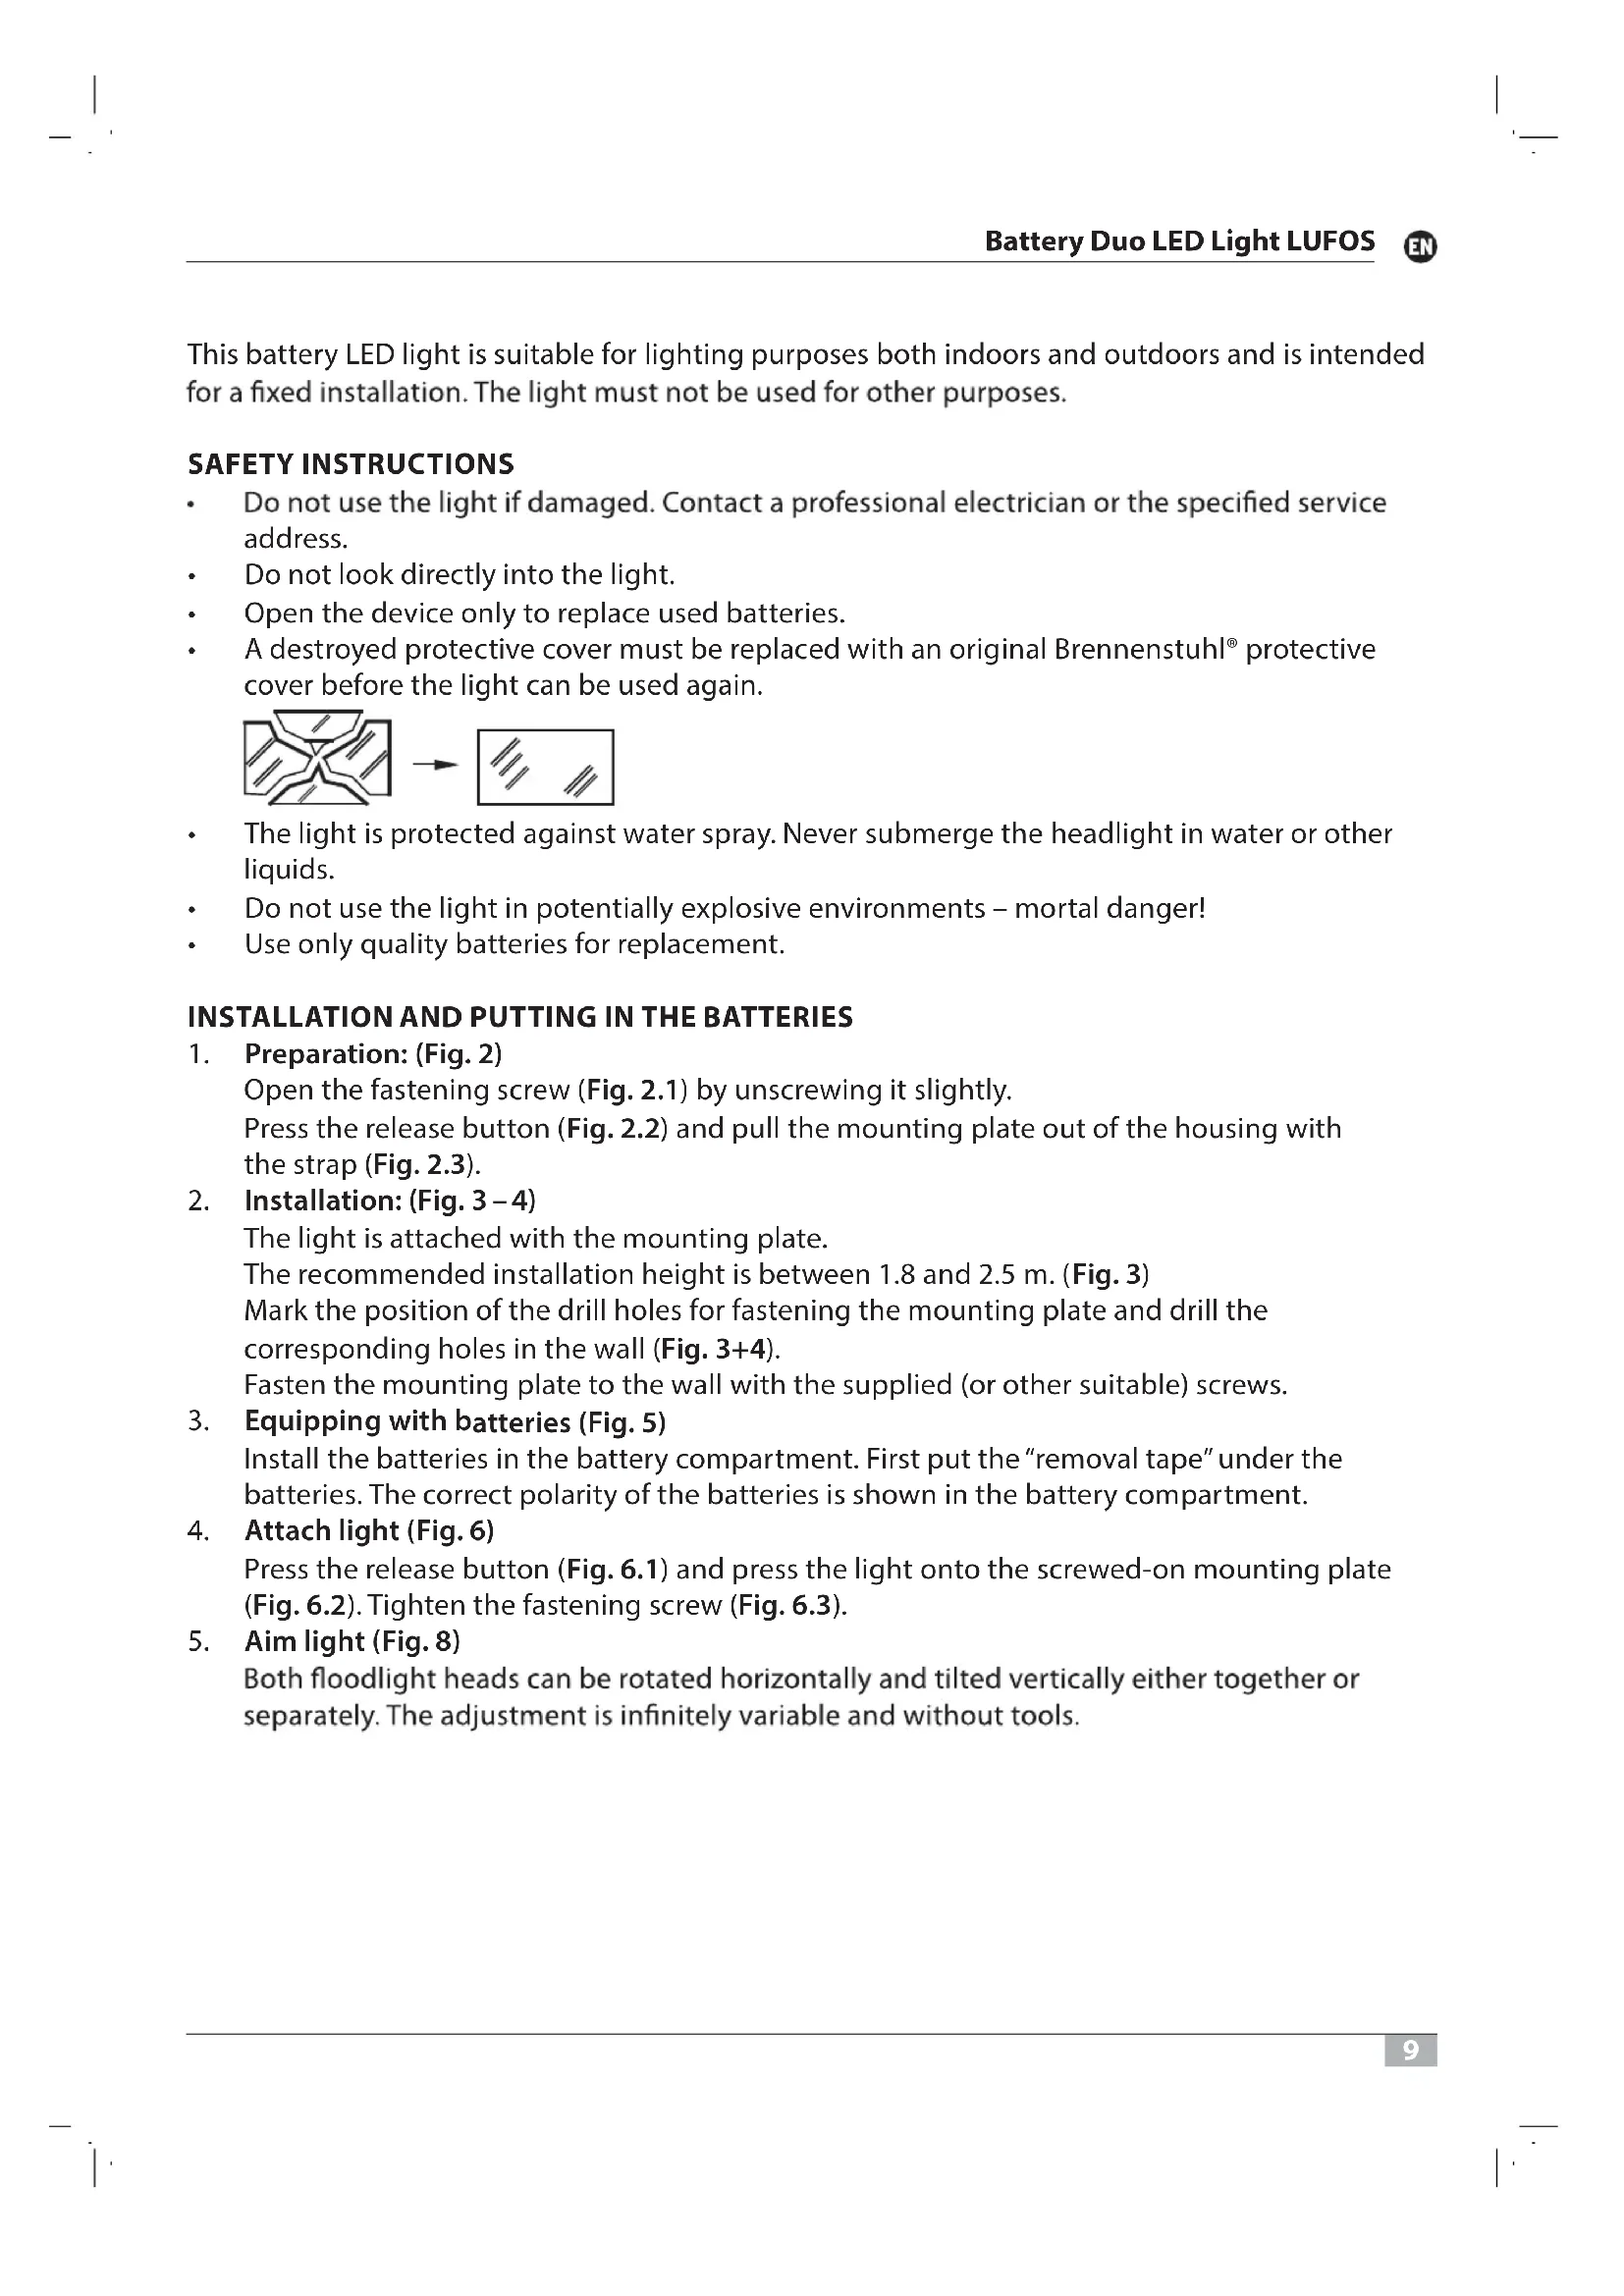
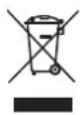
- A destroyed protective cover must be replaced with an original Brennenstuhl® protective cover before the light can be used again.
The light is protected against water spray. Never submerge the headlight in water or other liquids.
- Do not use the light in potentially explosive environments - mortal danger!
Use only quality batteries for replacement.
INSTALLATION AND PUTTING IN THE BATTERIES
1.Preparation: (Fig. 2)
Open the fastening screw (Fig. 2.1) by unscrewing it slightly.
Press the release button (Fig. 2.2) and pull the mounting plate out of the housing with the strap (Fig. 2.3).
- Installation: (Fig. 3-4)
The light is attached with the mounting plate.
The recommended installation height is between 1.8 and 2.5m (Fig.3
Mark the position of the drill holes for fastening the mounting plate and drill the corresponding holes in the wall (Fig. 3+4).
Fasten the mounting plate to the wall with the supplied (or other suitable) screws.
- Equipping with batteries (Fig. 5)
Install the batteries in the battery compartment. First put the "removal tape" under the batteries. The correct polarity of the batteries is shown in the battery compartment.
- Attach light (Fig. 6)
Press the release button (Fig. 6.1) and press the light onto the screwed-on mounting plate (Fig. 6.2). Tighten the fastening screw (Fig. 6.3).
- Aim light (Fig. 8)
Both floodlight heads can be rotated horizontally and tilted vertically either together or separately. The adjustment is infinitely variable and without tools.
DESCRIPTION OF FUNCTION
Using the switch "AUTO 50% / AUTO 100% / OFF", you can select 50% or 100% light or switch it off completely (Fig. 8). This can increase the battery life from 400 days (100% light) to 800 days (50% light).
The light is equipped with a day/night sensor and an infrared sensor. The day/night sensor activates the light. The light switches on automatically when the infrared sensor detects movements in the area.
If possible, do not point the motion detector toward swimming pools, heating air extractors, air conditioners or objects subject to strong temperature variations. Avoid directing the motion detector at trees or buses or places where pets frequently are. The motion director can be rotated horizontally to the right and left, which changes the detection area.
When attaching the light, note that the motion detector reacts most sensitively to movements that run across the detection field and least to movements directly toward the device.
ADJUST MOTION DETECTOR (PIR)
The switch-on duration can be set on the motion detector (Fig. 7). Turn the motion detector head until the setting control is visible. With this control, you can select any switch-on time between 10 seconds and 30 seconds after the last movement has been detected. Turning the TIME control in the clockwise direction increases the time period, and reduces it in the anti-clockwise direction.
REPLACE THE BATTERIES (Fig. 9-13)
When the light starts flashing, the batteries needs to be replaced.
Open the fastening screw (Fig. 9.1) by unscrewing it slightly. Press the release button (Fig. 9.2) and pull the light from the mounting plate (Fig. 9.3). Pull the batteries out of the compartment using the "removal tape" (Fig. 10). Install new batteries in the battery compartment. First put the "removal tape" under the batteries. The correct polarity of the batteries is shown in the battery compartment (Fig. 11). Press the release button (Fig. 12.1) and press the light onto the screwed-on mounting plate (Fig. 12.2). Tighten the fastening screw (Fig. 12.3) again.
SERVICING
The light source of this light cannot be replaced. If the light source has reached the end of its service life, the entire light must be replaced.
CLEANING
Do not use any solvents, corrosive detergents or the like. Use only a dry or slightly moist cloth for cleaning.
DISPOSAL
Dispose of electrical devices in an environmentally friendly way! Electrical devices do not belong in the household rubbish!
According to the European Directive 2012/19/EU on old electrical and electronic devices, used electrical devices must be collected separately and turned over for environmentally friendly recycling. You can find out about options for disposal of the out-of-service device at your town or city administration.
ENVIRONMENTAL DAMAGE DUE TO IMPROPER DISPOSAL OF BATTERIES!

Batteries do not belong in the household rubbish. They can contain poisonous heavy metals and are disposed of as hazardous waste. Therefore, dispose of used batteries at a communal collection point.
EU DECLARATION OF CONFORMITY

UK DECLARATION OF CONFORMITY
The declaration of conformity is on file at the manufacturer.
Manufacturer
DECLARATION DE CONFORMITE (C)
BESCHRIJVING VAN DE WERKING
TEXHUNCHECKNEXAPAKTEPNCNTNKU
CbeToaNoDbI:
CBETOBON NOTOK:
LBeTOBaTeMnepaTypa:
BaTapeN:
ДиnteьHocbТКСПуatauinn np6 uKnax BKNUoyEHn3a Houb no 10 ckyHd KaXdbi:
Датунднэ/Hоун:
YKA3AHN NO TEXHNIKBE3ONACHOCTN
- Пи наличи пораздени поектораeroon споблбоване заразшени. В стом слуах образнесь к спеснисту-элькtripky лл в сервочу по уkaазанноу щорсу.
HnKOrIa He cmOTpIe npMa B nCTOuHnK CBeTa.
OTKpbBaIte yCTPOINCTBO TOJbKO dIy 3aMeHbI nCNoJIb3OBAHHbIX 6aTapei.
B cnuyae noBpeKdHnna 3aunTHoro koxyxa ero Heo6xOIMO 3aMeHHTb Ha opnunhaHbHbI 3aunTHbIKox Brennenstuhl, npexde yem npoDOnkHTb nCNoB3OBaHne npoeKTopa.
- UcTpoIcTBO 3aunueHO OT 6pbI3r BOdbI. Hn B Koem cnyae He norpykaIte npoeKTop B Body INN INHbIe XNDKOCTN.
He nCnoNb3yIte npoeKTop BO B3pbIBOONaCHO cpee - onaCHOCb B3pbIbA!
Ja3aMeHbI NcNoJIb3yIte ToIbKO KaueCTBeHHbIe 6aTapeN.
MOHTAKI BCTABKA BATAPEI
- NpOraTobKa: (pnc. 2)
OTKpoTe KpenexHbB BnHT (pnc.2.1), cnerka nobepHyB ero.
HaxMMTe KhoNky pa36IoknpoBKN (pnc. 2.2) n BBITaHNte MOHTaXHyIO pnaCTnHy C cepbroN u3 Kopnyca (pnc. 2.3).
- MoHTaK: (pnc. 3-4)
PpoeKTop KpeHNTcC NcNoJIb3OBAHNEM MOHTaXHOI pJIaCTINHBI.
PekomeHnyemar BbICota MOHTaxa COCTaBJIaTeT 1,8 Do 2,5 M (pnc.3).
OTMeTbTe NOLOXeHne OTBepCTnI dIa KpeNJIeHnMOHTaXHOI pIaCTnHbI I npocBepnTe COOTBeTcTByUoIe OTBepCTnB CTeHe (pnc.3+4).
3aKpeNITe MOHTaXHyIO pIacTHHy Ha cTeHe C NOMOUsbIO npUlaRaEmbIX (nIN NOxOJaux) BnHTOB.
- YctaHOBka 6atapei (pnc.5)
YCTAHOBNTe 6aTapeB OTOCEK DnA 6aTapeN. DnA ETOrO Chauana yloXnTe JeHTy dIa I3BHeueHnnoD 6aTapeN. PpaBnBnaH naONpHOcTB 6aTapeN yka3aHa B OTceKe dIa 6aTapeN.
- KpenneHne npoeKtopa (pnc.6)
HaxMMTe KhoNky pa36noknpOBKn (pnc. 6.1) n npNXMITE npoeKTop K npNBHHeHHo MOHTaXHOI pnaCTnHe (pnc. 6.2). 3aKpyTnTE KpenexHbI BnHT (pnc. 6.3
- BbipabHHBaHne npoeKTopa (pnc. 8)
O6e roIobKn n3nyaTeJ MOryT INo COBMeCTHO, NIO NO OTdJIbHOCTN NOBOPaUHBaTbcB R Oropn3oHTaNbHOI NIOCKOCTN HaKNOHrTBcB B BepTKaJIbHOI NIOCKOCTN.
BbCTabHeHne ocUeCTbIeTc nnABHO 6e 3 nCnOJIb3OBaHn HNCTpyMeHTOB.
ONICAHNE PPNHCUNA DEICTBNA
C nomoubI nepekIIOuataJIy,ABT.50% / ABT.100% / BblKJ."cBeueHne MoKeT bIcTaBJIbCTbCaHa nHTeHCNBHOCTb B 50% nII 100% nII IONHOCTbIO OTKIOUaTbCS (pnc.8).BlaOJaApA 3Tomy DOJIROBEUHOCTb 3JIeMeHTa NITaHn MOKeT 6bITb yBENuHeHa c 400 dHei (nHTeHCNBHOCTb CBeueHn 100%)do 800 dHei (nHTeHCNBHOCTb CBeueHn 50%).
ПюeКТОРобopyДован ДАТУнКOM ДЯ/HОчи ИНФPaKpaСнБIM ДАТУнКOM.ДaTчNKДHЯ/HOчИakTNВИpyET ПюeКТOP.ПюeKTOр ВКЛЮЧаETСАВТOMATUYeCKN,ecINИHФpaKpaСнБIДaTчNKpacNo3Haet DBNXeHne NO6n3OCTN.
ПО BOЗМожноCTи He Haprabлг Te DaTчИК DBИЖЕнЯ Ha 6aCCeHbI, BblTЯЖHbI cNCTeMbIC NOTOKamr TROPaYeTo BO3dUxa, KOHNuCIOHepbI NII NObBeKtbl, NOBepXeHbIpe3KIM NepenadAMTemnepaTpybl. He HaprabLnTe DaTчИK DBИЖЕня Ha DepeBbY NII KcTbI, a TaKxJe Ha MeCTa, rIe YacTo MOryT HaxOHTbcr DomaUHHe JKNBOThIe. JAtчИK DBИЖЕнЯ MOxH O nobopaUHBaTb ITO ROpN3OHTaII BnpaBO n BInEO, YTO DaET BO3MOxHooCTb NImeHrT bOJIaCTb peRnCTpaun.
Ipn yctahOBke npoeKTopa o6paTne BnMaHne, YTO daTcNK DnXKeHnaH6OJee cYbCTBnteJe K DnXKeHIO uepe3 ero nOle 6hApXKeHNA nonepueHOM HapBaJIeHNn HaImHee CyBCTBNTeHekDnXKeHIO nprMo Ha Hero.
HACTPOIKA DATUKIA DUNXEHNRA (PIR)
Длnteьнocть Вкюченя Датчka DBиженя можно HabtpaNBaTb (pnc.7).Длг 3TOrO NOBepHnTe rOIOBHyU qacTb DATChka DBиженя TaK,чTO6bl 6bl BnDEH HAcTpOeHuBn PeryJrTop. 3TOT peryJrTop nO3BOJnE T bIbpaTb IIO6U IO pnoDOLKHTeBJHOCTb BKIOUcHEnBaДnAna3OHe ot 10do 30 cekynI nocNe TOrO, kak 6blno pacNo3HaHO nocJeHne DBиженye.Прп nobopoTe peryJrTopa TIME no yacoboi CTpeKe BpeMa YBeJIuNBAeTCa, npOTNb YacOBoi CTpeJKN - yMeHbShaetca.
3AMEHA BATAPEI (pnc. 9-13)
Korda na mna haunet mraTb, Heo6xOIMO 3aMeHnTB BCE 3JeMeHTbI nHTaHn.
OTKpoTe KpeJekHbB BuHT (pnc. 9.1), cIerKa nobepHyB erO. HaxMITE KhoNkU pa36JoknpoBKn (pnc. 9.2) n CHIMITE npoeKTOp C MOtJxHOJ PAACTINHbI (pnc. 9.3). C NOMOuI JENTbl dJa n3BLeueHn I3BLeKeTte 6aTapen n3 OTceKa dJa 6aTapen (pnc. 10). UcTaHOBtHe HOBbI 6aTapen B OTCek dJa 6aTapen. dJa 3TOrO ChauJa yNoXtte JeHTy dJa n3BLeueHn nOd 6aTapen.
IpaBnBna noJrphoctb 6aTapey yka3aHa BOTCeKe dJa 6aTapei (pnc.11).HaxMMTe KhoNky pa36noknpOBKn (pnc.12.1) npNXMMte npoeKTop K npNBHHeHHoM OHTaXHOI pIactHe (pnc.12.2).BHObB 3akpyTnte KpeENxHbI BNHT (pnc.12.3
TEXHnueCKOE O6CJyKINBAHNE
IcToUHnK CBeta 3TOrO npoeKTopa He noDJIeXnT 3aMeHe. KOrDa IcToUHnK CBeta DOCTnIRhet OKOHuaHnC poka cnJx6bl, 3aMeHe noDJIeXnT BeCb npoeKTOp.
OuHCTKA
He nCnoIb3yIte Inra OunCTKn paCTBOpHTeIN, eKne YnCTaIue CpeIcTBA nn aHaIOnuHbIe BeIeCTBa. Ipon3BOJInTe OUnCTKy TOnbKO cyXo nn CnerKa CMOeHHO TkaHbIO.
YTNIN3AUIN
Ytunn3npynte 3neKtponpnp6opbI 6e3oNaCHO dna OkpykaOuSei cpebl! 3neKtponpnp6opbI 3anpeaaetc Bbl6paCbIBaTb B 6bITOB0Mycop!
B cooTBeCTBnC cEBPoneeCKo dIpeKTHBOI 2012/19/EC o6 yTuIN3aunn 3JIeKTPnueCKO r N eJIeKTPoHHO O6OpyDobAHn OTCnyXNBWe CBOI cPOK 3JIeKTPoPn6OpbI NOJLeXaT pa3DeIbHOMy c6OpY n HAnpaBNeHnIO Ha BTOpNHyIO nepepa6OtKy. O cNooc6ax yTuIN3aUIN OTCnyXNBwero np6opba Bbl MoKeTe y3HaTb B CBOE rTopoDcKo IIN MeCTHOI aDMNHnCTpaUNN.
USEP6IJIOKPYXAIOUICPEDbIBCJIEDCTBNEHEINPABUNbHOYUTNI3AUIN BATAPEI!
BaTape 3aPpeaaetc Bb6paCbIBaTB 6bITOBO Mycop. OHN MOryT coepeKataB JaOBuTbie TKeJIbe MetaIIbI N OndexKaT yTnIn3aun KAc CneuaJIbHbIe OTXoDbI. PoTOMy OTCnyKINBWe cPoK BaTape CneJeT CdaBAbTB KOMMyHaJIbHbI NpHKT npHeMa BTOpcbipbra.
DEKJIAPAUHCAOTBETCTBNA CC
DeknapauncooTBeCTBnXpaHntcY npOn3BOUnteJ.
U3ROTOBtEnb
LED-diode: 2x4 SMD OSRAM