Rohan - Humidifier Air&Me - Free user manual and instructions
Find the device manual for free Rohan Air&Me in PDF.
| Product type | Compressor dehumidifier |
| Brand | Air&Me |
| Model | Rohan |
| Dimensions (H × W × D) | 610 × 370 × 255 mm |
| Net weight | 18.75 kg |
| Power supply | 220-240 V ~ 50 Hz |
| Dehumidification capacity | 50 L/day (30°C, 80% RH) |
| Tank capacity | 7 L |
| Recommended maximum area | 200 m² |
| Number of speeds | 2 (LOW / HIGH) |
| Refrigerant | R290 (flammable) |
| Operating temperature | 5°C to 35°C |
| Operating modes | Auto, Continuous |
| Main functions | Timer (1-24 h), internal drying, adjustable louver, child lock, Wi-Fi connection, condensate pump, continuous drainage, LED humidity display |
| Maintenance and cleaning | Clean the removable filter monthly with warm water; clean the tank with white vinegar; do not use abrasive products |
| Safety | Automatic shut-off when tank full, child lock, automatic anti-freeze, gas leak protection |
| Spare parts and repairability | Parts available 2 years after purchase; repairs only by qualified approved personnel |
| General information | 2-year warranty, manufactured in accordance with EU standards, dehumidifier designed for domestic use |
Frequently Asked Questions - Rohan Air&Me
User questions about Rohan Air&Me
0 question about this device. Answer the ones you know or ask your own.
Ask a new question about this device
Download the instructions for your Humidifier in PDF format for free! Find your manual Rohan - Air&Me and take your electronic device back in hand. On this page are published all the documents necessary for the use of your device. Rohan by Air&Me.
USER MANUAL Rohan Air&Me

CAUTION, RISK OF FIRE


- Make sure the unit is in the upright position for at least 24 hours before turning it on.
- Make sure that the product is placed on a dry flat surface.
- Leave at least 50cm behind, around and in front of the appliance and make sure that the air inlet and outlet are not obstructed.
- Make sure the removable filter and the tank are properly positioned and pushed in.
- Do not remove the float from the tank because it will prevent the appliance from starting.
- If you want, you can add rubber shock absorbing pads under the dehumidifier to reduce vibrations, noise and marks on a wooden floor.
REFRIGERANT GAS NOTE FOR THE APPLIANCE: R290 - 130 G
Extremely flammable gas. Contains gas under pressure; may explode if heated.
Precautionary statements: Keep away from heat, sparks, open flames, hot surfaces, in a nonsmoking environment. In case of fire gas leak: Do not extinguish unless the leak can be stopped safely. Eliminate all sources of ignition if it is safe. Store in a well-ventilated area.
- Do not exceed an impedance of more than 0.236
- Only persons who have an accredited body and certify their competence in handling copyright in accordance with the sector's legislation, must work on the refrigerant circuit.
- All repairs must be carried out in accordance with the manufacturer's recommendations.
- Maintenance and repairs must be carried out under the supervision of specialists in the use of flammable refrigerant gases.
- Do not puncture the components of the refrigerant circuit.
- Be careful, the refrigerant gas may be odorless.
VORSICHTSMASSNAHMEN
VOORZORGSGMAATREGELEN
Consummation electrode maximum 750W
Thank you for having purchased the ROHAN domestic air dehumidifier, an air&me. product. We hope that it will bring you complete satisfaction and improve your indoor air quality.
As with all electrical appliances, it is important to maintain the appliance properly in order to avoid any damage or injury. Please read these instructions carefully before switching the appliance on and keep them for later reference. WAF-direct society accepts no liability for any damage that is caused by noncompliance with this instruction manual. The appliance is only to be used in the household for the intended purposes described in this user manual. Using the appliance for other purposes than the intended ones or performing technical changes to the appliance could be hazardous for health and life.
TECHNICAL DATA
| Voltage | 220-240 V ~ 50 Hz |
| Dimensions | 610 x 370 x 255 mm (H x W x P) |
| Net weight | 18.75kg |
| Number of speed | 2 |
| Maximal power consumption | 750W |
| Suitable for rooms up to | 200m2 |
| Water tank volume | 7L |
| Ambient temperature range | 5°C - 35°C |
| Dehumidification capacity | 50 L/day (30°C, 80 % RH) |
| Gas | R290 |
DOMESTIC INJURY PREVENTION
The safety of this product conforms to the relevant norms and regulations in force in the European Union.
For any further information, please visit our website: www.airandme.fr/en
Our customer service department is available at the following email address: info@airandme.fr

To prevent from any danger or electrical shock, always unplug the product when you are not using it, moving it or cleaning it. In case of repairs, approach the qualified persons.
IMPORTANT SAFETY INSTRUCTIONS
- Please read all the instructions before using ROHAN.
carefully. Do not use insecticide spray, perfume or any other flammable spray around the appliance when it is in process.
- Any use that is not recommended by the reseller can lead to fire, power can hurt people.
surge3. Never use ROHAN if it can fall into a liquid.
- Remove the packaging and mo that ROHAN is not damaged. If in doubt, do not use the appliance and your reseller.
Make sure the product is on a flat and horizontal surface.
- Do not let children play with the different pieces of the packaging. Pay special attention when using the appliance near a child.
contact 15. To avoid water condensation on the appliance, do not place it near an air-conditioner.
-
Before using ROHAN, make sure that the voltage indicated on the product is in accordance with your electrical installation.
-
Do not use ROHAN outdoors.
-
Always unplug ROHAN when moving it.
-
Always unplug ROHAN when you are not using it.
-
Make sure that the socket is only plugged: otherwise, the socket overheat.
-
Keep the product clean and in good condition.
I could -
Using an extension electric cable create overheating and fire.
-
Use the recommended spare parts (non official parts could be dangerous and in can validate the warranty).
-
Do not pull on the power cord to unplug the appliance. Always unplug ROHAN by holding and pulling on the socket.
-
Store ROHAN in a dry and safe place, away from children.
-
If the power cord is damaged, it can be changed by the reseller. Only qualified persons can make this repair.
-
Do not cover or put objects that can obstruct the fan air flow: it could cause electrical shocks or damage the app Do not put fingers inside the air outlet on pain of physical damage.
-
This product cannot be used by children inlet less than 8 years old. Please read carefully this user manual and use ROHAN with caution.
-
During operation, leave at least 50cm behind, around and in front of the appliance.
-
To avoid any electrical shock or fire, do not use water, detergent or flammable product to clean the outside or the inside of the appliance.
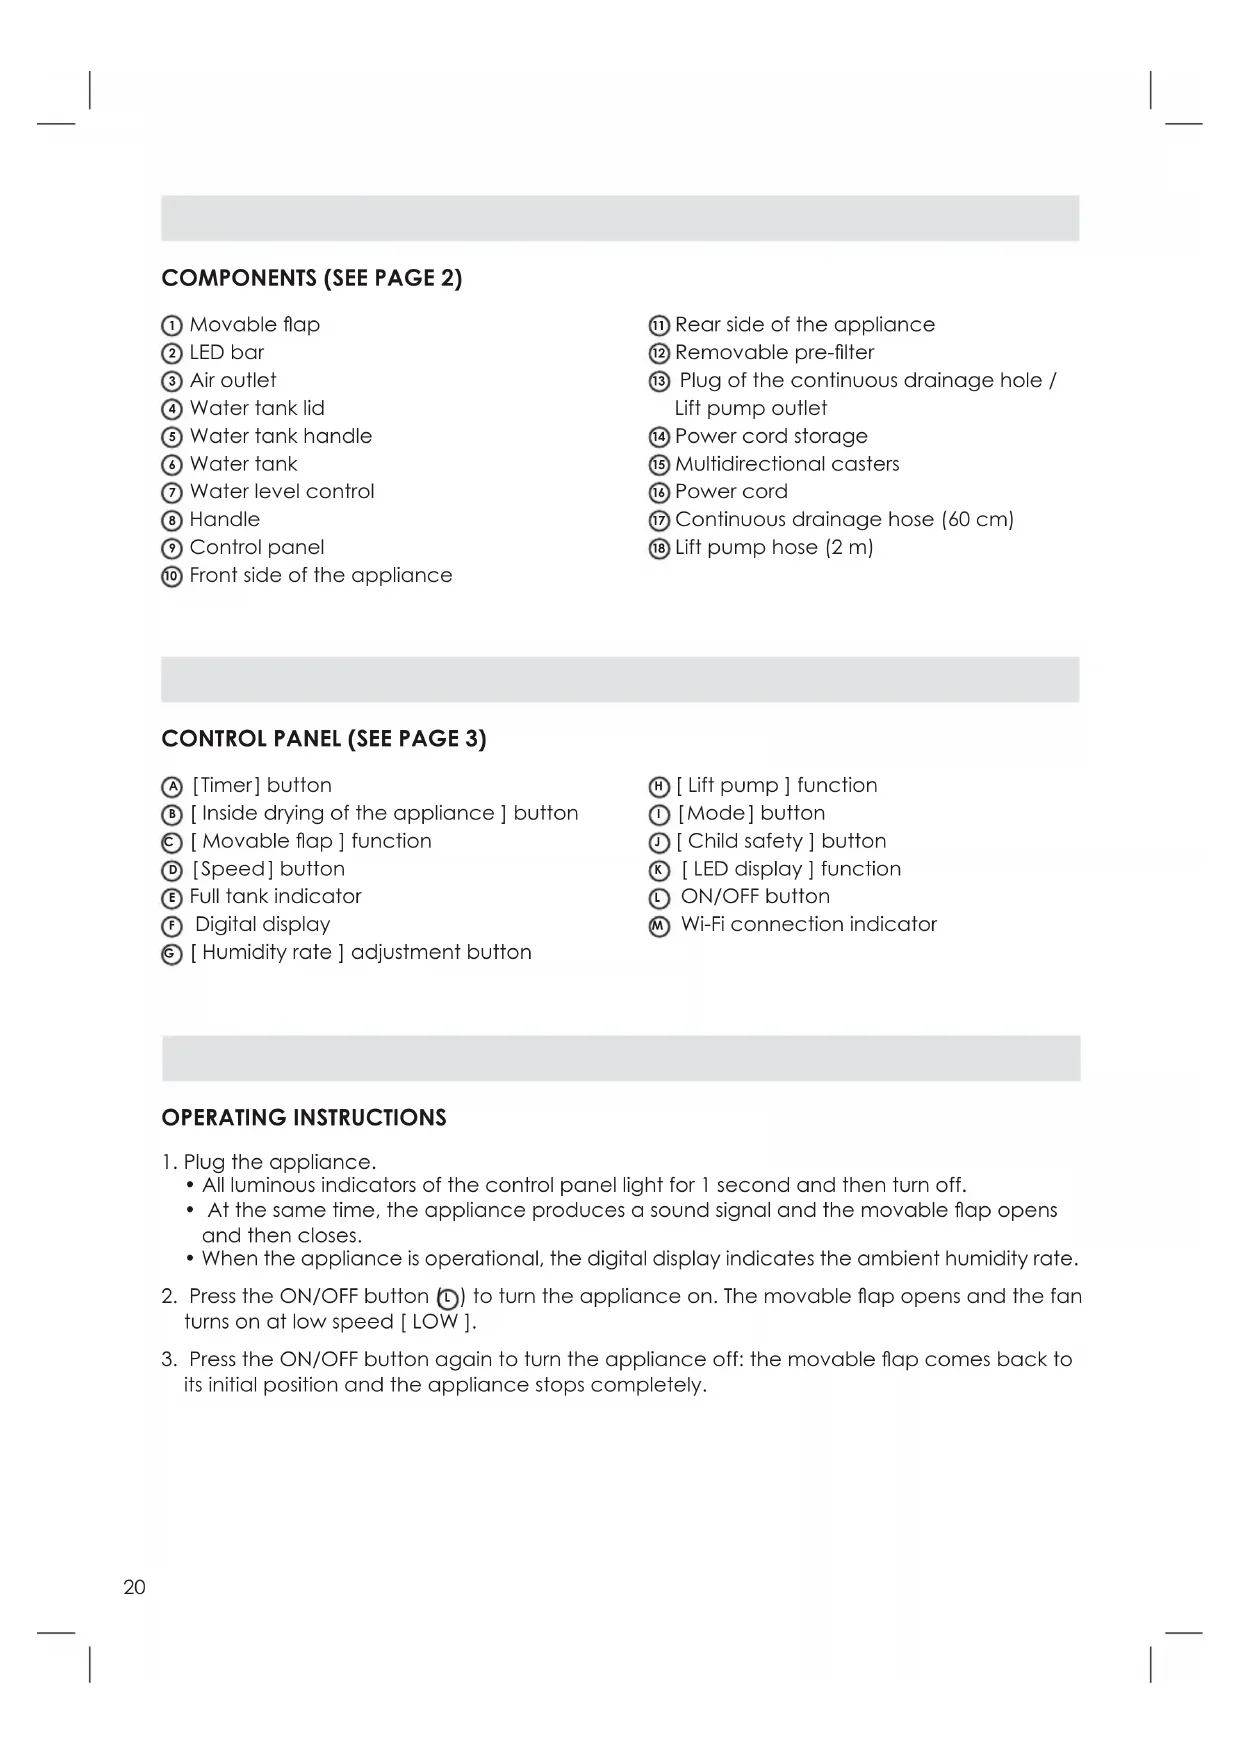
COMPONENTS (SEE PAGE 2)
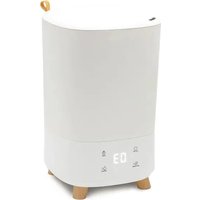
① Movable flap
② LED bar
③ Airoutlet
④ Water tank lid
5 Water tank handle
Water tank
Water level control
8 Handle
Control panel
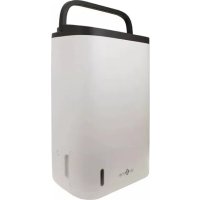
Front side of the appliance
Rear side of the appliance
12 Removable pre-filter
Plug of the continuous drainage hole / Lift pump outlet
14 Power cord storage
15 Multidirectional casters
16 Power cord
17 Continuous drainage hose (60 cm)
18 Lift pump hose (2 m)
CONTROL PANEL (SEE PAGE 3)
A [Timer] button
[B] [Inside drying of the appliance] button
[ Movable flap ] function
[Speed] button
Full tank indicator
Digital display
[ Humidity rate ] adjustment button
[ Lift pump ] function
① [Mode] button
[Child safety] button
[LED display] function
ON/OFF button
Wi-Fi connection indicator
OPERATING INSTRUCTIONS
-
Plug the appliance.
-
All luminous indicators of the control panel light for 1 second and then turn off.
- At the same time, the appliance produces a sound signal and the movable flap opens and then closes.
-
When the appliance is operational, the digital display indicates the ambient humidity rate.
-
Press the ON/OFF button to turn the appliance on. The movable flap opens and the fan turns on at low speed [LOW].
- Press the ON/OFF button again to turn the appliance off: the movable flap comes back to its initial position and the appliance stops completely.
MAIN FUNCTIONS
[TIMER] BUTTON
- By pressing this button several times, you can select the operating time from 1 to 24 hours. A long press of the button allows you to quickly scroll through the numbers on the screen.
- Once the operating time is set, you can release the button: the digital display indicates the ambient humidity rate, the luminous indicator of the [Timer] button lights and the dehumidifier turns on. It automatically stops at the end of the preset time.
- To deactivate this function, press the button twice in a row when the digital display indicates the ambient humidity rate.
[INSIDE DRYING OF THE APPLIANCE] BUTTON
-
By pressing this button, you can start the procedure for the inside drying of the dehumidifier: the luminous indicator lights and the digital display indicates [CL]. This process of drying is very useful before long time storage because it prevents the formation of mould inside the appliance.
The process takes about 1 hour: -
The dehumidifier starts in high air speed (HIGH) and releases air continuously for 30 minutes.
-
Then, the dehumidifier works in a lower air speed (LOW) for 20 minutes.
-
Finally, the appliance comes back in "standby" mode.
To deactivate this function, press the button again: the luminous indicator turns off.
[SPEED] BUTTON
By pressing this button several times when AUTO or CONTINUOUS modes are selected, you can adjust the air flow produced by the appliance selecting between one of the two modes: LOW (low air flow) or HIGH (strong air flow).
[HUMIDITY RATE] BUTTON
- By pressing this button several times, you can define the humidity rate of the air that you want to reach between 30 and 80% (the adjustment is made in 5% steps).
- When the ambient air humidity is lower than the preset humidity rate, the appliance stops working. When the ambient air humidity is higher than the preset humidity rate, the appliance automatically restarts.
Be careful, this function is only available in AUTO mode.
① [MODE] BUTTON
This button enables you to choose between two operating modes:
- AUTO Mode: If the humidity rate in the air is higher than the preset rate, the compressor starts and the fan runs at the preset speed. If the humidity rate in the air is lower than the preset rate, the compressor and the fan stop.
- CONTINUOUS Mode: Regardless of the humidity rate in the room, the compressor starts and the fan runs at the preset speed.
Be careful, the build-in hygrostat in the appliance has a margin of error of ± 5% .
ADDITIONAL FUNCTIONS
[LIFT PUMP] FUNCTION
Before activating the lift pump, remember to connect the drainage hose properly. To activate or deactivate the lift pump, press and hold the [Humidity rate] button ( ) for 3 seconds.
[MOVABLE FLAP] FUNCTION
Press simultaneously the [ Timer ] ( A) and [ Inside drying of the appliance ] ( 6) buttons to activate or deactivate the [ Movable flap ] function.
CHILD SAFETY
By pressing and holding the [Mode] ( ①) button for 3 seconds, you activate the child safety function that "lock" the control panel.
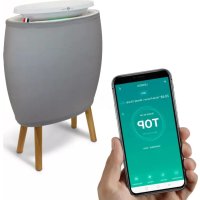
WI-Fl
By pressing and holding the ON/OFF button ( ) for 3 seconds, you activate the Wi-Fi pairing between the appliance and your smartphone. Once this pairing is done, you can control the dehumidifier from afar as soon as you have an internet connection.
LED DISPLAY
When the appliance works, the colour of the LED bar changes according to the ambient humidity rate.
The LED bar is green when the humidity rate is between 40 and 60% .
The LED bar is blue when the humidity rate is lower than 40% .
The LED bar is red when the humidity rate is higher than 60% .
Press simultaneously the [ Humidity rate ] (the LED bar.
and the [Mode] ( 1) buttons to turn on or off
AUTOMATIC [ANTIFREEZE] FUNCTION
The appliance automatically enters in [ANTIFREEZE] function if the ambient temperature is between 5^ and 15^ . Every now and then, the compressor stops but the fan continues to work.
EMPTYING THE TANK (SEE PAGE 3)
The appliance automatically stops working once the tank is full. The appliance rings 10 times and the [Full tank] indicator (E) lights.
① Turn the appliance off and pull the tank thanks to the side handles.
② Unclip the handle and remove the water tank lid.
Empty the condensates.
④ Replace the lid and the tank. Then, press the ON/OFF button and choose the desired operating mode.
The dehumidifier is equipped with a tank positioning sensor. As a matter of security, the product turns off after few minutes if the tank is missing or not properly placed.
CONTINUOUS DRAINAGE (SEE PAGE 3)
Thanks to the continuous drainage hose, the appliance will work independently without having to manually empty the tank.
① Turn the appliance off, unscrew and remove the plastic plug from the hole for the continuous drainage hose.
② Connect the continuous drainage hose (60 cm and 0.13 mm) on the back of the dehumidifier. To avoid leaks, make sure the hose is not bent and that it is placed on a downward slope so that water can easily drain away. Do not modify or extend the drainage hose.
③ Turn the appliance on.
LIFT PUMP CONNECTION (SEE PAGE 3)
Thanks to the build-in lift pump, the appliance will work independently, without having to manually empty the tank and will be able to discharge condensates upward.
① Turn the appliance off and then remove the rubber plug from the hole for the lift pump hose.
② Connect the lift pump hose (3 m and 0.5 mm) on the back of the dehumidifier. To avoid leaks, make sure the hose is not bent. Do not modify or extend the lift pump hose. The lift pump hose must not exceed 5 m.
③ Turn the appliance on. You can now activate the [Lift pump] function (H) on the control panel.
DIGITAL DISPLAY
| On-screen display Meaning | |
| FL > The water tank is full. | |
| E1 > The humidity sensor detects an anomaly. | |
| E2 > The ambient temperature sensor detects an anomaly. | |
| P1 > The appliance is defrosting. | |
| CL > The appliance is currently undergoing inside drying. | |
| LC | > The [Child security] is engaged and other control buttons are locked. |
MAINTENANCE
- Make sure that the appliance is off and unplug before performing any work.
- Do not immerse the appliance in water or in any other liquid.
- Do not use corrosive, abrasive or flammable products to clean the appliance.
CLEANING THE REMOVABLE FILTER: The removable filter captures dust and extends the appliance efficiency. It is recommended to clean it every month. Pull the handle of the removable filter, clean it with warm water and a soft brush then dry it and reposition it.
Be careful not to dry the filter in direct sunlight or near a strong heat source.
CLEANING THE APPLIANCE: Use a soft cloth to remove dust at the air inlets and outlets.
CLEANING THE TANK: Remove the tank from the appliance and unclip the handle and then the lid. To avoid calc deposit, clean the tank at least once a month with an appropriate product or with white vinegar.
STORAGE OF THE APPLIANCE: To avoid any bacteria or virus proliferation, never store the appliance with water inside the tank and be sure that the appliance is perfectly dry.
- Empty and clean the tank.
- Clean the air inlets and outlets as well as the removable filter.
- Once the different parts have dried properly, store the product in a place that is protected against dust and that is clean, dry and ventilated.
FAQ
| Problem Reason Solution | ||
| The appliance does not work | > The product is not correctly plug or there is an electrical problem. | > Plug the socket correctly and check the voltage and the good functioning of your electrical system. |
| > There is a problem on the electrical system of your house. | ||
| > The tank is full. > Empty the tank. | ||
| > The tank is not properly placed. | > Push and place the tank properly. | |
| Drop in the appliance performance (less water in the tank) | > The removable filter is dirty what obstructs the air flow. | > Clean the removable filter. |
| > The air inlet or outlet is obstructed by something. | > Leave at least 50cm behind, around and in front of the appliance. | |
| > Temperature is too low. | > Below 5°C the product works in Defrost Mode. It cannot therefore dehumidify to a maximum of its capacity. | |
| > Humidity rate is already low. | ||
| Abnormal noise | > Something obstructs the fan. | > Make sure that no object obstructs the air flow. |
| > The product has a functioning problem. | > Contact your reseller for service support. | |
| > The appliance makes a kind of whisper. | > This is the sound produced by the refrigerant gas. This is a normal phenomenon. | |
| Leakage | > The appliance is tilted or not properly secured. | > Place the appliance on a flat surface before the switching on. |
| > The connection between the appliance and the drainage hose has loosened. | > Correctly attach the drainage hose. | |
| > The drainage hose is bent, twisted or obstructed. | > Remove obstructing elements and straighten the hose up. | |
| The appliance does not produce air | > Air filter is obstructed. | > Please see “Maintenance” paragraph. |
| The air coming out of the appliance is hot | > In order to extract air from the room, the dehumidifier compressor slightly heats the air. | > This is a normal phenomenon. |
DEUTSCH
⑥ KNOP [INTERN DROGEN VAN HET APPARAAT]
H FUNCTIE [OPVOERPOMP]
CONTINUE AFVOER (ZIE PAGINA 3)
[INNEVENDIG TØRKING AV APPARATET] -KNAPP
TOMMING AV TANKEN (SE SIDE 3)
Apparatet slutter automatisk a fungere narr tanken er full. Apparatet piper ti ganger og [Full tank] -indikatoren (E) lyser.
The appliances are under warranty for a 2-year period from the purchase date. The warranty covers all failures resulting from hidden manufacturing or raw material defects. This warranty does not cover failures or damages resulting from an inadequate setup or usage, or from the normal wear and tear of the product. Spare parts are also available for a period of 2 years after the date of purchase.
air&me cannot be held liable in case of an inadequate or dangerous use of the products.
DEEE
Disposal of Electric and Electronic Equipment (Applicable in the countries of the European Union and other European countries with separate collection systems appropriate). This symbol on the product indicates that this product shall not be treated as household waste. It should be handed over to the applicable collection point for the recycling of EEE (Electrical and Electromagnetic Equipment). By ensuring this product is disposed of correctly, you will help prevent potential negative consequences for the environment and human health. The recycling of materials will help to conserve natural resources. For additional information about recycling of this product, please contact the municipality, the waste or the retailer.
Garantie
Learn how to connect this device to your WiFi network, and how to remotely control it with your smartphone

RDV sur - Go on: