
KMO 4341 - Oven Koenic - Free user manual and instructions
Find the device manual for free KMO 4341 Koenic in PDF.
| Product type | Mini oven |
| Brand | Koenic |
| Model | KMO 4341 |
| Rated voltage | 220-240 V ~ 50/60 Hz |
| Rated power | 1350-1650 W |
| Maximum temperature | 230 °C |
| Timer | Up to 120 minutes |
| Cooking modes | Top heat, bottom heat, top+bottom, top with rotisserie, top+bottom with rotisserie |
| Convection | Yes (fan always on) |
| Rotisserie capacity | Up to 3.5 kg |
| Interior light | Yes, 25W T300 bulb |
| Included accessories | Cooking grid, baking tray, rotisserie with fixings and handle, crumb tray |
| Required safety distances | Sides: 12 cm, rear: 12 cm, top: 30 cm |
| Usage | Household use only, not built-in |
| Cleaning | Removable crumb tray; grid, tray and rotisserie washable with dish soap |
| Safety | Hot surface, automatic shut-off at end of timer |
| Bulb replacement | Model 230 V, 25 W, T300 |
| Warranty | Manufacturer warranty (see manual) |
Frequently Asked Questions - KMO 4341 Koenic
User questions about KMO 4341 Koenic
0 question about this device. Answer the ones you know or ask your own.
Ask a new question about this device
Download the instructions for your Oven in PDF format for free! Find your manual KMO 4341 - Koenic and take your electronic device back in hand. On this page are published all the documents necessary for the use of your device. KMO 4341 by Koenic.
USER MANUAL KMO 4341 Koenic
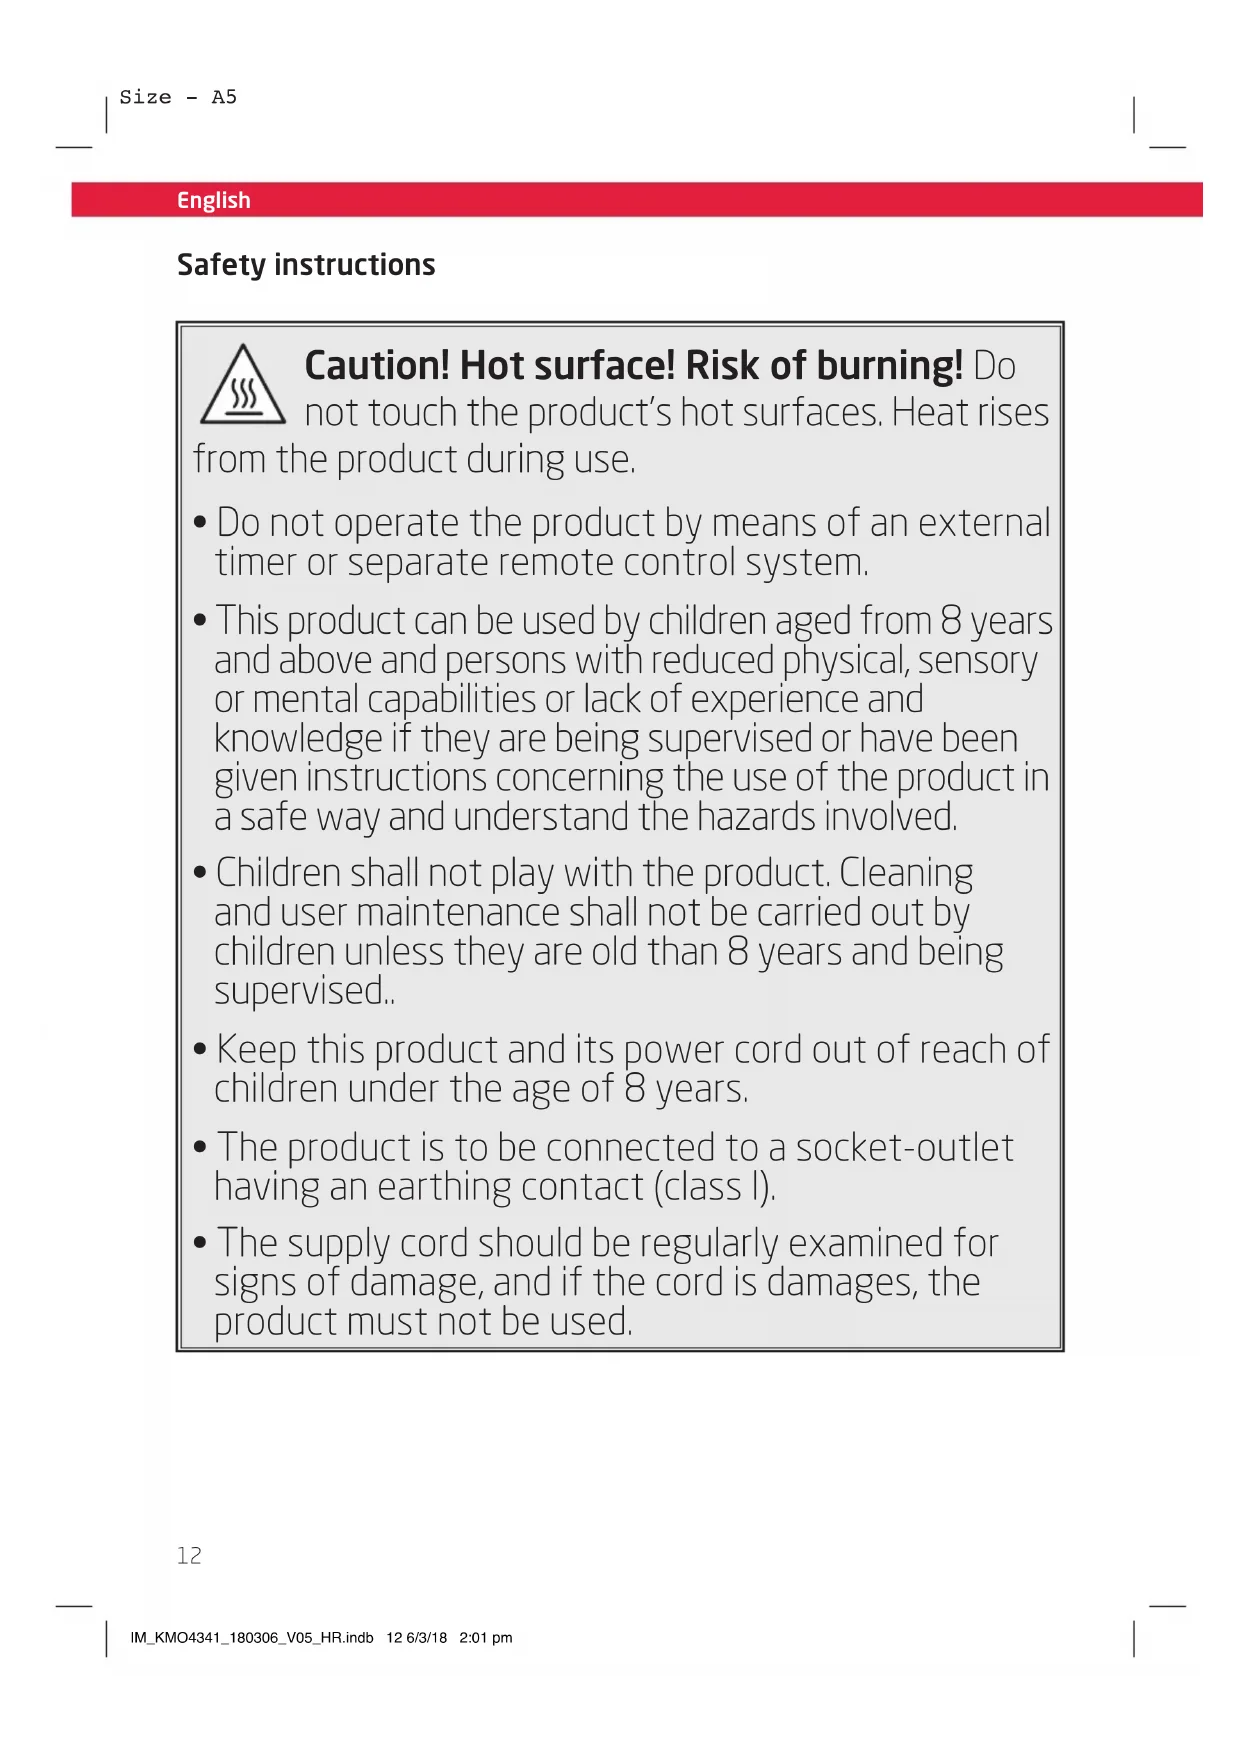
Caution! Hot surface! Risk of burning! Do
not touch the product's hot surfaces. Heat rises from the product during use.
- Do not operate the product by means of an external timer or separate remote control system.
- This product can be used by children aged from 8 years and above and persons with reduced physical, sensory or mental capabilities or lack of experience and knowledge if they are being supervised or have been given instructions concerning the use of the product in a safe way and understand the hazards involved.
- Children shall not play with the product. Cleaning and user maintenance shall not be carried out by children unless they are old than 8 years and being supervised.
- Keep this product and its power cord out of reach of children under the age of 8 years.
- The product is to be connected to a socket-outlet having an earthing contact (class I).
- The supply cord should be regularly examined for signs of damage, and if the cord is damages, the product must not be used.
Safety instructions
- The product is designed for the preparation of normal household quantities in the home, or in household-like, non-commercial environments. Household-like environments include staff kitchens in shops, offices, agricultural and other small businesses or for use by guests at bed-and-breakfast establishments, small hotels and similar residential facilities.
- A damaged power cord may only be replaced by the authorised service agent in order to avoid hazards.
- Clean the product and all other accessories after each use.
- Follow the instructions in the chapter Cleaning and care.
English
Safety instructions
- Read this manual before first use thoroughly. It contains important information for your safety as well as for the use and maintenance of the equipment.
- Keep this manual for future reference and pass it on with the product.
- Pay particular attention to the warnings on the product and in this manual.
- Use the product only for its intended purpose. Improper use may lead to hazards.
In the event of improper use or wrong operation, we do not accept any liability for resulting damages. - The use of accessories and components not expressly recommended by the manufacturer may result in injuries or damages and voids the warranty.
- Never leave the product unsupervised while it is switched on.
- Do not place any objects on top of the product.
- Never immerse electrical parts of the product in water or any other fluid during cleaning or operation. Never hold the product under running water.
- Do not under any circumstances attempt to repair the product yourself. For servicing and repairs, please consult an authorised service agent.
The mains voltage must match the information on the rating label of the product. - The power plug is used as the disconnect device. Please be sure that the power plug is in operable condition.
Only unplugging from the power socket can separate the product completely from the mains.
- Avoid damages to the power cord that may be caused by kinks or contact with sharp corners.
- Keep this product including its power cord and power plug away from all heat sources such as, ovens, hot plates and other heat-producing devices/ objects.
- Only unplug from the power socket by the plug itself. Do not pull on the cord.
- Unplug the product ...
- when the product is not being used,
- in case of malfunctions,
- before attaching / detaching accessories and
- before cleaning the product.
If the power cord or the casing of the product is damaged or if the product has been dropped, the product may not be used before it is examined by an authorised service agent.
- Use this product in dry indoor areas only and never outdoors.
- Protect this product from extreme heat and cold as well as from direct sunlight and dust.
In order to reduce the risk of fire and electric shock, do not expose the product to fire (fireplace, grill, candles, cigarettes and so on) or water (water drops, water splashes, vases, tubs, ponds and so on).
Safety instructions
- Warning! Do not use this product near water or heavy moisture; e.g. in a damp basement or beside a swimming pool or bathtub.
Use this product in temperate latitudes only. Avoid tropical and especially humid climatic regions. - Protect this product from all moisture including spray water and humidity.
-
Ensure sufficient air circulation. Therefore do not place any objects onto the appliance and keep clearances to the walls as given below:
-
Sides: 12 cm
-Back:12cm -
Up: 30 cm
-
The appliance shall not be build into furniture. The appliance must not be installed directly below a plate, cupboard or cabinet.
- The feet of the appliance shall not be removed.
- Place the appliance on a surface resistant to heat and splashes. Do not place the appliance on hot surface (e.g. cooktops) or open flames (e.g. gas stoves).
- The product may not come into contact with or be covered by highly flammable materials, such as curtains, textiles, wall cladding, etc. Please make sure that sufficient safety clearance is kept to flammable materials.
-
Do not insert any objects into the product.
This product is not suitable for commercial use. It is designed for household use only. -
Do not place the product on hotplates (gas, electric, coal stoves, etc.). Keep the product away from all open flames. Operate the product on an even, stable, clean, fireproof and dry surface.
- Fire hazard! Bread and other foodstuffs can burn! Do not use bread with a high sugar content since this may cause fire. Never leave the product unattended.
- Risk of burning! Do not touch the product's hot surfaces. Touch the product only by its handle or control knobs.
- Parts of the product become very hot. Let the product cool down well before cleaning or storing.
- Do not touch the heating elements.
Always use the crumb tray when operating the appliance. - Oil and grease is easily inflammable. Oil and grease must not drip onto the hot heating elements.
English
Congratulations!
Thank you for your purchase of a KOENIC product. Please read this manual carefully and keep it for future reference.
Intended use
This product is suitable for preparing foods only. Any other use may result in damage to the product or injuries.
The Imtron GmbH assumes no liability for damage to the product, for property damage or for personal injury due to careless or improper usage of the product, or usage of the product, which does not meet the manufacturer's specified purpose.
Before first time use
Carefully take the product and its accessories out of the original packaging. Retain the original packaging in case you would like to store the product away or transport it at a later date. If you choose to dispose of the original packaging, then do so according to the applicable legal regulations.
Check the packaging contents for completeness and damages. Should the contents in the packaging not be complete or damaged, do not use the product. Return it to your retail outlet immediately.
After unpacking, please refer to chapter
Cleaning and care
To remove production residue, run the product for approx. 10 minutes without foodstuffs. For doing so use upper and lower heat setting at max. temperature. For setting follow chapter
USE. Make sure there is sufficient ventilation as a slight odor and some smoke may occur. This is harmless and will disappear shortly.

Do not dispose of this product as unsorted municipal waste. Return it to a designated collection point for the
recycling of WEEE. By doing so, you will help to conserve resources and protect the environment. Contact your retailer or local authorities for more information.
Content
1 x Mini oven
1 x Baking grate with handle
1 x Baking tray
1 x Rotisserie incl. clamps and handle
1 x Crumb tray
1 x Instruction manual
Technical Data
Rated voltage:220-240V\~
Rated input power : 1350 - 1650 w
Rated frequency : 50/60 Hz
Control elements
A Temperature control
B Operation indicator lamp
Mode selection control
D Timer/On(C)/OFF
Power cord with plug
F Door handle
G Rotisserie handle
H Grate handle
1 Crumb tray
Baking grate
Baking tray
Oven door
M Lower heating elements
N Rotisserie with clamps
0 Holding bracket
Receptacle drive
Upper heating elements
R Oven lighting
Installation
Fig.1 Place the product on an even, solid and heat resistant surface. Consider the distance to the next socket outlet.
To ensure sufficient air circulation follow minimum clearances as given below:
Sides: 12 cm
Back: 12 cm
Up: 30 cm

Warning
The product must not be installed and placed into furniture. The product must not be installed directly below a plate, cupboard or cabinet.
Fig.2 Insert the crumb tray below the lower heating elements.
Fig.3 Connect the power plug to a suitable mains socket.
Use
Temperature control
Fig. 4 Adjust the desired temperature up to 230^ C using the temperature control.
Mode selection
Note:
The convection fan runs automatically with all modes and cannot be switched on or off.
Fig. 5 Select the desired mode using the mode selection control. Consider following symbols and explanations:
OFF Off

Upper and lower heat

Upper heat

Lower heat

Upper heat with rotisserie activated

Upper and lower heat with rotisserie activated
The mini oven starts to operate only after the Timer or On/Off switch is set accordingly.
English
Switching on - permanently or using timer
Fig. 6 Turn the control clockwise to set an operation time of up to 120 minutes and to switch on the oven.
To switch on the oven without setting a time, turn the control anti-clockwise to C.
The operation indicator lamp lights up red and the oven is heating up.
Note
The operation indicator lamp does not indicate whether the oven is heating up or the preset temperature has been reached. The operation indicator lamp lights up when the product was switched on or the timer has been set and the product is operating.
After expiration of the preset time or when switching the product OFF the operation indicator lamp turns off.
Using the rotisserie
The rotisserie can be used at upper and lower heat.
Fig.7 Loosen the wing screws of the clamps at the rounded end side of the rotisserie and take off the clamps.
Fig. 8 Push the rotisserie through the middle of the food for grilling to get an even distance between food and heating elements.
Fig.9 Fix the food in the middle of rotisserie using the two clamps. In doing so push both clamps together and once the food is properly fixed tighten the wing screws to fix the clamps to the rotisserie.
Note
Make sure that the food for grilling is placed in the middle of the rotisserie with an equal distance to both the drive as well as the duct.
Fig. 10 Inserting rotisserie: Push the rounded end of the spit into the receptacle drive. Then put the other end of the spit on the holding bracket.
Consider the size of the food for grilling (e.g. roast chicken). It shall not touch the upper or lower heating elements at any position.
Note:
When using the rotisserie, please only use chicken with a maximum weight of 3.5kg .
Fig. 11 Use the provided handle to remove the rotisserie in reverse order of inserting.
Baking and grilling
Before each use make sure the crumb tray is inserted below the lower heating element.
- Preheat the oven for a few minutes with the door closed. To do so, turn the temperature control to the desired temperature and switch on the oven using the timer or On/Off switch.
Prepare the food for baking. Put them on the baking grate or baking tray.
- For fatty or wet foods use the baking tray to avoid grease or liquids dripping off.
- Insert the baking grate or tray at the desired height. Three insertion heights are available.
- Close the door, turn the temperature control to the desired temperature and switch on the product by using the timer or On/Off switch.

Caution
The upper enclosure and other parts of the product may become very hot during use. During operation and directly afterwards do not touch the hot surfaces of the product.
- The baking mode (function) can be changed during baking process.
- When using the timer control the heating elements are automatically switched off after the preset time has expired.
- For switching the oven off manually, turn the timer/ on/off switch to position OFF.
For opening the possibly hot door use the handle only.

Caution
Hot steam could be emitted when opening the oven door. Thus always open the door carefully.
Use oven mitts or some cloth or the provided baking grate handle when taking out the baking grate or tray. A hot baking grate or tray shall only be placed on a heat resistance surface.
For taking out the rotisserie use the handle provided.
Unplug the product after use.

Caution
Depending on the type and quality of the food, it could become very hot during grilling / baking. Especially foods with a high water content, such as tomatoes, will become very hot. Be extremely careful when grilling and especially when removing these types of foods.
Cleaning and care

Caution
Always unplug the product from the power outlet and let it cool down before cleaning.
Fig.12 Before each cleaning unplug the product and let it cool down.
- Remove grease which possibly dropped onto the lower heating element with a damp cloth.
- Clean baking tray, grate, rotisserie and clamps with a mild standard dish liquid.
- Remove the crumb tray and clean it. Use paper towels to wipe off larger amounts of grease.
After cleaning insert the crumb tray again. - When cleaning, never use solvents or abrasive materials, hard brushes, metallic or sharp objects. Solvents are harmful to human health and can attack plastic parts, while abrasive cleaning mechanisms and tools may scratch the surface(s).
Replacing the oven light

Warning
Let the product cool down. Unplug the product from the power outlet before replacing the lamp to avoid the possibility of electric shock.
If the oven lighting is defective, the bulb must be replaced.
Fig.13 First remove the lamp cap and then turn the light bulb counterclockwise. Replace the bulb with a lamp of the same type (230V 25W T300, E14). The installation is done in reverse order. Make sure the light bulb and lamp cover are properly in place.
English
Cooking times
Consider the cooking times as shown in below table. This is only a small selection and further information can be found in cookbooks. The cooking time depends on size and amount of food. Follow the instructions on package.
| Dish | Function Note: The convection fan runs automatically with all modes and cannot be switched on or off. | Temperature in °C | Cooking time in minutes (after preheating) | |
| Roast chicken, using rotisserie | Upper heat with rotisserie activated | 220-230 50 | 80 | |
| Upper and lower heat with rotisserie activated | ||||
| Pizza, deep frozen | Upper and lower heat 220-230 20-40 | |||
| Toast Haiwai | Upper and lower heat 200-210 15-20 | |||
| Baguette, deep frozen | Upper and lower heat 220-230 10-14 | |||
| Non frozen food, cake | Upper and lower heat 180-200 25-40 | |||
Troubleshooting
If there are any problems during operation, please refer to the following table. If problems cannot be solved as indicated under Solution, please contact your manufacturer.
| Problem Possible causes Solution | ||
| Product does not work | ·Interrupted power supply | ·Check the power supply |
| Product does not heat up | ·Timer is in OFF position ·Household fuse defect ·Mains socket defect ·Product defect | ·Set the Timer to a time more than 0 minutes or C ·Check the household fuse ·Try to use another main socket ·Unplug the product and let an authorized service agent check it |
| Product cannot be switch off | ·An electronic element is defect | ·Unplug the product and let an authorized service agent check it |
| Rotisserie does not rotate | ·Selected function without rotisserie activated ·Rotisserie not correctly inserted/jammed | ·Choose function with rotisserie activated ·Remove rotisserie and insert correctly |
Regulator temperature
Rys. 4 Ustaw zadana temperature do 230^ za pomocara regulatora temperature.
Wybortrybu
Uwaga:

- Caution! Hot surface! Risk of burning! Do
- Safety instructions
- English
- Congratulations!
- Intended use
- Before first time use
- Cleaning and care
- Content
- Technical Data
- Control elements
- Installation
- Warning
- Use
- Temperature control
- Mode selection
- Note:
- Switching on - permanently or using timer
- Note
- Using the rotisserie
- Baking and grilling
- Caution
- Replacing the oven light
- Cooking times
- Troubleshooting
- Regulator temperature
- Wybortrybu
- Uwaga:
Brand : Koenic
Model : KMO 4341
Category : Oven