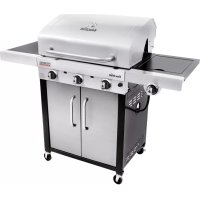
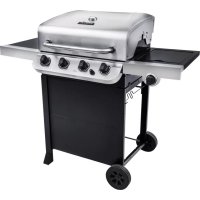
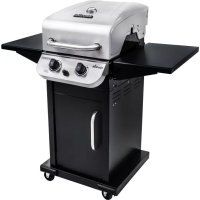
Patio Bistro 180B - Barbecue CHAR-BROIL - Free user manual and instructions
Find the device manual for free Patio Bistro 180B CHAR-BROIL in PDF.
Download the instructions for your Barbecue in PDF format for free! Find your manual Patio Bistro 180B - CHAR-BROIL and take your electronic device back in hand. On this page are published all the documents necessary for the use of your device. Patio Bistro 180B by CHAR-BROIL.
USER MANUAL Patio Bistro 180B CHAR-BROIL
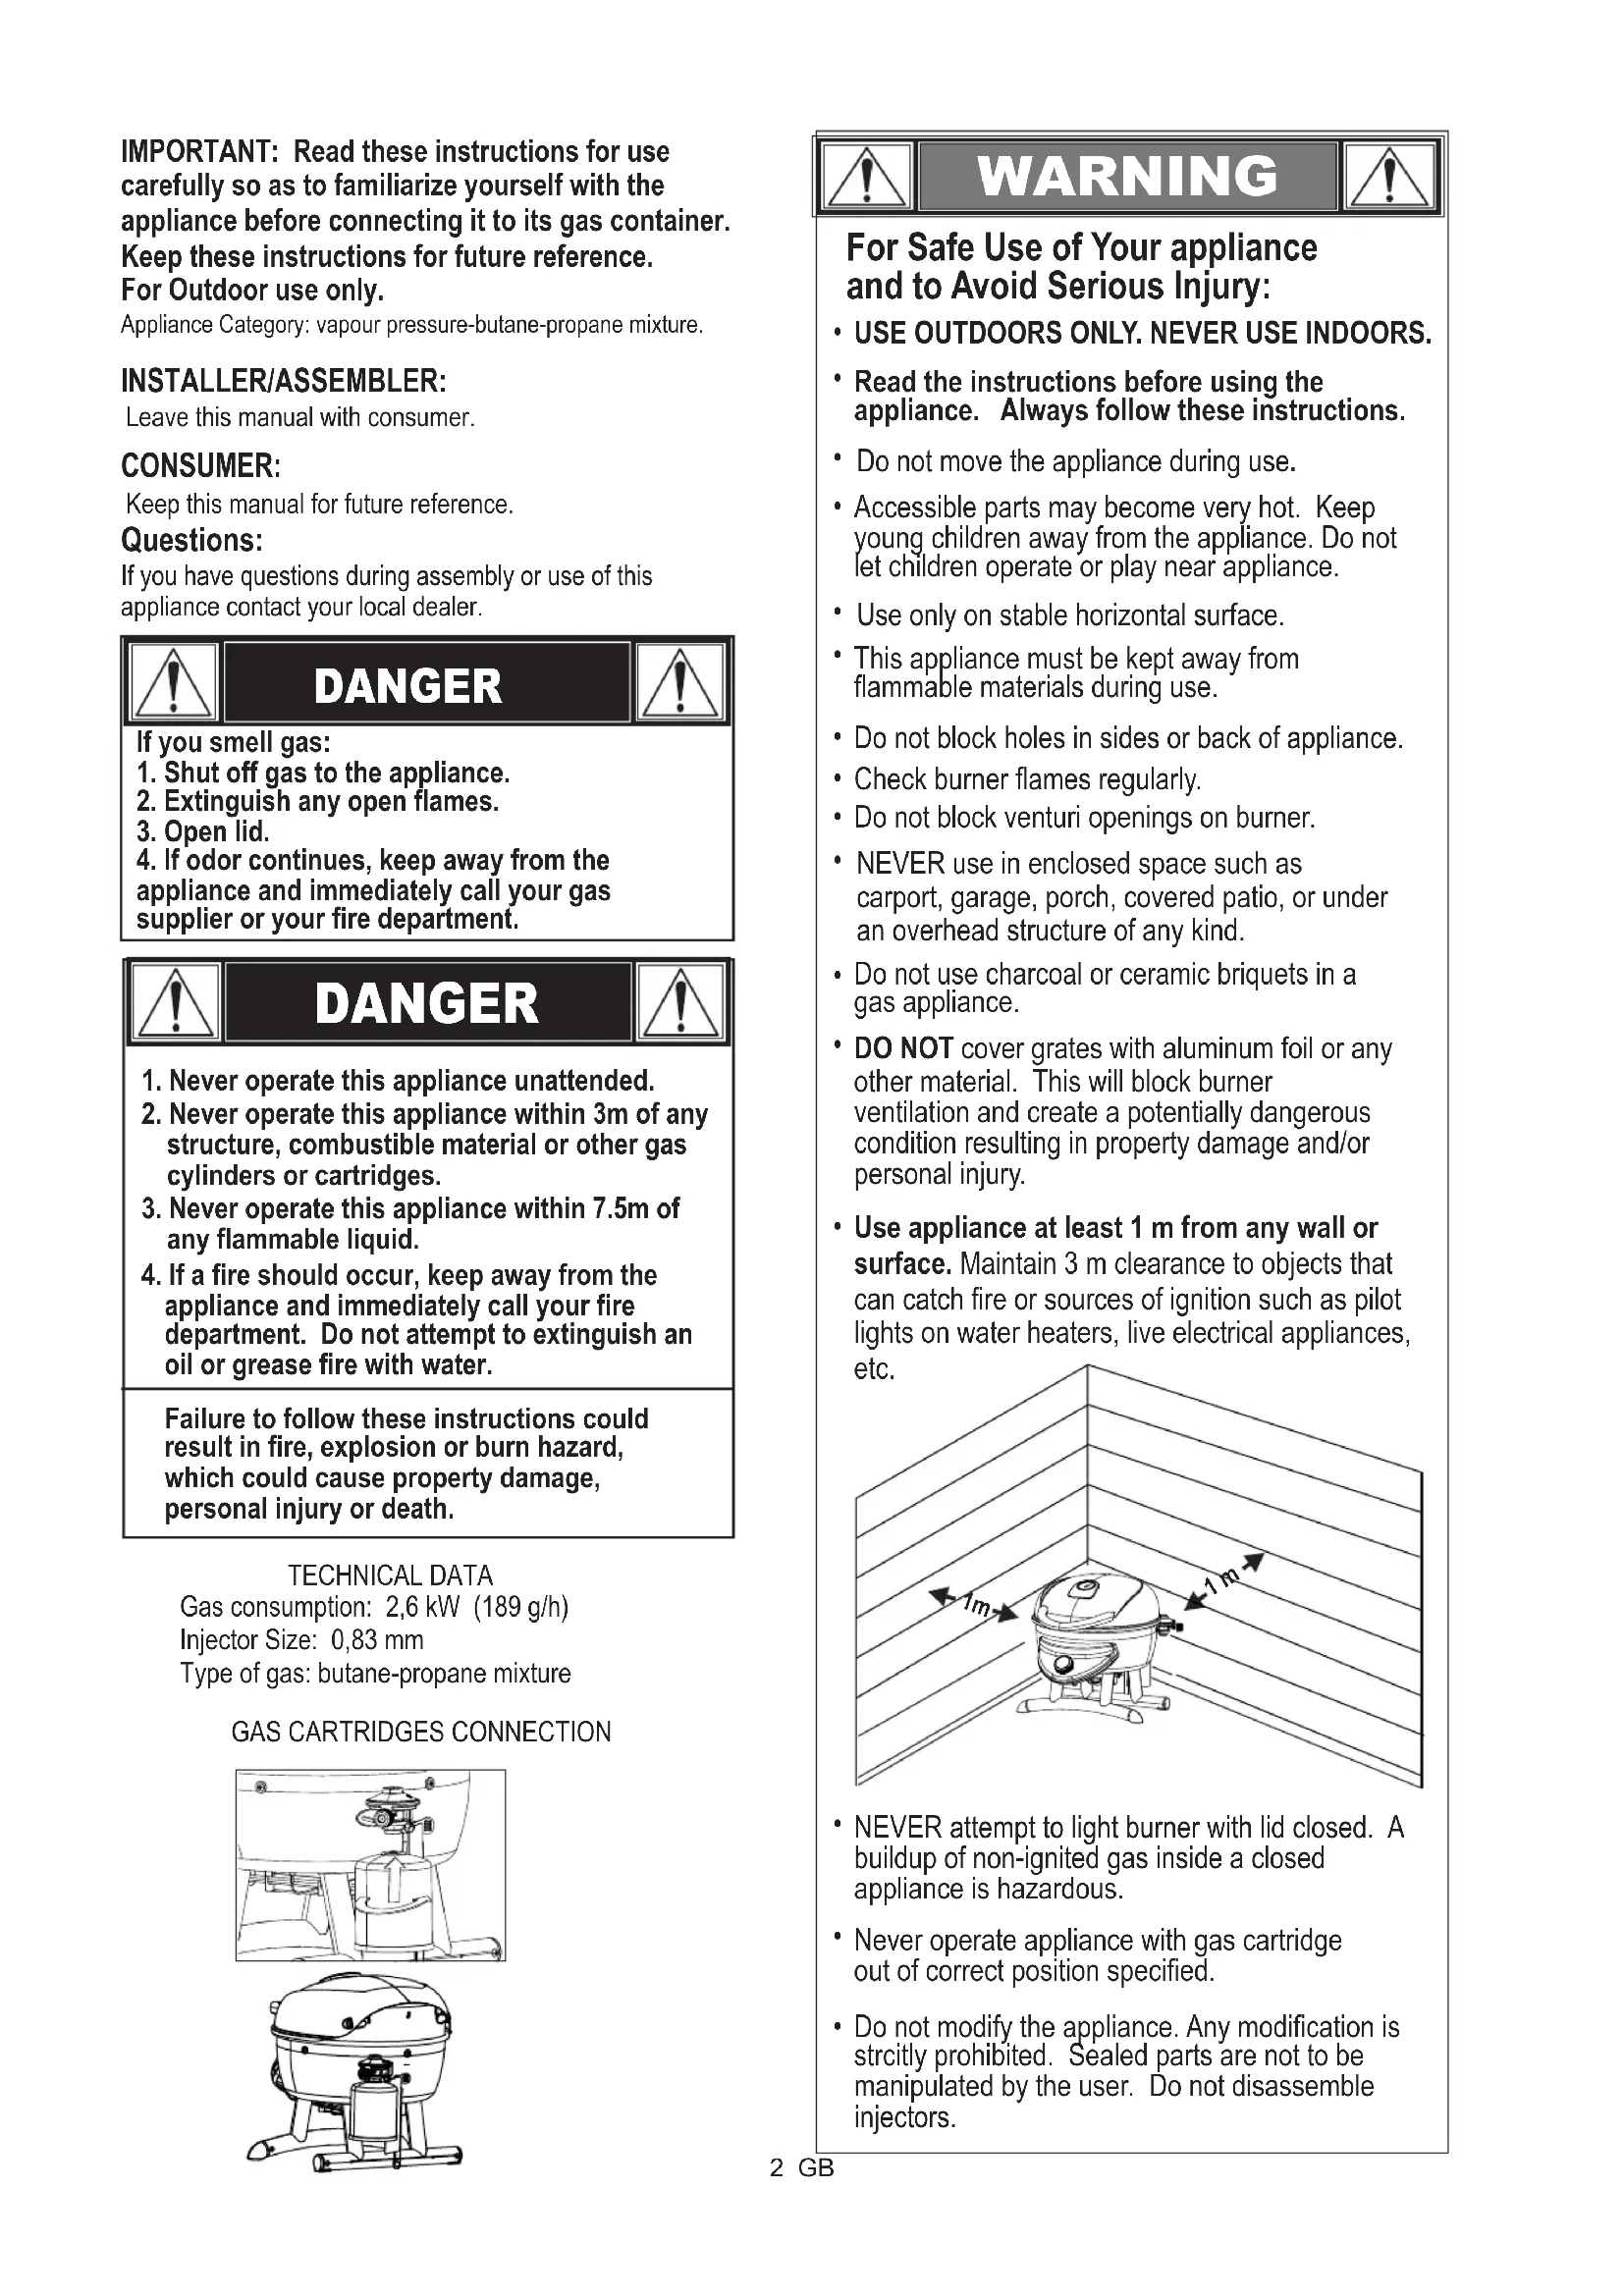
1. Shut off gas to the appliance.
4. If odor continues, keep away from the
appliance and immediately call your gas supplier or your fire department.TECHNICAL DATA DANGER Failure to follow these instructions could result in fire, explosion or burn hazard, which could cause property damage, personal injury or death.Gas consumption: 2,6 kW (189 g/h) Injector Size: 0,83 mmType of gas: butane-propane mixtureGAS CARTRIDGES CONNECTION1. Never operate this appliance unattended.2. Never operate this appliance within 3m of any structure, combustible material or other gas cylinders or cartridges.3. Never operate this appliance within 7.5m of any flammable liquid.4. If a fire should occur, keep away from the appliance and immediately call your fire department. Do not attempt to extinguish an oil or grease fire with water. IMPORTANT: Read these instructions for use carefully so as to familiarize yourself with the appliance before connecting it to its gas container. Keep these instructions for future reference. For Outdoor use only. Appliance Category: vapour pressure-butane-propane mixture. INSTALLER/ASSEMBLER: Leave this manual with consumer. CONSUMER: Keep this manual for future reference. Questions: If you have questions during assembly or use of this appliance contact your local dealer. Do not modify the appliance. Any modification is strcitly prohibited. Sealed parts are not to be manipulated by the user. Do not disassemble injectors. WARNING Accessible parts may become very hot. Keep young children away from the appliance. Do not let children operate or play near appliance. This appliance must be kept away from flammable materials during use. Do not block holes in sides or back of appliance. Check burner flames regularly. NEVER use in enclosed space such as carport, garage, porch, covered patio, or under an overhead structure of any kind. Do not use charcoal or ceramic briquets in a gas appliance. Use appliance at least 1 m from any wall or surface. Maintain 3 m clearance to objects that can catch fire or sources of ignition such as pilot lights on water heaters, live electrical appliances, etc. For Safe Use of Your appliance and to Avoid Serious Injury: DO NOT cover grates with aluminum foil or any other material. This will block burner ventilation and create a potentially dangerous condition resulting in property damage and/or personal injury. NEVER attempt to light burner with lid closed. A buildup of non-ignited gas inside a closed appliance is hazardous. Read the instructions before using the appliance. Always follow these instructions. USE OUTDOORS ONLY. NEVER USE INDOORS. Do not move the appliance during use. Never operate appliance with gas cartridge out of correct position specified. Do not block venturi openings on burner. Use only on stable horizontal surface. 1 m
- Read and follow all safety statements, assembly instructions and use and care directions before attempting to assemble and cook.•Some parts may contain sharp edges. Wearing protective gloves is recommended. Safety Tips When appliance is not in use, turn off all control knobs and gas.Use long-handled barbecue utensils and oven mitts to avoid burns and splatters. Use protective gloves when handling hot components.The grease tray must be inserted into appliance and emptied after each use. Do not remove grease tray until appliance has completely cooled.If you notice grease or other hot material dripping from appliance onto valve, hose or regulator, turn off gas supply at once. Determine the cause, correct it, then clean and inspect valve, hose, and regulator before continuing. Perform a leak test.Change the gas container outside and away from people. DO NOT disconnect or change gas container within 3m of an open flame or other ignition source or other people.•Putting out grease fires by closing the lid is not possible. Grills are well ventilated for safety reasons.•Do not use water on a grease fire, Personal injury may result. If a persistent grease fire develops turn knobs off.•If appliance has not been regularly cleaned, a grease fire can occur that may damage the product. Pay close attention while preheating or burning off food residue to insure that a grease fire does not develop. Follow instructions on General appliance Cleaning and Cleaning The Burner Assembly to prevent grease fires.•The best way to prevent grease fires is regular cleaning of the appliance. Grease Fires Be very careful when you open the lid, since hot steam may escape.Be very careful when children, the elderly or pets are nearby.This appliance shall only be used with PRIMUS Powergas model 2202 (450 g) butane-propane gas mixture cartridge. This appliance shall only be used with EN 417 butane-propane mixture cartridge.It may be hazardous to attempt to fit other types of gas cartridges.Check that seals are in place and in good condition before connecting to the gas container. Check the seals before connecting a new gas container to the appliance.Do not use the appliance if it has damaged or worn seals. Do not attempt to repair seals. Obtain new parts form the manufacturer.Do not use an appliance which is leaking, damaged or which does not operate properly.If there is a leak on your appliance (Smell of gas), take it outside immediately into a well ventilated flame free location where the leak may be detected and stopped. If you wish to check for leaks on your appliance, do it outside. Do not try to detect leaks using a flame, use soapy water. GAS CARTRIDGES
REGULATOR REQUIREMENTS Only use regulator supplied with this product or a replacement supplied by the manufacturer. Check that gas cartridge is empty before changing it (shake to hear the noise made by the liquid). Check that burners are extingushed before disconnecting the gas cartridge.
Rotate Match Light Hole Cover View is from rear of appliance
Match Light Hole Ignitor LightingREAD INSTRUCTIONS BEFORE LIGHTING.Do NOT lean over appliance while lighting.1. Turn OFF gas burner control valve.2. Connect LP gas cylinder.3. Open the grill lid.4. Press and turn the control knob to the position.5. Push and hold ELECTRONIC IGNITOR button until the burner lights.6. Once ignited, turn the control knob to the desired setting.7. If ignition does not occur in 5 seconds, turn the burner control knob OFF , wait 5 minutes, and repeat lighting procedure.If ignition still does not occur, follow match-lighting instructions.Match-Lighting Do NOT lean over appliance while lighting.1. Turn OFF gas burner control valve.2. Open grill lid. 3. Connect LP gas cylinder4. Insert match into match holder. Strike match. Place lit match into match light hole at the rear of the grill bottom, shown “A”. Make sure lit match is placed inside through the hole and near burner.
5. Push in and turn control knob to position . Be sure burner
lights and stays lit.6. If ignition does not occur in 5 seconds, turn the burner control knob OFF , wait 5 minutes, and repeat lighting procedure.4
CAUTION SPIDER ALERT! SPIDER AND WEBSINSIDE BURNER If your appliance is getting hard to light or the flame is weak, check and clean the venturis and burners.Spiders or small insects are known to create “flashback” problems by building nests and laying eggs in the appliance’s venturi or burner obstructing the flow of gas. The backed-up gas can ignite behind the control panel. This flashback can damage your appliance and cause injury. To prevent flashbacks and ensure good performance, the burner and venturi tube assembly should be removed and cleaned whenever the appliance has been idle for an extended period of time. Cleaning the Burner Assembly Follow these instructions to clean and/or replace parts of burner assembly or if you have trouble igniting appliance.
1. Turn gas control knob to and remove
2. Open top cover, remove cooking grate and warming
rack, shown A. This will expose the burner from inside, shown B.
3. Remove 3 screws attaching burner, shown C
4. From the top of the grill, carefully lift burner out,
5. Clean any blocked ports with a stiff wire such as an
6. Clean burner as recommended below, shown E.
We suggest three ways to clean the burner tube. Use the one easiest for you. (A) Bend a stiff wire (a light weight coat hanger works well) into a small hook. Run hook through burner tube several times. (B) Use a narrow bottle brush with a flexible handle (do not use a brass wire brush), run the brush through burner tube several times. (C) Wear eye protection: Use an air hose to force air into the burner tube and out the burner ports. Check each port to make sure air comes out each hole.
7. Check burner for damage, due to normal wear and
corrosion some holes may become enlarged. If any large cracks or holes are found replace burner.
8. Insert burner into firebox .
VERY IMPORTANT: Burner tube must re-engage over valve opening. See illustration, shown F.
9. Reattach burner with screws removed in step 3.
10. Reinstall heat tent, cooking grates and warming
rack. Leak Testing Valves, Tube and Regulator Ensure Cooking Grate ridges run front to back (fig.A)
Burner (exposed) Warming Rack
BurnerScrews Move burner to rear and upward Tube cleaner (see above recommendations) Burner (removed) Orifice engaged inside burner tube end correctly Burner Tube Orifice Warming Rack Warming Rack
Brush soapy solution onto connections between regulator piping to valve (B). If a leak is detected remove cylinder. Do not use grill with a leak and do not attempt to correct.
2. Brush soapy solution onto connection between gas cylinder
and regulator at (A). If growing bubbles appear, there is a leak. Retighten cylinder and repeat soapy solution.
3. If you cannot stop a leak, remove gas cylinder from regulator
and check for damaged threads, dirt and debris on regulator and gas cylinder. Also check to see if anything is obstructing flow of gas at regulator and gas cylinder openings. Remove any obstruction that may be found and repeat leak test. IF threads are damaged on either regulator or gas cylinder, replace.
1. Be sure control valve is turned OFF5
Storing Your appliance
- Clean cooking grates.•Store in dry location.•When gas cartridge is connected to appliance, store outdoors in a well-ventilated space and out of reach of children.•Cover appliance if stored outdoors.•Store appliance indoors ONLY if gas cartridge disconnected, removed from appliance and stored outdoors.•When removing appliance from storage check for burner obstructions. General appliance Cleaning
- Do not mistake brown or black accumulation of grease and smoke for paint. Interiors of gas grills are not painted at the factory (and should never be painted). Apply a strong solution of detergent and water or use a appliance cleaner with scrub brush on insides of appliance lid and bottom. Rinse and allow to completely air dry. Do not apply caustic appliance/oven cleaner to painted surfaces. Høyre skinne
- Plastic parts: Wash with warm soapy water and wipe dry. Do not use citrisol, abrasive cleaners, degreasers or a concentrated appliance cleaner on plastic parts. Damage to and failure of parts can result.•Porcelain surfaces: Because of glass-like composition, most residue can be wiped away with baking soda/water solution or specially formulated cleaner. Use nonabrasive scouring powder for stubborn stains.•Painted surfaces: Wash with mild detergent or nonabrasive cleaner and warm soapy water. Wipe dry with a soft nonabrasive cloth.•Stainless steel surfaces: To maintain your appliance’s high quality appearance, wash with mild detergent and warm soapy water and wipe dry with a soft cloth after each use. Baked-on grease deposits may require the use of an abrasive plastic cleaning pad. Use only in direction of brushed finish to avoid damage. Do not use abrasive pad on areas with graphics.• Cooking surfaces: If a bristle brush is used to clean any of the appliance cooking surfaces, ensure no loose bristles remain on cooking surfaces prior to grilling. It is not recommended to clean cooking surfaces while appliance is hot.Clean appliance often, preferably after each cookout. If a bristle brush is used to clean any of the appliance cooking surfaces, ensure no loose bristles remain on cooking surfaces prior to grilling. It is not recommended to clean cooking surface while appliance is hot.appliance should be cleaned at least once a year.
IF APPLIANCE FAILS TO LIGHT
Make sure gas is turned on at cartridge. Make sure there is gas in the cartridge. Does the ignitor make a sparking Noise? If yes check for spark at burner. If no spark check for damaged or loose wires. If wires are OK check for cracked or broken electrode, replace if needed. If wire or electrodes are covered by cooking residue, clean electrode tip with alcohol wipe if needed. If needed replace wires. If no sound check battery. Make sure battery is installed correctly. Check for loose wire connection at module and switch. If ignitor continues to not work then use match.
If this appliance needs to be repaired please contact your supplier or Kriswell A/S. Please see Kriswell A/S contact information on back page.
WAARSCHUWING SPIN ALARM!