
PowerShot SX500 IS - Camera CANON - Free user manual and instructions
Find the device manual for free PowerShot SX500 IS CANON in PDF.
| Product type | Compact digital camera |
| Brand | Canon |
| Model | PowerShot SX500 IS |
| Resolution | 16.0 megapixels |
| Optical zoom | 30x (equivalent 24-720 mm) |
| Screen | LCD 3.0 inches (approx. 461,000 dots) |
| Image stabilization | Yes (lens shift) |
| Power source | Rechargeable lithium-ion battery NB-6L |
| Charger | CB-2LY / CB-2LYE |
| Battery life | Approx. 210 photos (according to CIPA standard) |
| Dimensions (W x H x D) | 104.0 x 69.5 x 80.2 mm |
| Weight (with battery and card) | Approx. 341 g |
| Storage media | SD, SDHC, SDXC, Eye-Fi memory card |
| Image formats | JPEG (Exif 2.3) |
| Video recording | HD 720p (1280 x 720) at 30 fps |
| Connectivity | USB 2.0 (Mini-B), AV output |
| Main functions | Face detection, automatic scene modes, creative filter, A/S/M mode |
| Maintenance and cleaning | Use a soft, dry cloth. Do not use solvents. |
| Safety | Do not disassemble, avoid water, use only the specified battery. |
| Spare parts and repairability | Contact an authorized Canon service center. Spare parts are not sold directly. |
| General information | Manufactured by Canon Inc., Japan. Distributed by Canon Europa N.V. |
Frequently Asked Questions - PowerShot SX500 IS CANON
User questions about PowerShot SX500 IS CANON
0 question about this device. Answer the ones you know or ask your own.
Ask a new question about this device
Download the instructions for your Camera in PDF format for free! Find your manual PowerShot SX500 IS - CANON and take your electronic device back in hand. On this page are published all the documents necessary for the use of your device. PowerShot SX500 IS by CANON.
USER MANUAL PowerShot SX500 IS CANON
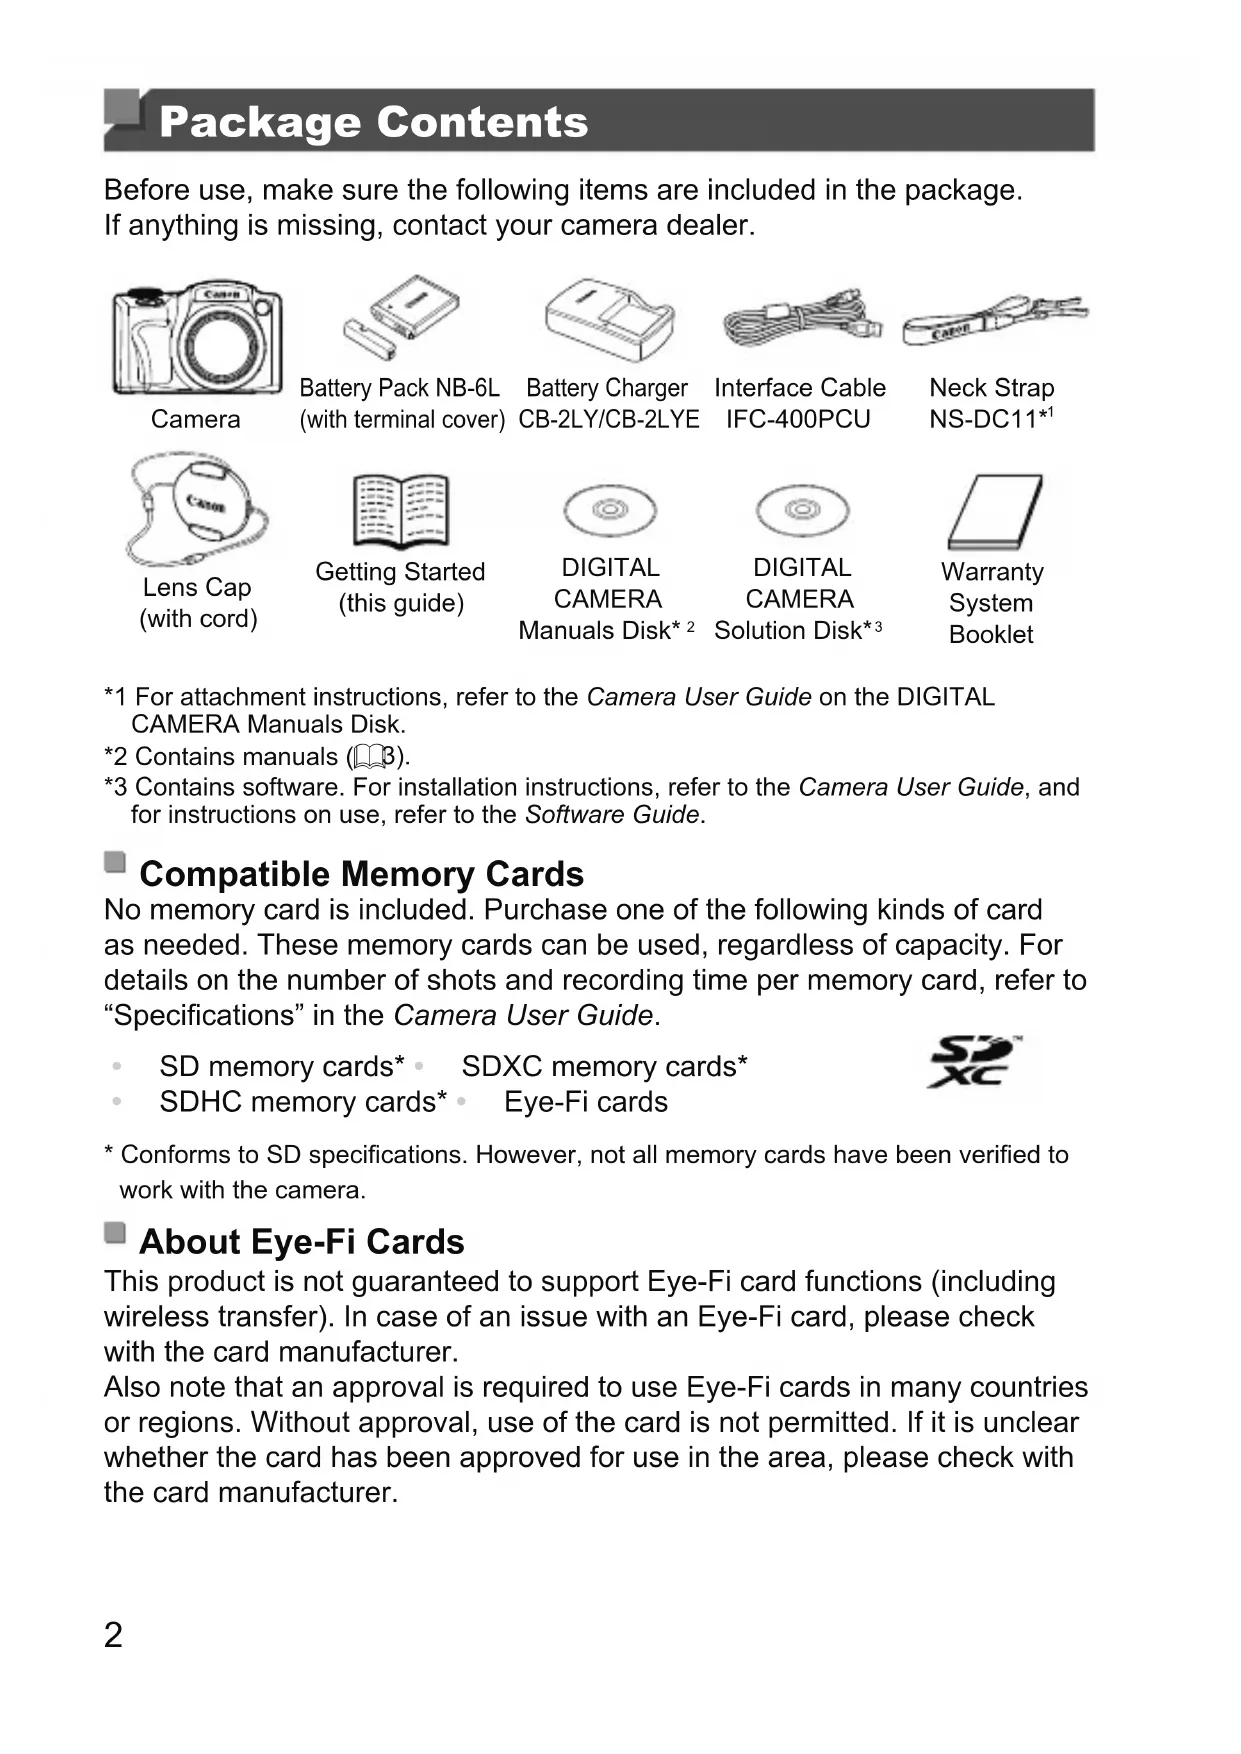
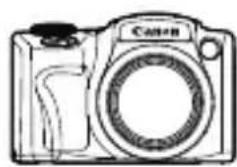
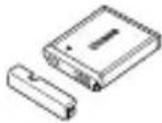
Before use, make sure the following items are included in the package. If anything is missing, contact your camera dealer.
Camera
Battery Pack NB-6L (with terminal cover)
Battery Charger CB-2LY/CB-2LYE
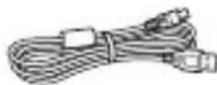
Interface Cable IFC-400PCU

Neck Strap NS-DC11*1
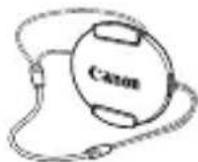
Lens Cap (with cord)

Getting Started (this guide)

DIGITAL CAMERA Manuals Disk*2
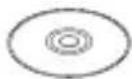
DIGITAL CAMERA Solution Disk*3

Warranty System Booklet
1 For attachment instructions, refer to the Camera User Guide on the DIGITAL CAMERA Manuals Disk.
2 Contains manuals (□β).
*3 Contains software. For installation instructions, refer to the Camera User Guide, and for instructions on use, refer to the Software Guide.
Compatible Memory Cards
No memory card is included. Purchase one of the following kinds of card as needed. These memory cards can be used, regardless of capacity. For details on the number of shots and recording time per memory card, refer to "Specifications" in the Camera User Guide.
SD memory cards SDXC memory cards
SDHC memory cards* Eye-Fi cards

- Conforms to SD specifications. However, not all memory cards have been verified to work with the camera.
About Eye-Fi Cards
This product is not guaranteed to support Eye-Fi card functions (including wireless transfer). In case of an issue with an Eye-Fi card, please check with the card manufacturer.
Also note that an approval is required to use Eye-Fi cards in many countries or regions. Without approval, use of the card is not permitted. If it is unclear whether the card has been approved for use in the area, please check with the card manufacturer.
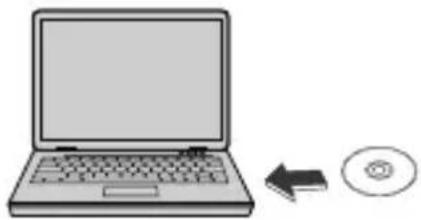
Viewing the Manuals
The following manuals are provided on the included DIGITAL CAMERA Manuals Disk. Adobe Reader is required to view the PDF manuals.
Camera User Guide
This guide covers the following topics.
- Camera basics, from getting ready to shooting, playback, installing the included software, and importing images
Other instructions, about all camera features
Software Guide
This guide describes how to use the included software.
-
Insert the DIGITAL CAMERA Manuals Disk in the computer's CD-ROM drive.
-
Follow the instructions displayed to view the manual.

Initial Preparations

Charging the Battery
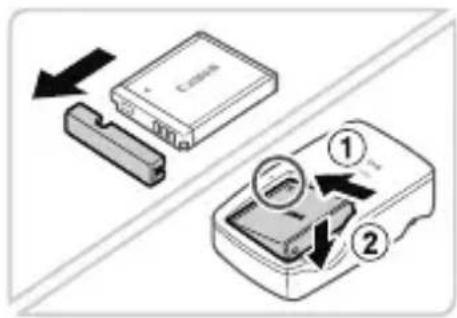
1 Remove the battery cover and insert the battery in the charger.
- Remove the cover from the battery, align the marks on the battery and charger, and insert the battery by pushing it in (1) and down (2).
2 Charge the battery.
Once you connect the power cord to the charger and plug the cord into a power outlet, the lamp will light up orange.
- When charging is finished, the lamp turns green. Remove the battery.
For details on charging time and the number of shots or recording time available with a fully charged battery, refer to "Specifications" in the Camera User Guide.
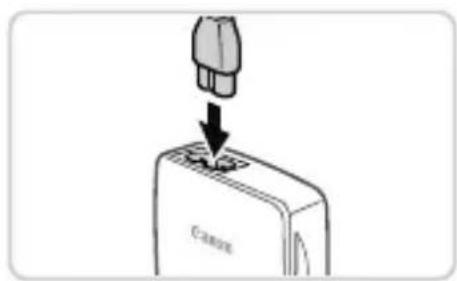
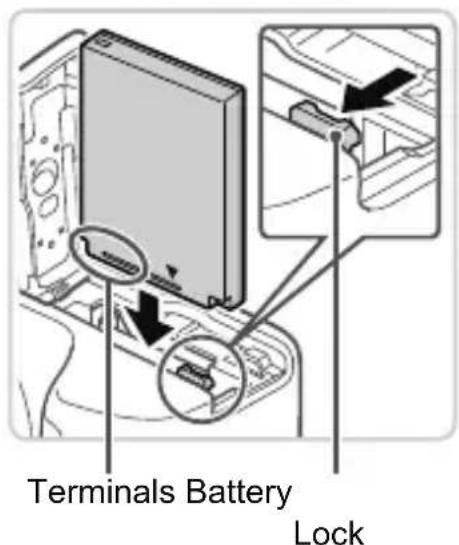
Inserting the Battery and Memory Card
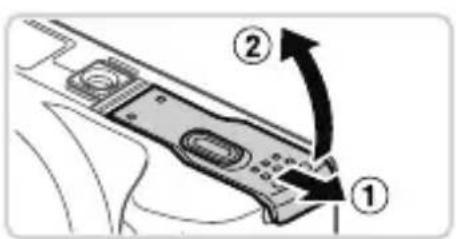
1 Open the cover.
Slide the cover () and open it ( ).
2 Insert the battery.
While pressing the battery lock in the direction of the arrow, insert the battery as shown and push it in until it clicks into the locked position.
To remove the battery, press the battery lock in the direction of the arrow.
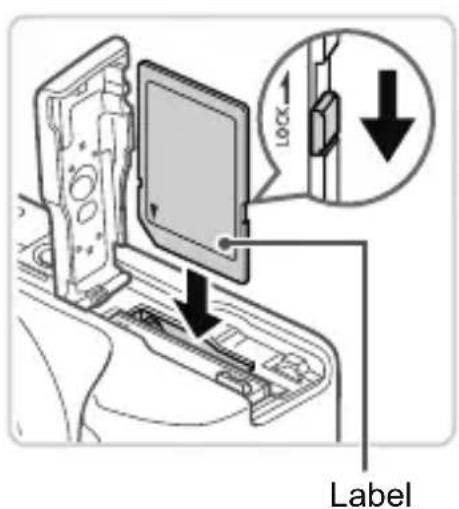
3 Check the card's write-protect tab and insert the memory card.
- Recording is not possible on memory cards with a write-protect tab when the tab is in the locked (downward) position. Slide the tab up until it clicks into the unlocked position.
Insert the memory card facing as shown until it clicks into the locked position.
To remove the memory card, push it in until you feel a click, and then slowly release it.
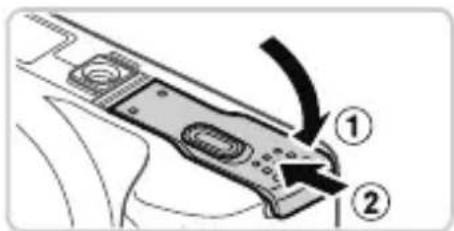
4 Close the cover.
Lower the cover () and hold it down as you slide it, until it clicks into the closed position (2).
Setting the Date and Time
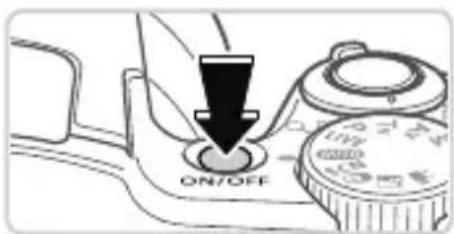
1 Turn the camera on.
Press the ON/OFF button.
The [Date/Time] screen is displayed.
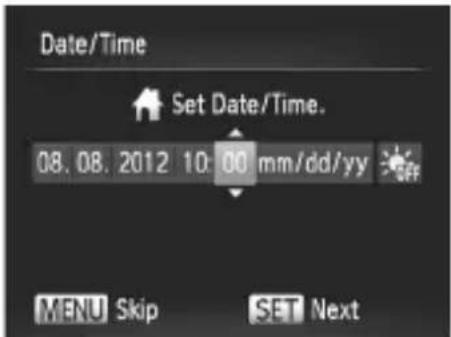
2 Set the date and time.
Press the <><> buttons to choose an option.
Press the <><> buttons or turn the dial to specify the date and time.
When finished, press the <FUNC button.

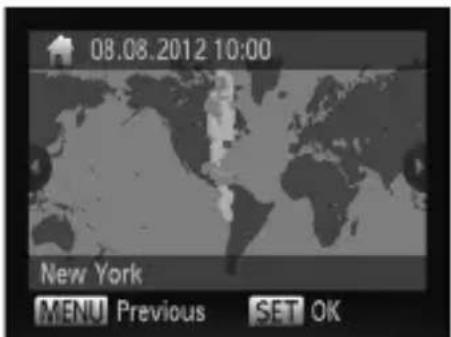
3 Set the home time zone.
Press the < > < > buttons or turn the dial to choose your home time zone.
Press the < > button when finished. After a confirmation message, the setting screen is no longer displayed.
To turn off the camera, press the ON/OF button.

Changing the Date and Time
To adjust the date and time once you have set it, do the following.
1 Press the
30-2, Shimomaruku 3-chome, Ohta-ku, Tokyo 146-8501, Japan
CANON EUROPA N.V.
Bovenkerkerweg 59-61, 1185 XB Amstelveen, The Netherlands
© CANON INC. 2012 GEDRUCKT IN DER EU
Contenu du coffret

Tapa del objetivo (with cable)
30-2, Shimomaruco 3-chome, Ohta-ku, Tokyo 146-8501, Japan
CANON EUROPA N.V.
Bovenkerkerweg 59-61, 1185 XB Amstelveen, The Netherlands
1 Schakel de camera in.
30-2, Shimomaruku 3-chome, Ohta-ku, Tokyo 146-8501, Japan
CANON EUROPA N.V.
Bovenkerwerweg 59-61, 1185 XB Amstelveen, The Netherlands
- Compatible Memory Cards
- About Eye-Fi Cards
- Viewing the Manuals
- Camera User Guide
- Software Guide
- Initial Preparations
- Charging the Battery
- Remove the battery cover and insert the battery in the charger.
- Charge the battery.
- Inserting the Battery and Memory Card
- Open the cover.
- Insert the battery.
- Check the card's write-protect tab and insert the memory card.
- Close the cover.
- Setting the Date and Time
- Turn the camera on.
- Set the date and time.
- Set the home time zone.
- Changing the Date and Time
- Display Language
- EnterPlaybackmode.
- Access the setting screen.
- Shooting
- Turn the camera on and enter mode.
- Compose the shot.
- Shoot still images.
- Shoot movies.
- Viewing
- Browse through your images.
- Play movies.
- Erasing the Images
- CAUTION
- CANON INC.
- CANON EUROPA N.V.
- Lieferumfang
- Kompatible Speicherkarten
- Contenu du coffret
- Schakel de camera in.
Brand : CANON
Model : PowerShot SX500 IS
Category : Camera