T221D - Electric stapler MAKITA - Free user manual and instructions
Find the device manual for free T221D MAKITA in PDF.
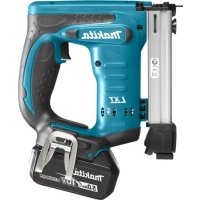
| Product Type | Cordless Electric Stapler |
| Brand | Makita |
| Model | T221D / T221DW |
| Compatible Staple Width | 10 mm |
| Magazine Capacity | 100 staples |
| Dimensions (L x W x H) | 199 x 58 x 193 mm |
| Net Weight | 1.7 kg |
| Rated Voltage | 9.6 V DC |
| Battery Type | Makita 9100 (1.3 Ah, 8 cells) and compatible |
| Typical Charging Time | Approximately 60 minutes |
| Charging Temperature Range | 10 °C to 40 °C |
| Safety System | Double safety: contact probe and trigger |
| Depth Adjustment | Yes, by square knob (half turns) |
| Viewing Window | Yes, on the left side |
| Power Source | Rechargeable lithium-ion battery |
| Routine Maintenance | External cleaning; disconnect battery before any intervention |
| Repairs | To be carried out by a Makita authorized service center |
| Warranty | Complies with local regulations |
| Included Accessories | Charger, battery (depending on version) |
| Intended Use | Stapling on wood, panels, etc. |
Frequently Asked Questions - T221D MAKITA
User questions about T221D MAKITA
0 question about this device. Answer the ones you know or ask your own.
Ask a new question about this device
Download the instructions for your Electric stapler in PDF format for free! Find your manual T221D - MAKITA and take your electronic device back in hand. On this page are published all the documents necessary for the use of your device. T221D by MAKITA.
USER MANUAL T221D MAKITA
With battery charger
Avec chargeur
Mit Ladegerät
Con carica batteria
Met acculader
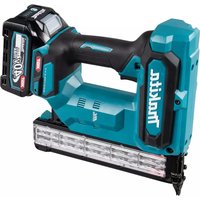
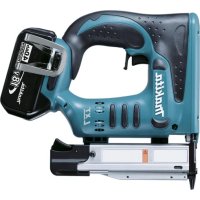
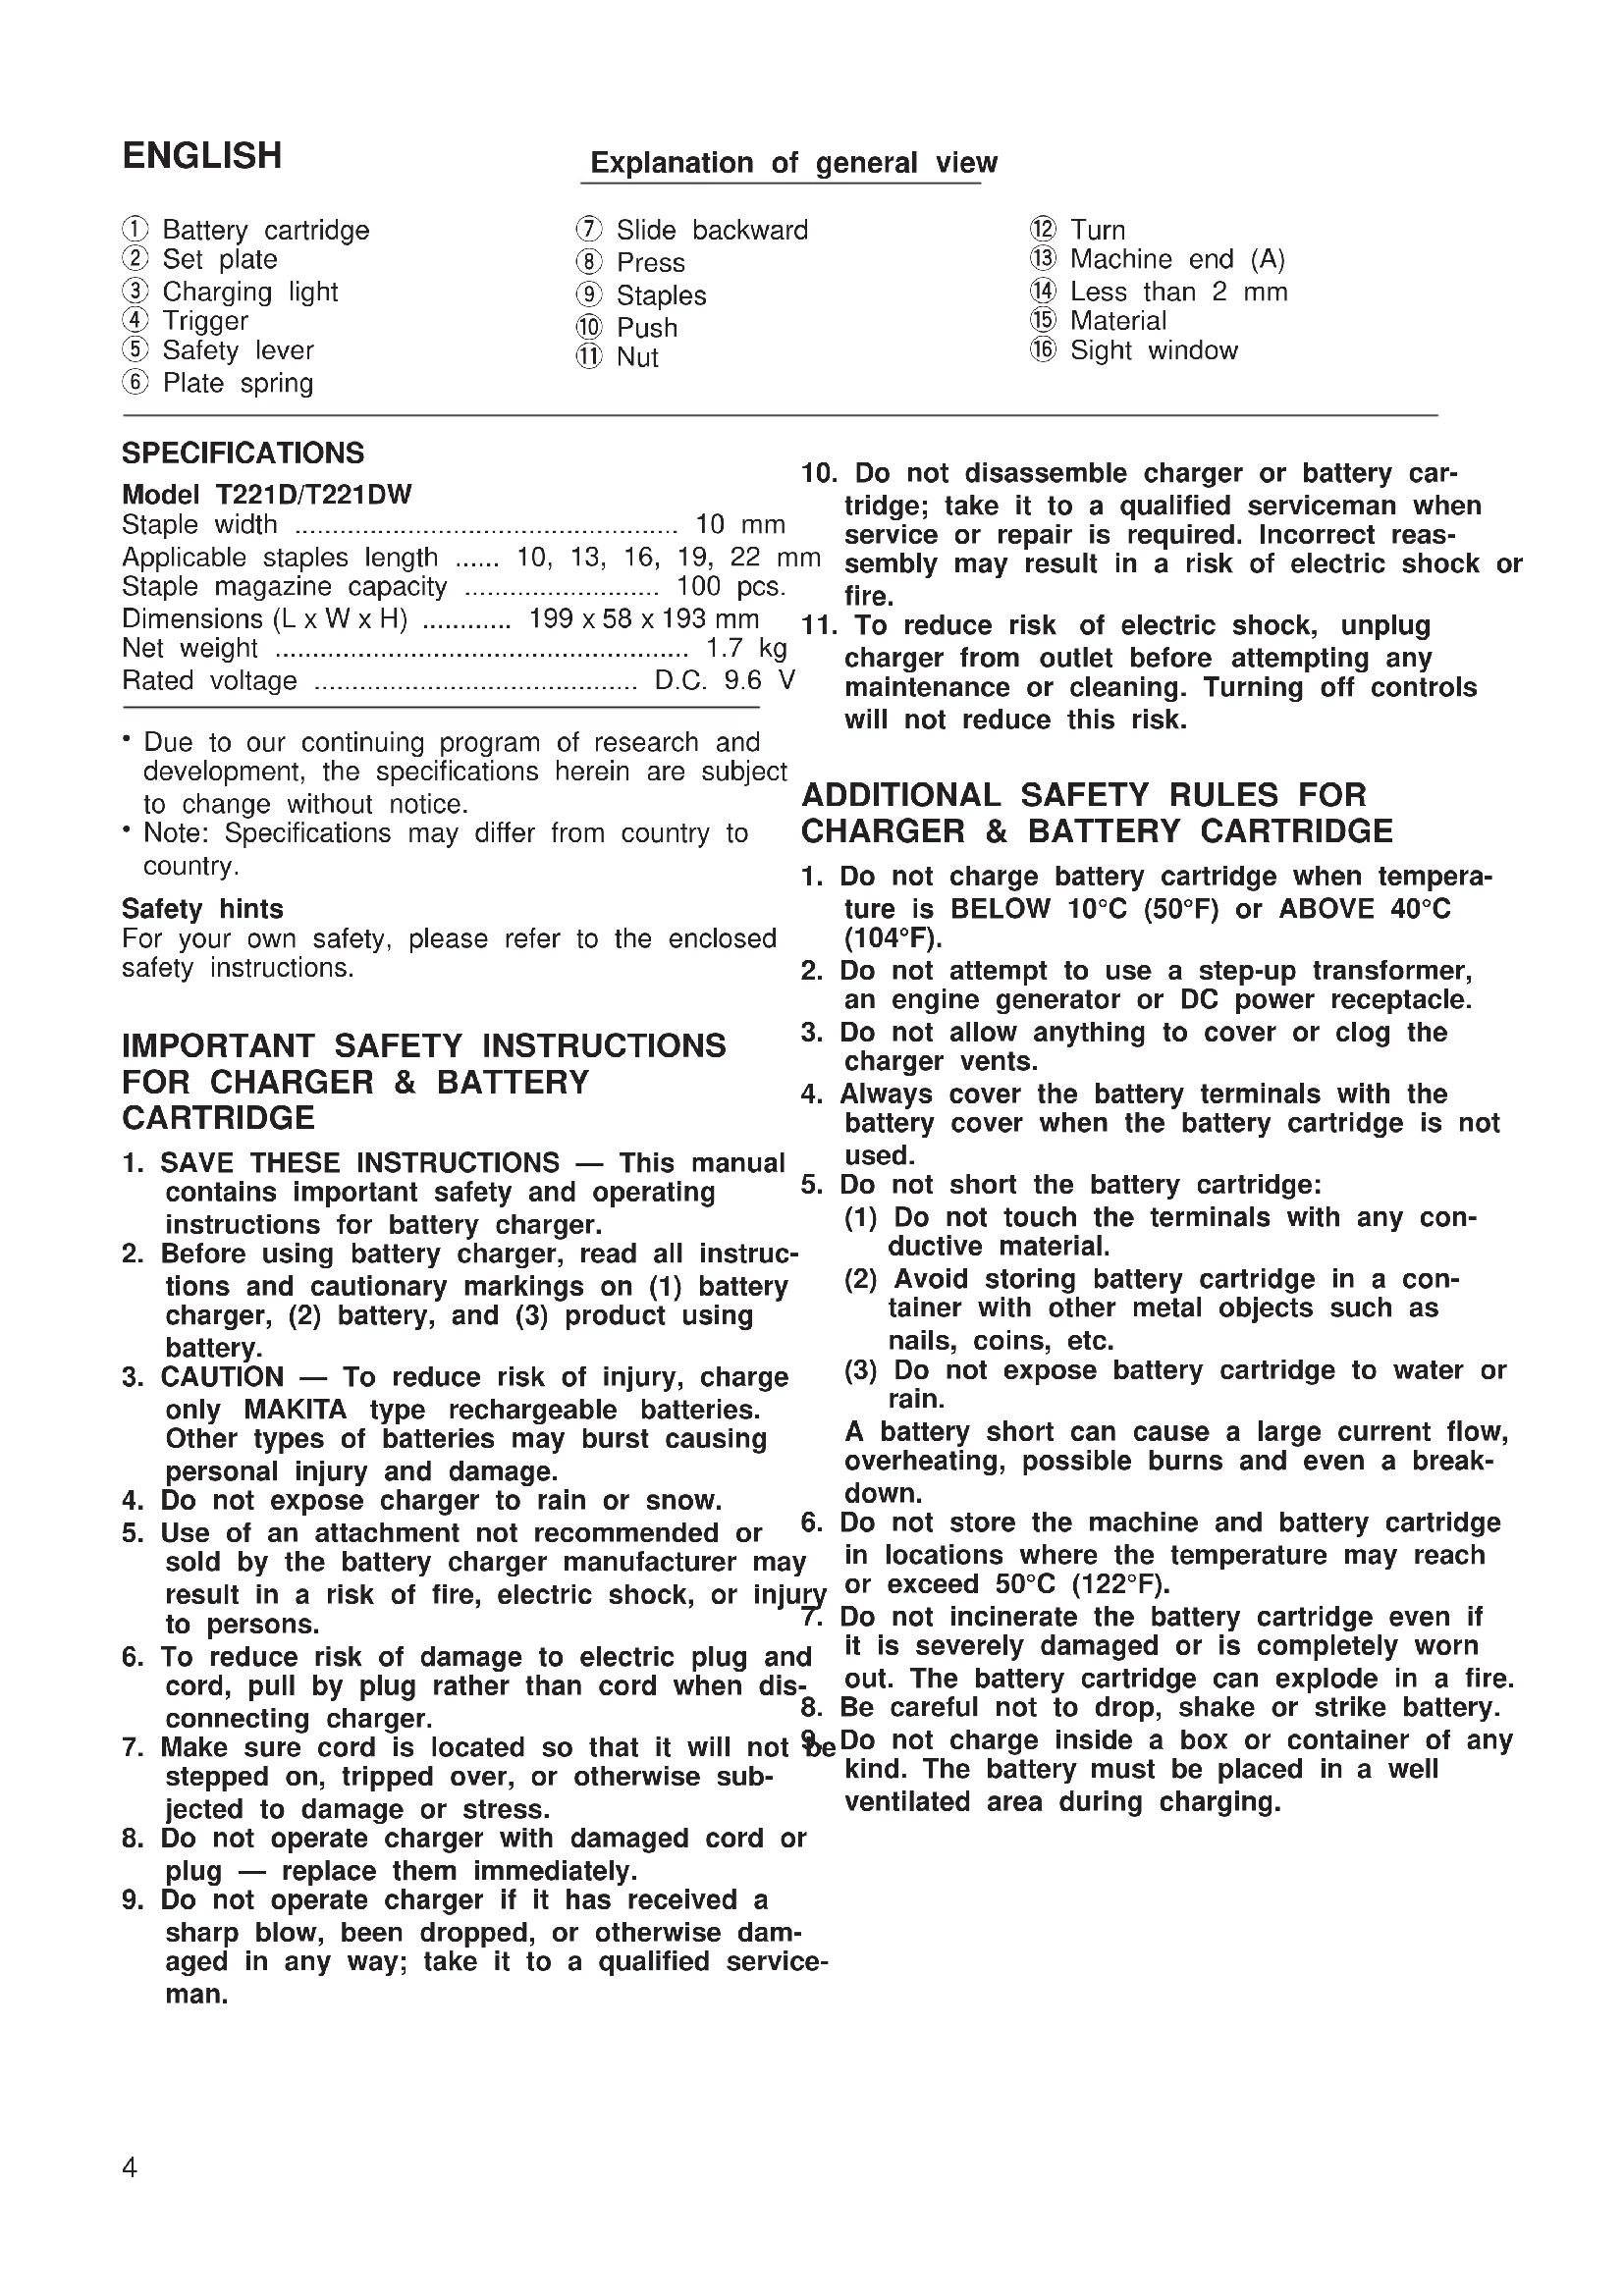
① Battery cartridge
② Set plate
③ Charging light
④ Trigger
⑤ Safety lever
⑥ Plate spring
⑦ Slide backward
⑧ Press
Staples
10 Push
⑪ Nut
12 Turn
⑬ Machine end (A)
Less than 2 mm
Material
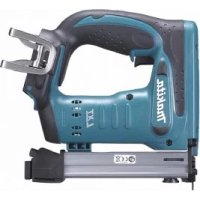
Sight window
SPECIFICATIONS
Model T221D/T221DW
Staple width 10 mm
Applicable staples length 10, 13, 16, 19, 22 mm
Staplemagazinecapacity 100pcs.
Rated voltage D.C. 9.6 V
- Due to our continuing program of research and development, the specifications herein are subject to change without notice.
- Note: Specifications may differ from country to country.
Safety hints
For your own safety, please refer to the enclosed safety instructions.
IMPORTANT SAFETY INSTRUCTIONS FOR CHARGER & BATTERY CARTRIDGE
- SAVE THESE INSTRUCTIONS - This manual contains important safety and operating instructions for battery charger.
- Before using battery charger, read all instructions and cautionary markings on (1) battery charger, (2) battery, and (3) product using battery.
- CAUTION - To reduce risk of injury, charge only MAKITA type rechargeable batteries. Other types of batteries may burst causing personal injury and damage.
- Do not expose charger to rain or snow.
- Use of an attachment not recommended or ^6 sold by the battery charger manufacturer may result in a risk of fire,electric shock,or injury to persons.
- To reduce risk of damage to electric plug and cord, pull by plug rather than cord when dis- connecting charger.
- Make sure cord is located so that it will not stepped on, tripped over, or otherwise subjected to damage or stress.
- Do not operate charger with damaged cord or plug — replace them immediately.
-
Do not operate charger if it has received a sharp blow, been dropped, or otherwise damaged in any way; take it to a qualified serviceman.
-
Do not disassemble charger or battery cartridge; take it to a qualified serviceman when service or repair is required. Incorrect reassembly may result in a risk of electric shock or fire.
- To reduce risk of electric shock, unplug charger from outlet before attempting any maintenance or cleaning. Turning off controls will not reduce this risk.
ADDITIONAL SAFETY RULES FOR CHARGER & BATTERY CARTRIDGE
- Do not charge battery cartridge when temperature is BELOW 10^ (50^) or ABOVE 40^ (104^) .
- Do not attempt to use a step-up transformer, an engine generator or DC power receptacle.
- Do not allow anything to cover or clog the charger vents.
- Always cover the battery terminals with the battery cover when the battery cartridge is not used.
- Do not short the battery cartridge:
(1) Do not touch the terminals with any conductive material.
(2) Avoid storing battery cartridge in a container with other metal objects such as nails, coins, etc.
(3) Do not expose battery cartridge to water or rain.
A battery short can cause a large current flow, overheating, possible burns and even a breakdown.
- Do not store the machine and battery cartridges in locations where the temperature may reach 50^ or exceed 50^ (122^) .
- Do not incinerate the battery cartridge even if it is severely damaged or is completely worn out. The battery cartridge can explode in a fire.
- Be careful not to drop, shake or strike battery. Do not charge inside a box or container of any kind. The battery must be placed in a well ventilated area during charging.
ADDITIONAL SAFETY RULES FOR MACHINE
- Always wear safety goggles or safety glasses with side shield, and a full face shield when needed.
- Do not point the ejection port at anyone in the vicinity (especially his face). Keep hands and feet away from the ejection port area.
- Always remove the battery cartridge before loading the staples, adjustment, inspection, maintenance or after operation is over.
- Make sure no one is nearby before operation. Never attempt to drive staples from both the inside and outside of wall at the same time. Staples may rip through and/or fly off, preserving a grave danger.
- Watch your footing and maintain your balance with the machine. Make sure there is no one5 below when working in high locations.
- Check walls, ceilings, floors, roofing and the like carefully to avoid possible electrical shock, gas leakage, explosions, etc. caused by stapling into live wires, conduits or gas pipes.
- Use only staples specified in this manual. The use of any other staples may cause malfunction of the machine.
- Do not tamper with the machine or attempt to use it for other than driving staples.
- Do not operate the machine without staples.
shortens the service life of the machine. - Stop driving operations immediately if you notice something wrong or out of the order with the machine.
- Never staple into any materials which may allow the staple to puncture and fly through a projectile.
- Never actuate the switch trigger and safety lever at the same time until you are prepared to staple workpieces. Allow the workpiece to depress the safety lever. Never defeat its purpose by securing the safety lever back or by depressing it by hand.
- Never tamper with the safety lever. Check the safety lever frequently for proper operations.
SAVE THESE INSTRUCTIONS.
OPERATING INSTRUCTIONS
Installing or removing battery cartridge (Fig. 1)
- Always switch off the machine before insertion or removal of the battery cartridge.
- To remove the battery cartridge, pull out the set plate on the machine and grasp both sides of the cartridge while withdrawing it from the machine.
-
To insert the battery cartridge, align the tongue on the battery cartridge with the groove in the housin and slip it into place. Snap the set plate back into place. Be sure to close the set plate fully before using the machine.
-
Do not use force when inserting the battery cartridge. If the cartridge does not slide in easily, it is not being inserted correctly.
Charging (Fig. 2)
- Plug the battery charger into your power source.
Be Insert the battery cartridge so that the plus and minus terminals on the battery cartridge are on the same sides as their respective markings on the battery charger. Insert the cartridge fully into the port so that it rests on the charger port floor. -
When the battery cartridge is inserted, the charging light color will flash in red color and charging will begin.
-
When charging is completed, the charging light
ent- goes out. The charging time is as follows: Battery 7000, 7100, 7120, 9000, 9100, 9100A, 9120: approx. 60 minutes.
e5. If you leave the battery cartridge in the charger after the charging cycle is complete, the charger will switch into its "trickle charge (maintenance charge)" mode. - After charging, remove the battery cartridge from the charger and unplug the charger from the power source.
| Battery type | Capacity (mAh) | Number of cells |
| 9100 1,300 | 8 |
Caution:
- The battery charger is for charging Makita batteries in cartridge. Never use it for other purposes or for other manufacturer's batteries.
- When you charge a new battery cartridge or a battery cartridge which has not been used for a long period of time, it may not accept a full charge. This is a normal condition and does not indicate a problem. You can recharge the battery cartridge fully after discharging it completely and recharging a couple of times.
- When you charge a battery cartridge from a just-operated machine or a battery cartridge which has been left in a location exposed to direct sunlight or heat for a long time, let it cool off. Then re-insert it and try to charge it once more.
- When you charge a new battery cartridge or a battery cartridge which has not been used for a long period, sometimes the charging light will go out soon. If this occurs, remove the battery cartridge and re-insert it. If the charging light goes out within one minute even after repeating this procedure a couple of times, the battery cartridge is dead. Replace it with a new one.
Trickle charge (Maintenance charge)
If you leave the battery cartridge in the charger to prevent spontaneous discharging after full charge,
The charger will switch into its "trickle charge (main- nance charge)" mode and keep the battery car- ridge fresh and fully charged.
Tips for maintaining maximum battery life
- Charge the battery cartridge before completely discharged. Always stop machine operation and charge the battery cartridge when you notice less machine power.
- Never recharge a fully charged battery cartridge. Overcharging shortens the battery service life.
- Charge the battery cartridge with room temperature at 10^ - 40^ (50^ - 104^) . Let a hot battery cartridge cool down before charging it.
Safety system (Fig. 3)
Make sure all safety systems are in working order before operation. The machine must not operate if only the trigger is pulled or if only the safety lever pressed against the wood. It must work only when both actions are performed. Test for possible faulty operation with a machine unloaded and pointed we away from yourself or any bystanders.
NOTE:
There is a possibility that the machine may operate an instant when only the trigger is pulled. This does not indicate a problem. If this occurs, point the machine well away from yourself or any bystanders. Release and pull the trigger again to make sure the safety systems are in working order.
Loading staples (Fig. 4,5 & 6)
Important:
Always remove the battery cartridge before loading the staples into the machine.
Press the plate spring on the rear of the sub-magazine and slide the sub-magazine backward.
- Load staples into the main magazine with staple ends facing up as illustrated in Fig. 5. Slide the submagazine forward.
To secure the sub-magazine in place, push the submagazine while pressing the plate spring on the rear of the sub-magazine.
CAUTION:
Always secure the sub-magazine in place, or the staples can drop out and cause problems.
- With the magazine loaded, if the machine is held downward and the sub-magazine is opened, the staples can fall out and present a danger to any or anything below. Keep this in mind especially when working in high locations.
Depth adjustment (Fig. 7 & 8)
If the staples are driven too deep or too shallow, adjust the driving depth by turning the nut on the bottom of the machine. For deeper driving of staple turn the nut clockwise. For shallower driving, turn to nut counterclockwise. Please note the nut must be turned in increments of 180^ (1/2 turn) so that the groove on the nut runs parallel to the magazine.
NOTE:
If the distance between the machine end (A) and the material to be fastened is more than 2mm , the machine will not operate because the safety lever is not pressed enough to operate the machine.
Driving staples (Fig. 9 & 10)
Place the machine on the material to be fastened so that the front and the rear of the machine contact the material flat. Do not tip the machine to the right or left side. Hold the machine firmly against the material. Then pull the trigger to drive the staples.
If the staples are driven too shallow, press the machine head as shown in Fig. 10 and drive the staples.
If the staples are still driven too shallow, adjust the driving depth by turning the nut clockwise. Refer to "Depth adjustment".
CAUTION:
Do not operate the machine without staples. It shortens the service life of the machine.
If the machine becomes jammed, do as follows. First, remove the battery cartridge. Open the sub-magazine and remove the stuck staple using a screwdriver or the like.
Sight window (Fig. 11)
There is a convenient sight window on the left side of the machine (when viewing the machine from the front). Use this sight window to check if there are staples in the magazine. When staples are not visible through the window, load staples into the magazine.
Staples
- Handle the staples and their box carefully. If the staples have been handled roughly, they may be bent out of shape, causing poor staple feed or jamming.
Avoid storing the staples in a very humid or hot place or place exposed to direct sunlight.
- Do not attempt to use staples that appear to be damaged, bent, rusty or corroded.
MAINTENANCE
CAUTION:
Always be sure that the machine is switched off and the battery cartridge is removed before carrying out any work on the machine.
To maintain product safety and reliability, repairs, maintenance or adjustment should be carried out by a Makita Authorized Service Center.
GUARANTEE
We guarantee Makita machines in accordance with statutory/country-specific regulations. Damage attributable to normal wear and tear, overload or improper handling will be excluded from the guarantee. In case of complaint, please send the machine, undismantled, with the enclosed GUARANTEE CERTIFICATE, to your dealer or the Makita Service Center.
compatible 10, 13, 16, 19, 22 mm
Bruikbare Niet-length 10, 13, 16, 19, 22 mg
aplicable 10, 13, 16, 19, 22 mm
Capacidad del carro