RTS 400 REQPlus - Sander FESTOOL - Free user manual and instructions
Find the device manual for free RTS 400 REQPlus FESTOOL in PDF.
Frequently Asked Questions - RTS 400 REQPlus FESTOOL
User questions about RTS 400 REQPlus FESTOOL
0 question about this device. Answer the ones you know or ask your own.
Ask a new question about this device
Download the instructions for your Sander in PDF format for free! Find your manual RTS 400 REQPlus - FESTOOL and take your electronic device back in hand. On this page are published all the documents necessary for the use of your device. RTS 400 REQPlus by FESTOOL.
USER MANUAL RTS 400 REQPlus FESTOOL
en: EU Declaration of Conformity. We declare under sole responsibility that this product complies with all the relevant requirements in the following EU Directives, and following standards or normative documents were applied:
We as the manufacturer declare under our sole responsibility that the product(s) fulfill(s) all the relevant provisions of the following UK Regulations and are manufactured in accordance with the following designated standards:
S.l. 2008/1597 Supply of Machinery [Safety] Regulations 2008
S.l. 2016/1091 Electromagnetic Compatibility Regulations 2016
S.l. 2021/422 Restriction of the Use of Certain Hazardous Substances in Electrical and Electronic Equipment Regulations 2012
BS EN 62841-1:2015 + AC:2015 + A11:2022,
BSEN62841-2-4:2014+AC:2015
BS EN 55014-1:2017 + A11:2020,
BS 55014-2:1997 + A1:2001 + A2:2008 + AC:1997,
BS EN 61000-3-2:2014
BS EN 61000-3-3:2013
BS EN IEC 63000:2018
Head of Research & Development Products

Tim Weber
Head of Product Compliance
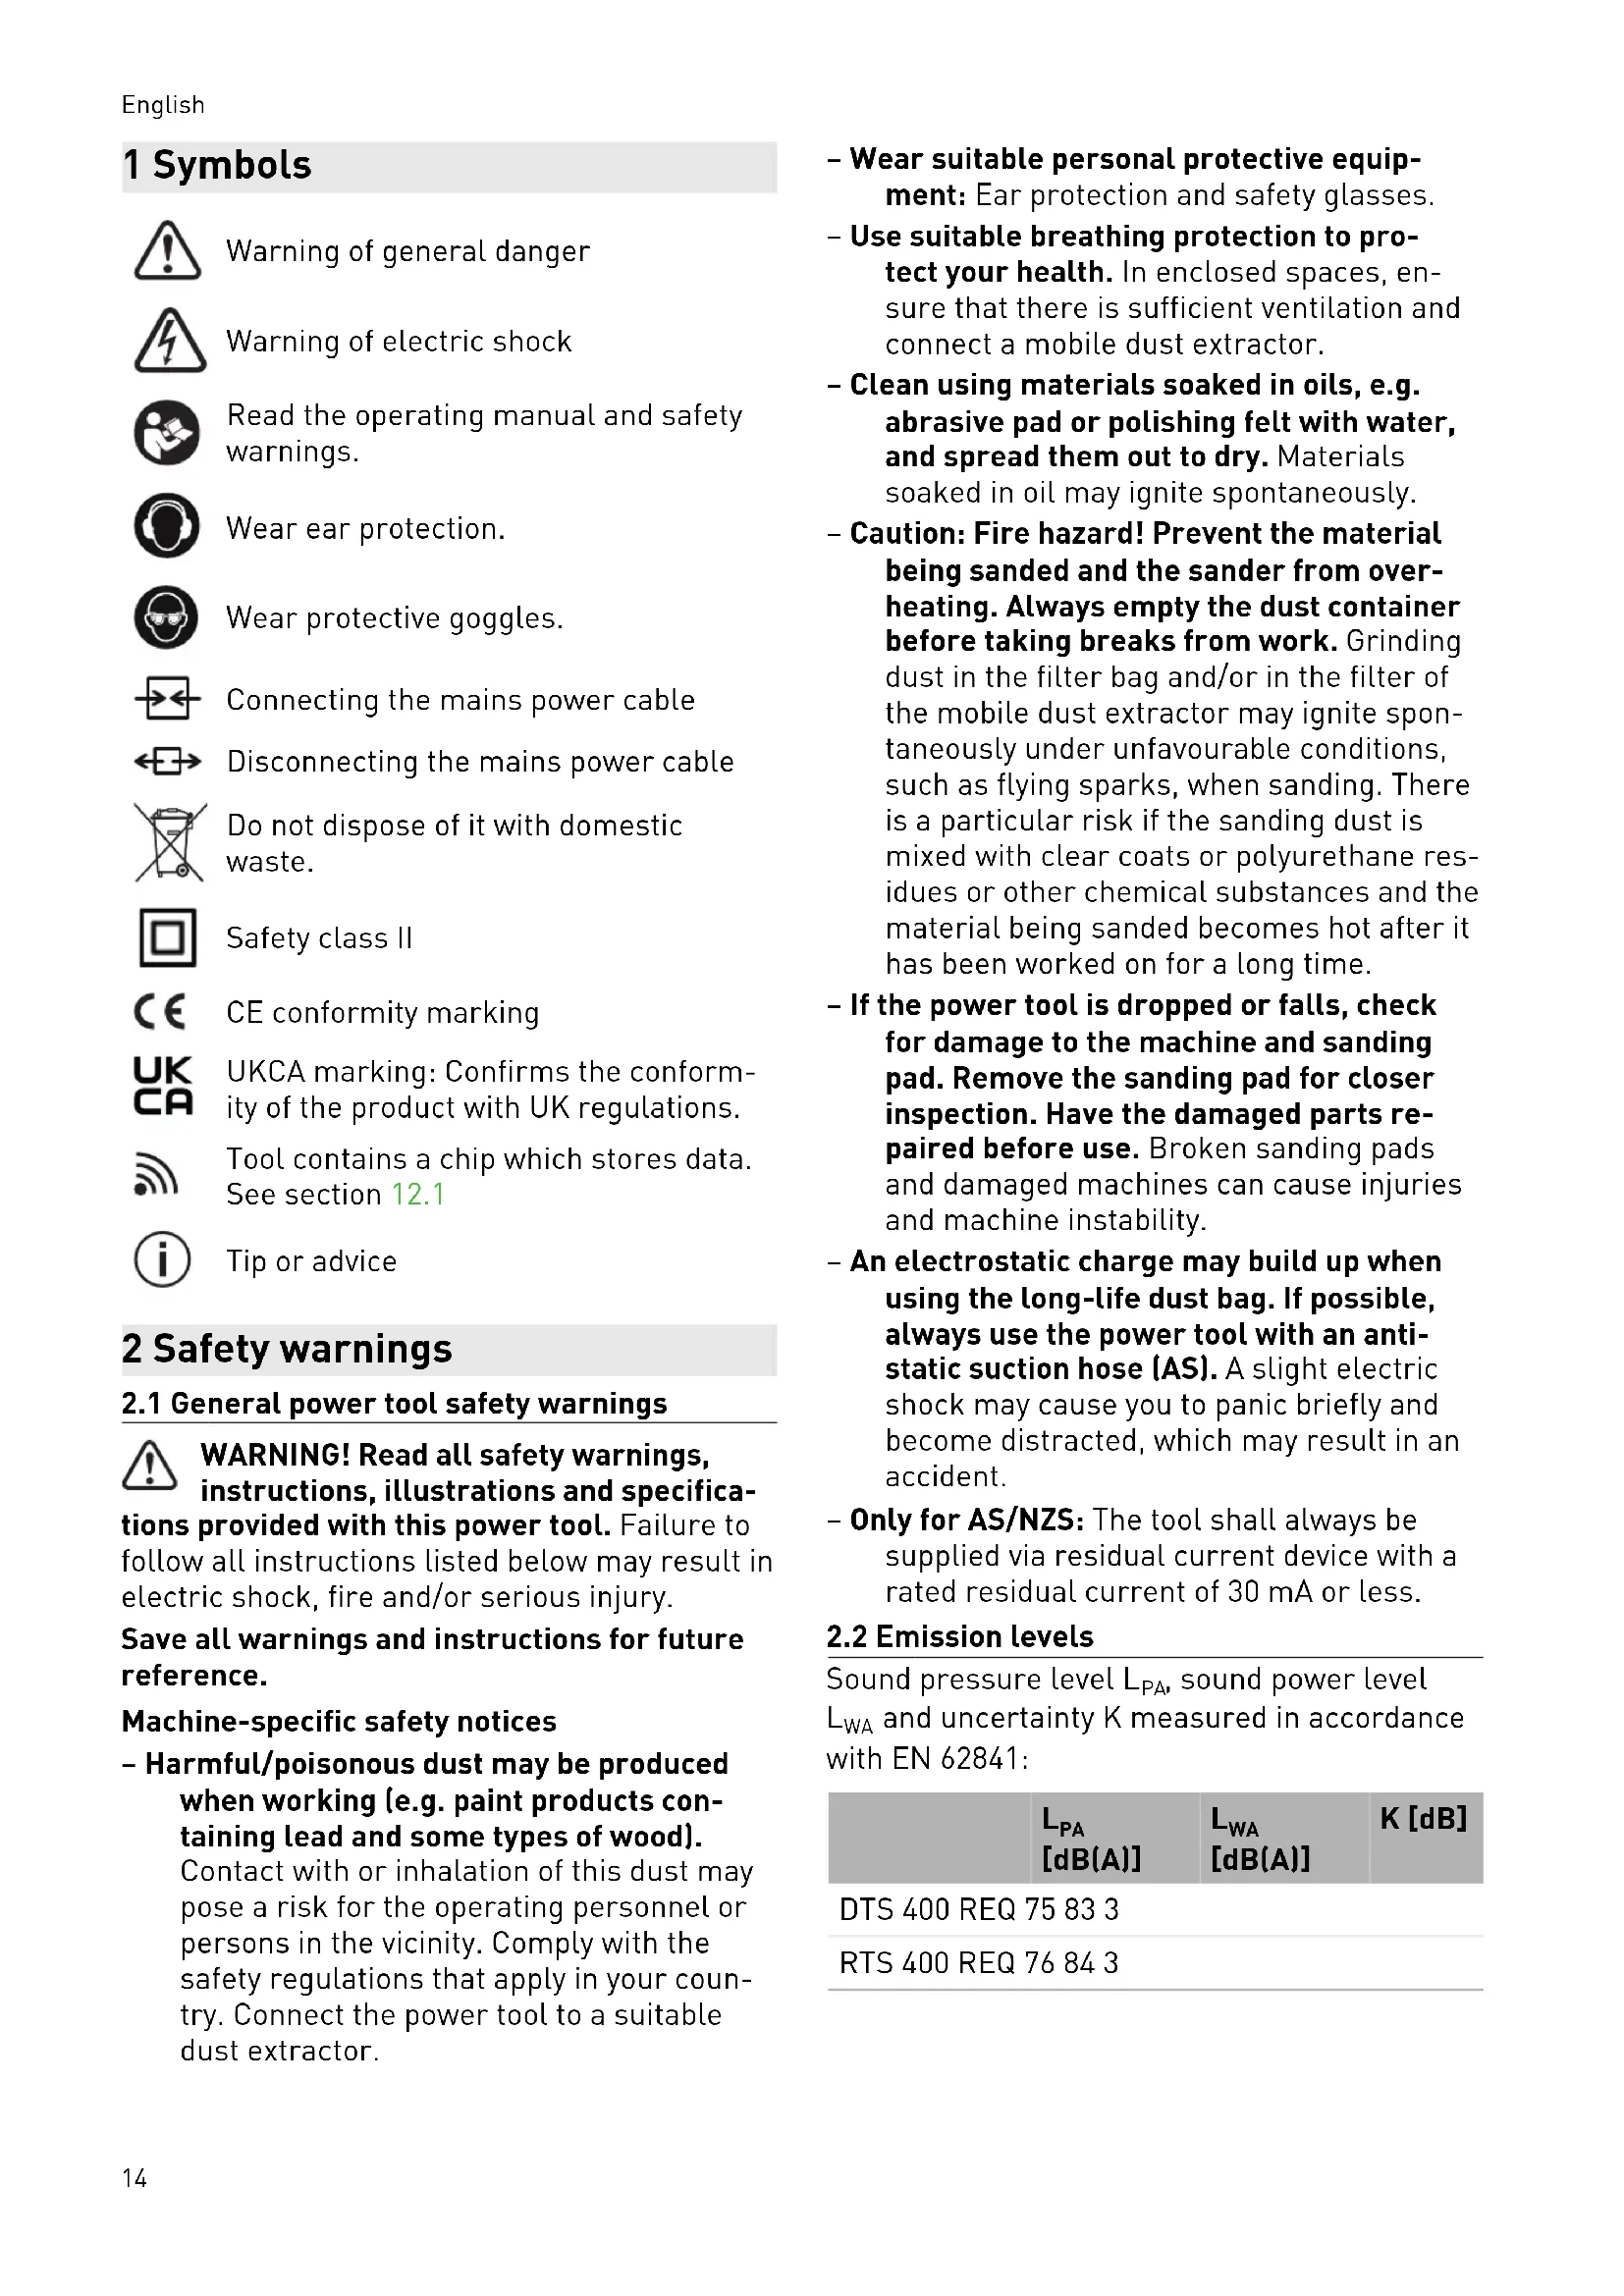
1 Symbole

| LPA [dB(A)] | LWA [dB(A)] | K [dB] |
DTS 400REQ75833
RTS 400REQ76843


VORSICHT
Warning of general danger

Warning of electric shock

Read the operating manual and safety warnings.

Wear ear protection.

Wear protective goggles.

Connecting the mains power cable

Disconnecting the mains power cable

Do not dispose of it with domestic waste.

Safety class II

CE conformity marking

UKCA marking: Confirms the conformity of the product with UK regulations.

Tool contains a chip which stores data. See section 12.1

Tip or advice
2 Safety warnings
2.1 General power tool safety warnings

WARNING! Read all safety warnings, instructions, illustrations and specifica
tions provided with this power tool. Failure to follow all instructions listed below may result in electric shock, fire and/or serious injury.
Save all warnings and instructions for future reference.
Machine-specific safety notices
- Harmful/poisonous dust may be produced when working (e.g. paint products containing lead and some types of wood).
Contact with or inhalation of this dust may pose a risk for the operating personnel or persons in the vicinity. Comply with the safety regulations that apply in your country. Connect the power tool to a suitable dust extractor.
- Wear suitable personal protective equipment: Ear protection and safety glasses.
- Use suitable breathing protection to protect your health. In enclosed spaces, ensure that there is sufficient ventilation and connect a mobile dust extractor.
- Clean using materials soaked in oils, e.g. abrasive pad or polishing felt with water, and spread them out to dry. Materials soaked in oil may ignite spontaneously.
- Caution: Fire hazard! Prevent the material being sanded and the sander from overheating. Always empty the dust container before taking breaks from work. Grinding dust in the filter bag and/or in the filter of the mobile dust extractor may ignite spontaneously under unfavourable conditions, such as flying sparks, when sanding. There is a particular risk if the sanding dust is mixed with clear coats or polyurethane residues or other chemical substances and the material being sanded becomes hot after it has been worked on for a long time.
- If the power tool is dropped or falls, check for damage to the machine and sanding pad. Remove the sanding pad for closer inspection. Have the damaged parts repaired before use. Broken sanding pads and damaged machines can cause injuries and machine instability.
- An electrostatic charge may build up when using the long-life dust bag. If possible, always use the power tool with an anti-static suction hose (AS). A slight electric shock may cause you to panic briefly and become distracted, which may result in an accident.
- Only for AS/NZS: The tool shall always be supplied via residual current device with a rated residual current of 30mA or less.
2.2 Emission levels
Sound pressure level L_PA sound power level L_WA and uncertainty K measured in accordance with EN 62841:
| LPA [dB(A)] | LWA [dB(A)] | K [dB] |
DTS 400REQ75833
RTS 400REQ76843

CAUTION
Noise emissions created while working with the power tool may damage your hearing.
Always use ear protection.
Vibration emission level a_h (vector sum for three directions) and uncertainty K measured in accordance with EN 62841:
DTS 400REQRTS400REQ
| ah | 3.5 m/s2 | < 2.5 m/s2 |
| K | 1,5 m/s2 | 1,5 m/s2 |
The specified emission levels (vibration, noise)
- are used to compare machines.
- They are also used for making preliminary estimates regarding vibration and noise load during operation.
- They represent the primary applications of the power tool.

CAUTION
The emission values may deviate from the specified values. This is dependent on how the tool is used and the type of workpiece being machined.
Assess the actual load during the entire operating cycle.
Depending on the actual load, suitable protective measures must be defined in order to protect the operator.
4 Technical data
| Orbital sander DTS 400REQ RTS 400REQ | |
| Power 250 W 250 W | |
| No-load speed | 6000 - 12000 rpm 6000 - 12000 rpm |
| Max. speed[2] | 16000 rpm 16000 rpm |
| Sanding stroke 2.0 mm 2.0 mm | |
| Sanding pad 100 x 150 mm 80 x 130 mm | |
| Weight (without mains cable, with sanding pad) 1.2 kg | 1.2 kg |
5 Machine features
[1-1] On/Off switch
[1-2] plug it-Anschluss
[1-3] Speed control
3 Intended use
The sanders are designed for sanding wood, plastic, composites, paint/varnish, filler and similar materials as directed. Metals and materials that contain asbestos must not be processed.
To guarantee electrical safety, the machine must not be damp or operated in a damp environment. The machine must only be used for dry sanding.

The user is liable for improper or non-intended use.
[1-4] Extractor connector
[1-5] Sanding pad
[1-6] Protector
[1-7] Long-life dust bag
English
[1-8] Dust bag adapter
[1-9] Handle (insulated gripping surface)
The specified illustrations appear at the beginning of the Operating Instructions.
6 Commissioning

WARNING
Unauthorised voltage or frequency.
Risk of accidents
The mains voltage and the frequency of the power source must correspond to the specifications on the name plate.
In North America, only Festool machines with the voltage specifications 120V / 60Hz may be used.

CAUTION
Heating of the plug it connection if the bayonet fitting is not completely locked.
Risk of burns
Before switching on the power tool, make sure that the bayonet fitting at the mains cable is closed fully and locked.
Connecting and detaching the mains power cable - see Fig. [2].
The switch [1-1] is an on/off switch (I = 0N,0 = OFF).
In case of a power failure or if the mains connector is removed, move the on/off switch immediately to the Off position. This prevents uncontrolled restarting.
7 Settings

WARNING
Risk of injury, electric shock
Always disconnect the mains plug from the socket before performing any work on the machine.
7.1 Electronics
Smooth start-up
The electronically controlled smooth start-up function ensures that the power tool starts up smoothly.
Constant speed
The preselected motor speed is kept constant through electronic control. This means that, if the machine is used as intended (reasonable
contact pressure), a constant sanding speed is achieved.
Setting the speed
The speed can be adjusted between 6000 and 12000 rpm using the adjusting wheel [1-3].
This enables you to optimise the sanding speed to suit the material you are working on (see Section).
7.2 Changing sanding pad [3]
An optimal work result can only be achieved using original accessories and consumables. The use of non-original accessories or consumables invalidates the right to claim under warranty.
If the StickFix coating on the sanding pad has worn out, the entire sanding pad can be replaced:
Undo the four screws.
Remove the sanding pad by pulling it downwards.
3 Attach the new sanding pad.
Use four screws to tighten it by hand (2.5 Nm).
7.3 Attaching sanding accessories using StickFix [3a]
The suitable StickFix sandpaper and StickFix sanding cloth can be attached quickly and simply to the StickFix sanding pad.
- Affix the self-adhesive sanding accessory to the sanding pad.
7.4 Dust extraction

WARNING
Dust hazard
Dust can be hazardous to health. Always work with a dust extractor.
Always read applicable national regulations before extracting hazardous dust.
Integral dust extractor with long-life dust bag
As standard, the sanders are equipped with an integral dust extractor. The sanding dust is extracted through extraction openings in the sanding pad and is collected in the dust bag.
Installing the dust bag [4]
Slide the dust bag adapter onto the extractor connection piece.
Slide the dust bag onto the adapter until it clicks into place.
![FESTOOL RTS 400 REQPlus - Installing the dust bag [4] - 1](/content/2026/03/430897/images/97e8110a97876d6bc7bf8da3ae0e09a0b1cd1bf5e9ad2314180aab1caccbde60.jpg)
If the suction power is decreasing, empty just bag.
1 Press the dust bag onto the actuating elements.
Remove the dust bag by moving it towards the rear.
3 Open the flap on the dust bag.
4 Empty the dust bag and dispose of the waste.
Dust extraction with Festool's mobile dust extractor
To prevent having to frequently empty the dust bag when carrying out sanding work for a long period of time, you can connect Festool's mobile dust extractor (with an extraction hose diameter of 27mm ) to the extractor connection piece [1-4].
Recommendation: Use an antistatic suction hose. This helps reduce the electric charge.
7.5 Edge protector [5]
The edge protector [1-6] stops the outer edge of the sanding pad from coming into contact with a surface (e.g. when sanding along a wall or a window), preventing power tool kickback or power tool damage.
8 Working with the machine

WARNING
Risk of injury
Always secure the workpiece in such a manner that it cannot move while being machined.
Observe the following instructions:
- Do not overload the machine by pressing with excessive force! The best sanding results are achieved with moderate application pressure. The sanding capacity and quality are mainly dependent on the selection of the correct abrasive.
- Work in corners and on edges tends to subject the tip to increased stress and results in increased heat development. In such cases, work with reduced contact pressure.
- Hold the machine with one hand on the handle [1-9].
For sanding, we recommend the following settings for the adjusting wheel [1-3]:
| Sanding work Adjusting wheel | |
| setting | |
| - Sanding with max. abrasion | 5-6 |
| - Sanding off old paint | |
| - Sanding of wood and veneered surface prior to paintwork | |
| - Intermediate sanding of paintwork on surfaces | |
| - Sanding thinly applied undercoat | 4-5 |
| - Sanding wood with sanding cloth | |
| - Edge breaking on wooden parts | |
| - Smoothing primed wooden surfaces | |
| - Sanding solid wood and veneered edges | 3-4 |
| - Sanding rebate of windows and doors | |
| - Intermediate sanding of paintwork at edges | |
| - Light sanding of natural wood windows using sanding cloth | |
| - Smoothing wooden surfaces using sanding cloth before staining | |
| - Rubbing stained surfaces with a sanding cloth | |
| - Rubbing or removing excess limestone residue using sanding cloth | |
| - Intermediate sanding of paintwork on stained surfaces | 2-3 |
| - Cleaning natural wood window rebate using sanding cloth | |
| - Sanding stained edges | 1-2 |
| - Sanding thermoplastics | |
9 Service and maintenance

WARNING
Risk of injury, electric shock
Always pull the mains plug from the socket before performing any servicing and maintenance work.
- All maintenance and repair work which requires the motor housing to be opened should always be carried out by an authorised service workshop.
Customer service and repairs must only be carried out by the manufacturer or service workshops. You must only use original Festool spare parts.
Further information: www.festool.co.uk/service
English
The tool is equipped with special self-disconnecting carbon brushes. If they wear out, the power supply is disconnected automatically and the tool stops.
To ensure constant air circulation, always keep the cooling air openings in the motor housing clean and free of blockages.
In the event of a slowdown in performance or increased vibrations, vacuum and clean cooling air openings.
10 Accessories
Use only original Festool sanding pads. Low-quality sanding pads may cause serious machine imbalance that decreases the quality of the working results and increases machine wear.
You can find the PO numbers for accessories and tools under www.festool.co.uk.
11 Environment

Do not dispose of the device in the household waste! Recycle devices, accessories and packaging. Observe appli
cable national regulations.
In accordance with the European Directive on waste electrical and electronic equipment and implementation in national law, used electrical devices must be collected separately and handled in for environmentally friendly recycling.
Information on the collection points can be viewed at www.festool.com/environment.
Information on critical materials:
www.festool.co.uk/reach
12 General information
Imported into the UK by
Festool UK Ltd
1 Anglo Saxon Way
Bury St Edmunds
IP30 9XH
Great Britain
12.1 Information on data privacy
The power tool contains a chip which automatically stores machine and operating data. The data saved cannot be traced back directly to an individual.
The data can be read in a contactless manner using special devices and shall only be used by Festool for fault diagnosis, repair and warranty processing and for quality improvement or enhancement of the power tool. The data shall not
be used in any other way without the express consent of the customer.
1 Symboles

L'interruptto [1-1] serve come interruptto ON/OFF (I = ON, 0 = OFF).

Varning for allman risk

Varning for elstotar

| LPA [dB(A)] | LWA [dB(A)] | K [dB] |
DTS 400REQ75833
RTS 400REQ76843

OBS
| LPA [dB(A)] | LWA [dB(A)] | K [dB] |
DTS 400REQ75833
RTS 400REQ76843

HUOMIO
| LPA [dB(A)] | LWA [dB(A)] | K [dB] |
DTS 400REQ75833
RTS 400REQ76843

FORSIGTIG
| LPA [dB(A)] | LWA [dB(A)] | K [dB] |
DTS 400REQ75833
RTS 400REQ76843

FORSIKTIG
Ved化进程:
Ved化进程 is a sequence of events that takes place in the execution of a program.
Ved化进程 is a sequence of events that takes place in the execution of a program.
4 Tekniske data
| Plansliper DTS 400REQ RTS 400REQ | |
| Effekt 250 W 250 W | |
| Turtall (tomgang) | 6000 - 12000 o/min 6000 - 12000 o/min |
| Turtall maks. [10] | 16000 o/min 16000 o/min |
| Slipeløft 2,0 mm 2,0 mm | |
| Slipeplate 100 x 150 mm 80 x 130 mm | |
| Vekt (uten ledning, med spliceplate) 1,2 kg 1,2 kg |
5 Apparatets deler
[1-1] Pa/av-knapp
[1-2] plug it-tilkobling
[1-3] Turtallsregulering
[1-4] Avsughette
[1-5] Slipeplate
[1-6] Protector
[1-7] Longlife-stvpose
[1-8] Stovposeadapter
[1-9] Händtak (isolerte gripeoverflater)
Stille inn turtallet
[1-1] Interruptor de activations/desactivations
[1-2] Conexão plug it
Observe as seguiences indicacoes:
| LPA [dB(A)] | LWA [dB(A)] | K [dB] |
DTS 400REQ75833
RTS 400REQ76843