BLS 30 - Blower Grizzly - Free user manual and instructions
Find the device manual for free BLS 30 Grizzly in PDF.
| Product type | Leaf blower |
| Brand | Grizzly |
| Model | BLS 30 |
| Weight (including accessories) | 7.4 kg |
| Power source | Unleaded petrol and 2-stroke oil mixture (40:1) |
| Tank capacity | 400 ml |
| Air flow in suction mode | max. 12 m³/min |
| Air speed in blowing mode | max. 250 km/h |
| Shredding reduction ratio | max. 10:1 |
| Collection bag capacity | 40 L |
| Engine displacement | 30 cm³ |
| Engine power | 1 kW |
| Maximum rotational speed | 8500 rpm |
| Guaranteed sound level | 108 dB(A) |
| Vibration at handle | 5.528 m/s² |
| Spark plug | L8RTC |
| Safety | Mandatory wearing of personal protective equipment (goggles, helmet, gloves, shoes) |
| Maintenance | Regular cleaning of air filter and collection bag |
| Spare parts | Available from dealer or Grizzly customer service |
| Warranty | 24 months (private use) |
Frequently Asked Questions - BLS 30 Grizzly
User questions about BLS 30 Grizzly
0 question about this device. Answer the ones you know or ask your own.
Ask a new question about this device
Download the instructions for your Blower in PDF format for free! Find your manual BLS 30 - Grizzly and take your electronic device back in hand. On this page are published all the documents necessary for the use of your device. BLS 30 by Grizzly.
USER MANUAL BLS 30 Grizzly
GB Translation of the original instructions for use 82
Before initial start-up, please read through these operating instructions carefully prior to using the machine. Keep the instructions safe and pass them on to any subsequent user so that the information is always available.
Symbols used in the instructions .... 82
Symbols on the device 83
General notes on safety 83
Overview. 85
Intended purpose 85
Function description 85
Assembly instructions 86
Operating the leaf blower 87
Working with the leaf blower 88
Cleaning and maintenance 89
General cleaning 90
Replacing the collection bag 91
Safekeeping 91
Waste disposal and environmental protection 91
Guarantee 91
Spare parts 92
Technical Data 92
Trouble shooting 93
EU declaration of conformity 138
Exploded Drawing 142/143
Grizzly Service-Center 145
Intended use
A leaf blower is not intended for wet conditions! Avoid wet materials such as leaves and dirt, twigs, branches, pine needles, grass, earth, sand, mulch, cuttings, etc. Do not use on wet lawns, grass areas or fields. Misuse may lead to congestion in the shredding unit and lead to reduced functionality. The machine may need to be completely dismantled and cleaned. This work should be carried out by a qualified service technician and is not covered by guarantee.
Notes on safety

Please read through the user's manual before you first use the tool. Keep the manual in a safe place and pass it on to any subsequent owner to ensure that the information it contains is always available.
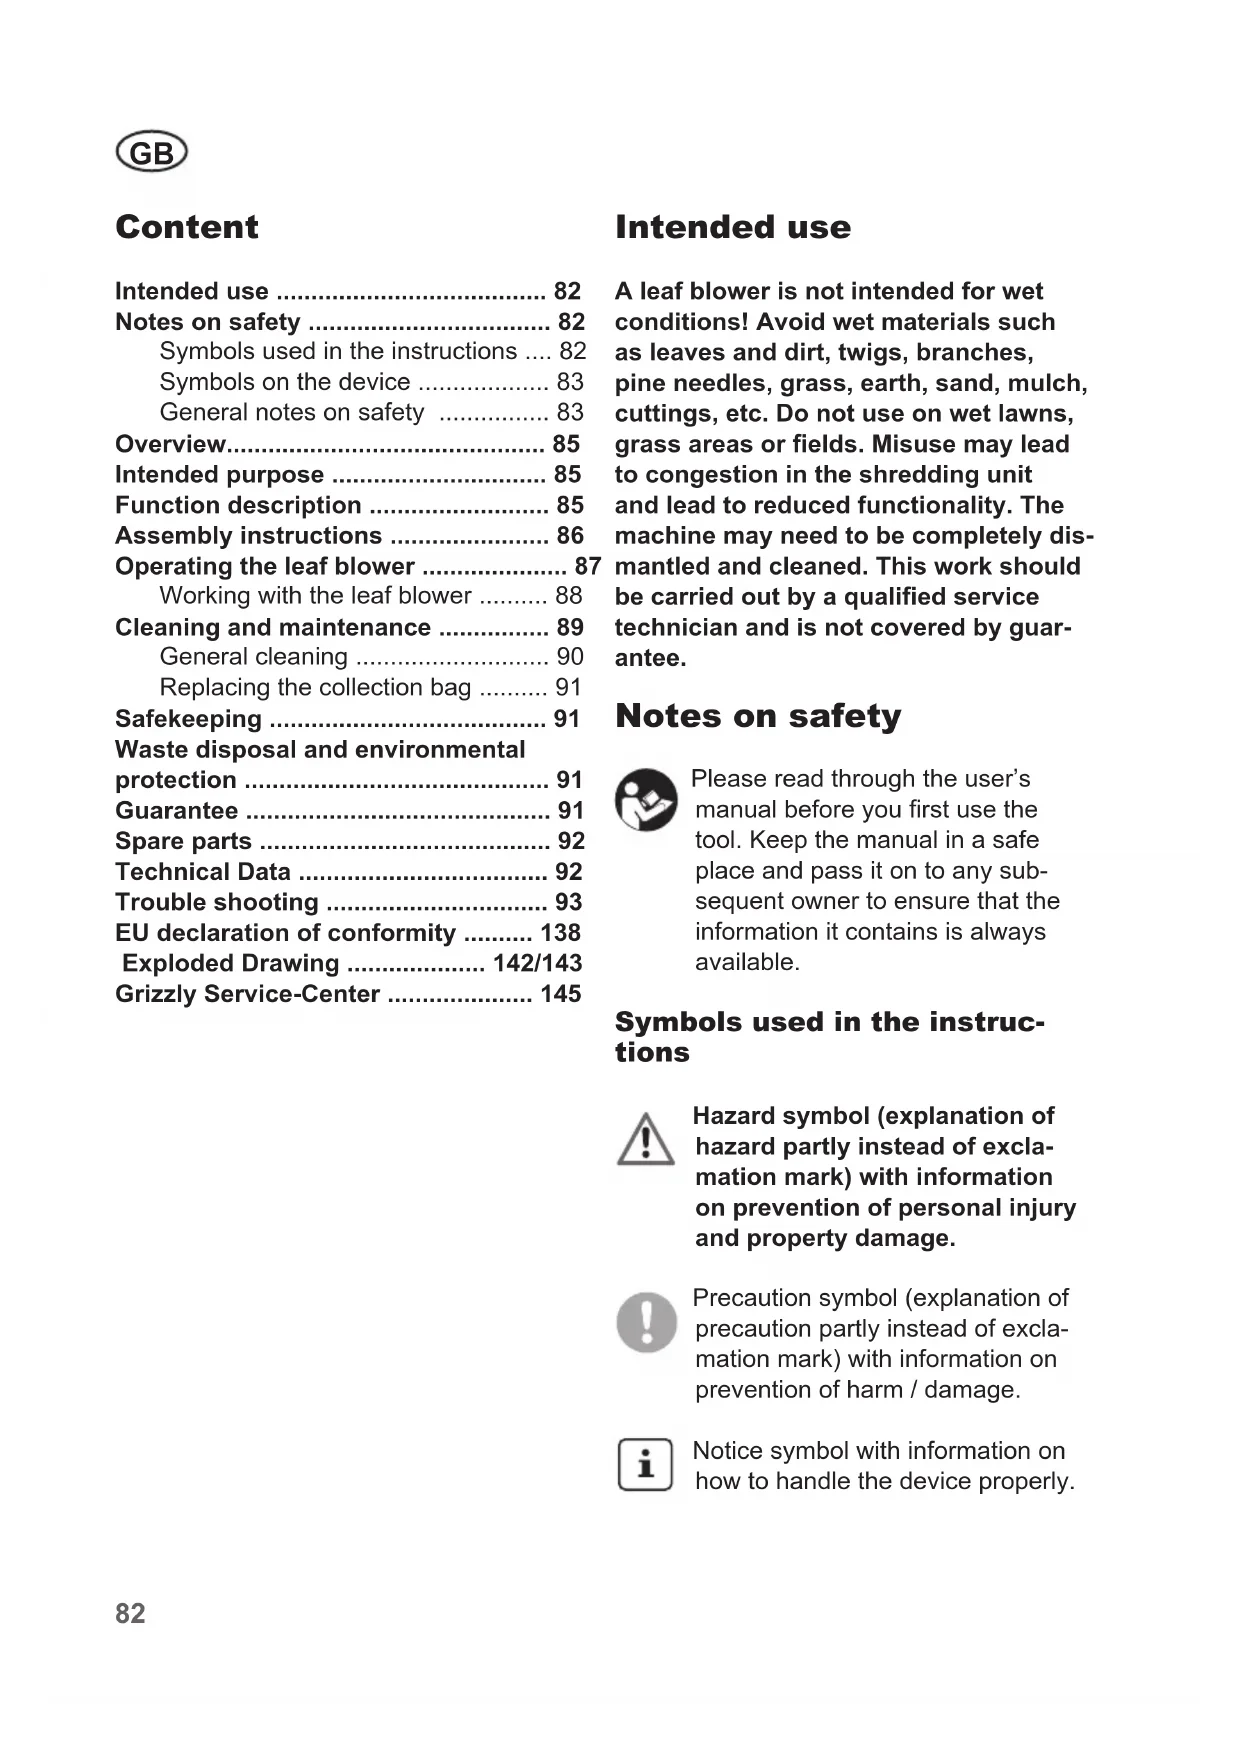
Symbols used in the instructions

Hazard symbol (explanation of hazard partly instead of exclamation mark) with information on prevention of personal injury and property damage.

Precaution symbol (explanation of precaution partly instead of exclamation mark) with information on prevention of harm / damage.

Notice symbol with information on how to handle the device properly.
Symbols on the device

Read and take note of the operating manual belonging to the machine!

Caution, danger!
though the operating manual carefully before using the device.

Do not leave the device in wet conditions. Do not work in the rain.

Wear personal protective equipment. Basically, wear protective goggles or, even better, face protection, ear protection, safety helmet, cut-protection working clothes, cut-protection gloves, and cut-protection safety boots with anti-slip soles.

Caution! Hot surface. of burns.

Danger due to materials blown out of machine! Remove persons in the vicinity from the danger area.
Caution. nppeller wheel.

Guaranteed sound power level
General notes on safety
- The device must not be used by people (including children) with limited physical, sensory or mental faculties or who lack the necessary experience and/or knowledge - other than they are supervised by a person responsible for safety or are
being instructed to operate the trimmer by such a person.
- Do not stretch the body too far and ensure that balance is maintained.
- The device must not be operated by children. Laws and local regulations can determine a minimum age for use. Likewise, working with the device should never be allowed for persons who are not completely familiar with the operating instructions.
- The user is responsible for accidents and risks to other people and their property.
Working with the device:

Familiarise yourself with all the unit's parts and correct operation of the unit before you start working with it. Make sure that you can immediately switch off the unit in an emergency. Improper use of the unit may lead to serious injury.

CAUTION: How to avoid accidents and injuries:
The personal protective equipment protects your own health and the health of others and ensures trouble-free operation of the device.
- Wear suitable working clothes such as robust footwear with anti-slip soles, rugged, long trousers, gloves, protective goggles and hearing protection. Do not use the device if you are barefoot or are wearing open sandals. Wear respiratory protection if you are working in a dusty environment. Wear a dust mask.
In very dry conditions, dampen the surface slightly in order to reduce the strain from dust.
GB
-
Refrain from wearing loose clothing or jewellery that could be drawn into the air intake nozzle. If you have long hair, use protective head covering.
-
Check the operational serviceability and integrity of the device regularly in order to avoid danger to the operator.
-
Keep the device away from persons, particularly children and domestic animals.
-
Pay attention to open windows, children, pets, etc. Stop working if children and pets are nearby. The blown material may fly in their direction. Maintain a safety distance around you of 5m
-
Do not turn on the device if it is upside down or is not in working position.
-
Do not point the device when it is working at persons, in particular, do not point the airstream at eyes and ears.
Make yourself familiar with your surroundings and pay attention to possible dangers which, under certain circumstances, can be missed while working.
While working, make sure that you are standing in a firm position - especially when you are on a slope. Always hold the device with both hands and work only with correctly adjusted shoulder carrying strap.
-
Caution! Hot surface. Risk of burns:
-
The exhaust pipe can become hot.
-
Hold the equipment only on your right hand side.
-
Do not touch the exhaust pipe - even with your clothing.
-
Carefully inspect the surface to be cleaned and remove all wires, stones, cans and other foreign bodies.
-
Keep fingers and feet away from the suction tube opening and impeller wheel. There is a danger of injury.
-
Do not work with the device if you are tired or lack concentration or after the
consumption of alcohol or tablets. Always take time out for a break. Work at a reasonable pace. Move slowly; do not run.
- Do not use the device in the rain, in bad weather or in a moist environment. Work in daylight or under good artificial lighting.
- Do not work with a device which is damaged, incomplete or altered without the approval of the manufacturer. Check the safety status of the device before use.
- Employ the device in a completely assembled condition only.
- Employ the device suction operating mode only when the collection bag is attached.
- Do not intake any burning, smouldering or smoking materials (e.g. cigarettes, embers etc.), fumes or easily inflammable, poisonous or explosive materials.
- Do not intake any moist or wet material or any liquids.
Only use the replacement parts that are supplied and recommended by our Service Centre. - Do not use the device in closed or badly ventilated rooms. Do not use the device near inflammable liquids or gases. In case of non-observation of these directions, danger of fire or explosion exists.
- Keep the device in a dry location and out of reach of children.
- Keep all cooling air inlets clear of dirt.
!
CAUTION! The following states how damage to the trimmer and possible injury to people can be avoided:
- Do not stretch the body too far and ensure that balance is maintained.
-
Handle the unit with care. Clean the ventilation slits regularly; keep to the maintenance instructions.
-
Do not overload your device. Work only within the indicated range of performance. Do not employ any low power machines for heavy work. Do not use your device for purposes for which it has not been designed.
- Do not attempt to repair the appliance yourself unless you have specific training to do so. Leave any work not listed in this manual to our Service Centre (See p. 145 for the address).
- Check the grass bag regularly for wear or damage.
Overview
See the front fold-out page for illustrations.

1 Flat suction nozzle with wheels
2 Two-part blower / suction tube
3 On / OFF switch
4 Attachment bar for carrying strap
5 Throttle
6 Starter handle with starter cable
7 Choke lever
8 Fuel pump (Primer)
9 Filler cap
10 Fuel tank
11 Operating mode selection switch
12 Collection bag
Intended purpose
The device is designed only for the blowing and suction and of dry leaves in private households and as a hobby device in the garden. Every other utilization, which is not explicitly approved in these directions, can lead to damage to the device and represents a serious danger to the user.
The device must not be employed in areas where there is health endangering dusts or as a wet suction device.
The device is designed for use by adults. Young people over 16 years may use the device under supervision only. The use of the device in the rain or in a humid environment is forbidden.
The operator or user is responsible for accidents or damage to other persons or their property.
The manufacturer is not liable for damage which is caused through inappropriate use or incorrect operation.
Function description
The garden vacuum has a blowing/vacuuming unit for the blowing and suction functions. In blowing mode, you can quickly blow together fallen leaves or blown them out of places that are difficult to reach. In suction mode, the leaves are shredded to save space, and blown out of the ejector outlet into the collection bag. The collection bag is fitted with one-sided inner lining to prevent fine dust and wetness from penetrating the bag to the outside. This lining is located on the left-hand side of the bag to protect your working clothes from soiling. You can vacuum up dry leaves and leaf parts on the flat with the flat suction nozzle. The guide rollers at the lower end of the tube make it easier to guide the tube along the ground. For the protection of the user, the equipment is to be operated only with the two-part blow/suction pipe fully fitted.
Refer to the following descriptions for instructions on how the operating controls work.
Assembly instructions

Remove the power plug before all work on the device. Employ only original parts. Danger of injury.

Before putting the device into operation, the blower / suction tube must be completely mounted and screwed tight and the collection bag and carrying strap must be attached.
Mounting of blower / suction tube:

Make sure the tubes are held straight during mounting. The electrical contacts in the tube could be damaged.
First connect the lower blow/suction tube to the upper blow/suction tube.
Loosen screws C on the lower end of the upper blow/suction pipe.
Push the lower blow/suction pipe into the upper blow/suction pipe. Place the lower blow/suction pipe slightly askew on the upper, round pipe section of the upper blow/suction pipe and press to tilt it into the upper blow/suction pipe. Reflex screws C in place.
Connect the now pre-assembled blow/suction tube to the leaf blower motor part.
To do this, remove screws A and loosen screws B.
Push the upper blow/suction pipe into the machine housing.
Place the upper blow/suction pipe slightly askew on the upper, round part of the housing and press to tilt it into the machine housing.
Reposition screws A and fix all screws (A and B) in place.
Mount flat suction nozzle:
- To work with the flat suction nozzle (1), push it onto the suction opening on the tube.
To remove the nozzle pull the nozzle out of the tube.

Adjust Floor Clearance:
- To adjust the floor clearance of the flat suction nozzle (1), pull the wheels outwards and turn the wheels to the next lock-in position. There are three possible lock-in positions. Use a position of equal height on both sides of the flat suction nozzle.
Mount collection bag:
- Place the retainer frame onto the opening on the motor components so that the grip points towards the mains cable. Press the retainer frame over the engagement strip until the coupling lever engages.
Suction operation is only permissible with the collection bag mounted.
- Connect the collection bag retainer loop (12) to the blower / suction tube.
Mount carrying strap:
- Hook the carrying strap onto the attachment bar (4).
Operating the leaf blower

Danger of injury.
Wear suitable clothing and work gloves when working with the device. Make sure that the device is functioning properly before every use. Make sure that the collection bag and the tube are assembled correctly and the carrying strap is adjusted correctly for work.

Note noise protection laws and local regulations. The use of the device can be restricted or prohibited on certain days (e.g. Sundays and holidays), during certain times of the day (lunch hours, at night) or in special areas (e.g. health resorts, clinics etc.).

After switching off the device, the impeller wheel continues to rotate for some time. Danger of injury due to rotating tool.
Fill with Fuel

Always ensure good ventilation when handling fuel.
Do not smoke when refuelling and keep away from any heat sources. Never refuel with the motor running or hot.
Open the filler cap carefully, so any excess pressure that is present can escape slowly.
Do not start the equipment near the filling location.
Use suitable and authorised containers for storing the fuel.
There is a risk of fire or explosion in case of non-observation.

Only use the fuel mix recommended in the instructions. This must not be older than 3 months. In case of non-observation, the motor may be damaged and the guarantee will be invalidated.

Avoid direct skin contact with petrol and inhalation of petrol fumes. They are hazardous to health!

The equipment is run with a mix of unleaded petrol and two-stroke engine oil (quality API TC) in the ratio 40:1.
-
Never use undiluted fuel. Use only two-stroke engine oil (no four-stroke engine oil or oil for water cooled motors). In case of non-observation, the motor may be damaged and the guarantee will be invalidated.
-
Mix the petrol and oil in a clean container that is designed for petrol.
- Initially pour in half of the petrol then the entire oil quantity and shake the container. Add the rest of the petrol then shake again.
- Unscrew the filler cap and pour the fuel mix into the petrol tank. Wipe off petrol residues around the filler cap and close the filler cap.
Start the Motor
- Place the equipment on a firm, even base.
- To switch on the ignition, push the on/off switch (3) to position I.
- For a cold start, push the choke lever (7) to the snowflake symbol.
- Press the fuel pump (primer) (8) 6 x.
- Pull the starter cable on the start handle (6) until the motor starts.
GB
- Push the choke lever to the middle, part-throttle position and allow the motor to warm up in neutral for one to two minutes.
- When the motor has warmed up, push the choke lever to the operating position (sun symbol).
The sun symbol is also the start position for the choke lever when the motor is warm.
Stop the Motor
- Release the throttle.
- To switch off the ignition, move the stop switch to position STOP

To stop the motor in an emergency, push the on/off switch.

Before switching on device, make sure it is not in contact with any objects. Ensure stable positioning.

The device can only be switched on if the entire blower / suction tube is correctly mounted.
- Put on the carrying strap and adjust it to the optimum length.
- In order to select the operation mode, turn the operation mode selector (11) to the symbol required. Before changing the operat ing mode, it is absolutely necessary that the device be switched off.
Blowing operating mode

Suction operating mode
- For switch-on, slide the on/off switch (3) into position "l".
To switch off, slide the on/off switch
(3) into position STOPP, the device switches off.
Working with the leaf blower

The leaf blower may only be used for the following purposes:
- As a blower to pile up dry leaf material or to blow material out of places that are hard to access (e.g. under cars)
- As a suction device to suck up dry leaf material. The device also functions as a shredder in the suction function. The dry leaves are shredded and their volume is reduced, preparing the material for later composting if desired. The shredding intensity depends on the size of the leaf material and its residual moisture.
Uses other than those described here may damage the machine and put the operator at risk.

During work, ensure that the device is not struck against hard objects, which can cause damage. Do not suck up any solid bodies such as stones, branches or pieces of branch, fir cones or similar, since these can damage the device, in particular the shredding mechanism.
Repairs of this type are not covered by the guarantee.
Blowing operating mode:
- Set the operating mode selector switch (11) to the symbol
-
You get optimal results when you use the blower with a separation distance to the ground of 5 -10 cm.
-
Direct the airstream away from yourself. Ensure that you do not to stir up any heavy objects and hurt somebody or damage something.
- Begin work with the highest blowing power, in order to rapidly pile up the leaves lying around. Select a lower blowing power to compact the previously piled up leaves.
- Before blowing, loosen leaves adhering to the ground with a broom or rake.
- The guide rollers at the end of the tube make it easier to work on flat surfaces.

Suction operating mode:
- Set the operating mode selector switch to the symbol . Check whether the collection bag (12) is correctly assembled.
- Make sure the volumes of leaf material sucked in at one time are not too large. This will avoid clogging of the blower / suction tube and blockage of the impeller wheel.
- For ground suction of leaves or leaf residues, place the enclosed flat nozzle onto the end of the tube.

The ejection nozzle ensures ideal transport of leaves into the leaf bag. Additionally, it serves your safety by preventing contact with the fan during operation.

To reduce wear on the collection bag, do not drag it along the ground while working.

If the device stops suddenly during operation and does not produce any suction, then it is to be
switched off immediately. Make sure that no material is wedged in between the shredder impeller and the casing. Carry out the work as described in the chapter "Cleaning and Maintenance". If the appliance will not start, consult our Service Centre.
Emptying the collection bag:
With full collection bag, the suction pumping capacity decreases considerably and the collection bag must be emptied when the bag is full or interferes with the suction capacity of the device.

Disconnect the spark plug terminal before carrying out any work on the equipment.
- Wait until the impeller wheel comes to a standstill.
- To remove the collection bag, remove the retainer loop and press the coupler lever on the frame.
- Open the zip-fastener on the collection bag and empty it completely.
- Mount the emptied collection bag again.

Composting material does not belong with domestic waste!
Cleaning and maintenance

Disconnect the spark plug terminal before carrying out any work on the equipment.

Leave all work not described in this manual to our Service Centre. Only use original parts.
Before every use, check the leaf blower for obvious deficiencies, such as loose, worn or damaged parts and for correct seating of the parts. Replace damaged parts. Check the bag regularly for wear and tear.
Carry out the following maintenance and cleaning work regularly. By this means, a long and reliable life is guaranteed.
General cleaning

Clean the device in each case immediately after working, since otherwise mud with leaf residues hardens and sets and can possibly no longer be removed without dismantling the motor casing.
Such cleaning work is not covered by the guarantee.

Do not employ any cleaning agents or solvents. They can irreparably damage the device. Chemical substances can attack the plastic parts of the device.
- Clean the device casing, the tube and the ventilation slots regularly with a soft brush or a cloth. Never clean the device under running water.
Take off the collection bag after finishing work, turn it inside out and brush it thoroughly. In this way, you avoid the generation of mold and unpleasant odours.
Free the outlet area from possible shredded residues.
Clean the Air Filter

Never operate the equipment without an air filter, otherwise dust and dirt will get into the motor and result in damage to the machine. Keep the air filter clean.

- Switch off the equipment.
- Loosen screw (15) on the air filter cover and remove the cover (14).
- Take the air filter (13) out of the filter housing.
- Clean the air filter (13) with soap and water.
Never use petrol!
- Allow the filter to dry in the air.
- Reinsert the filter in reverse order.

Replace the air filter if it is worn, damaged or heavily soiled.
Change the Spark Plug

Worn spark plugs or a spark gap that is too large will result in a reduction of motor power.

- Switch off the equipment.
- Remove the cover (17) on the handle. To do this prise the insert out of the housing at the upper indentation (16).
- Use both thumbs to push the cover (17) upwards in the direction of the arrow.
- Disconnect the spark plug terminal from the spark plug.
- Unscrew the spark plug anticlockwise using a spark plug socket.
- Insert the new spark plug.
- Re-attach the spark plug terminal.
-
When inserting the cover, first insert the two strips then press firmly.
-
Use a feeler gauge (available in spe-Use
cialised shops) to check the spark gap. Electrodes to be 0.6-0.7 mm apart
- Use a steel brush to clean the spark plug.
Replacing the collection bag
Replace a defective collection bag. Employ only original collection bags (see chapters "Spare Parts"), otherwise the guarantee claim is invalid.
Safekeeping
- Keep the leaf blower in a dry, frost-free location, which is inaccessible to children.
- Do not store the device in direct sunlight; store it in dark or in reduced light conditions.
- Do not cover the device with nylon bags, since moisture can form.
- Clean the device thoroughly at the season end and for storage during wintering. Clean the collection bag by removing it, emptying it and washing with warm water and neutral soap. Reattach the dried bag again.
- Ensure that all nuts, bolts and screws are tightened so the equipment is in safe, functional condition.
Waste disposal and environmental protection
Be environmentally friendly. Return the tool, accessories and packaging to a recycling centre when you have finished with them.
afoebooyeruthe (davitababe amspization
location. The plastic and metal parts employed can be separated out into pure materials and recycling can be implemented. Ask your Service Center about this. Defective units returned to us will be disposed of for free.
Guarantee
This appliance has a 24-month guarantee; a shorter 12-month guarantee applies if the appliance is to be used for commercial purposes or for replacement appliances according to statutory regulations. Certain component parts are subject to normal wear and are excluded from the guarantee. In particular impeller, collection bag and carbon brushes are excluded, provided that the complaints cannot be attributed to defects in material.
Furthermore, the prerequisite for guarantee services is that the references indicated in the operating instructions regarding cleaning and maintenance have been adhered to. Damage, which has been caused from material or manufacturing faults, will be made good free of charge, by replacement delivery or repair.
Repairs, which are not covered by the guarantee, can be carried out for charge by our service center. Our service center will be glad to provide you with a cost estimate.
We can only process devices which have been packaged sufficiently and which have been dispatched with correct stamp-ing.
Note: In case of complaint or service, please deliver your device cleaned, and with an indication of the defect, to our service address.
Please insure before the dispatch, that the device is not classified as "bulk freight". That could be the case if the packaging is not sufficient or if the device is sent wrapped only with wrapping paper. Defective units returned to us will be disposed of for free.
Devices sent in freight collect - by bulk freight, express or with other special freight - are not accepted.
If you have a justified guarantee claim, please contact our service centre by telephone, which will then advise you on how the claim will be processed.
Spare parts
The following spares are available from Grizzly Service-Center (see P. 145 for the address). Please indicate the machine type and the number of the spare part with your order.
If further spare parts should be necessary, please find the part number on the exploded drawing.
Technical Data
Leafblower BLS30
Engine size 30 cm³
Engine power. 1 KW
Engine speed. 8500 min-1
Fuel mixture 40:1
Tank volume, max. 400 ml
Spark plug L8RTC
Air capacity max. 12 m³/min
Air speed max. 250 km/h
Shredding rate max. 10:1
Content of the collection bag 40 I
Weight (incl. accessories kit) 7,4 kg
Sound pressure level (L_pA)
98,3 dB(A); K D A = 3,0 dB(A)
Sound power level
Vibration at the handle (a)
5,528 m/sK=1,5 m/s
Noise and vibration values were determined according to the standards and stipulations designated in the Declaration of Conformity.
Technical and optical changes can be carried out in the course of the further development without announcement. All measures, references and information contained in this operating manual are therefore without guarantee. Legal claims, which are made on the basis of the operating manual, cannot be considered.
Trouble shooting
| Problem Possible cause Fault correction | |
| Device does not start | |
| Defective on/off switch Repair through customer service | |
| Blowing/suction pipe (2) is not completely fitted | |
| Low suction capacity or suction not present | Collection bag (12) is full Empty collection bag (12) |
| Collection bag (12) is dirty Clean collection bag (12) | |
| Selector switch (11) in incorrect position Set selector switch (11) to the suction symbol | |
| Small or missing blowing power | Selector switch (11) in incorrect position Set selector switch (11) to the blowing symbol |
| Machine part Action | Before every use | After 10 hours of operation | After 25 hours of operation |
| Spark plug Check | ✓ | ||
| Spark plug Clean | ✓ | ||
| Spark plug Replace if required | |||
| Airfilter Check | ✓ | ||
| Airfilter Clean | ✓ | ||
| Airfilter Replace if required | |||
Contenido
Uzemanyagkeverek 40:1
Tank terfogata 400 ml
Gyútgógyertya L8RTC
Légáthaladas max. 12 m³/min
Grizzly Service-Center

Oxford Street Industrial Park
Vulcan Road
Bilston, West Midlands WV14 7LF
Tel: 08456832678
Fax: 08456832677
Email: grizzly@deslimited.com